Navigation
Use this post to build a Windows Server Remote Desktop Session Host that will be used as the source image for additional cloned Remote Desktop Session Hosts. Or you can build each Remote Desktop Session Host manually using the steps detailed in this post.
- Hardware
- Windows
- Remote Desktop Session Host
- Installs
- Horizon Agent Load Balancing Script
- Antivirus
- Install Applications
- VMware OS Optimization Tool
- Seal and Snapshot
- Full Clone Post-Cloning Tasks
Hardware
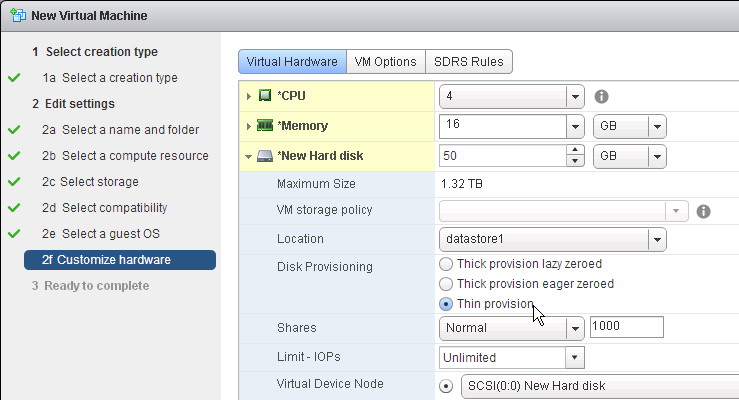
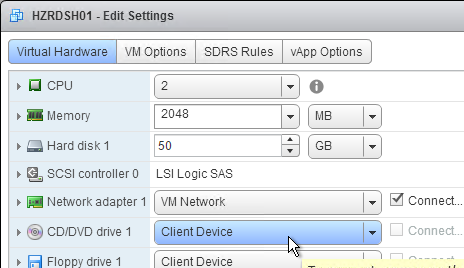
- The session host pools will use the same hardware specs (e.g. vCPUs, memory size, network label) specified on the master session host. Adjust accordingly.
- For 2012 R2, set the vCPUs to 8. For 2008 R2, set the vCPUs to 4. Two is the minimum. See VMware whitepaper for more information.
- Typical memory for an 8 vCPU session host is 24 – 48 GB (e.g. 32 GB).
- For New Hard disk, consider setting Thin provision. And increase the size so it can store the locally cached profiles (C:\Users).
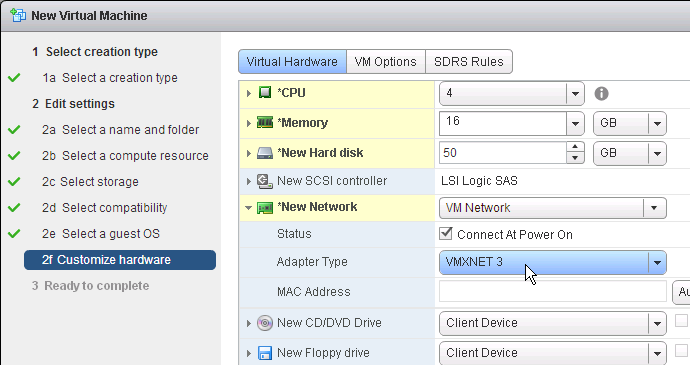
- The session host should be configured with a VMXNET 3 network adapter.
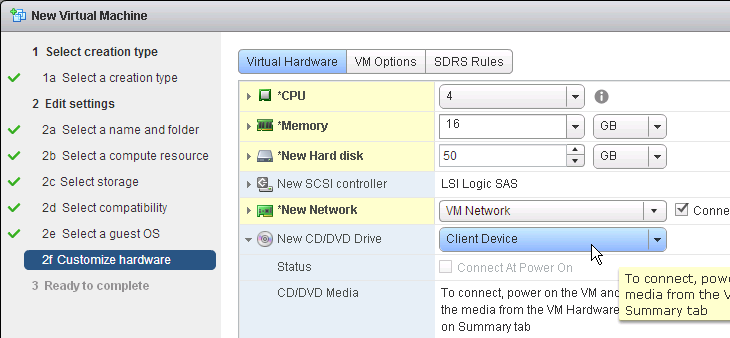
- When building the master session host, you will probably boot from an ISO. When you are ready to create the pool (RDS farm), ensure the CD/DVD drive points to Client Device and is not Connected. The important part is to make sure ISO file is not configured.
- There’s no need for the Floppy drive so remove it.
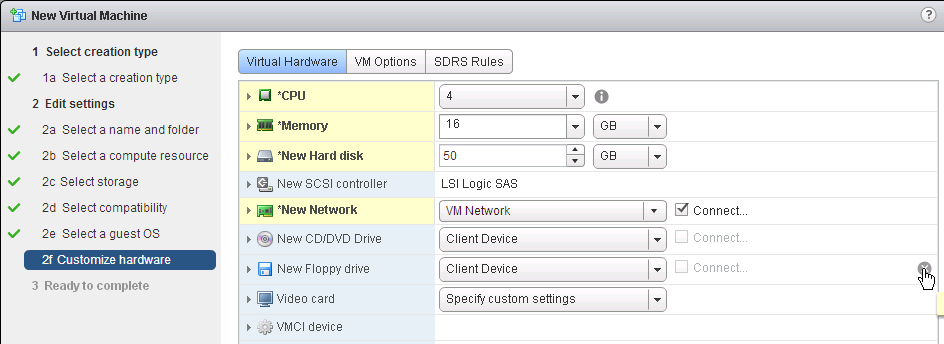
- If you have any Serial ports, remove them.
NIC Hotplug – Disable
- Users could use the systray icon to Eject the Ethernet Controller. Obviously this is bad.
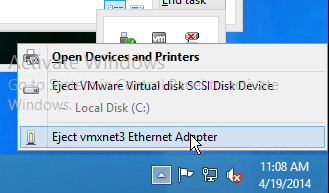
- To disable this functionality, power off the virtual machine.
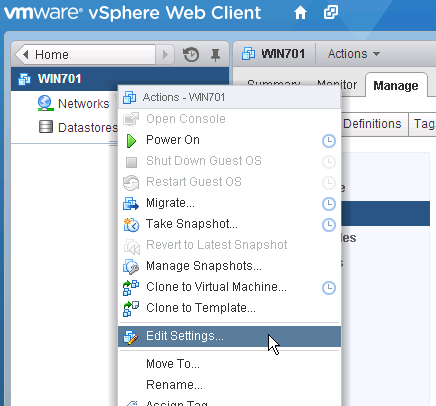
- Once powered off, right-click the virtual machine and click Edit Settings.
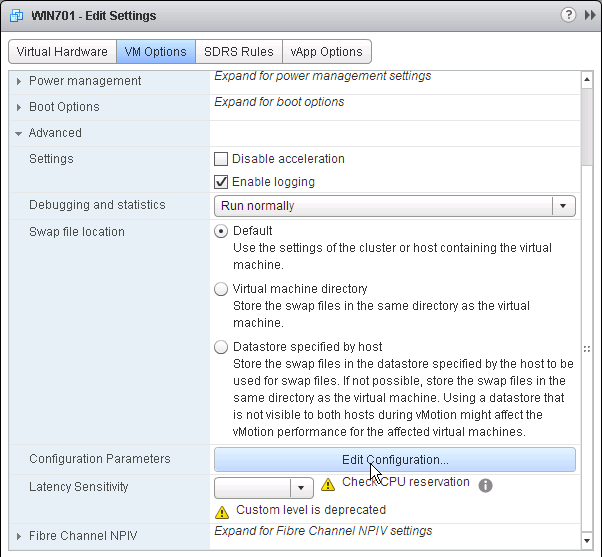
- On the VM Options tab, expand Advanced and then click Edit Configuration.
- Click Add Row.
- On the left, enter devices.hotplug. On the right, enter false.
- Then click OK a couple times to close the windows.
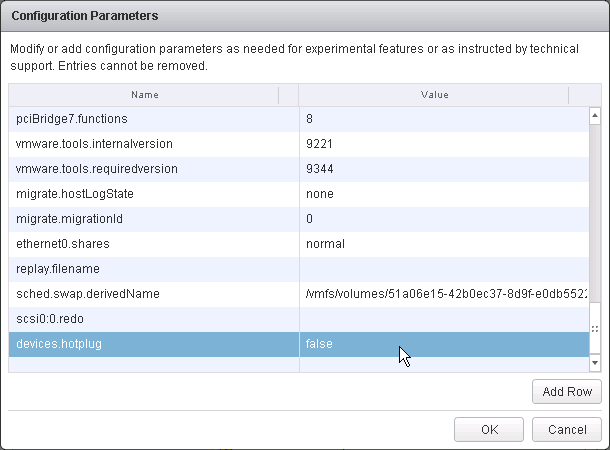
- The VM can then be powered on.
VMware Tools
VMware Tools includes the Shared Folders feature, which prevents roaming profiles from being deleted properly. When installing VMware Tools, make sure you deselect Shared Folders so it is not installed.
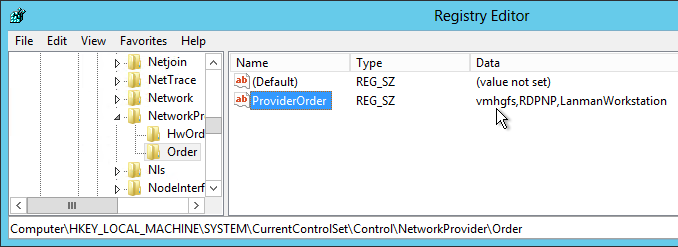
After installing VMware Tools, open Registry Editor and go to HKLM\SYSTEM\CurrentControlSet\Control\NetworkProvider\Order. Look in the ProviderOrder value on the right and ensure that vmhgfs is not listed. If it is, remove it.
Windows
Disable Internet Explorer Enhanced Security Config
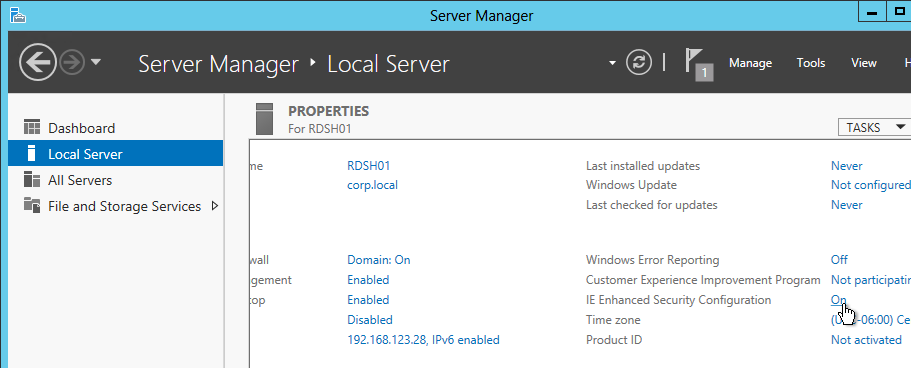
- In Server Manager, switch to the Local Server page.
- On the far right, click the link for On next to IE Enhanced Security Configuration.
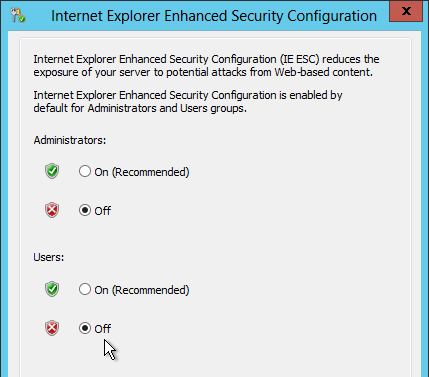
- Click Off for both Administrators and Users. Click OK.
User Account Control and SmartScreen
This section is optional.
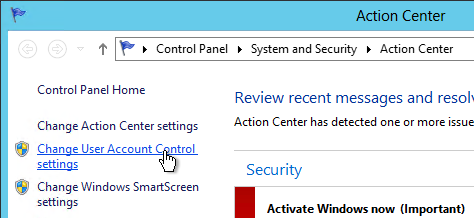
- Right-click the flag icon by the clock and click Open Action Center. Or launch it from the Start Menu.

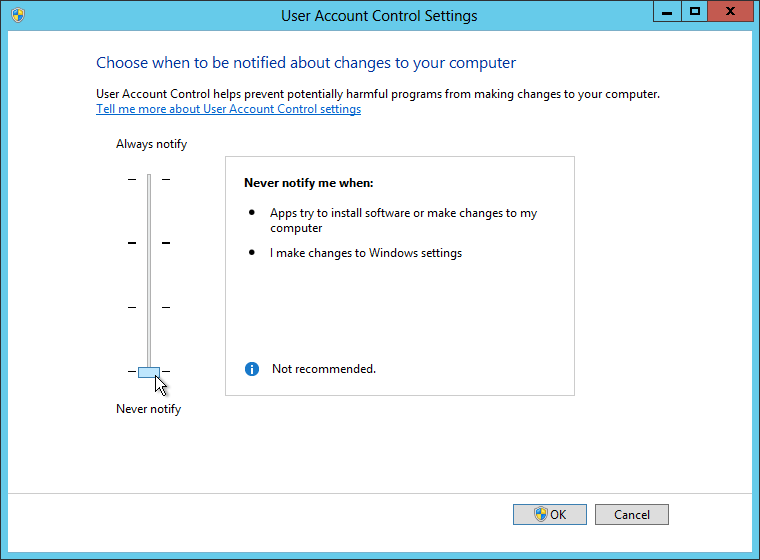
- On the left click Change User Account Control settings.
- To disable UAC, move the slider down to Never Notify and click OK. Or you can leave it enabled if your security standards require it.
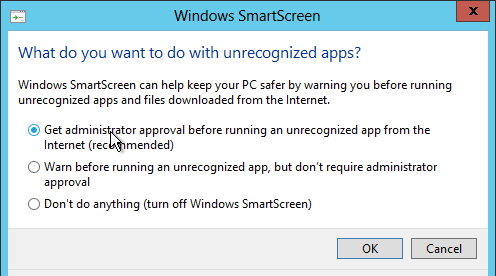
- Back in Action Center, on the left, click Change Windows SmartScreen settings.
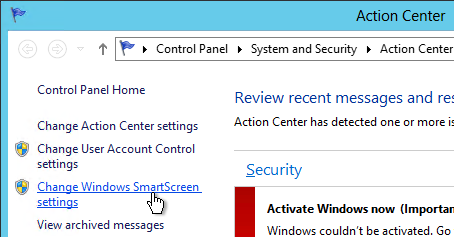
- Make your selection regarding SmartScreen and click OK.
Windows Update
Whenever you deploy a virtual machine from a template and SysPrep is executed during the cloning process, all Windows Update settings are reset. You must reconfigure Windows Update on every new virtual machine (or use group policy).
- In Server Manager, click Local Server on the left. Then on the right click the link for Last checked for updates.
- On the left, click Change settings.
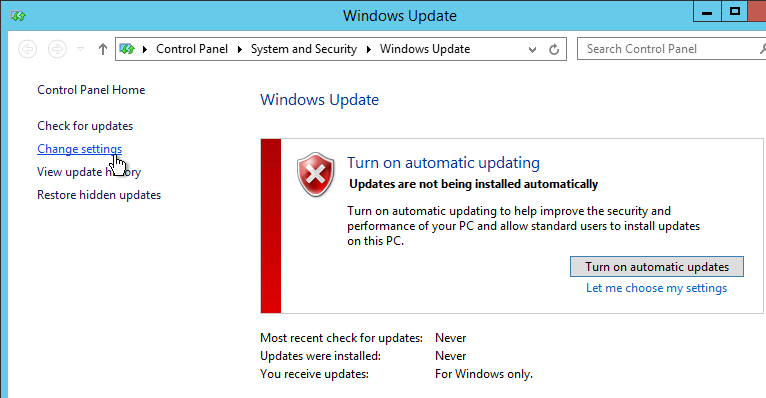
- Check the box next to Give me updates for other Microsoft products when I update Windows and click OK.
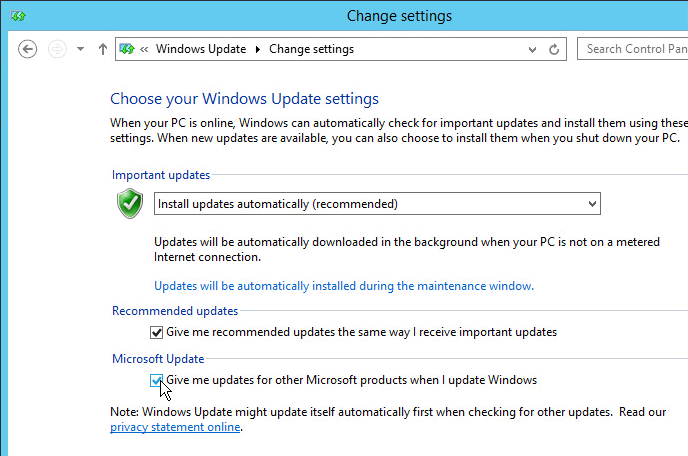
- Windows Update will automatically start checking for updates.
- Install any updates it recommends.
Windows Server 2008 R2 Hotfixes
If this is a Windows Server 2008 R2 session host, at a minimum, request and install the Windows hotfixes listed at Citrix CTX129229 Recommended Hotfixes for XenApp 6.x on Windows Server 2008 R2. Scroll down to the Microsoft Hotfixes section.
Microsoft 2483177 You cannot play back an H.264 video file or an AAC audio file on a computer that is running Windows Server 2008 R2 with the Desktop Experience feature enabled. From the hotfix description: the Desktop Experience feature in Windows Server 2008 R2 does not include decoders for the H.264 and AAC formats.
The following file is available for download from the Microsoft Download Center:
Download the Desktop Experience Decoder Update for Windows Server 2008 R2 package now.
File Sharing
By default on Windows 2012, if Windows Firewall is enabled, then all file shares are blocked. You can’t even connect to C$ from a different machine. To facilitate remote management, consider enabling file sharing.
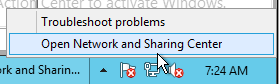
- To enable sharing, by the clock, right-click the network icon and click Open Network and Sharing Center.
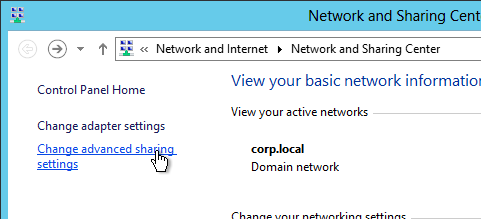
- On the left, click Change advanced sharing settings.
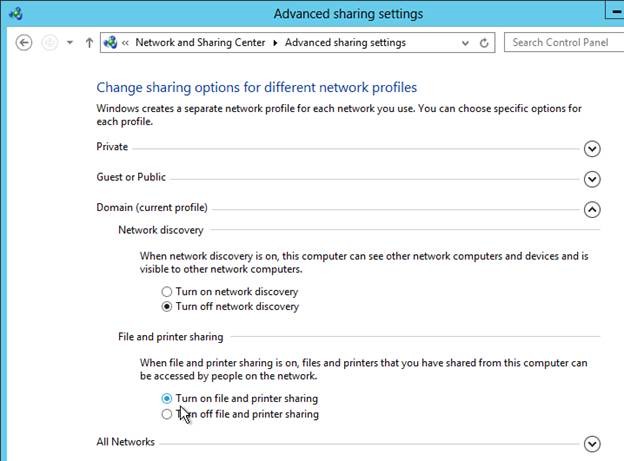
- Select Turn on file and printer sharing.
- Select Tun on network discovery.
Windows Firewall – Remote Management
By default, Windows Server 2012 blocks remote management tools. For example, you can’t use Event Viewer on server 1 to access the event logs on server 2.
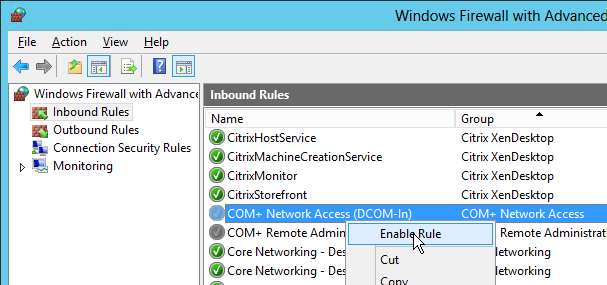
- Run Windows Firewall with Advanced Security.
- On the left, click Inbound Rules.
- On the right, right-click COM+ Network Access (DCOM-In) and click Enable Rule.
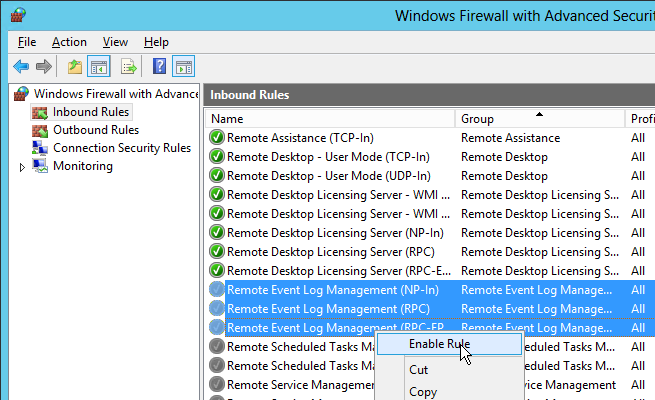
- Highlight all three Remove Event Log rules, right-click, and click Enable Rule.
Local Administrators Group
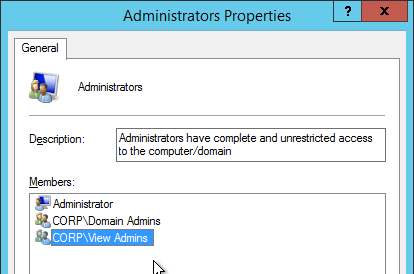
If the Horizon Administrators and members of the Domain Admins group are the same people, then there is nothing to change. Otherwise, add your Horizon Admins group to the local Administrators group.
- In Server Manager, open the Tools menu and click Computer Management. Or launch it by right-clicking the Start Button.
- Add the Horizon Admins group to the local Administrators group.
Remote Desktop Session Host
Role and Features – Windows Server 2012
If this session host is Windows Server 2008 R2 then skip to the next section.
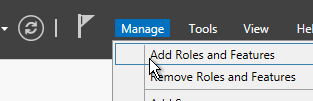
- In Server Manager, open the Manage menu and click Add Roles and Features.
- Click Next until you get to the Server Roles page.
- Check the box next to Remote Desktop Services and click Next.

- Check the box next to Group Policy Management and scroll down.
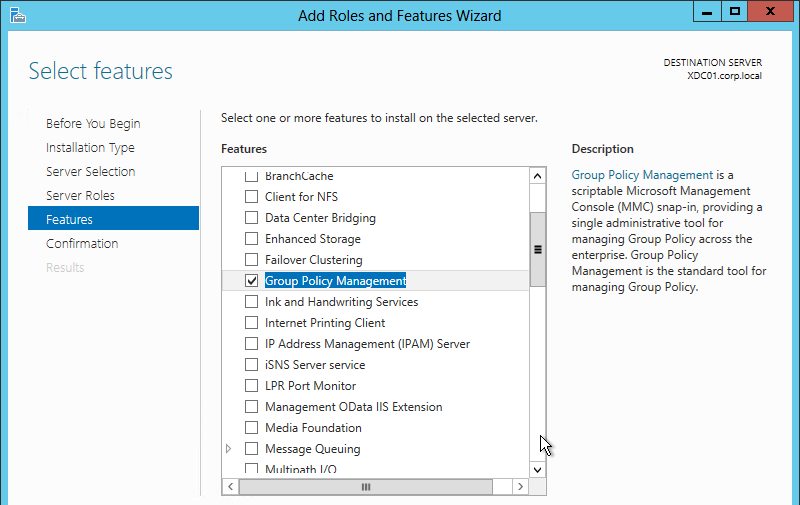
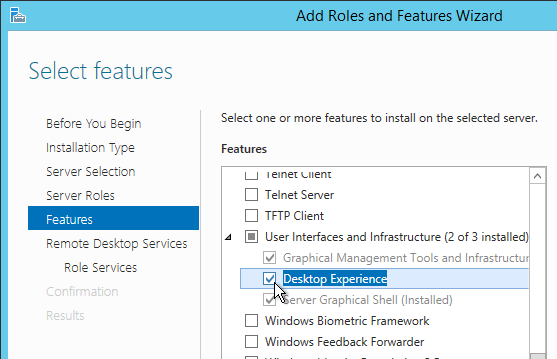
- Expand User Interfaces and Infrastructure and check the box next to Desktop Experience. This adds a bunch of features like Themes, Windows Media Player, Flash, etc.
- Check the box next to Telnet Client and scroll up.
- Expand Remote Server Administration Tools > Role Administration Tools > AD Delivery Services and AD LDS Tools > AD DS Tools. Check the box next to Active Directory Administrative Center.
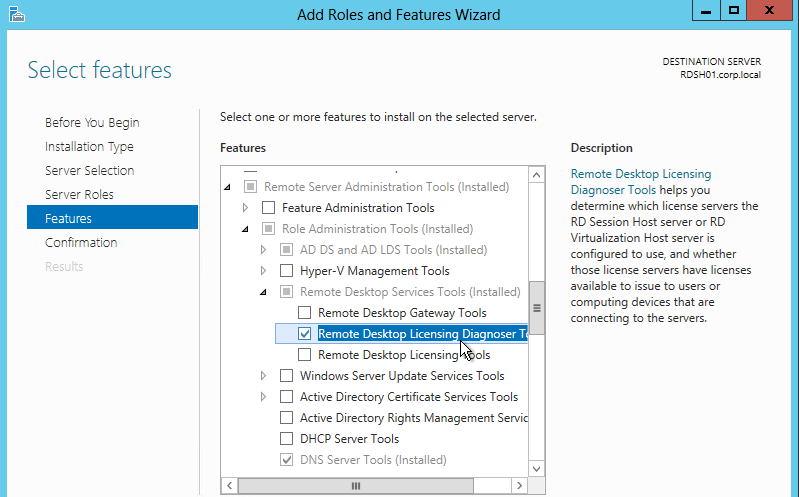
- To verify Remote Desktop Services licensing, expand Remote Desktop Services Tools and check the box next to Remote Desktop Licensing Diagnoser Tool. Click Next when done.
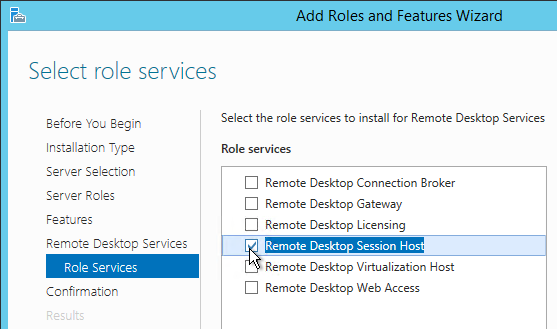
- In the Select role services page, check the box next to Remote Desktop Session Host and click Next.
- If desired, click the Restart box, then click Install. Restart is required.
Windows Roles – Windows Server 2008 R2
If this session host is running Windows 2008 R2 then the instructions are slightly different.
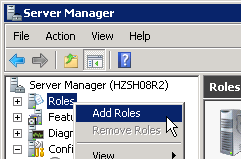
- In Server Manager, right-click Roles and click Add Roles.
- In the Before You Begin page, click Next.
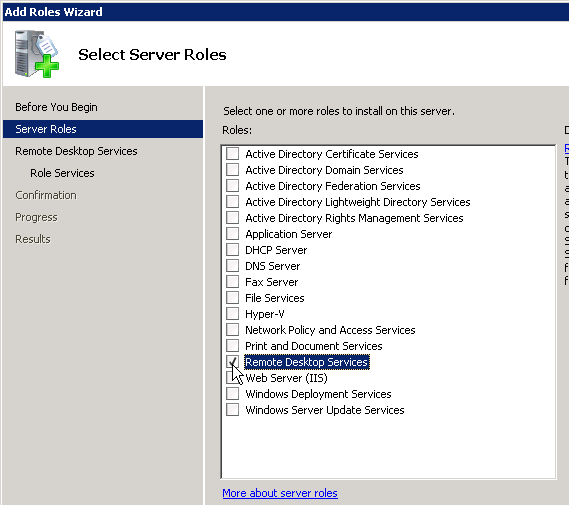
- In the Select Server Roles page, check the box next to Remote Desktop Services and click Next.
- In the Introduction to Remote Desktop Services page, click Next.
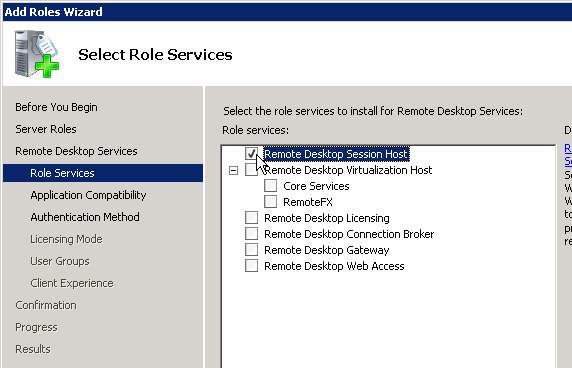
- In the Select Role Services page, check the box next to Remote Desktop Session Host and click Next.
- In the Uninstall and Reinstall Applications for Compatibility page, click Next.
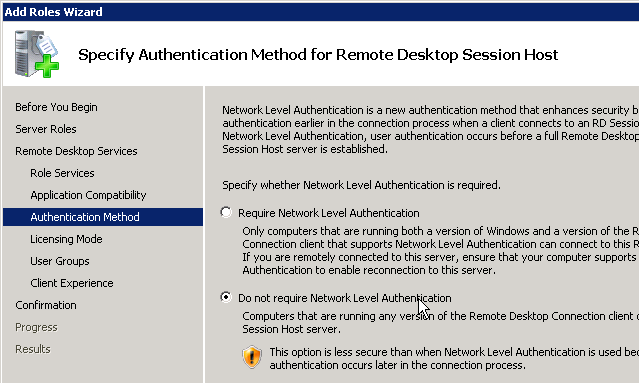
- In the Specify Authentication Method for Remote Desktop Session Host page, select Do not require Network Level Authentication and click Next.
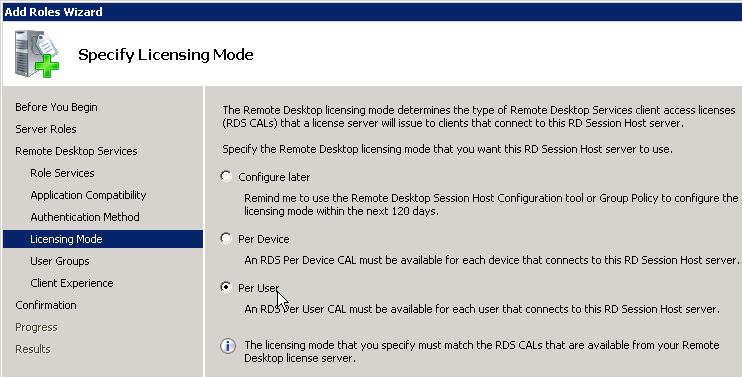
- In the Specify Licensing Mode page, select Per User and click Next.
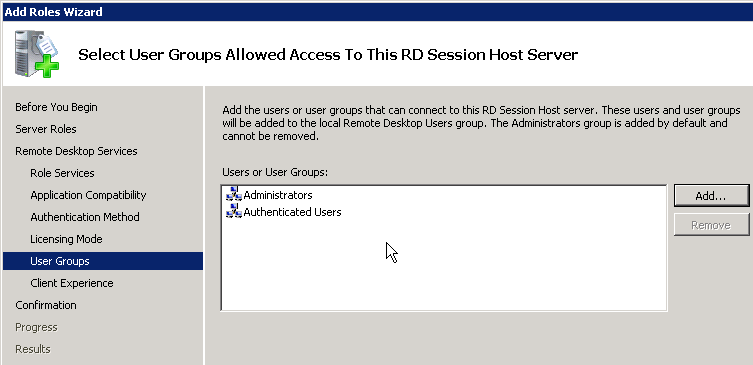
- In the Select User Groups Allowed Access to this RD Session Host Server page, click Add. Browse for Authenticated Users (on the local machine) and click Next.
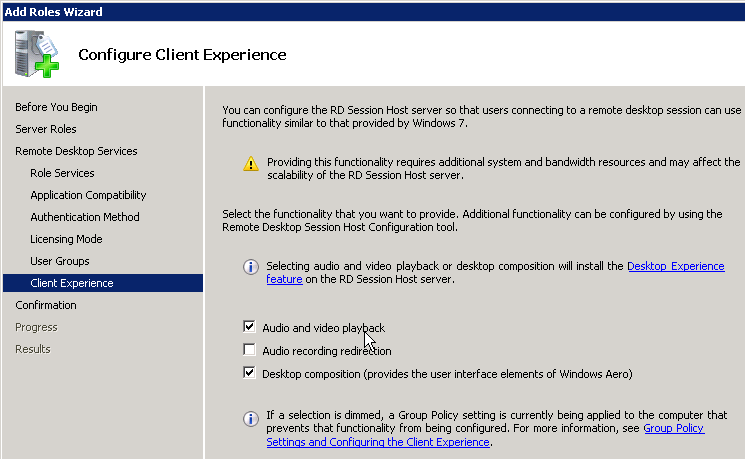
- In the Configure Client Experience page, check the boxes for Audio and video playback and Desktop composition. This causes Desktop Experience to be installed. Click Next.
- In the Confirm Installation Selections page, click Install.
- In the Installation Results page, click Close.
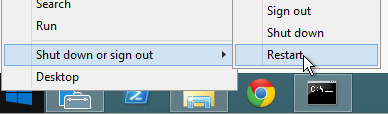
- Click Yes when you are prompted to restart now.
- Login to the server. Then click Close.
Remote Desktop Licensing Configuration
The only way to configure Remote Desktop Licensing in Windows Server 2012 is using group policy (local or domain). This also works for Windows Server 2008 R2.
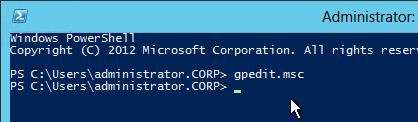
- For local group policy, run gpedit.msc.
- Go to Computer Configuration > Administrative Templates > Windows Components > Remote Desktop Services > Remote Desktop Session Host > Licensing.
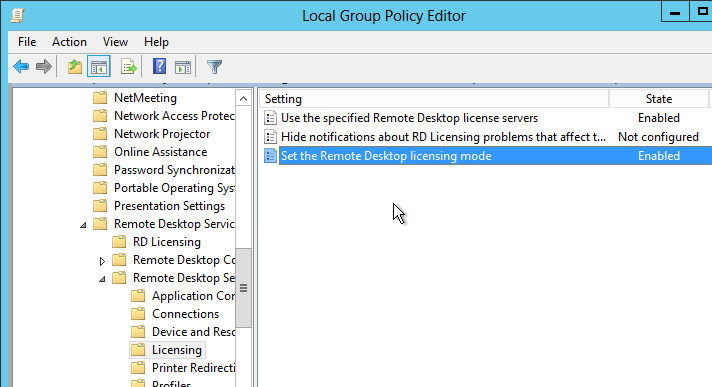
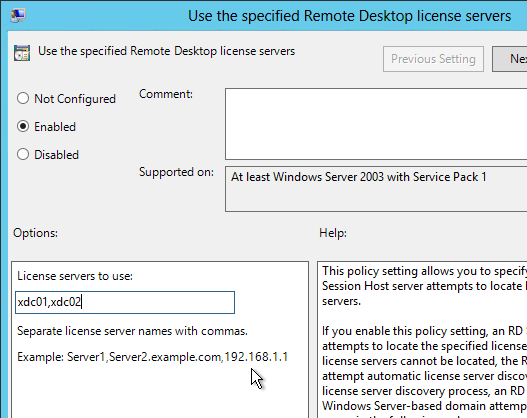
- Double-click Use the specified Remote Desktop license servers. Change it to Enabled and enter the names of the RD Licensing Servers. Click OK.
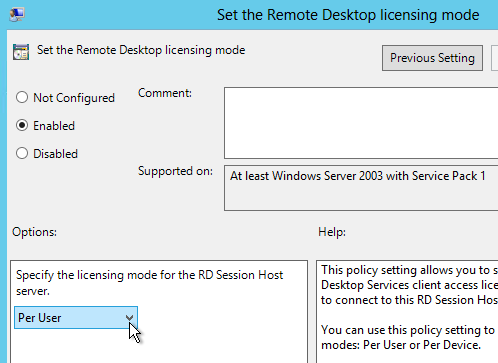
- Double-click Set the Remote Desktop licensing mode. Change it to Enabled and select Per User. Click OK.
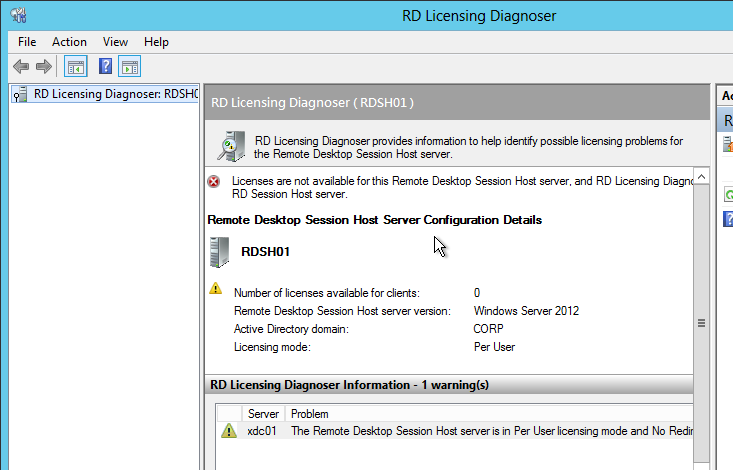
- In Server Manager, open the Tools menu, expand Terminal Services and click RD Licensing Diagnoser.
- The Diagnoser should find the license server and indicate the licensing mode. It’s OK if there are no licenses installed on the Remote Desktop License Server.
C: Drive Permissions
The default permissions allow users to store files on the C: drive in places other than their profile.
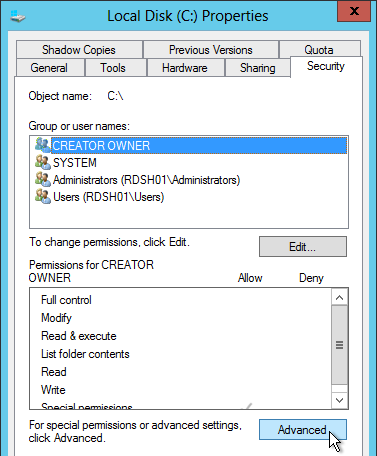
- Open the Properties dialog box for C:\.
- On the Security tab, click Advanced.
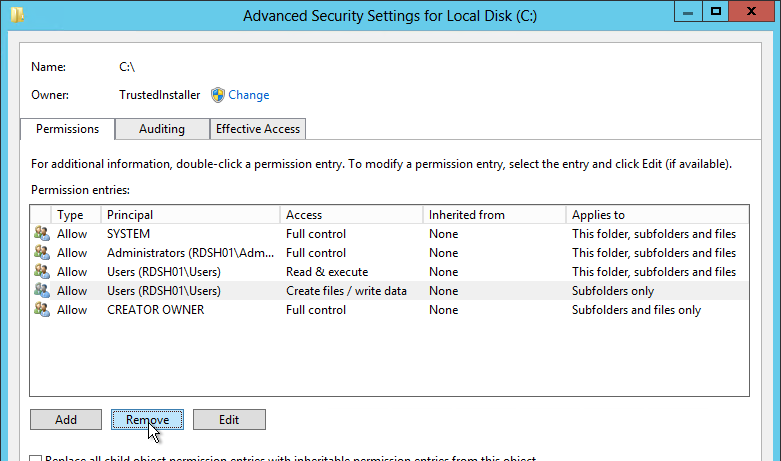
- Highlight the line containing Users and Create Folders and click Remove.
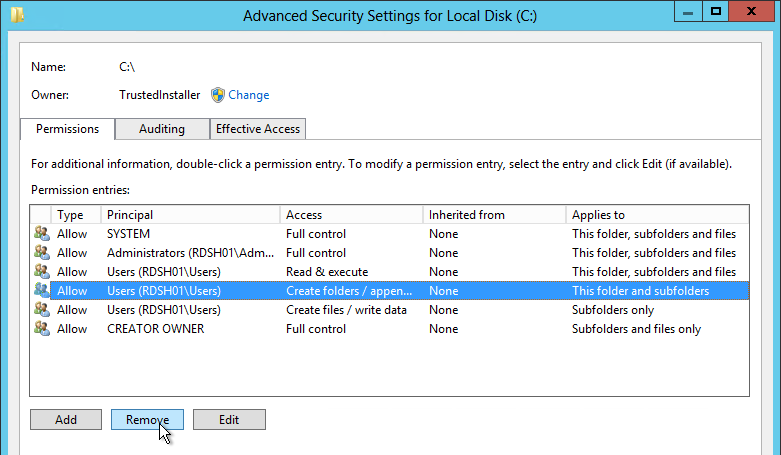
- Highlight the line containing Users and Special and click Remove. Click OK
- Click Yes to confirm the permissions change.
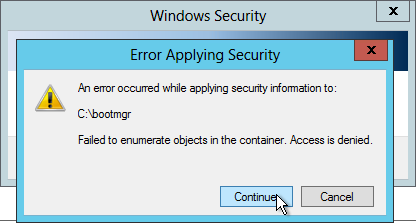
- If you see any of these Error Applying Security windows, click Continue.
- Click OK to close the C: drive properties.
Installs
VMware Horizon 6 Agent 6.2.2
View Agent for RDS Hosted Apps Desktops is missing a few features:
- No Generic USB Redirection. USB Flash Drives and hard drives are supported.
- No Real-Time Audio Video
- No serial port redirection
- No Persona. Instead use VMware User Environment Manager (Horizon Enterprise) or Microsoft’s roaming profiles
To install View Agent on Remote Desktop Services, do the following:
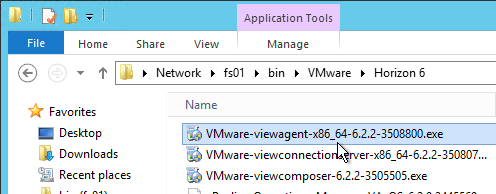
- Go to the downloaded Horizon 6 Agent x64 6.2.2 and run VMware-viewagent-x86_64-6.2.2.exe.
- In the Welcome to the Installation Wizard for VMware Horizon 6 Agent page, click Next.
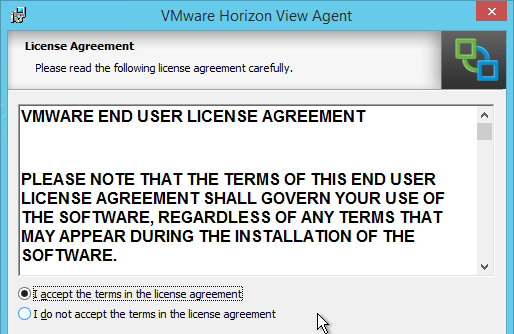
- In the License Agreement page, select I accept the terms and click Next.
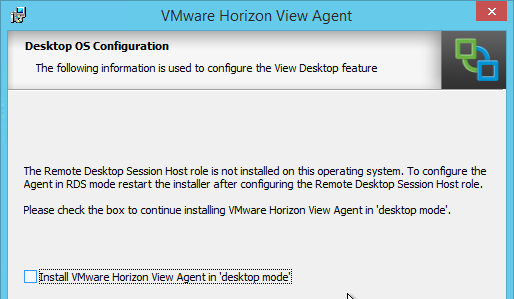
- If you see a message about Desktop OS Configuration then you need to cancel the installer and install the Remote Desktop Session Host role.
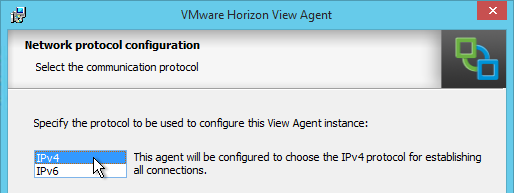
- In the Network protocol configuration page, select IPv4 and click Next.
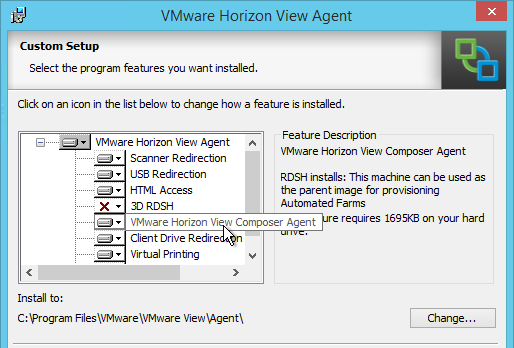
- In the Custom Setup page, enable Scanner Redirection if desired. Same for USB Redirection.
- Client Drive Redirection is a new feature in Horizon 6 Agent 6.1. The description indicates that the file transfers are not encrypted.
- VMware Horizon View Composer Agent is a new feature of Horizon 6 Agent 6.2. If you are building a pool of Remote Desktop Session Hosts then install this feature. Note: if you are not building linked clones then don’t select this option or else you won’t be able to select the machine in a Manual RDS Farm in View Administrator.
- Click Next when done making selections.
- Click OK to acknowledge the USB redirection message.
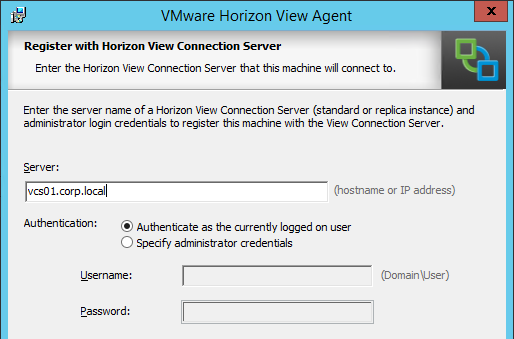
- If you see the Register with Horizon 6 Connection Server page, enter the name of a Horizon 6 Connection Server and click Next. You only see this page if not installing the View Composer Agent.
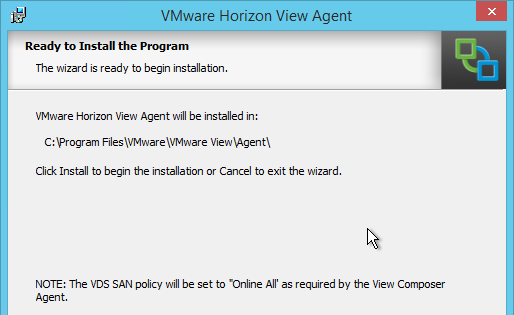
- In the Ready to Install the Program page, click Install.
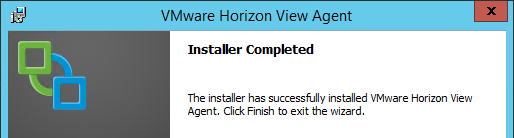
- In the Installer Completed page, click Finish.
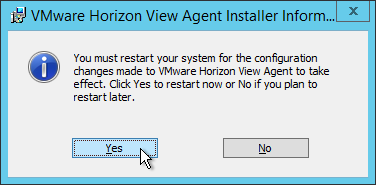
- Click Yes to restart the server.
User Environment Manager Engine
If you are licensed for User Environment Manager (Horizon Enterprise Edition), install the User Environment Manager Engine.
- Make sure Prevent access to registry editing tools is not enabled in any GPO. This setting prevents the FlexEngine from operating properly.
- In Server Manager, open the Manage menu and click Add Roles and Features.
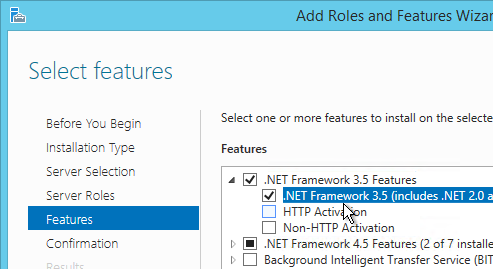
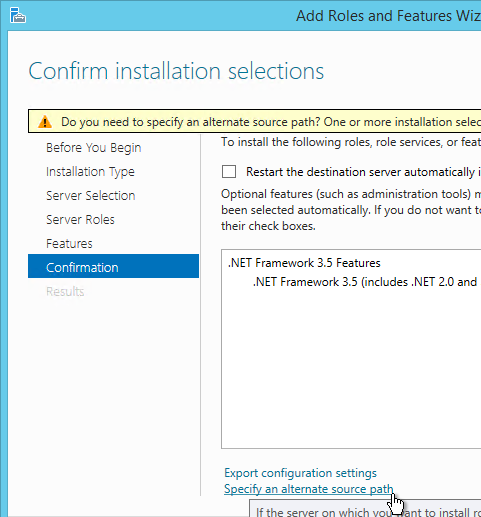
- In the Features page, select .NET Framework 3.5 and click Next.
- In the Confirmation page, click Specify an alternate source path.
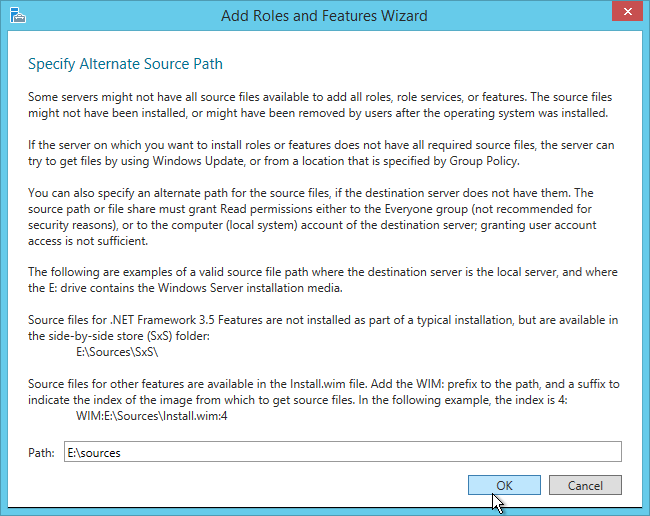
- Mount or extract the Windows Server 2012 R2 ISO.
- Enter the path to the sources folder on the Windows Server 2012 R2 ISO and click OK. Then click Install.
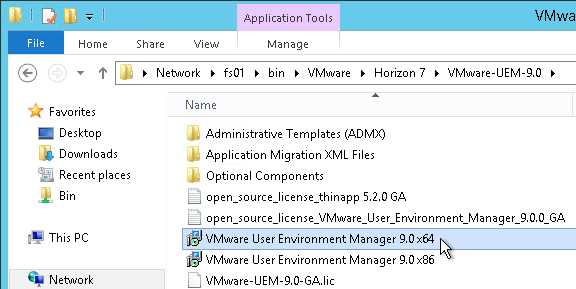
- Go to the extracted User Environment Manager 9.0 files and run VMware User Environment Manager 9.0 x64.msi.
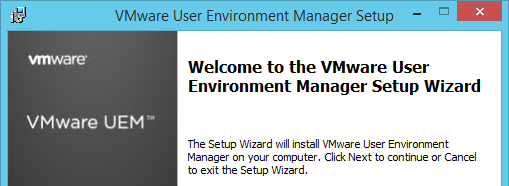
- In the Welcome to the VMware User Environment Manager Setup Wizard page, click Next.
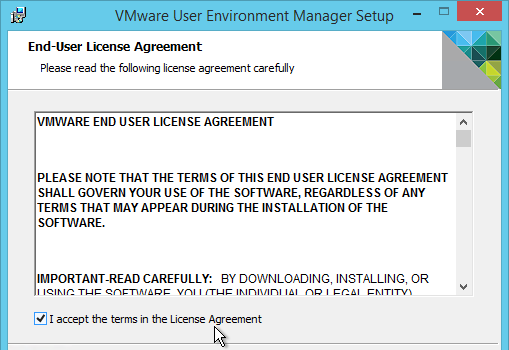
- In the End-User License Agreement page, check the box next to I accept the terms and click Next.
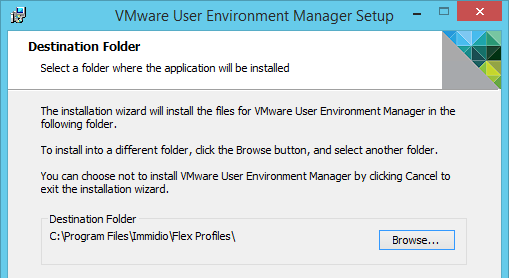
- In the Destination Folder page, click Next.
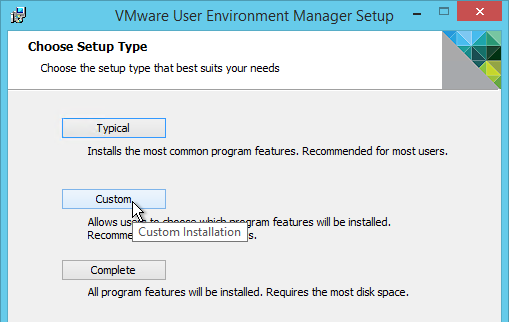
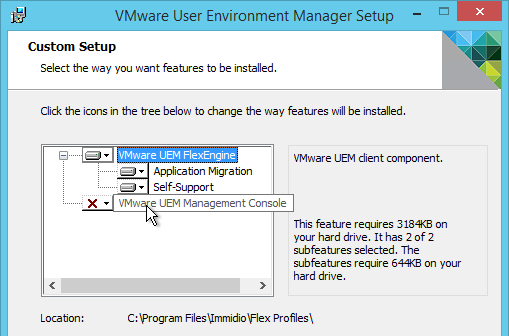
- The Choose Setup Type page appears. By default, the installer only installs the engine. You can click Custom or Complete to also install the console.
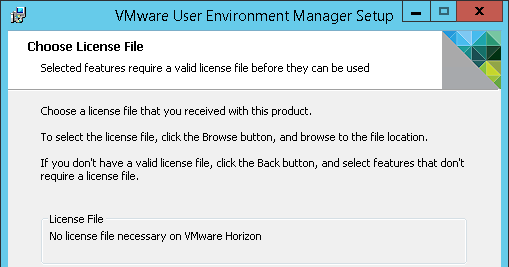
- In the Choose License File page, if installing on a View Agent then no license file is needed. Click Next.
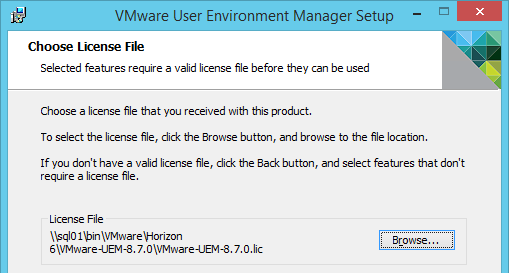
- Otherwise, Browse to the license file and then click Next.
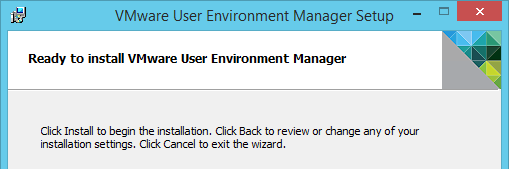
- In the Ready to install VMware User Environment Manager page, click Install.
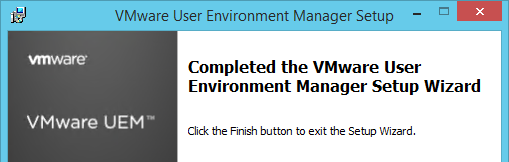
- In the Completed the VMware User Environment Manager Setup Wizard page, click Finish.
Horizon Agent Load Balancing Script
If you have multiple identical Remote Desktop Services Hosts in a single RDS Farm, by default, VMware Horizon uses a least connections Load Balancing algorithm. You can change this to performance-based Load Balancing by configuring scripts on each RDS Host. See Configuring Load Balancing for RDS Hosts at pubs.vmware.com.
There are only three levels of load: HIGH, MED, and LOW. Within a load level, Horizon selects an RDS server at random.
Do the following to configure the Load Balancing script:
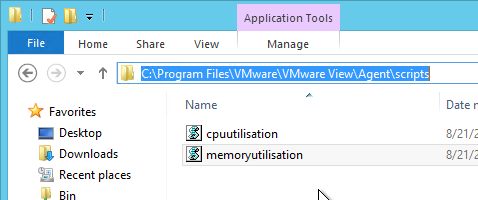
- The script must be placed at C:\Program Files\VMware\VMware View\Agent\scripts on every RDS Host. VMware provided a couple sample scripts that you can use. One script only looks at CPU and the other script only looks at Memory. If you write your own script, make sure it exists in this folder on every RDS Host in the RDS Farm.
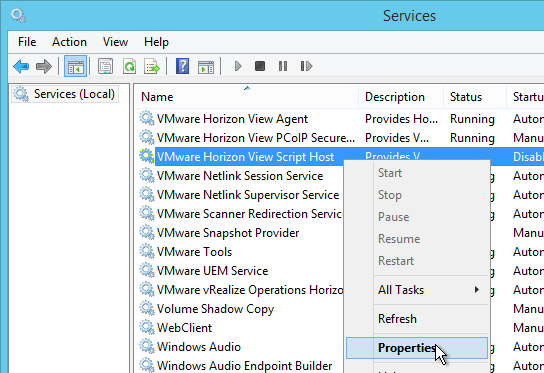
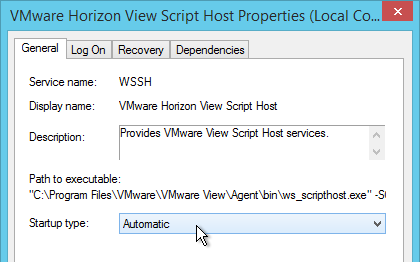
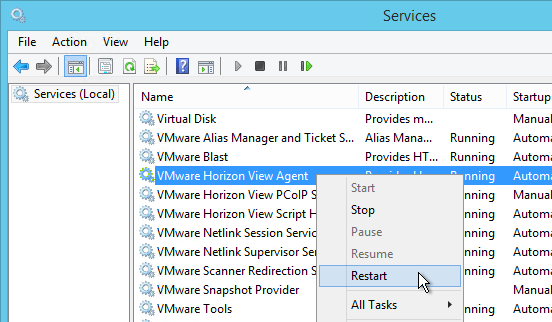
- Open Services and configure the VMware Horizon View Script Host service to run automatically.
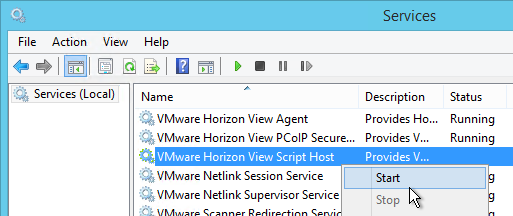
- Then start the service.
- In regedit, go to HKLM\Software\VMware, Inc.\VMware VDM\ScriptEvents\RdshLoad.
- Create a new String Value. It doesn’t matter what you name it but the script name is recommended.
- Modify the String Value and enter cscript.exe “PathToScript”. For example:
cscript.exe "C:\Program Files\VMware\VMware View\Agent\scripts\cpuutilisation.vbs"
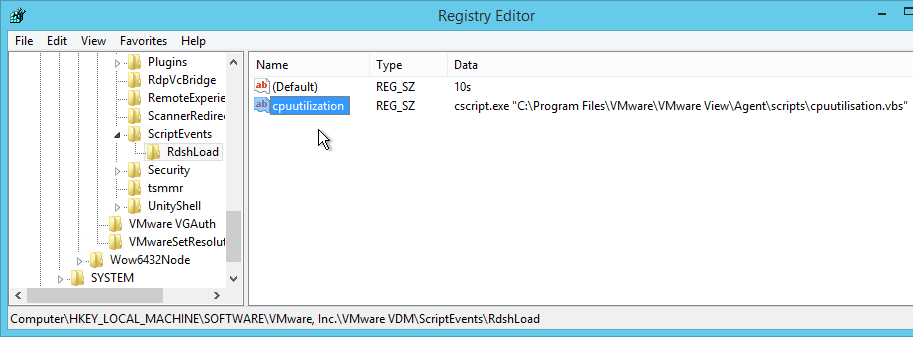
- After setting the registry value, restart the VMware Horizon View Agent service.
- After you later add this RDS Host to a farm, in View Administrator, click the Dashboard view.
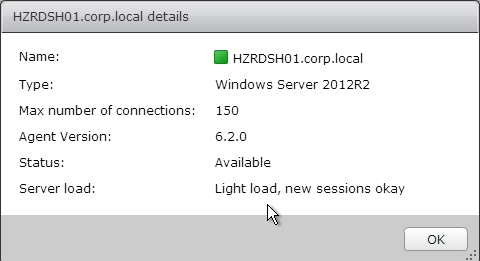
- Expand RDS Farms, expand the farm and click the RDS Host.
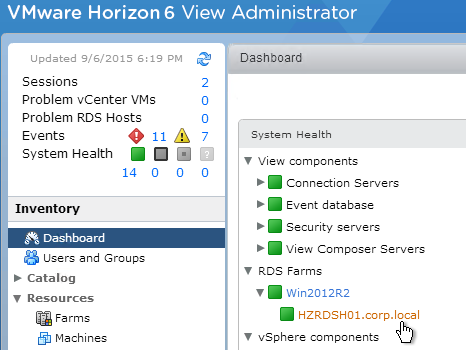
- Make sure the Server load is reported.
Antivirus
Install antivirus using your normal procedure. Instructions vary for each Antivirus product.
Microsoft’s virus scanning recommendations (e.g. exclude group policy files) – http://support.microsoft.com/kb/822158.
Symantec
Symantec has a document at http://www.symantec.com/business/support/index?page=content&id=TECH91070 detailing best practices when deploying Symantec Endpoint Protection to session hosts.
Best practices for virtualization with Symantec Endpoint Protection 12.1, 12.1 RU1, and 12.1 RU1 MP1 – http://www.symantec.com/docs/TECH173650
Install Applications
Install applications that will be executed on these machines.
VMware OS Optimization Tool
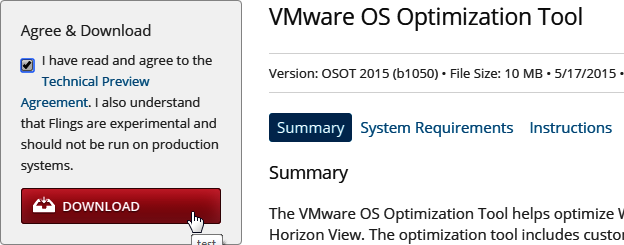
- Download the VMware OS Optimization Tool VMware fling.
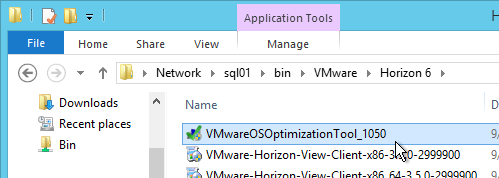
- Run the downloaded VMwareOSOptimizationTool_1050.msi.
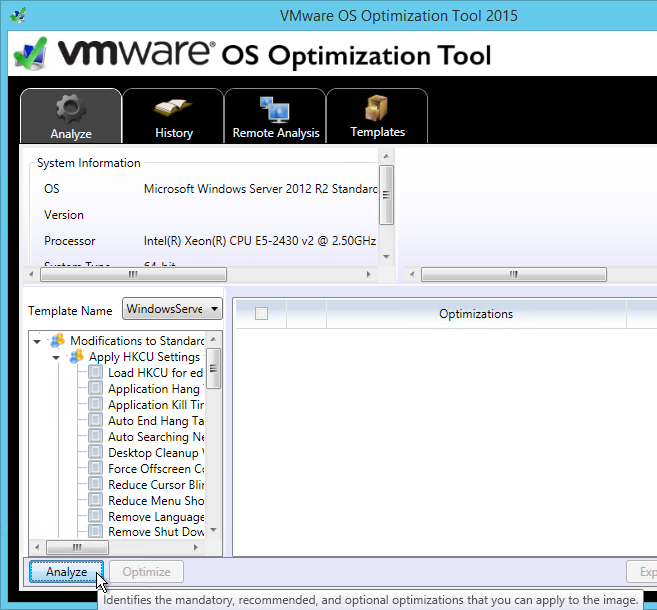
- On the Analyze tab, on the bottom left, click Analyze.
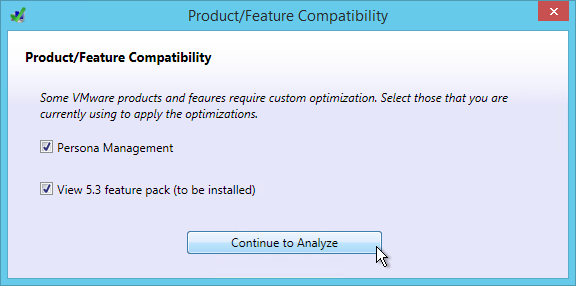
- Check both boxes and click Continue to Analyze.
- Review the optimizations and make changes as desired. Then on the bottom left click Optimize.

- Click the FAILED links for more information.
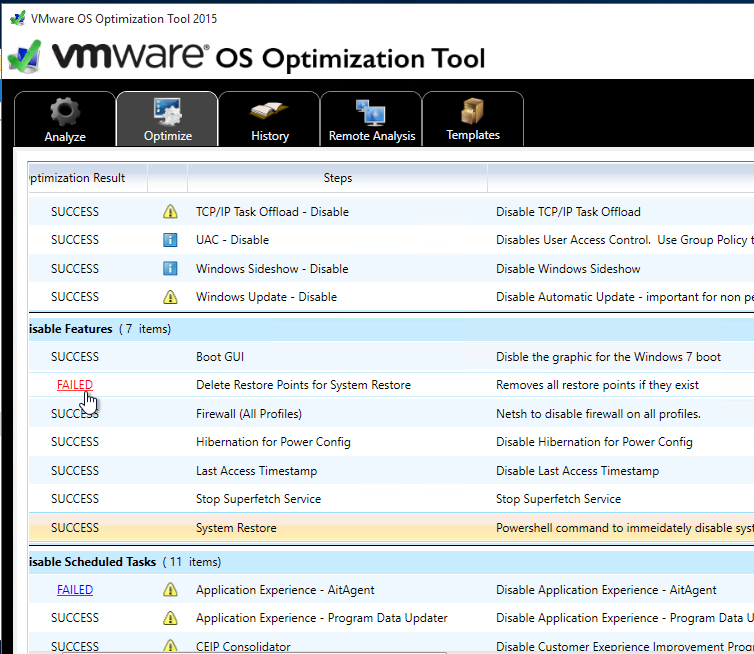
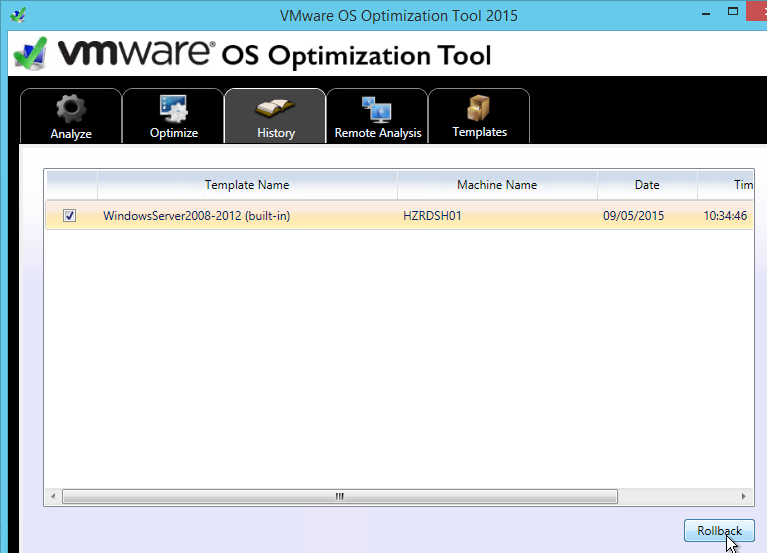
- The History tab lets you rollback the optimizations.
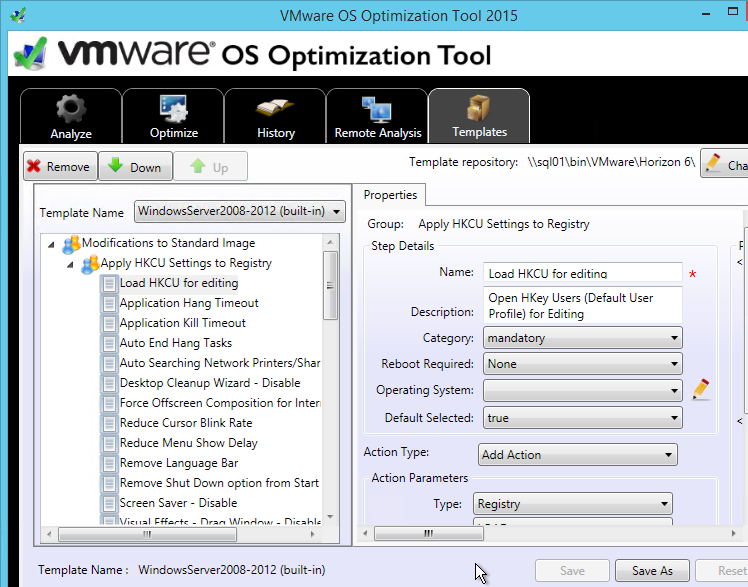
- The Templates tab lets you edit the optimizations. You can create your own template or edit an existing template.
Citrix has published a document with several registry modifications that are supposed to improve server performance. You can access it at http://support.citrix.com/article/CTX131577.
Another list of optimizations can be found at http://www.citrixtools.net/Resources/Articles/articleType/ArticleView/articleId/5610/Windows-2008-R2-Remote-Desktop-and-XenApp-6-Tuning-Tips-Update.aspx.
Seal and Snapshot
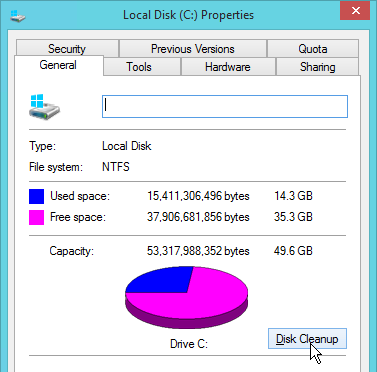
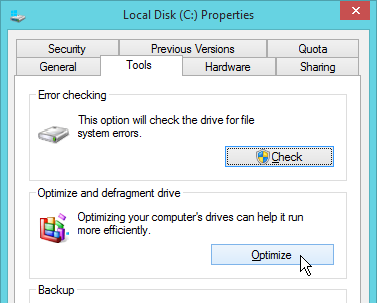
- Go to the properties of the C: drive and run Disk Cleanup.
- On the Tools tab, click Optimize to defrag the drive.
- Run slmgr.vbs /dlv and make sure it is licensed with KMS and has at least one rearm remaining.
- Run Delprof2 to clean up local profiles. Get it from http://helgeklein.com/download/.
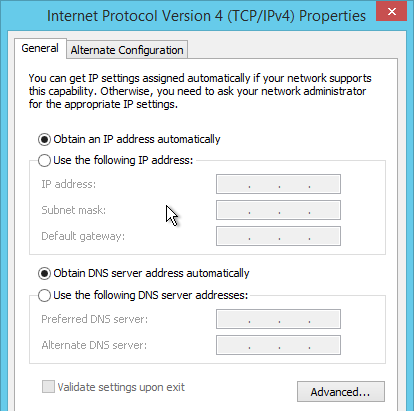
- Make sure the master session host is configured for DHCP.
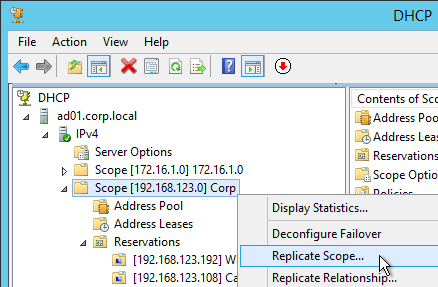
- Session hosts commonly have DHCP reservations.

- Run antivirus sealing tasks:
- Symantec: Run a full scan and then run the Virtual Image Exception tool – http://www.symantec.com/business/support/index?page=content&id=TECH173650
- Symantec: run the ClientSideClonePrepTool –http://www.symantec.com/business/support/index?page=content&id=HOWTO54706
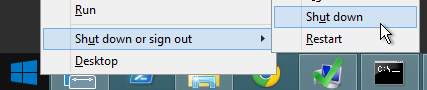
- Shutdown the master session host.
- Edit the Settings of the master virtual machine and disconnect the CD-ROM. Make sure no ISO is configured in the virtual machine.
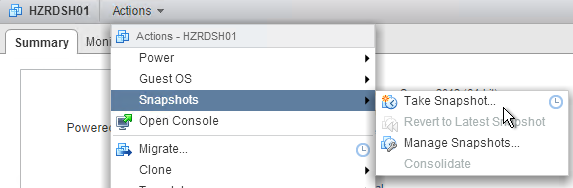
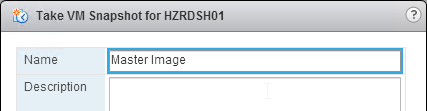
- Take a snapshot of the master session host. View Composer requires a snapshot.
- Use can now use Horizon View Administrator to create RDS Farms.
Full Clone Post-Cloning Tasks
If you used vCenter to clone the machine instead of using Horizon 6 Composer, then after the machine is cloned, do the following on the cloned machine:
- Static IP – Configure a static IP address (or DHCP reservation).
- Windows Update – Run Windows Update. SysPrep always disables Windows Update so you must run it at least once to re-enable it.
- Join domain – Join the machine to the domain if SysPrep didn’t do it for you.
- Active Directory OU – Move the Active Directory computer object to the correct OU.
- Horizon 6 Agent – uninstall the Horizon 6 Agent and reinstall it so it registers with a Horizon 6 Connection Server.
- Antivirus – Re-configure antivirus. Instructions vary based for each product. Go to the antivirus vendor’s website and search for a cloning procedure.
- Firewall rules – Add the new machine to any firewall rules (PCoIP, Blast) between the Horizon 6 Security Server and Horizon 6 Agents.
- View Administrator – In View Administrator, add the new machine to a Remote Desktop Services farm.