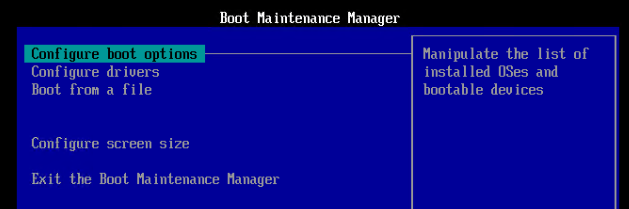
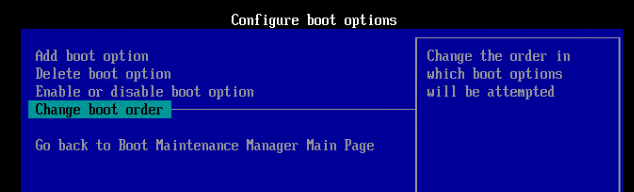
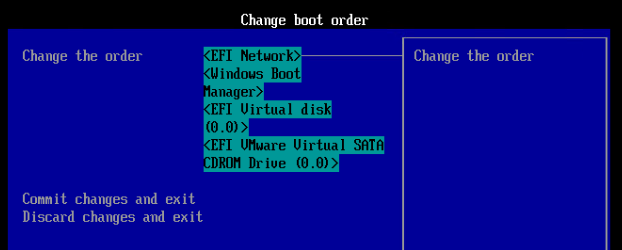
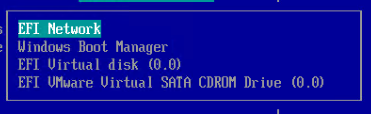
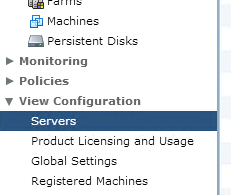
Navigation
This article applies to Session Recording 7.6 (including LTSR), 7.8, 7.11, 7.12, and 7.13. For 7.14 and newer, there’s a different article.
- Planning
- Server Installs:
- Session Recording Server Configuration
- Session Recording Agent
- Session Recording Player
- Director Integration
💡 = Recently Updated
Planning
George Kuruvilla – An Introduction To Session Recording (XA/XD 7.6 Feature Pack 1) – Installation, Configuration and User Experience
Citrix links:
- Citrix Docs – Session Recording
- Citrix CTX200868 – Configuring Security Features of Session Recording
- Citrix CTX200869 – Building a Highly Scalable Session Recording System
XenApp/XenDesktop Platinum Edition licensing is required.
Remote Desktop Session Host VDAs added in Session Recording 7.6. Virtual desktops added in Session Recording 7.8.
There is no relation between Session Recording and XenApp/XenDesktop farms. You can have Agents from multiple XenApp/XenDesktop farms recording to a common Session Recording server. Or you can split a XenApp/XenDesktop farm so that different Agents point to different Session Recording servers. An Agent can only point to one Session Recording server (Load Balancing is not supported).
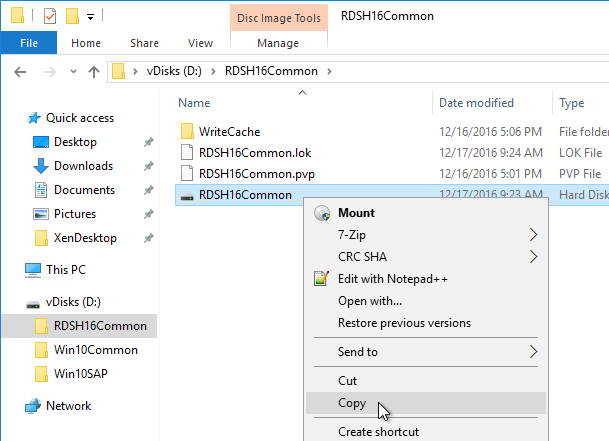
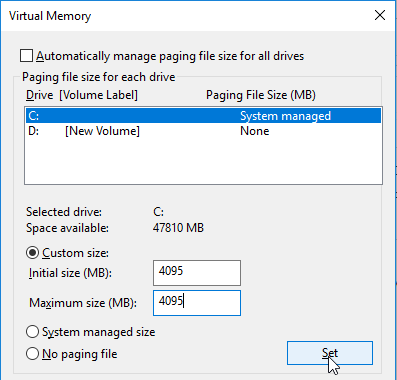
The Session Recording server will need a hard drive to store the recordings. Disk access is primarily writes.
Offloaded content (e.g. HDX Flash, Lync webcam, MMR) is not recorded.
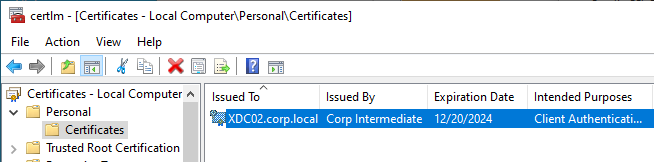
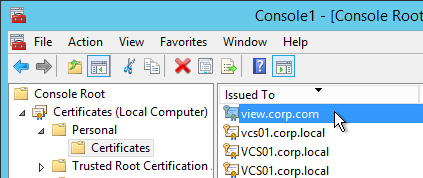
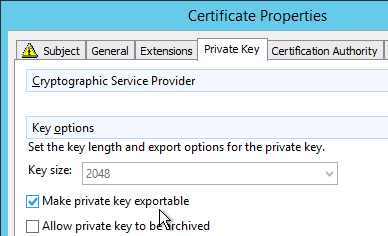
Session Recording server needs a certificate. The certificate must be trusted by Agents and Players. Internal Certificate Authority recommended.
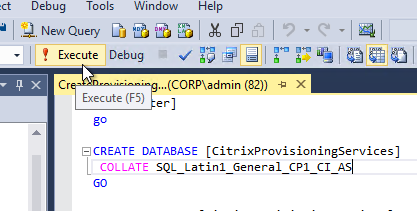
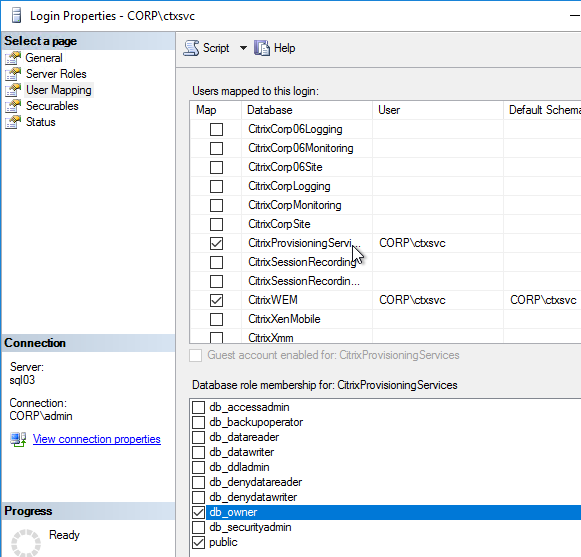
SQL:
- Supported Versions = SQL 2008 R2 Service Pack 3 through SQL 2016.
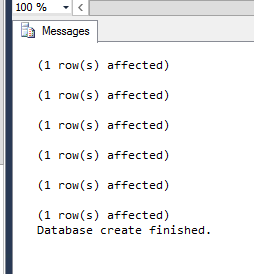
- The SQL database is very small.
- The database name is CitrixSessionRecording. Can be changed in only 7.13 and newer.
- Temporary sysadmin permissions are needed to create the database and sysadmin can be revoked after installation.
- SQL Browser Service must be running.
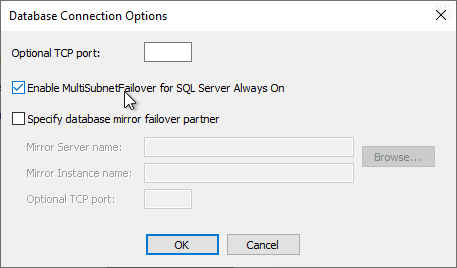
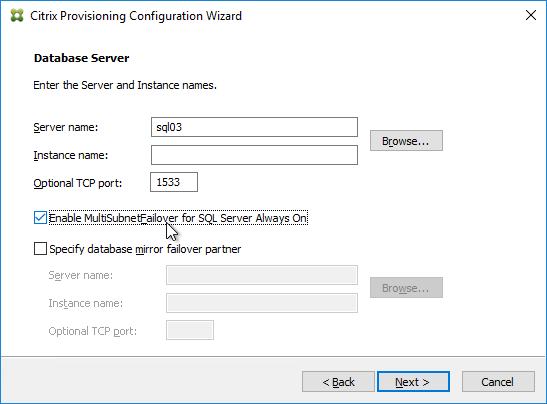
- As of Session Recording 7.13, SQL Server High Availability (AlwaysOn Availability Groups, Clustering, Mirroring) is supported. See Install Session Recording with database high availability at Citrix Docs. And see Citrix Blog Post Session Recording 7.13 – New HA and Database Options
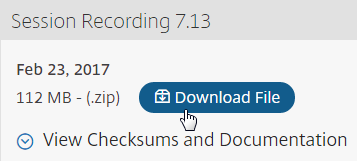
Download Session Recording 7.13 from XenApp 7.13 / XenDesktop 7.13, Platinum Edition Components:
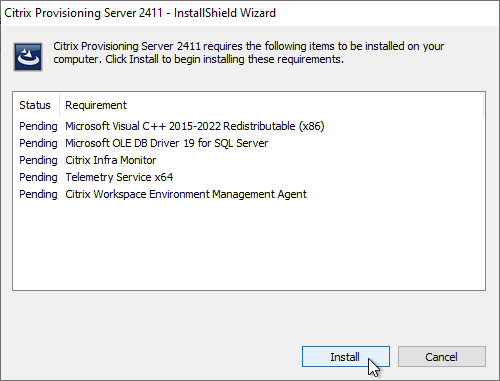
Session Recording Server Installs
IIS and Message Queuing
- If you are installing this on Windows Server 2008 R2 then see the prerequisites list at Citrix Docs.
- You also can use scripts to install Windows roles and features prerequisites that are required for Session Recording to work properly. See Scripts to add Windows roles and features prerequisites at Citrix Docs.
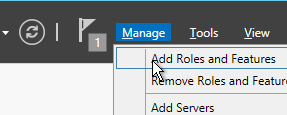
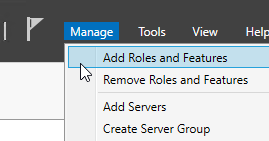
- In Server Manager, open the Manage menu, and click Add Roles and Features.
- Skip to the Server Roles page.
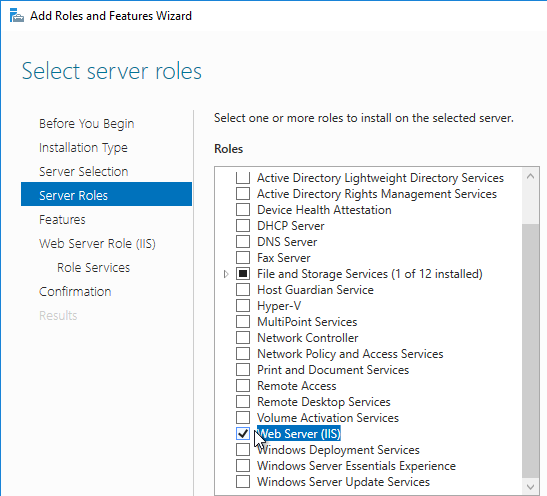
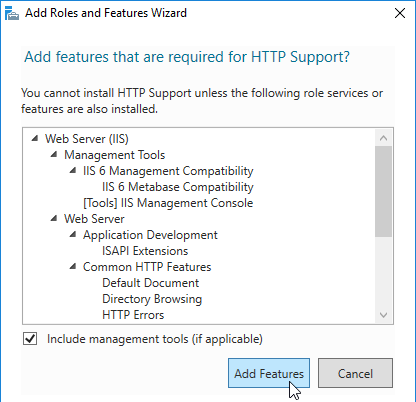
- In the Server Roles page, check the box next to Web Server (IIS), and click Next.
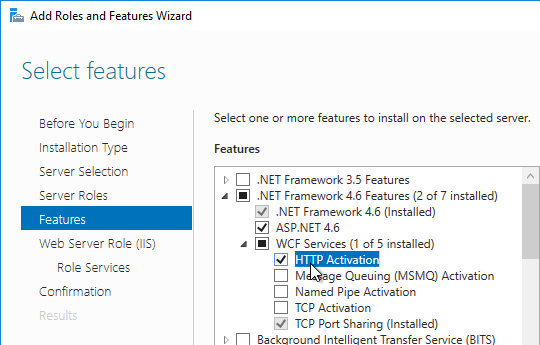
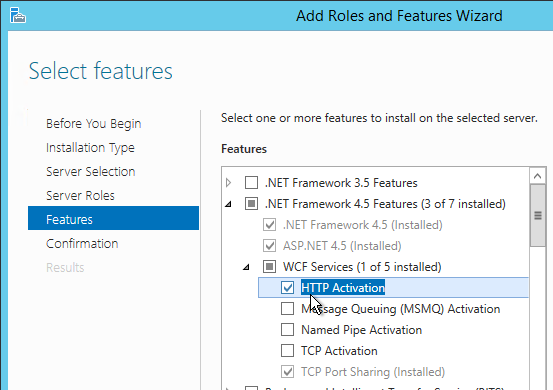
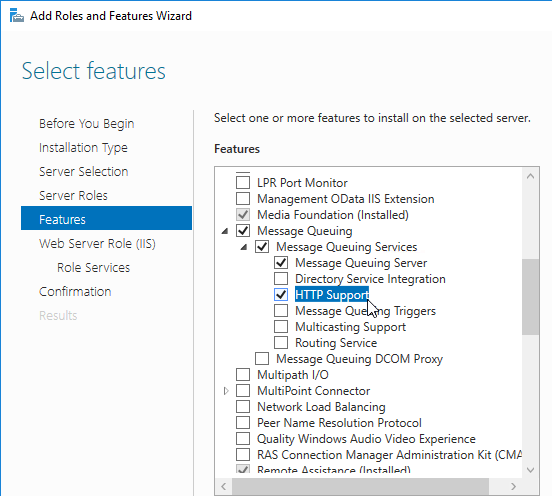
- In the Features page, expand .NET Framework 4.5 Features, expand WCF services, and select HTTP Activation.
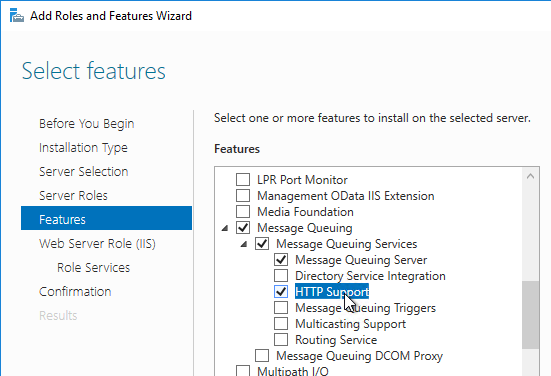
- Expand Message Queuing, and expand Message Queuing Services.
- Select Message Queuing Server and HTTP Support. Click Next.
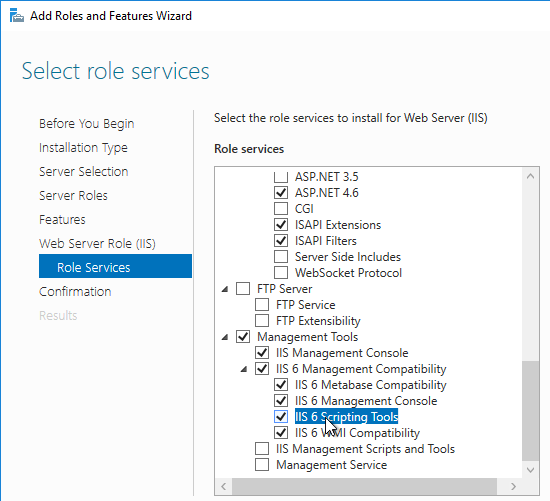
- In the Web Server Role > Select role services page, expand Security, and click Windows Authentication.
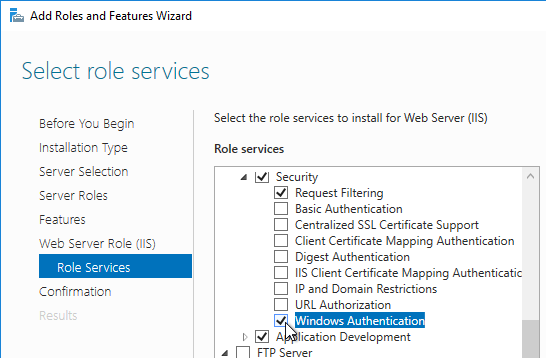
- Expand Application Development, and select ASP.NET 4.5/4.6.
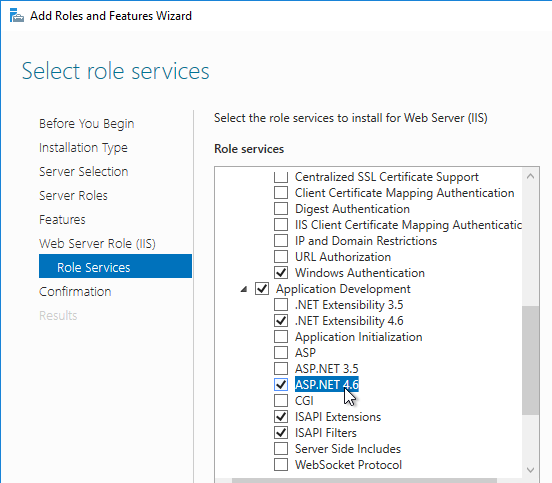
- Expand IIS 6 Management Compatibility, and select all four boxes. Click Next through the rest of the wizard.
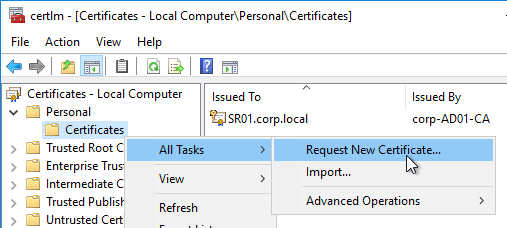
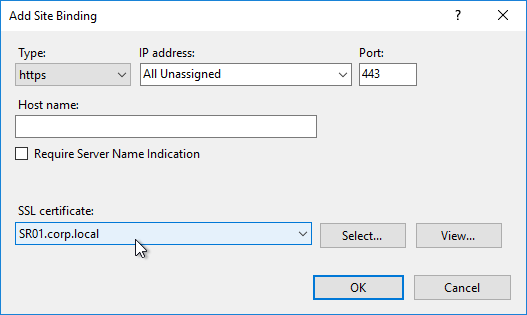
- Use MMC Certificates snap-in or IIS, or similar, to request a machine certificate.
- In IIS Manager, right-click the Default Web Site, and click Edit Bindings.
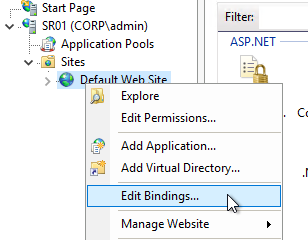
- On the right, click Add.

- Change the Type to https.
- Select the certificate, and click OK.
Server Components
- If you are installing this on Windows Server 2008 R2 then see the prerequisites list at Citrix Docs.
- The person installing Session Recording needs to be a sysadmin on the remote SQL server.
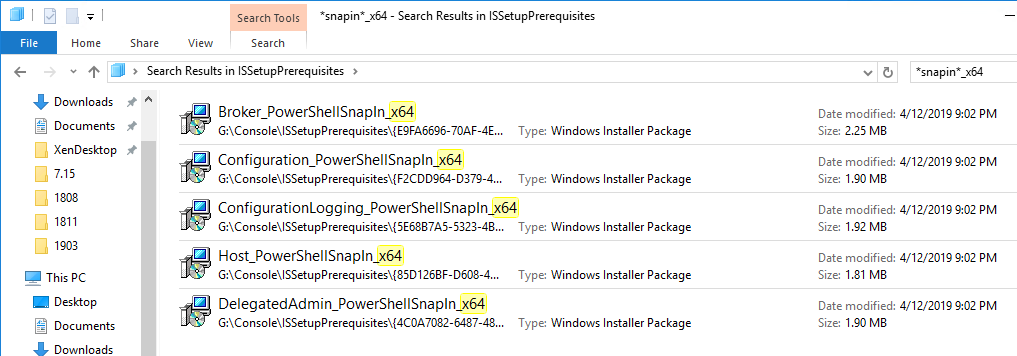
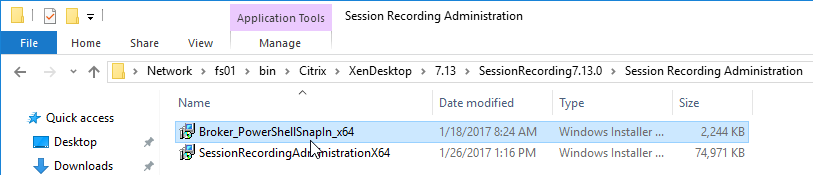
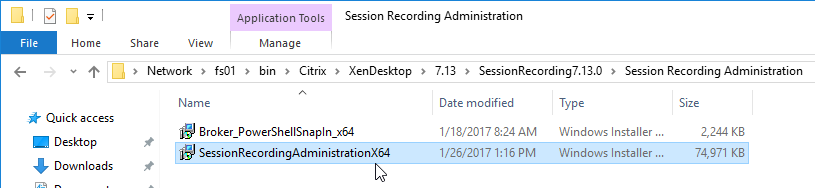
- In the SessionRecording7.13.0\Session Recording Administration folder, run Broker_PowerShellSnapIn_x64.msi.
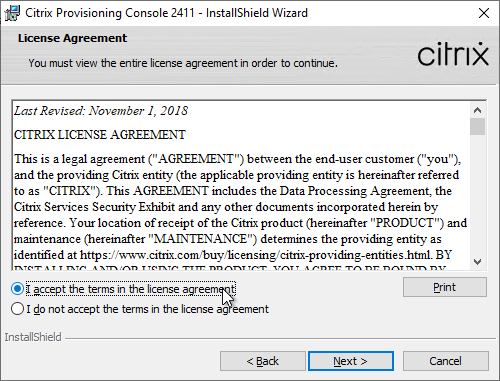
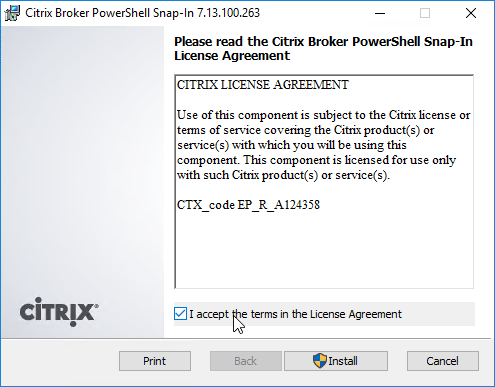
- In the Please read the Citrix Broker PowerShell Snap-In License Agreement page, check the box next to I accept the terms, and click Install.
- In the Completed the Citrix Broker PowerShell Snap-In Setup Wizard page, click Finish.
- Run SessionRecordingAdministrationx64.msi.
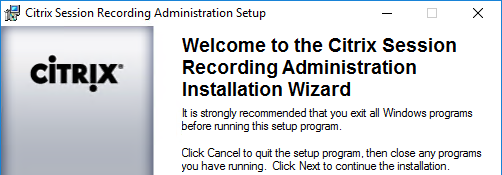
- In the Welcome to the Citrix Session Recording Administration Installation Wizard page, click Next.
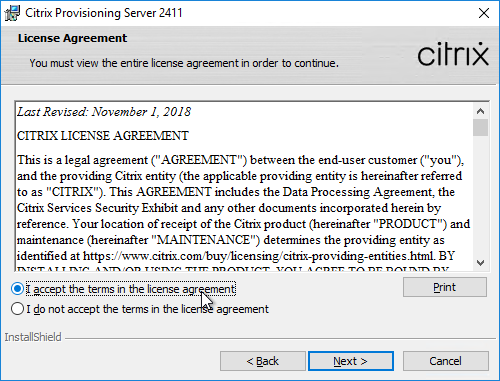
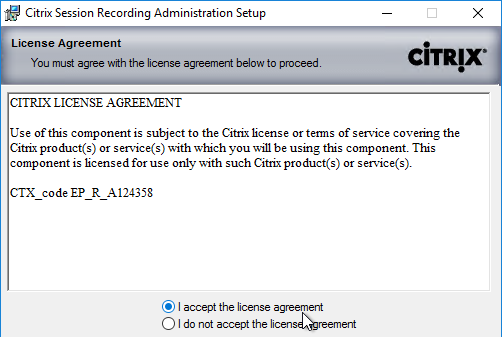
- In the License Agreement page, select I accept the license agreement, and click Next.
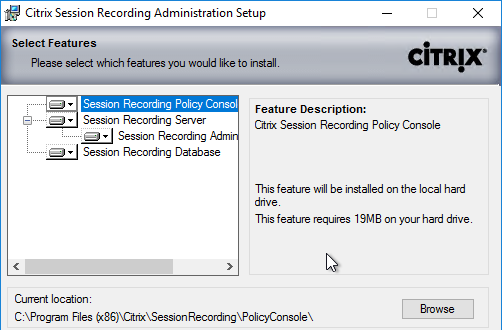
- In the Select Features page, click Next.
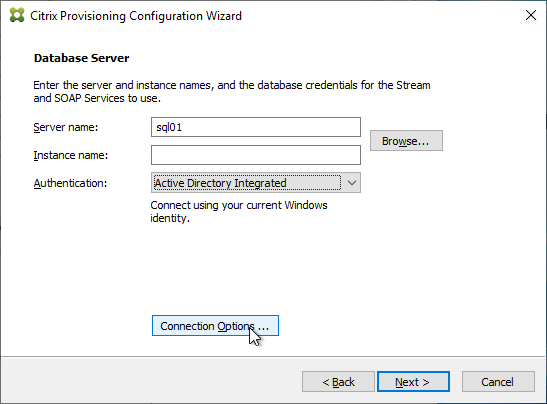
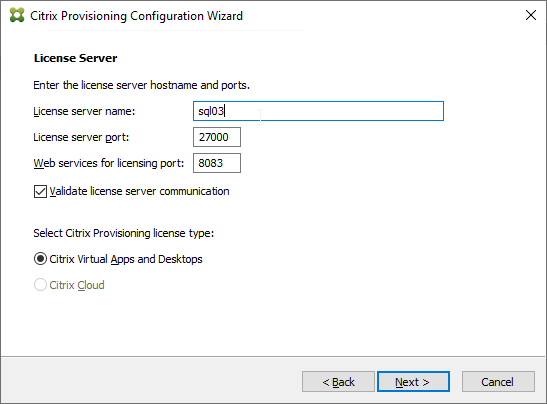
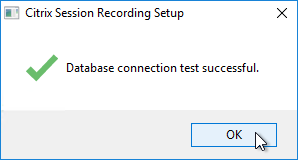
- If you are installing Session Recording 7.12 or older, in the Database and Server Configuration page, enter the name of the SQL server, and click Test.

- If you are installing Session Recording 7.13 or newer, enter the SQL server name, and enter a Database Name. Only 7.13 and newer lets you specify the Database Name.
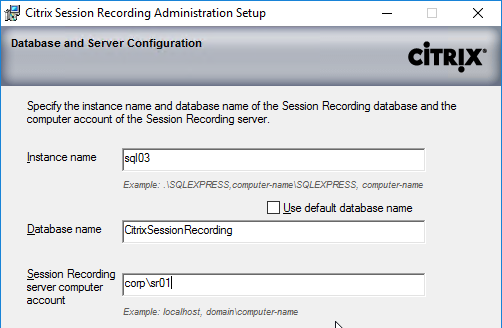
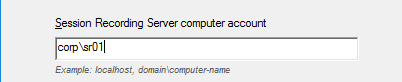
- Enter the name of the Session Recording server in domain\machine-name format, and click Next.
- In the Administrator Logging Configuration page, if installing Session Recording 7.13 or newer, enter a name for the Logging Database, and then click Next.
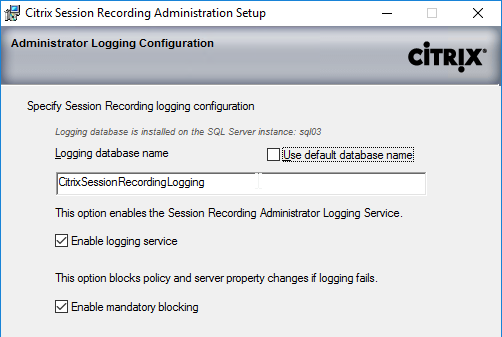
- If installing Session Recording 7.12 or older, just click Next.

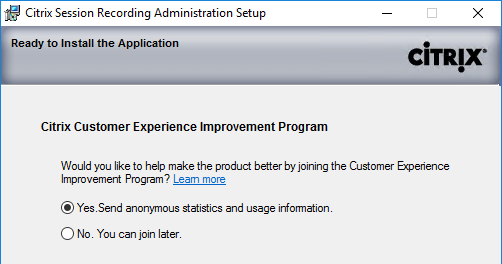
- In the Citrix Customer Experience Improvement Program page, make a choice, and click Next.
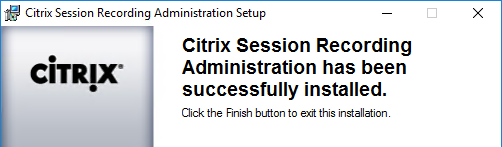
- In the Citrix Session Recording Administration has been successfully installed page, click Finish.
- In SQL Server Management Studio, notice the new CitrixSessionRecording and CitrixSessionRecordingLogging databases.

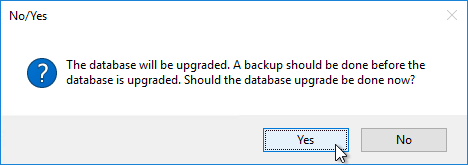
Upgrade
If you are upgrading from 7.8 or older, the logging feature won’t be installed.
- In Server Manager > Add Roles and Features, on the Features page, expand .NET Framework 4.5 Features, expand WCF Services and select HTTP Activation. Finish the wizard.
- In Programs and Features, right-click Citrix Session Recording Administration, and click Change.
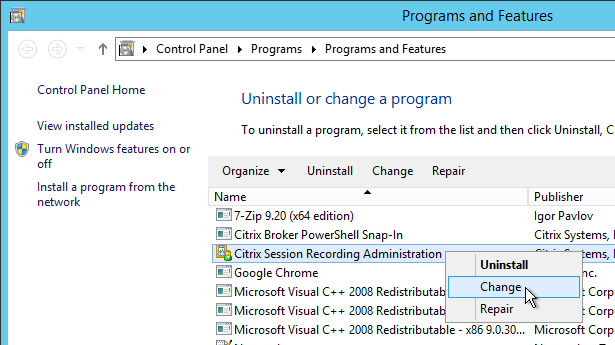
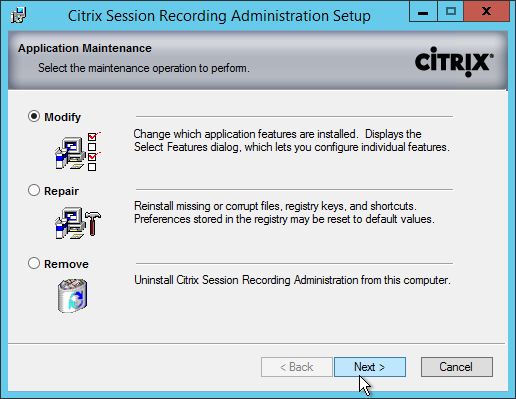
- In the Application Maintenance page, select Modify and click Next.
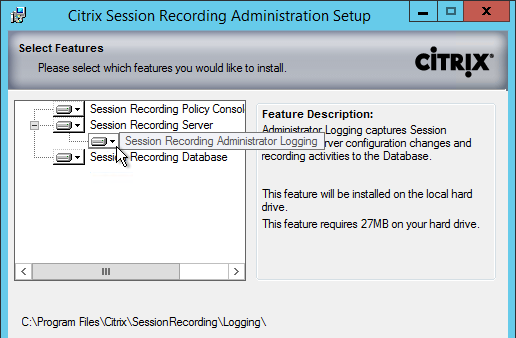
- In the Select Features page, expand Session Recording Server.
- Change the selection for Session Recording Administrator Logging to installed and click Next.
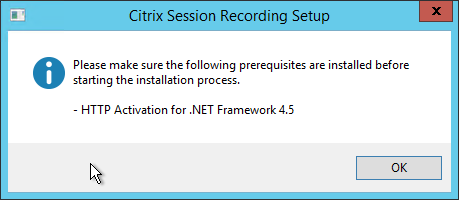
- If you see a message about HTTP Activation, install the feature and restart the wizard.
- In the Administrator Logging Configuration page, if installing Session Recording 7.13 or newer, enter a name for the Logging Database, and then click Next.
- If installing Session Recording 7.12 or older, just click Next.
- In the Ready to Modify the Application page, click Next.
- In the Citrix Session Recording Administration has been successfully installed page, click Finish.
Session Recording Server Configuration
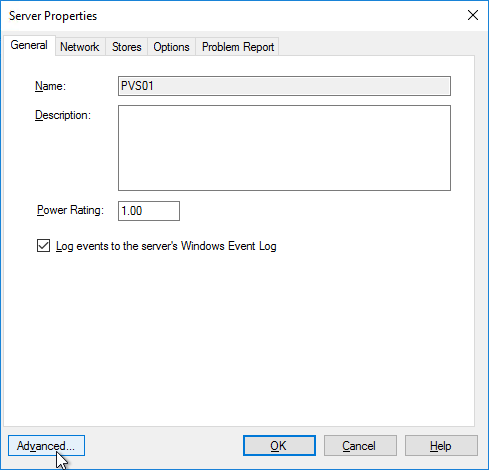
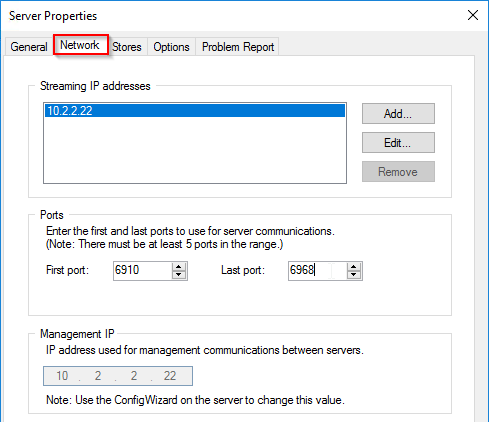
- From Start Menu, run Session Recording Server Properties.
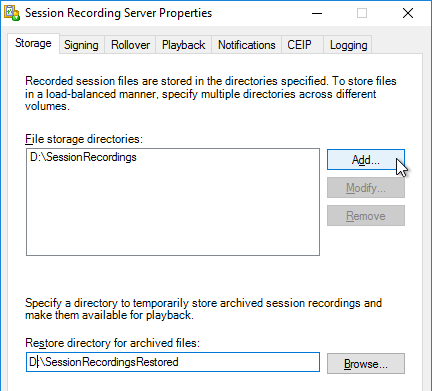
- In the Storage tab, specify a path that has disk space to hold the recordings. UNC is supported, but strongly discouraged.
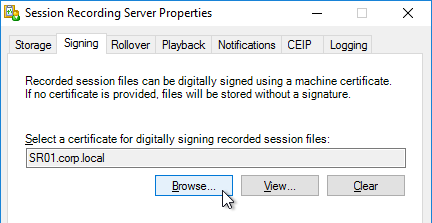
- In the Signing page, select (Browse) a certificate to sign the recordings.
- In the Playback tab, notice that Session Recording files are encrypted before transmit. Also, it’s possible to view live sessions but live sessions are not encrypted.

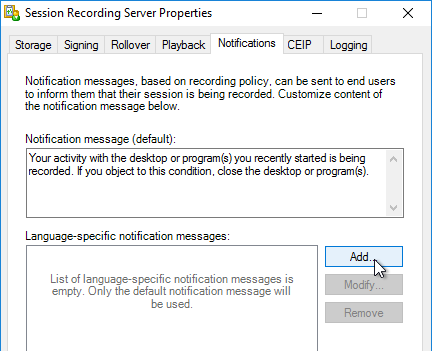
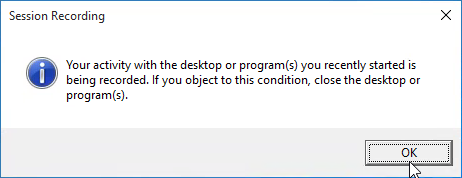
- In the Notifications tab, you can change the message displayed to users before recording begins.
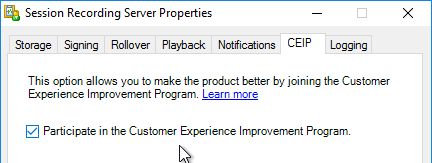
- The CEIP tab lets you enable or disable the Customer Experience Improvement Program.
- See https://www.carlstalhood.com/delivery-controller-7-13-and-licensing/#ceip for additional places where CEIP is enabled.
- The Logging tab lets you configure Logging.

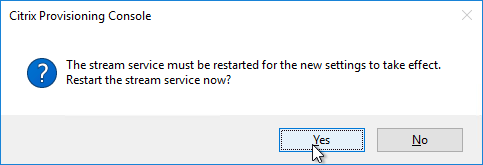
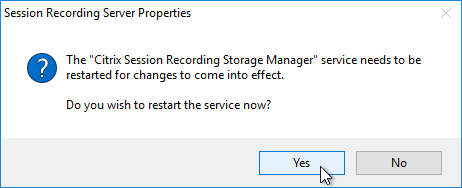
- When you click OK you’ll be prompted to restart the service.
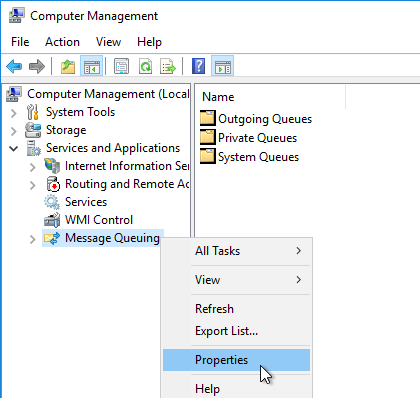
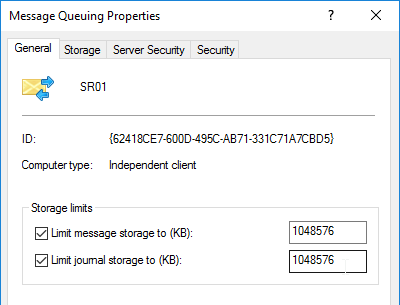
- Session Recording relies on Message Queuing. In busy environments, it might be necessary to increase the Message Queuing storage limits. See CTX209252 Error: “Data lost while recording file…” on Citrix SmartAuditor.
David Ott Session Recording Cleanup Script: You may notice that the session recording entries/files don’t go away on their own. Here is how to clean them up. Just create a scheduled task to run the code below once per day (as system – elevated). See David’s blog post for details.
C:\Program Files\Citrix\SessionRecording\Server\Bin\icldb.exe remove /RETENTION:7 /DELETEFILES /F /S /L
Also see CTX134777 How to Remove Dormant Files From a SmartAuditor Database.
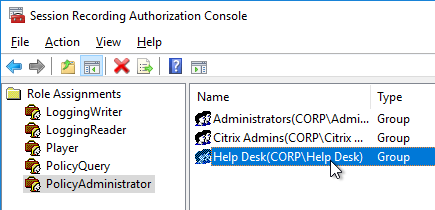
Authorization
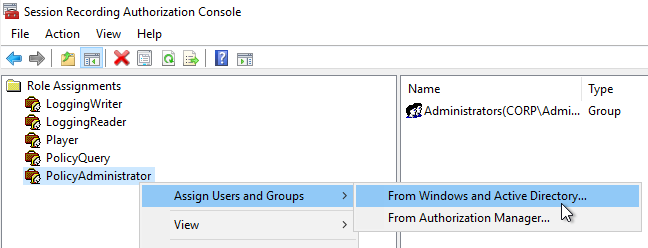
- From the Start Menu, run Session Recording Authorization Console.
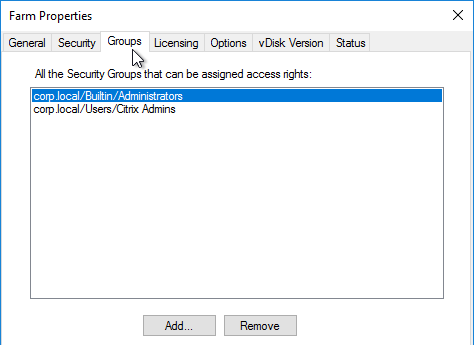
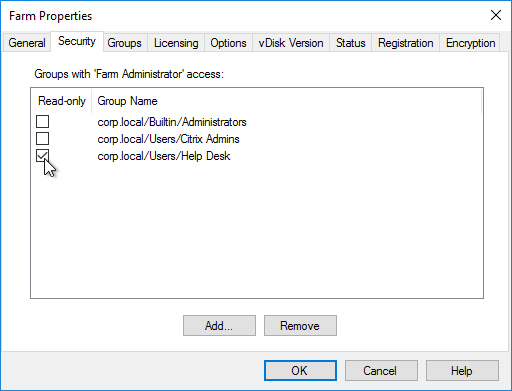
- In the PolicyAdministrator role, add your Citrix Admins group.
- If you use Director to configure Session Recording, add the Director users to the PolicyAdministrator role.
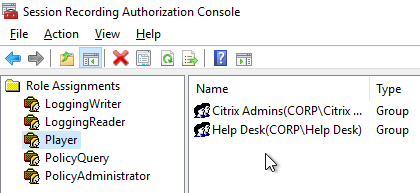
- In the Player role, add users that can view the recordings.
- By default, nobody can see the Administration Log. Add auditing users to the LoggingReader role.
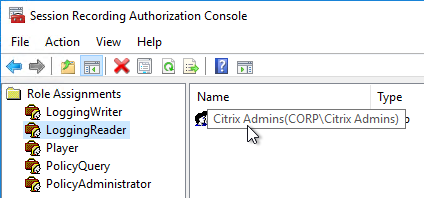
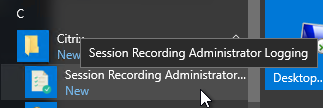
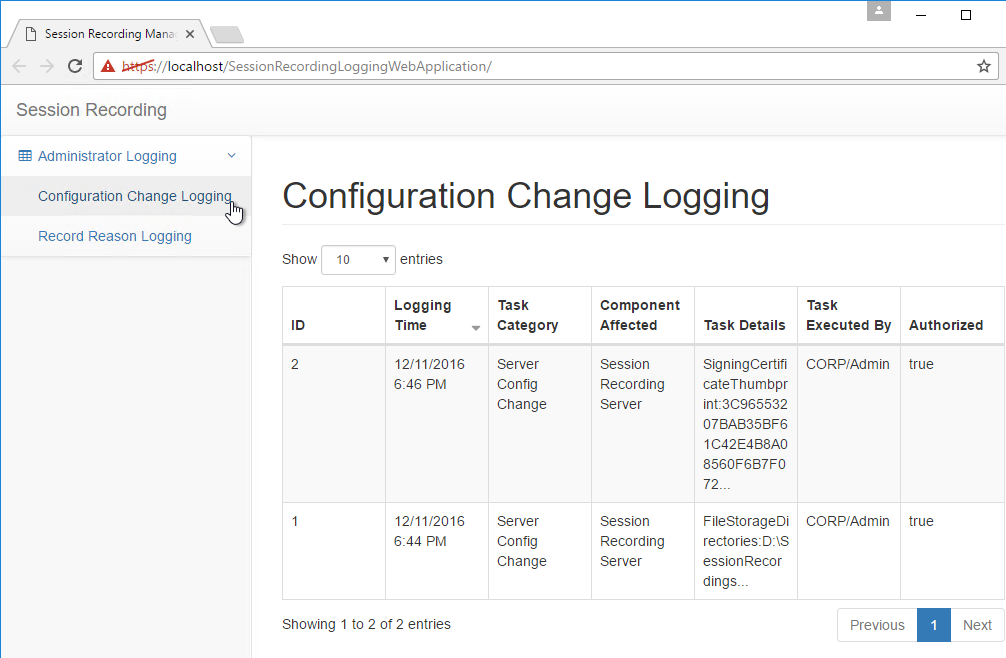
- Session Recording 7.11 has a Session Recording Administrator Logging feature, which opens a webpage to https://SR01.corp.local/SessionRecordingLoggingWebApplication/. Only members of the LoggingReader role can see the data.
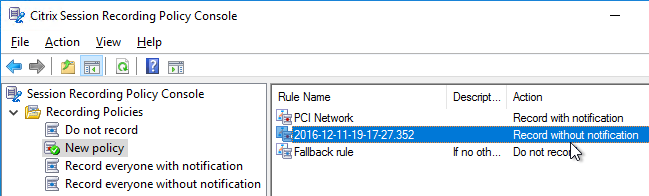
Policies
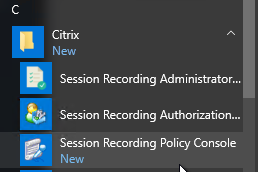
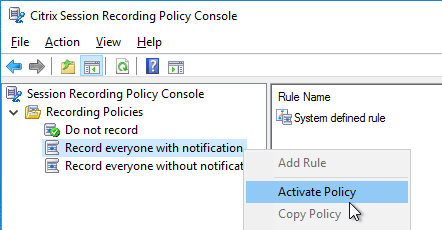
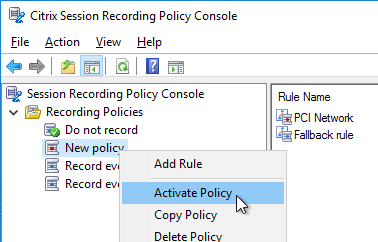
- From the Start Menu, run Session Recording Policy Console.
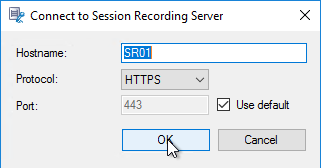
- Enter the hostname of the Session Recording server, and click OK.
- Only one policy can be enabled at a time. By default, no recording occurs. To enable recording, right-click one of the other two built-in policies and click Activate Policy.
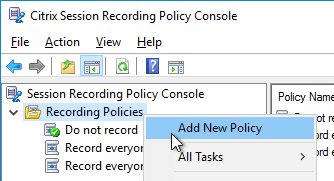
- Or you can create your own policy by right-clicking Recording Policies, and clicking Add New Policy.
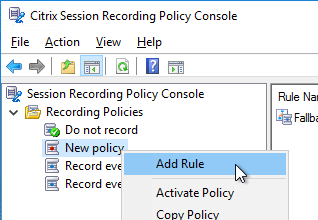
- After the policy is created, right-click it, and click Add Rule.
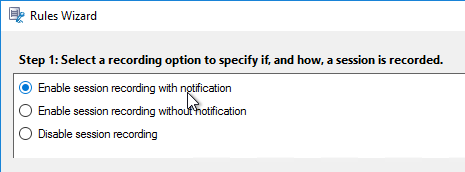
- Decide if you want notification or not, and click Next.
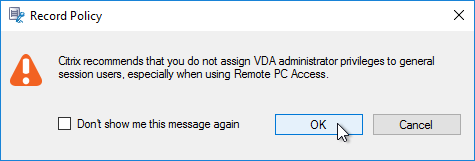
- Click OK to acknowledge this message.
- Choose the rule criteria. You can select more than one. Session Recording 7.12 and newer have an IP Address or IP Range rule.
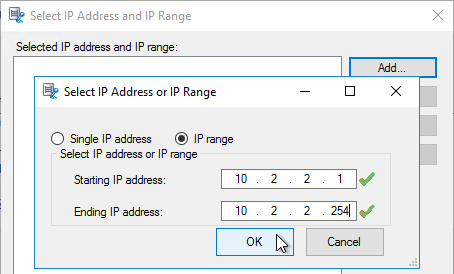
- Then click the links on the bottom specify the groups, applications, servers, and/or IP range for the rule. Click Next.
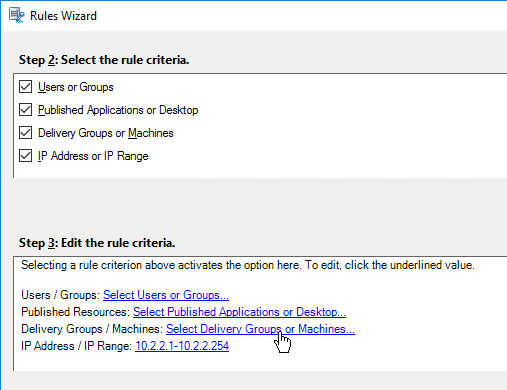
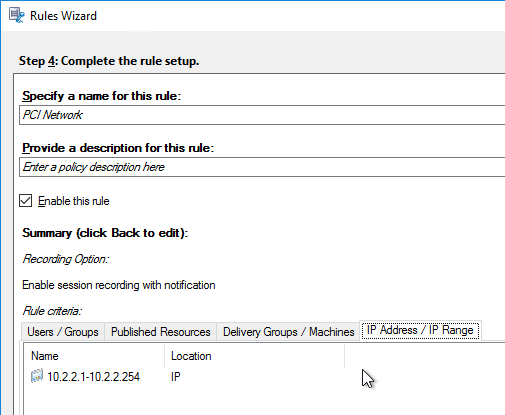
- Give the rule a name, and click Finish.
- Continue adding rules.
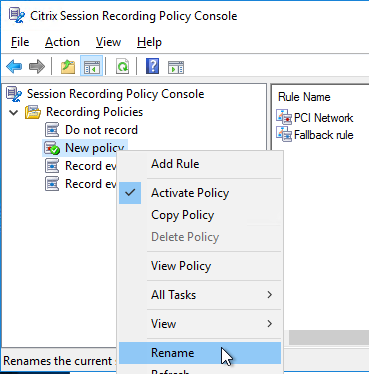
- When done creating rules, right-click the policy, and click Activate Policy.
- You can also rename the policy you created.
Session Recording Agent
Install the Agent on the VDAs. Platinum Licensing is required.
- Install Message Queuing Server with HTTP Support. If RDSH, in Server Manager, open the Manage window, and click Add Roles and Features.
- Skip to the Features page.
- In the Features page, expand Message Queuing. Expand Message Queuing Services.
- Check the box next to Message Queuing Server. Also check HTTP Support.
- Click Add Features. Click Next.
- In the Web Server Role > Select role services page, don’t change anything, and click Next.

- In the Confirm installation selections page, click Install.
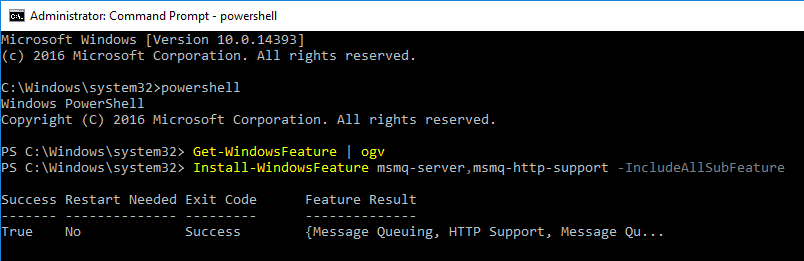
- If install fails, try PowerShell instead.
Install-WindowsFeature msmq-server,msmq-http-support -IncludeAllSubFeature
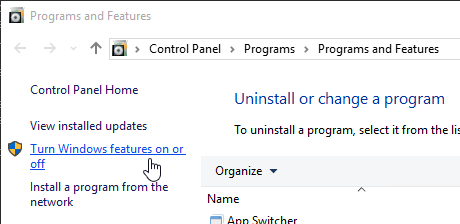
- If virtual desktop (Session Recording 7.8 and newer), go to Programs and Features.

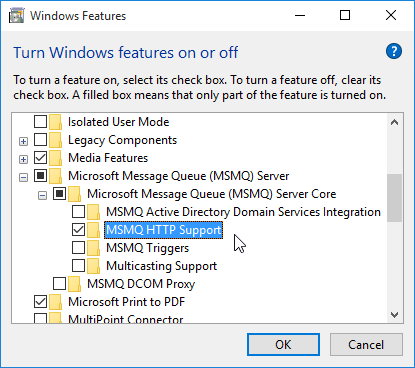
- Click Turn Windows features on or off.
- Expand Microsoft Message Queue, expand Microsoft Message Queue, and select MSMQ HTTP Support. Click OK.
- Click Turn Windows features on or off.
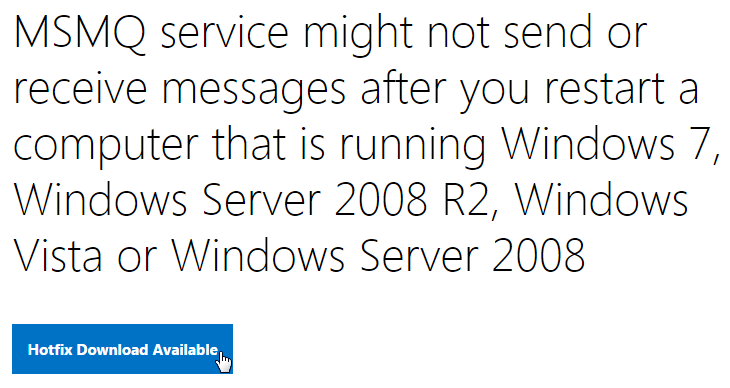
- If the VDA is Windows 7, or Windows 2008 R2, install Microsoft hotfix 2554746 MSMQ service might not send or receive messages after you restart a computer. Or install the Convenience Rollup.
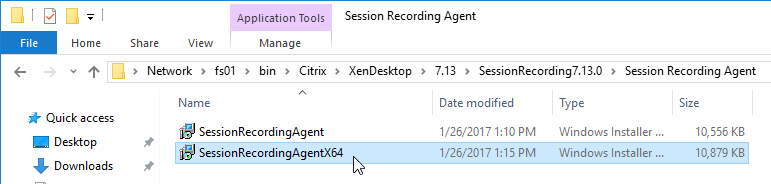
- In the SessionRecording7.13.0\Session Recording Agent folder, run SessionRecordingAgentx64.msi.
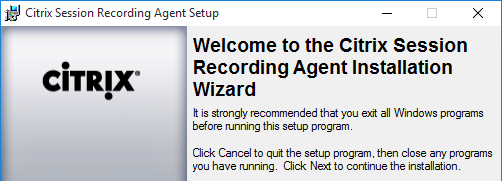
- In the Welcome to the Citrix Session Recording Agent Installation Wizard page, click Next.
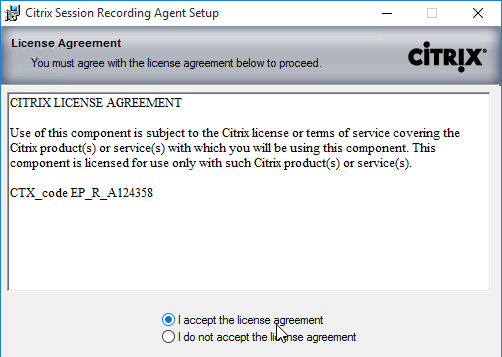
- In the License Agreement page, select I accept the license agreement and click Next.
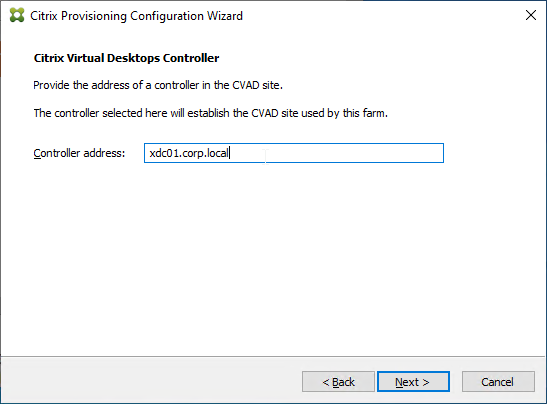
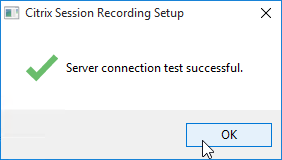
- In the Session Recording Agent Configuration page, enter the FQDN of the Session Recording Server, and click Test.
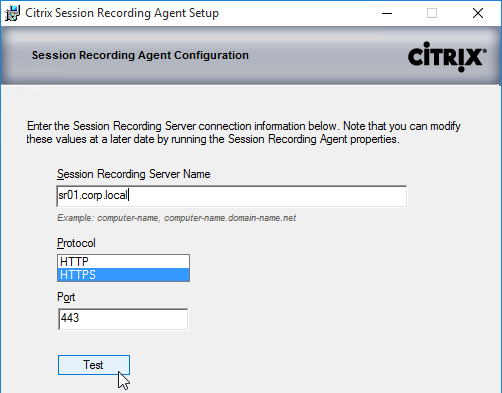
- Click OK and then click Next.
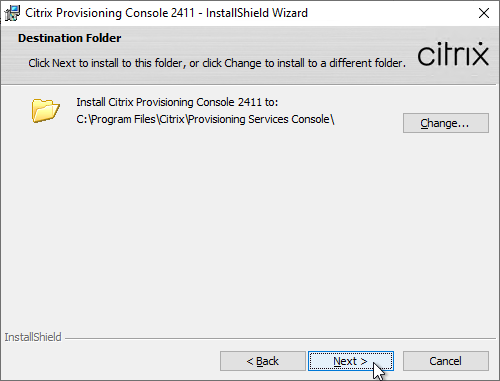
- In the Destination Folder page, click Next.

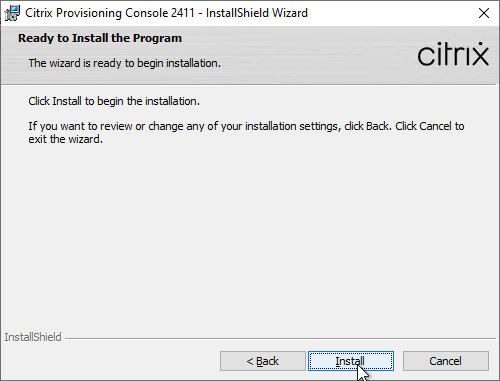
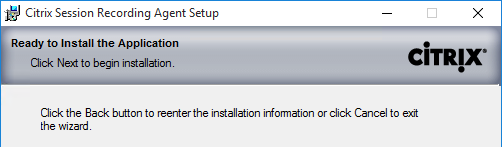
- In the Ready to Install the Application page, click Next.
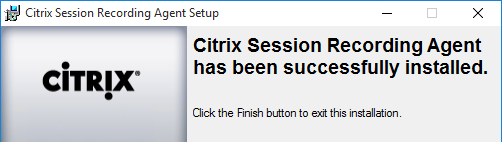
- In the Citrix Session Recording Agent has been successfully installed page, click Finish.
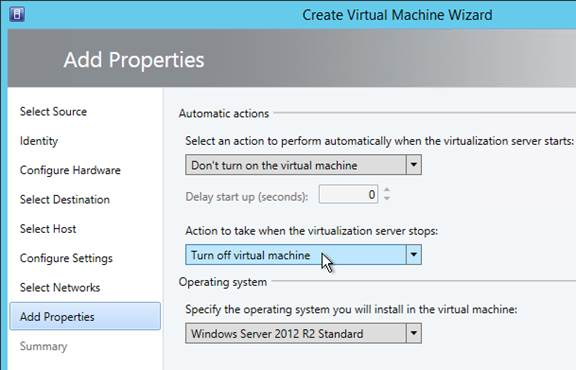
- Agent Installation can also be automated. See Automating installations at Citrix Docs.
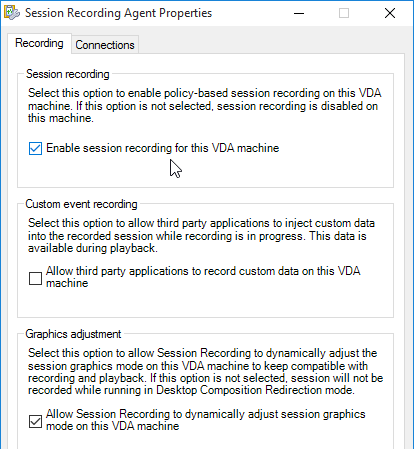
- In the Start Menu is Session Recording Agent Properties.

- You can enable or disable session recording on this Agent.
- For MCS and PVS VDAs, see the GenRandomQMID.ps1 script at XenApp/XenDesktop 7.13 Known Issues at Citrix Docs.
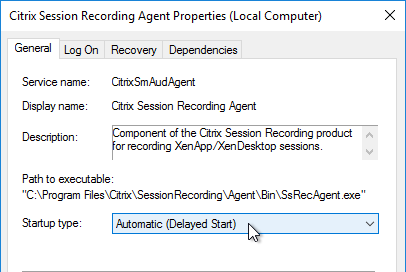
- Session Recording Agent might cause MCS Image Prep to fail. To work around this, set the Citrix Session Recording Agent service to Automatic (Delayed Start). Source = Todd Dunwoodie at Session Recording causes Image preparation finalization Failed error at Citrix Discussions.
Session Recording Player
Install the Player on any Windows 7 through Windows 10 desktop machine. 32-bit color depth is required. Because of the graphics requirements, don’t run the Player as a published application.
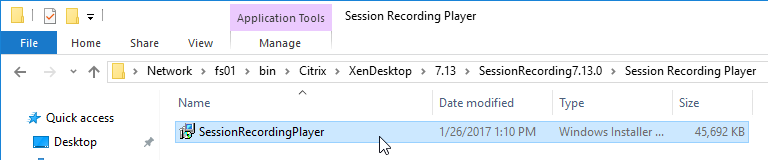
- In the SessionRecording7.13.0\Session Recording Player folder, run SessionRecordingPlayer.msi.
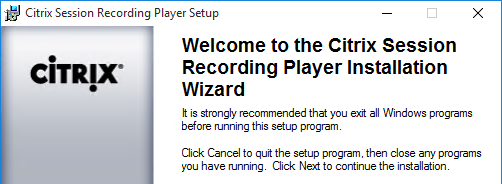
- In the Welcome to the Citrix Session Recording Player Installation Wizard page, click Next.
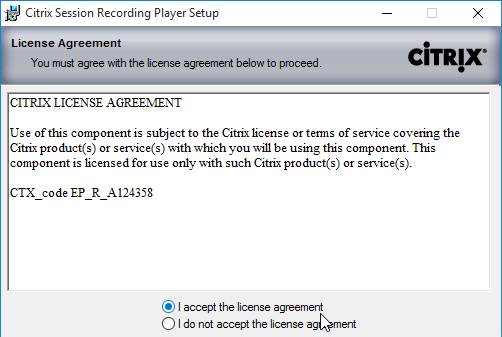
- In the License Agreement page, select I accept the license agreement, and click Next.
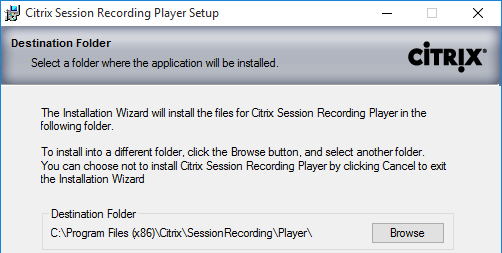
- In the Destination Folder page, click Next.
- In the Ready to Install the Application page, click Next.
- In the Citrix Session Recording Player has been successfully installed page, click Finish.
- From the Start Menu, run the Session Recording Player.
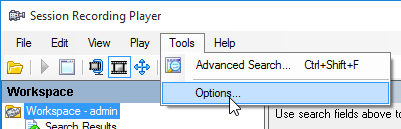
- Open the Tools menu, and click Options.
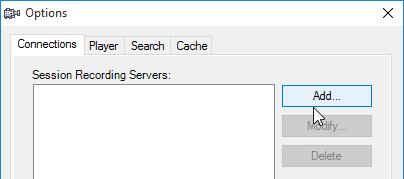
- On the Connections tab, click Add.
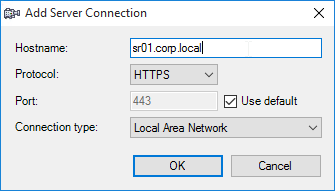
- Enter the FQDN of the Session Recording server.
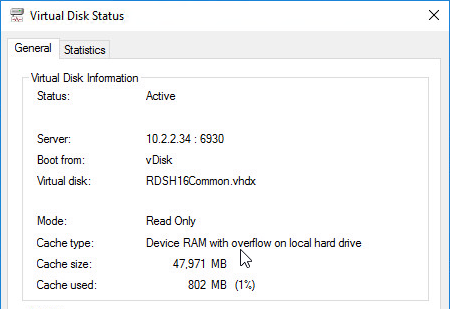
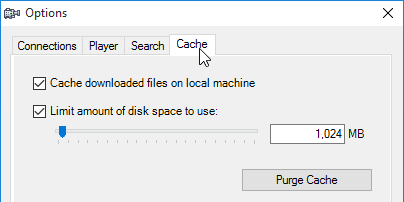
- On the Cache tab you can adjust the client-side cache size. Click OK.
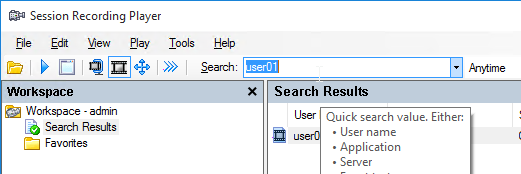
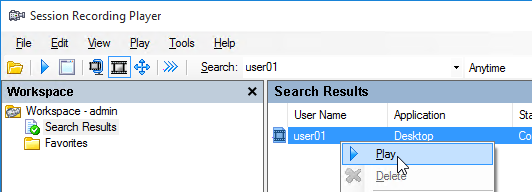
- Use the Search box to find recordings.
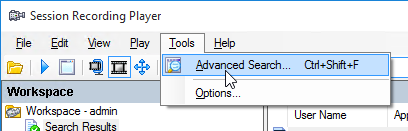
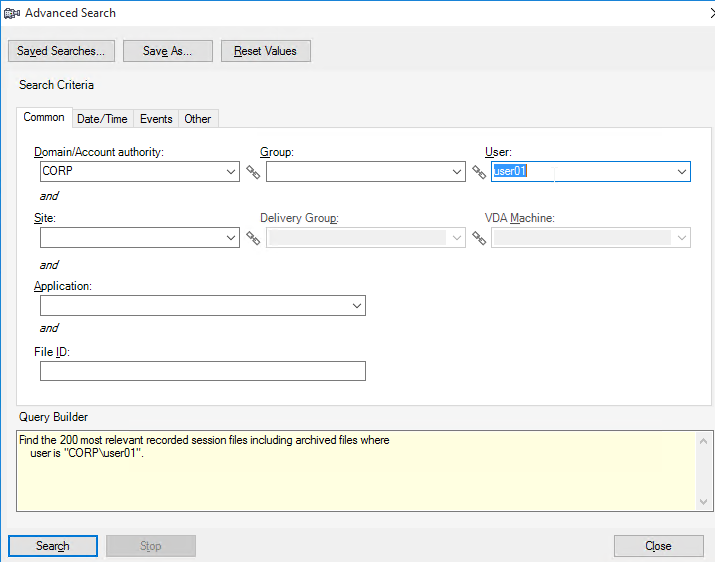
- Or you can go to Tools > Advanced Search.
- Once you find a recording, double-click it to play it.
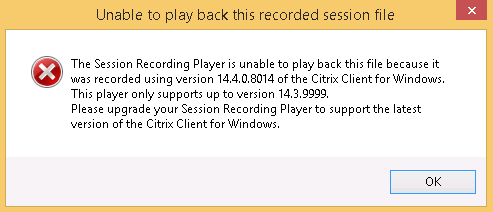
- If you see a message about Citrix Client version incompatibility, see CTX206145 Error: “The Session Recording Player Cannot Play Back This File” to edit the Player’s SsRecPlayer.exe.config file to accept the newer version.
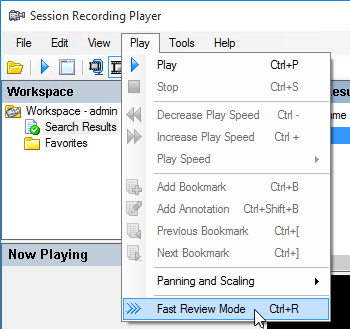
- To skip spaces where no action occurred, open the Play menu, and click Fast Review Mode.
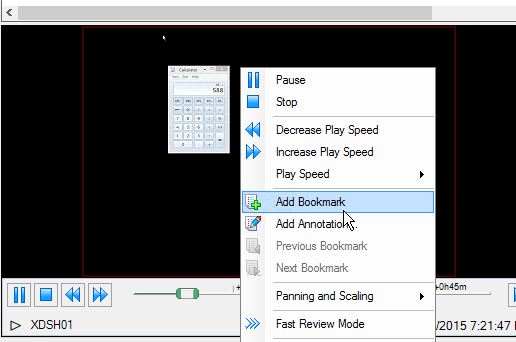
- You can add bookmarks by right-clicking in the viewer pane. Then you can skip to a bookmark by clicking the bookmark in the Events and Bookmarks
pane.
Director Integration
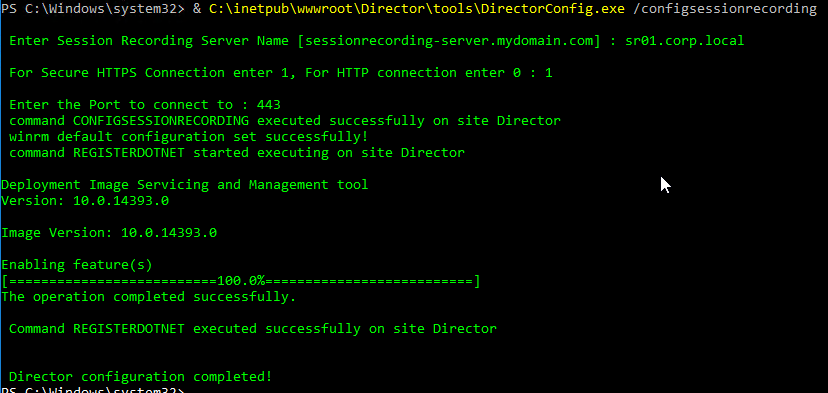
- On the Director server, run command prompt elevated (as Administrator).
- Run
C:\inetpub\wwwroot\Director\tools\DirectorConfig.exe /configsessionrecording - Enter the Session Recording FQDN when prompted.
- Enter 1 for HTTPS.
- Enter 443 as the port.
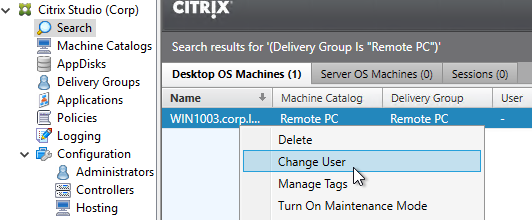
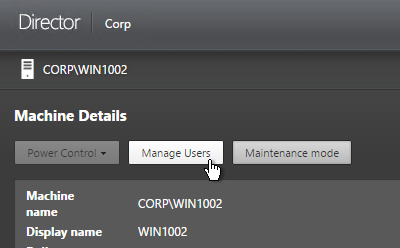
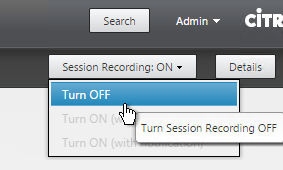
- In Director, when you view users or machines, you can change the Session Recording policy. These policy changes don’t apply until a new session is launched.
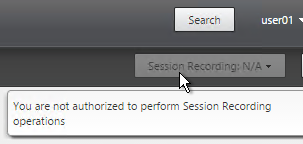
- If the Session Recording menu says N/A then the Director user needs to be authorized in the Session Recording Authorization Console.
- If you use Director to enable or disable recording for a user or machine, rules are added to the active policy on the Session Recording server. They only take effect at next logon.