Navigation
- GSLB Planning
- ADNS
- Metric Exchange Protocol
- GSLB Services
- GSLB Virtual Server
- Test GSLB
- DNS Delegation
- Geo Location Database
💡 = Recently Updated
GSLB Planning
GSLB is nothing more than DNS. GSLB is not in the data path. GSLB receives a DNS query and GSLB sends back an IP address, which is exactly how a DNS server works. However, GSLB can do some things that DNS servers can’t do:
- Don’t give out an IP address unless it is UP (monitoring)
- If active IP address is down, give out the passive IP address (active/passive)
- Give out the IP address that is closest to the user (proximity load balancing)
- Give out different IPs for internal vs external (DNS View)
GSLB is only useful if you have a single DNS name that could resolve to two or more IP addresses. If there’s only one IP address then use normal DNS instead.
Citrix Blog Post Global Server Load Balancing: Part 1 explains how DNS queries work and how GSLB fits in.
Citrix has a good DNS and GSLB Primer.
When configuring GSLB, don’t forget to ask “where is the data?”. For XenApp/XenDesktop, DFS multi-master replication of user profiles is not supported so configure “home” sites for users. More information at Citrix Blog Post XenDesktop, GSLB & DR – Everything you think you know is probably wrong!
GSLB can be enabled both externally and internally. For external GSLB, configure it on the DMZ NetScaler appliances and expose it to the Internet. For internal GSLB, configure it on internal NetScaler appliances. Note: Each NetScaler appliance only has one DNS table so if you try to use one NetScaler for both public and internal then be aware that external users can query for internal GSLB-enabled DNS names. As described by Phil Bossman in the comments, you can use a Responder policy to prevent external users from reading internal DNS names. 💡
add policy patset GSLB_INTERNAL
bind policy patset GSLB_INTERNAL internalHostname.gslb.domain.com -index 1
add responder action DNS_Empty_Response respondwith DNS.NEW_RESPONSE
add responder policy GSLB_DNS_Empty_Response "(!(CLIENT.IP.SRC.IN_SUBNET(10.0.0.0/8)||CLIENT.IP.SRC.IN_SUBNET(192.0.0.0/16)||CLIENT.IP.SRC.IN_SUBNET(172.0.0.0/12)) && DNS.REQ.QUESTION.DOMAIN.CONTAINS_ANY(\"GSLB_INTERNAL\"))" DNS_Empty_Response
bind responder global GSLB_DNS_Empty_Response 100 END -type DNS_REQ_DEFAULT
For internal and external GSLB of the same DNS name on the same appliance, you can use DNS Policies and DNS Views to return different IP addresses depending on where users are connecting from. Citrix CTX130163 How to Configure a GSLB Setup for Internal and External Users Using the Same Host Name.
However, GSLB monitoring applies to the entire GSLB Service so it would take down both internal and external GSLB. If you need different GSLB monitoring for internal and external of the same DNS name, try CNAME:
- External citrix.company.com:
- Configure NetScaler GSLB for citrix.company.com.
- On public DNS, delegate citrix.company.com to the NetScaler DMZ ADNS services.
- Internal citrix.company.com:
- Configure NetScaler GSLB for citrixinternal.company.com or something like that.
- On internal DNS, create CNAME for citrix.company.com to citrixinternal.company.com
- On internal DNS, delegate citrixinternal.company.com to NetScaler internal ADNS services.
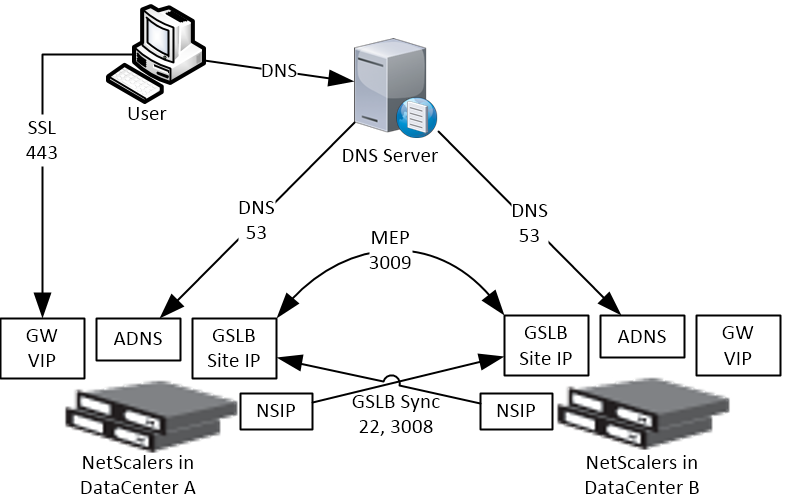
Some IP Addresses are needed on each NetScaler pair:
- ADNS IP: An IP that will listen for ADNS queries. For external, create a public IP for the ADNS IP and open UDP 53 so Internet-based DNS servers can access it. This can be an existing SNIP on the appliance.
- GSLB Site IP / MEP IP: A GSLB Site IP that will be used for NetScaler-to-NetScaler communication, which is called MEP or Metric Exchange Protocol. The IP for ADNS can also be used for MEP / GSLB Site.
- RPC Source IP: If running NetScaler 11.0 build 64 or newer then the GSLB Site IP can be anything and RPC traffic (MEP) can be sourced from the GSLB IP. For older NetScaler builds, RPC traffic is sourced from a SNIP, even if this is different than the GSLB Site IP. In older builds, it’s less confusing if you use a SNIP as the GSLB Site IP.
- Public IP: For external GSLB, create public IPs that are NAT’d to the GSLB Site IPs. The same public IP used for ADNS can also be used for MEP. MEP should be routed across the Internet so NetScaler can determine if the remote datacenter has Internet connectivity or not.
- MEP Port: Open port TCP 3009 between the two NetScaler GSLB Site IPs. Make sure only the NetScalers can access this port on the other NetScaler. Do not allow any other device on the Internet to access this port. This port is encrypted.
- GSLB Sync Ports: To use GSLB Configuration Sync, open ports TCP 22 and TCP 3008 from the NSIP (management IP) to the remote public IP that is NAT’d to the GSLB Site IP. The GSLB Sync command runs a script in BSD shell and thus NSIP is always the Source IP.
- DNS Queries: The purpose of GSLB is to resolve a DNS name to one of several potential IP addresses. These IP addresses are usually public IPs that are NAT’d to existing Load Balancing, SSL Offload, Content Switching, or NetScaler Gateway VIPs in each datacenter.
- IP Summary: In summary, for external GSLB, you will need a minimum of two public IPs in each datacenter:
- One public IP that is NAT’d to the IP that is used for ADNS and MEP (GSLB Site IP). You only need one IP for ADNS / MEP no matter how many GSLB names are configured. MEP (GSLB Site IP) can be a different IP, if desired.
- One public IP that is NAT’d to a Load Balancing, SSL Offload, Content Switching, or NetScaler Gateway VIP.
- If you GSLB-enable multiple DNS names, each DNS name usually resolves to different IPs. This usually means that you will need additional public IPs NAT’d to additional VIPs.
ADNS
- Identify an NetScaler-owned IP that you will use for ADNS. This is typically a SNIP.
- Configure a public IP for the ANDS Service IP and configure firewall rules.
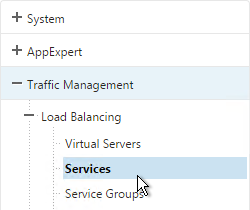
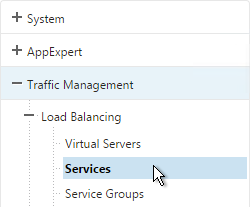
- On the left, expand Load Balancing and click Services.
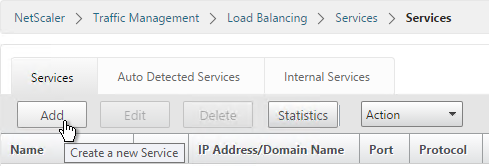
- On the right, click Add.
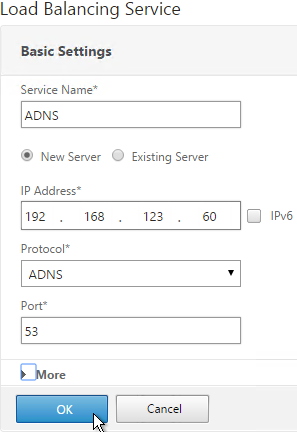
- Name the service ADNS or similar.
- In the IP Address field, enter an appliance SNIP.
- In the Protocol field, select ADNS. Then click OK.
- Scroll down and click Done.

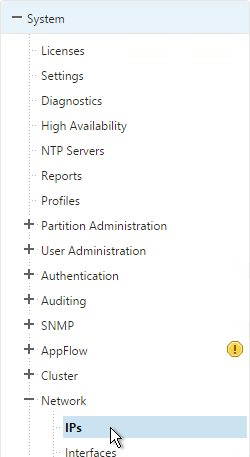
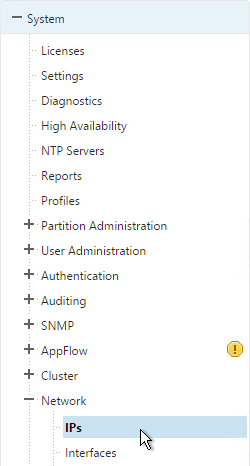
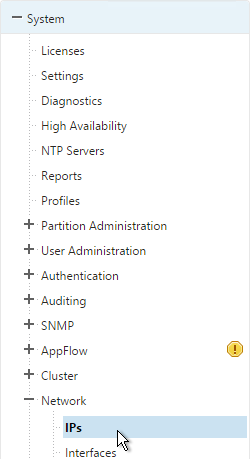
- On the left of the console, expand System, expand Network and then click IPs.

- On the right, you’ll see the SNIP as now being marked as the ADNS svc IP. If you don’t see this yet, click the Refresh icon.
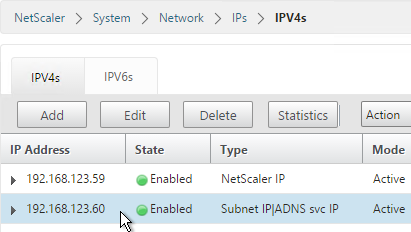
- Repeat on the other appliance in the other datacenter.
Metric Exchange Protocol
- Select an IP to be the GSLB Site IP. In NetScaler 11.0 build 64 and newer, this can be any IP. In older builds, you can use the same SNIP and same public IP used for ADNS.
- Open the firewall rules for Metric Exchange Protocol.
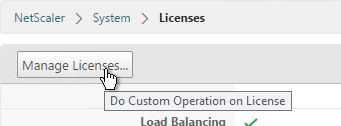
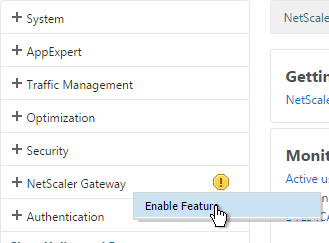
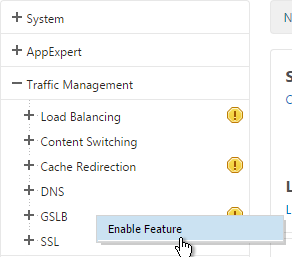
- On the left, expand Traffic Management, right-click GSLB and enable the feature.
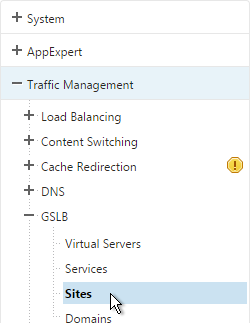
- Expand GSLB and click Sites.
- On the right, click Add.

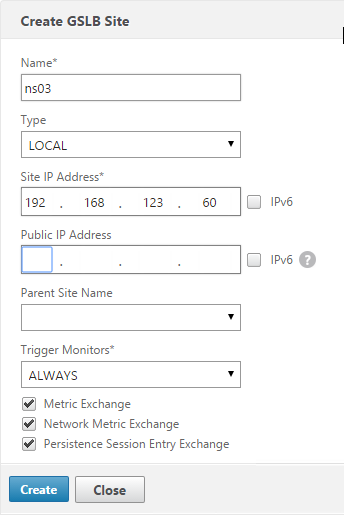
- Add the local site first. Enter a descriptive name and in the Site Type select LOCAL.
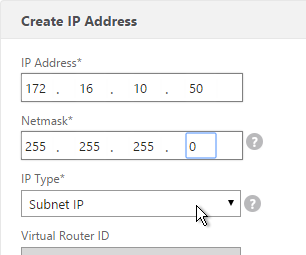
- In the Site IP Address field, enter an IP that this appliance will listen for MEP traffic. This IP must be in the default Traffic Domain. (Note: NetScaler 11.0 build 64 supports GSLB in Admin Partitions).
- For external GSLB, in the Public IP Address field, enter the public IP that is NAT’d to the GSLB Site IP. For internal GSLB, there’s no need to enter anything in the Public IP field. Click Create.
- Go back to System > Network > IPs and verify that the IP is now marked as a GSLB site IP. If you don’t see it yet, click the Refresh button.
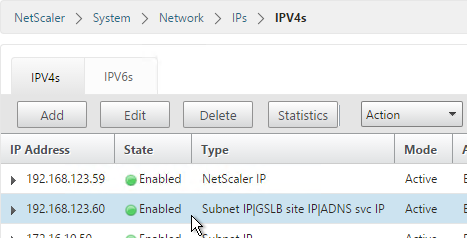
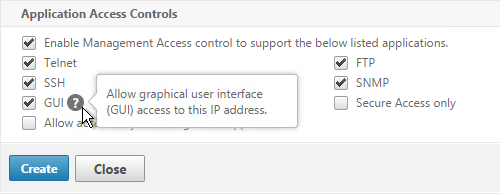
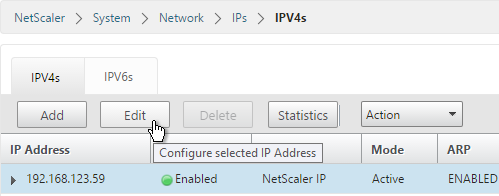
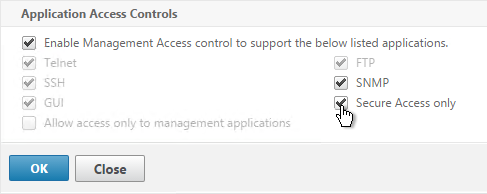
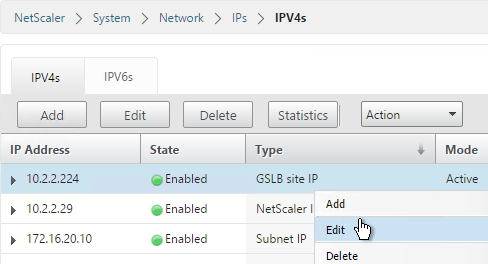
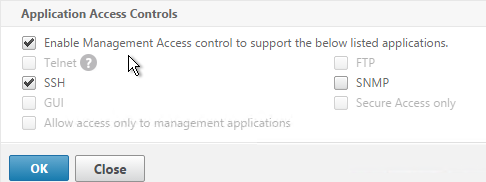
- If you want to use the GLSB Sync Config feature, then you’ll need to edit the GSLB site IP and enable Management Access.
- When you enable Management Access on a dedicated GSLB site IP, SSH is already selected by default. That’s all you need.
- Go to the other appliance and also create the local GSLB site using its GSLB site IP and its public IP that is NAT’d to the GSLB site IP.
- In System > Network > IPs on the remote appliance, there should now be a GSLB site IP. This could be a SNIP. If GSLB Sync is desired, enable management access on that IP and ensure SSH is enabled.
- Now on each appliance add another GSLB Site, which will be the remote GSLB site.
- Enter a descriptive name and select REMOTE as the Site Type.
- Enter the other appliance’s actual GSLB Site IP as configured on the appliance. This IP does not need to be reachable.
- In the Public IP field, enter the public IP that is NAT’d to the GSLB Site IP on the other appliance. For MEP, TCP 3009 must be open to this IP from the local GSLB Site IP. For GSLB sync, TCP 22, and TCP 3008 must be open to this IP from the local NSIP. Click Create.
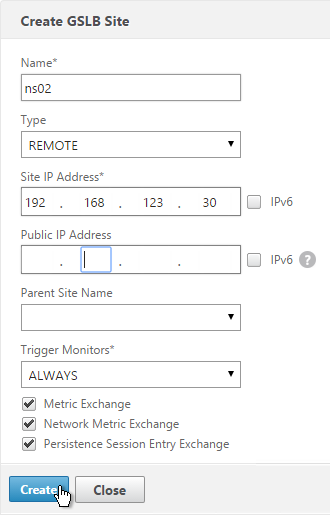
- Repeat on the other appliance.
- MEP will not function yet since the NetScalers are currently configured to communicate unencrypted on TCP 3011. To fix that, on the left, expand System, expand Network and click RPC.
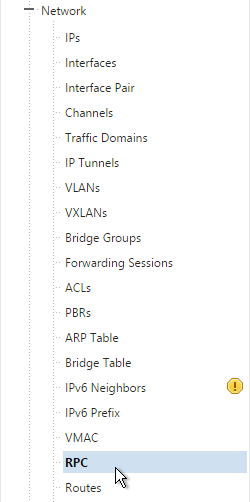
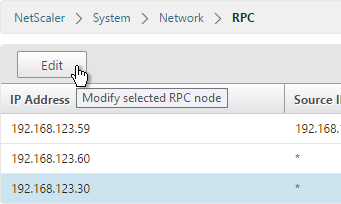
- On the right, edit the new RPC address (the other site’s GSLB Site IP) and click Open.
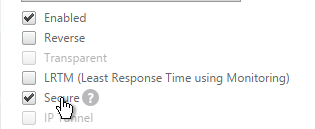
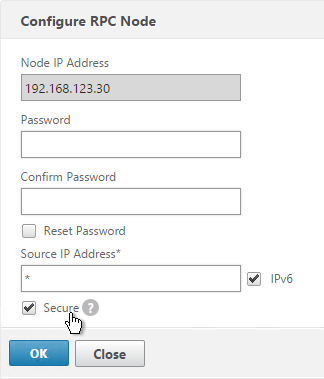
- On the bottom, check the box next to Secure.
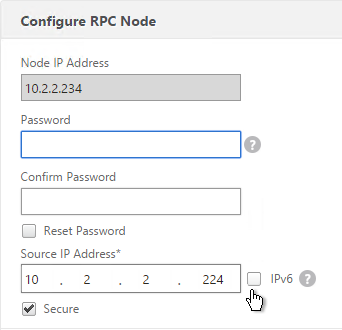
- In NetScaler 11.0 build 64 or newer, if your GSLB Site IP is not a SNIP then you’ll need to change the RPC Node to use the local GSLB Site IP as the source IP. Uncheck IPv6 first. Then enter the local GSLB Site IP. Click OK when done.
- Do the same thing on the other appliance.
- If you go back to GSLB > Sites, you should see it as active.

GSLB Services
GSLB Services represent the IP addresses that are returned in DNS Responses. DNS Query = DNS name. DNS Response = IP address.
GSLB should be configured identically on both NetScalers. Since you have no control over which NetScaler will receive the DNS query, you must ensure that both NetScalers are giving out the same DNS responses.
Create the same GSLB Services on both NetScalers:
- Start on the appliance in the primary data center. This appliance should already have a traffic Virtual Server (NetScaler Gateway, Load Balancing, or Content Switching) for the DNS name that you are trying to GSLB enable.
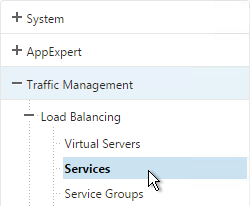
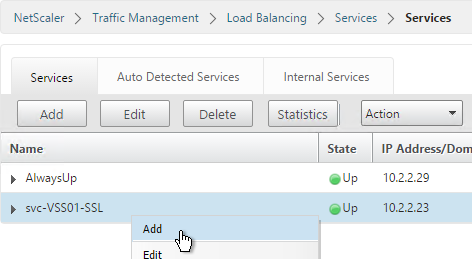
- On the left, expand Traffic Management > GSLB and click Services.
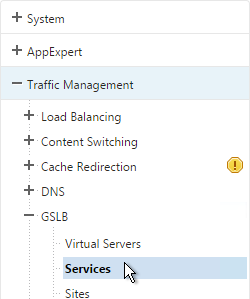
- On the right, click Add.

- The service name should be similar to the DNS name that you are trying to GSLB. Include the site name in the service name.
- Select the LOCAL Site.
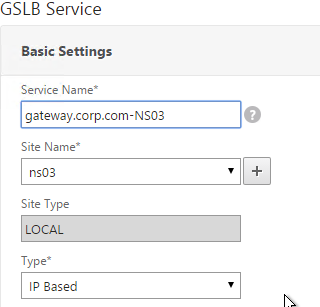
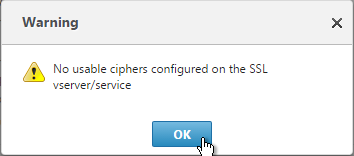
- On the bottom part, select Virtual Servers and then select a Virtual Server that is already defined on this appliance. It should automatically fill in the other fields. If you see a message asking if you wish to create a service object, click Yes.
- Scroll up and make sure the Service Type is SSL. It’s annoying that NetScaler doesn’t set this drop-down correctly.
- The Public IP field contains the actual IP Address that the GSLB ADNS service will hand out. Make sure this Public IP is user accessible. It doesn’t even need to be a NetScaler owned IP.
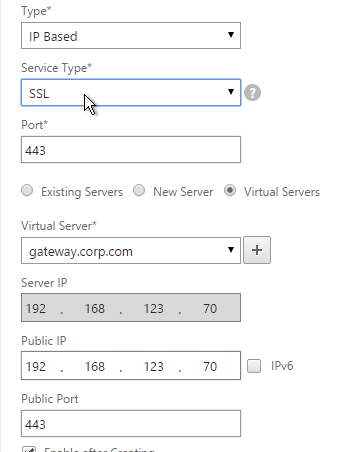
- Scroll down and click OK.

- If the GSLB Service IP is a VIP on the local appliance, then GSLB will simply use the state of the local traffic Virtual Server (Load Balancing, Content Switching, or Gateway). If the GSLB Service IP is a VIP on a remote appliance, then GSLB will use MEP to ask the other appliance for the state of the remote traffic Virtual Server. In both cases, there’s no need to bind a monitor to the GSLB Service.
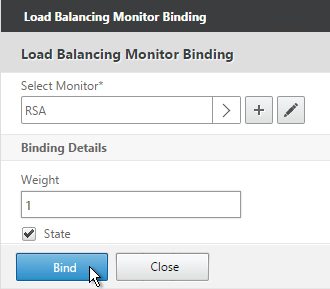
- However, you can also bind monitors directly to the GSLB Service. Here are some reasons for doing so:
- If the GSLB Service IP is a NetScaler-owned traffic VIP, but the monitors bound the traffic Virtual Server are not the same ones you want to use for GSLB. When you bind monitors to the GSLB Services, the monitors bound to the traffic Virtual Server are ignored.
- If the GSLB Service IP is in a non-default Traffic Domain, then you will need to attach a monitor since GSLB cannot determine the state of Virtual Servers in non-default Traffic Domains.
- If the GSLB Service IP is not hosted on a NetScaler, then only GSLB Service monitors can determine if the Service IP is up or not.
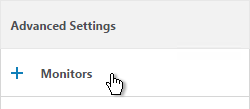
- If you intend to do GSLB active/active and if you need site persistence then you can configure your GSLB Services to use Connection Proxy or HTTP Redirect. See Citrix Blog Post Troubleshooting GSLB Persistence with Fiddler for more details.
- Click Done.

- On the other datacenter NetScaler, create a GSLB Service.
- Select the REMOTE site that is hosting the service.
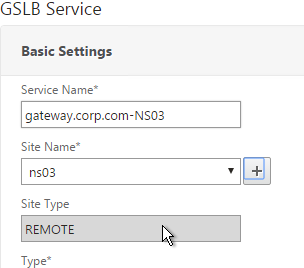
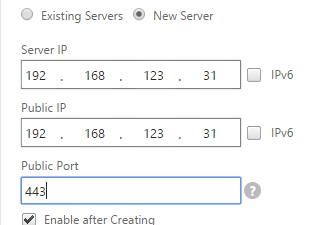
- Since the service is on a different appliance and not this one, you won’t be able to select it using the Virtual Servers option. Instead, select New Server.

- For the Server IP, enter the actual VIP configured on the other appliance. This local NetScaler will use GSLB MEP to communicate with the remote NetScaler to find a traffic Virtual Server with this VIP. The remote NetScaler respond if the remote traffic Virtual Server is up or not. The remote Server IP configured here does not need to be directly reachable by this local appliance. If the Server IP is not owned by either NetScaler, then you will need to bind monitors to your GSLB Service.
- In the Public IP field, enter the IP address that will be handed out to clients. This is the IP address that users will use to connect to the service. For Public DNS, you enter a Public IP that is usually NAT’d to the traffic VIP. For internal DNS, the Public IP and the Server IP are usually the same.
- Scroll up and change the Service Type to match the Virtual Server defined on the other appliance..
- Click OK.

- Just like the other appliance, you can also configure Site Persistence and GSLB Service Monitors. Click Done when done.

- Create more GSLB Services, one for each traffic VIP. GSLB is useless if there’s only one IP address to return. You should have multiple IP addresses (VIPs) through which a web service (e.g. NetScaler Gateway) can be accessed. Each of these VIPs is typically in different datacenters, or on different Internet circuits. The mapping between DNS name and IP addresses is configured in the GSLB vServer, as detailed in the next section.

GSLB Virtual Server
The GSLB Virtual Server is the entity that the DNS name is bound to. GSLB vServer then gives out the IP address of one of the GSLB Services that is bound to it.
Configure the GSLB vServer identically on both appliances:
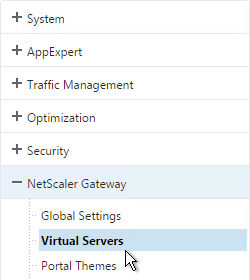
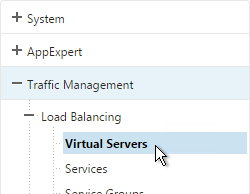
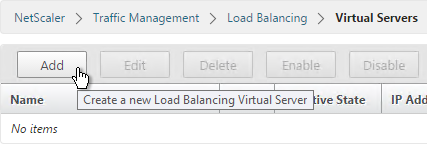
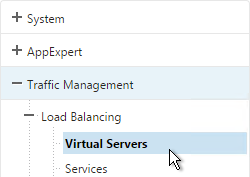
- On the left, expand Traffic Management > GLSB, and click Virtual Servers.
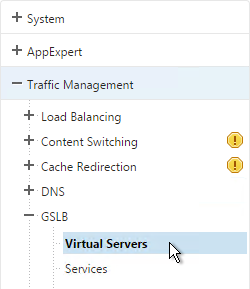
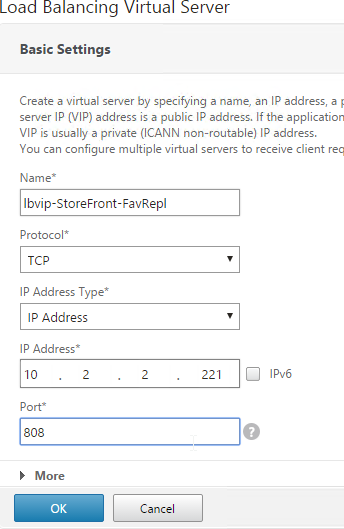
- On the right, click Add.

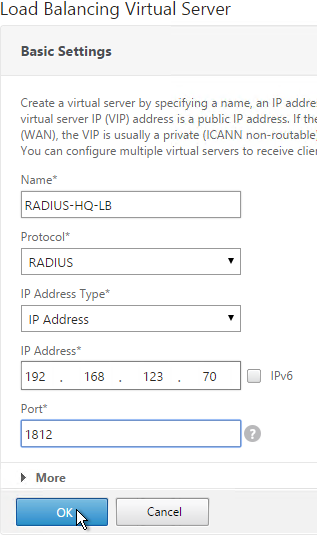
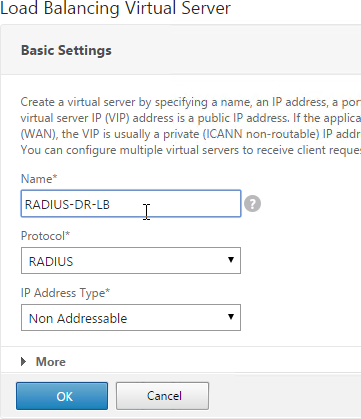
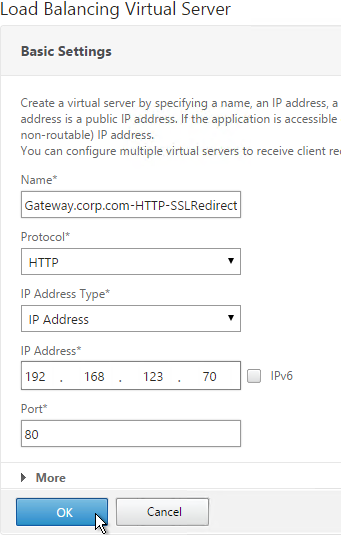
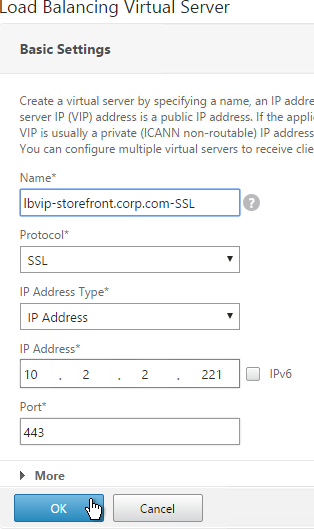
- Give the GSLB vServer a descriptive name. For active/active, you can name it the same as your DNS name. For active/passive, you will create two GSLB Virtual Servers, one for each datacenter, so include Active or Passive in the Virtual Server name.
- Click OK.
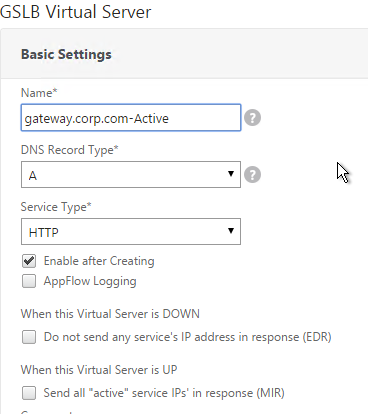
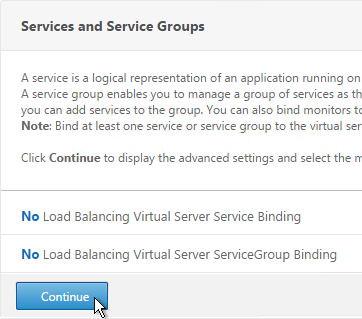
- If you intend to bind multiple GSLB Services to this GSLB vServer, then you can optionally check the box for Send all “active” service IPs. By default, GSLB only gives out one IP per DNS query. This checkbox always returns all IPs, but the IPs are ordered based on the GSLB Load Balancing Method and/or GSLB Persistence.
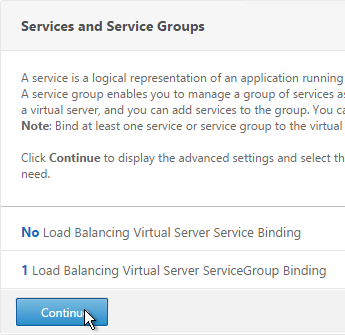
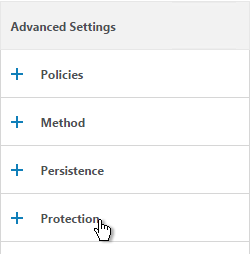
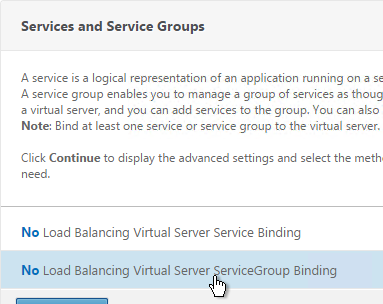
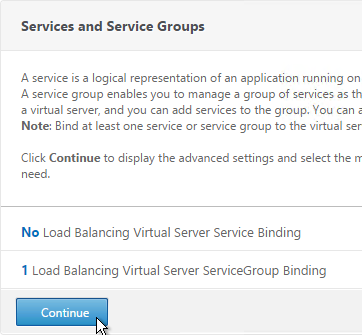
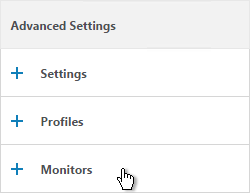
- On the right, in the Advanced Settings column, click Service.

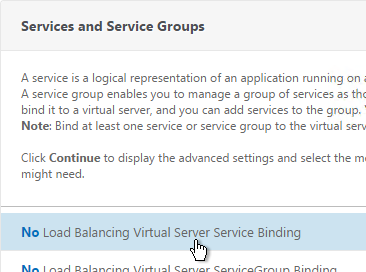
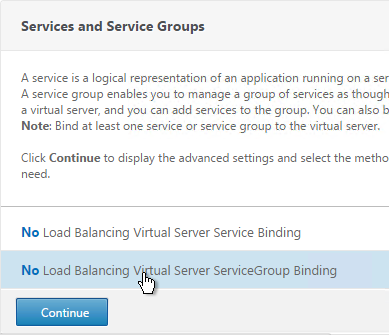
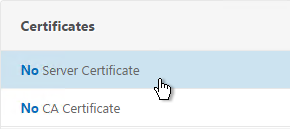
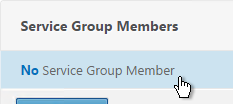
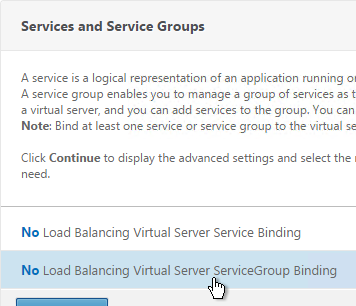
- On the left, click where it says No GSLB Virtual Server to GSLBService Binding.

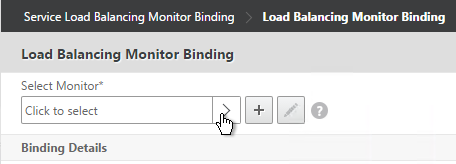
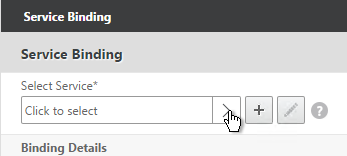
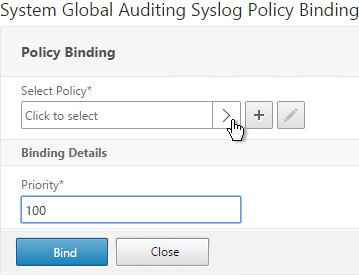
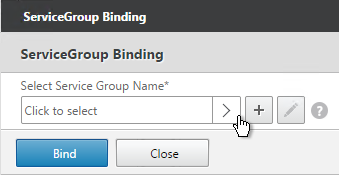
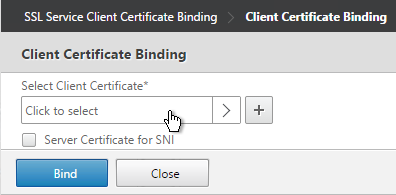
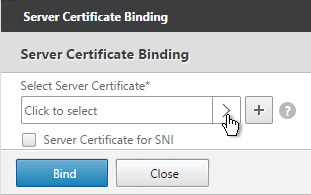
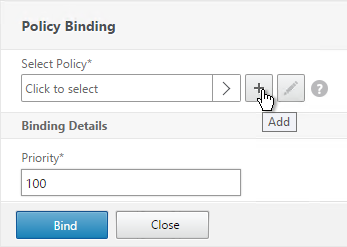
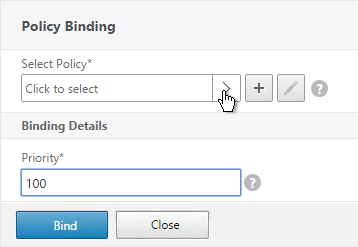
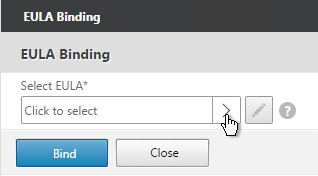
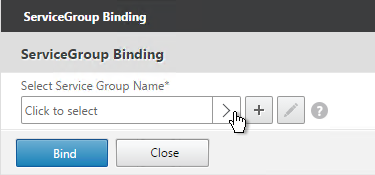
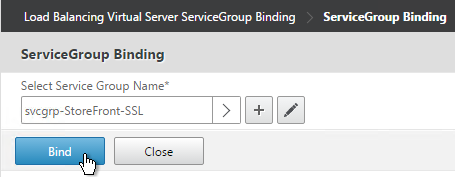
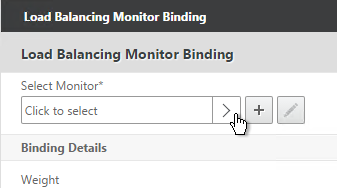
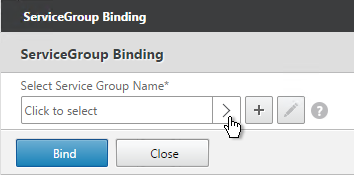
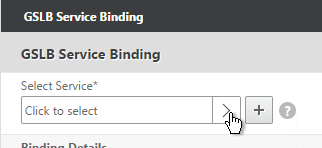
- Click the arrow next to Click to select.
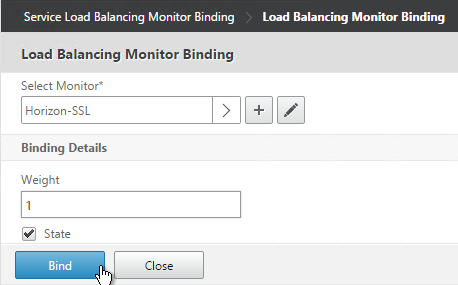
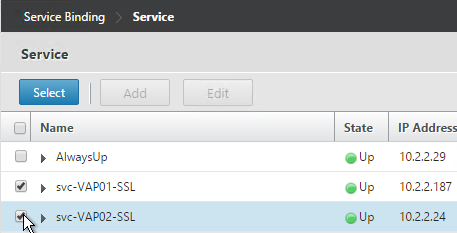
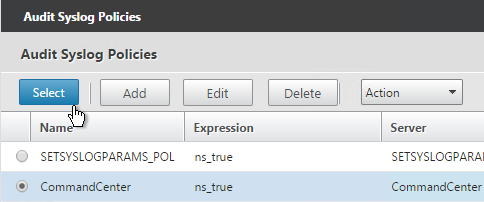
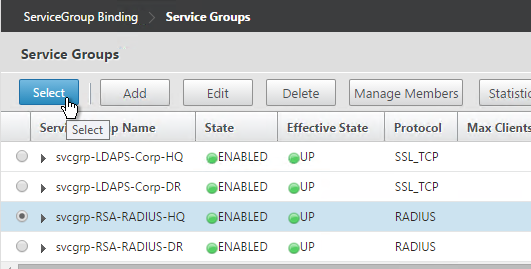
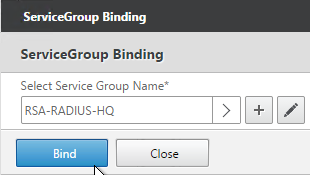
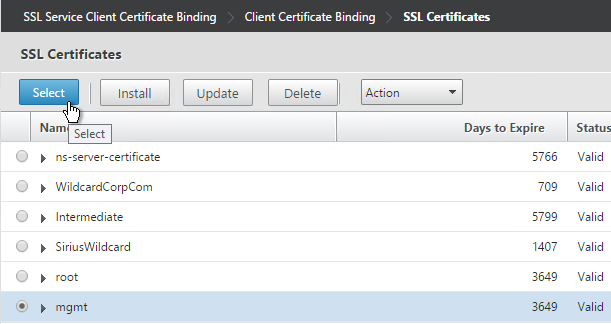
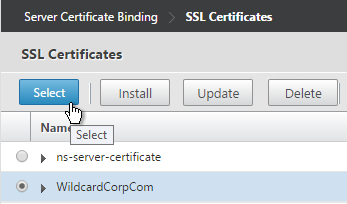
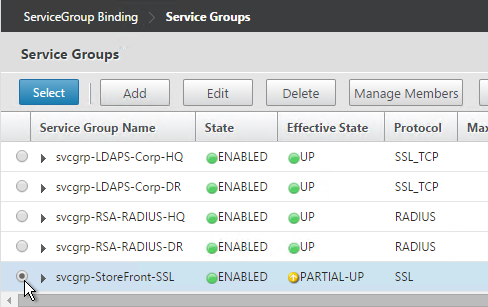
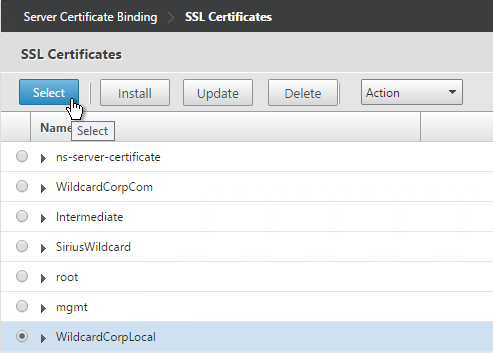
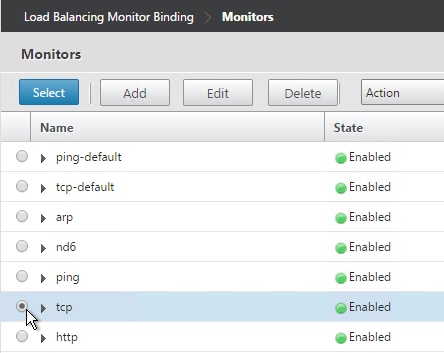
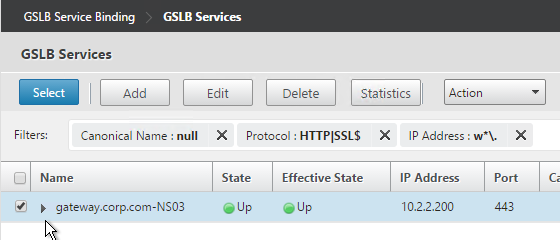
- Check the box next to an existing GSLB Service and click Select. If your GSLB is active/passive then only bind one service.
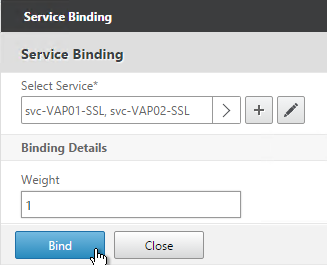
- If your GSLB is active/active then bind multiple GSLB Services. Also, you’d probably need to configure GSLB persistence (Source IP or cookies).
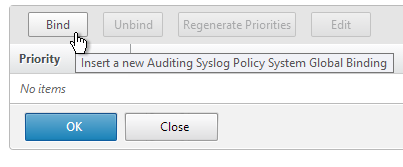
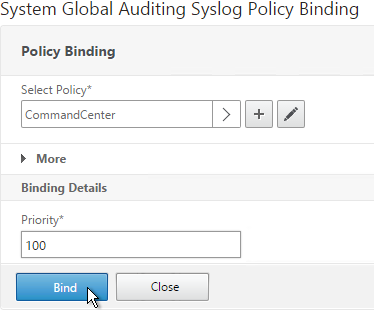
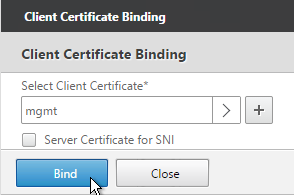
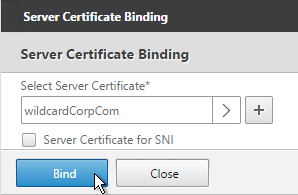
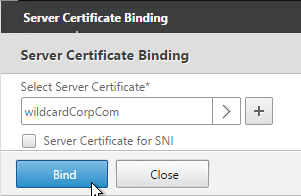
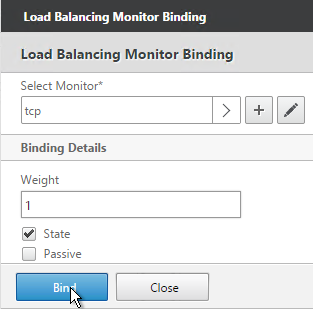
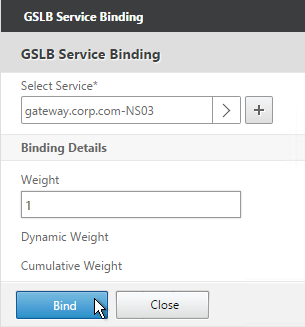
- Click Bind.
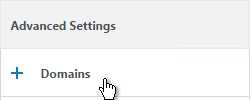
- On the right, in the Advanced Settings column, click Domains.
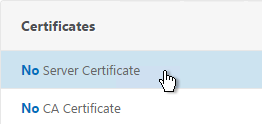
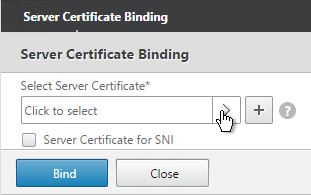
- On the left, click where it says No GSLB Virtual Server Domain Binding.

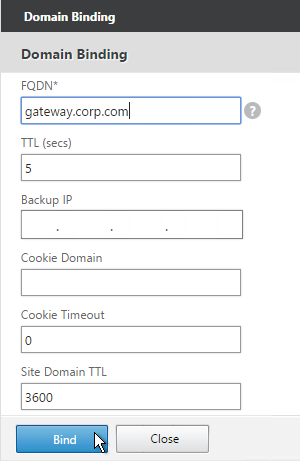
- Enter the FQDN that GSLB will resolve.
- If this GSLB is active/passive, there are two options:
- Use the Backup IP field to specify the IP address that will be handed out if the primary NetScaler is inaccessible or if the VIP on the primary appliance is marked down for any reason.
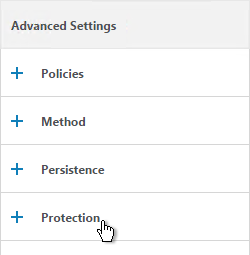
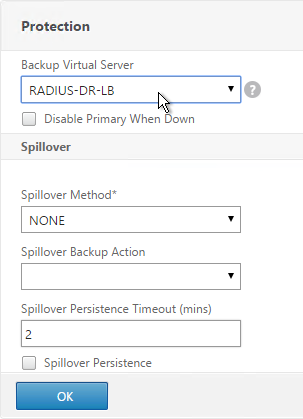
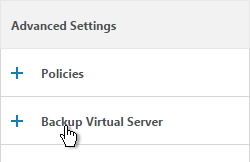
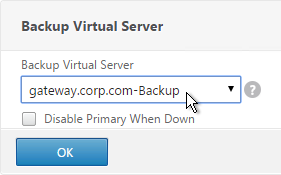
- Or, create a second GSLB Virtual Server that has the passive GSLB service bound to it. Don’t bind a Domain to the second GSLB Virtual Server. Then edit the Active GSLB Virtual Server and use the Backup Virtual Server section to select the second GSLB Virtual Server.
- Click Bind.
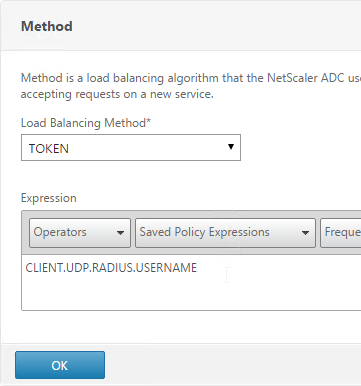
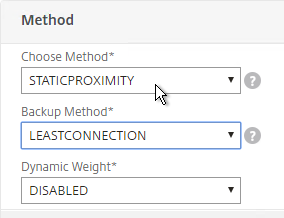
- If this is active/active GSLB, you can edit the Method section to enable Static Proximity. This assumes the Geo Location database has already been installed on the appliance.
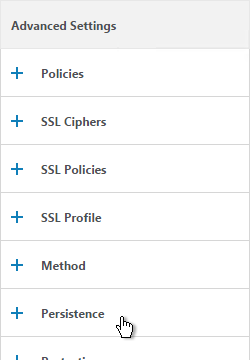
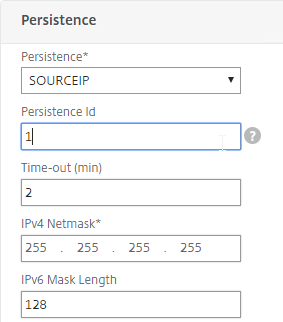
- Also for active/active, if you don’t want to use Cookie-based persistence, then you can use the Persistence section to configure Source IP persistence.
- Click Done.

- If you are configuring active/passive using the backup GSLB Virtual Server method, create a second GSLB Virtual Server that has the passive GSLB service bound to it. Don’t bind a Domain to the second GSLB Virtual Server. Then edit the Active GSLB Virtual Server and use the Backup Virtual Server section to select the second GSLB Virtual Server.
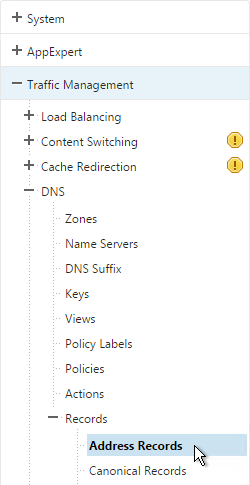
- On the left, if you expand Traffic Management > DNS, expand Records and click Address Records, you’ll see a new DNS record for the GSLB domain you just configured. Notice it is marked as GSLB DOMAIN.

- Configure identical GSLB Virtual Servers on the other NetScaler appliance. Both NetScalers must be configured identically.
- You can also synchronize the GSLB configuration with the remote appliance by going to Traffic Management > GSLB.
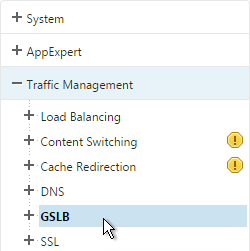
- On the right, click Synchronize configuration on remote sites.

- Use the check boxes on the top, if desired. It’s usually a good idea to Preview the changes before applying them. Then click OK to begin synchronization.
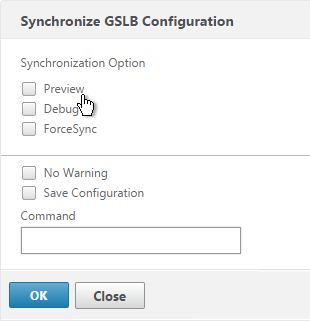
Some notes regarding GSLB Sync:
- It’s probably more reliable to do it from the CLI by running sync gslb config and one of the config options (e.g. -preview).
- GSLB Sync runs as a script on the BSD shell and thus always uses the NSIP as the source IP.
- GSLB Sync connects to the remote GSLB Site IP on TCP 3008 (if RPC is Secure) and TCP 22.
Test GSLB
- To test GSLB, simply point nslookup to the ADNS services and submit a DNS query for one of the DNS names bound to a GSLB vServer. Run the query multiple times to make sure you’re getting the response you expect.

- Both NetScaler ADNS services should be giving the same response.

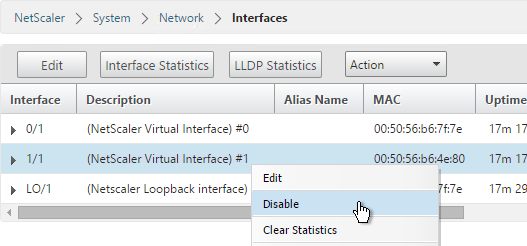
- To simulate a failure, disable the traffic Virtual Server.
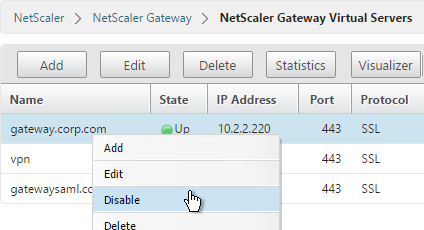
- Then the responses should change. Verify on both ADNS services.


- Re-enable the traffic Virtual Server, and the responses should return to normal.
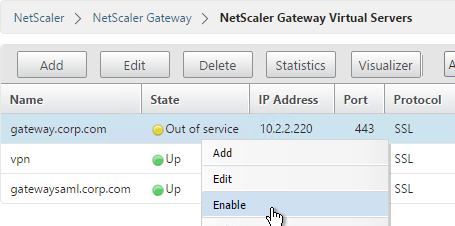


DNS Delegation
If you are enabling GSLB for the domain gateway.corp.com, you’ll need to create a delegation at the server that is hosting the corp.com DNS zone. For public GSLB, you need to edit the public DNS zone for corp.com.
DNS Delegation instructions will vary depending on what product host’s the public DNS zone. This section details Microsoft DNS, but it should be similar in BIND or web-based DNS products.
There are two ways to delegate GSLB-enabled DNS names to NetScaler ADNS:
- Delegate the individual record. For example, delegate gateway.corp.com to the two NetScaler ADNS services (gslb1.corp.com and gslb2.corp.com).
- Delegate an entire subzone. For example, delegate the subzone gslb.corp.com to the two NetScaler ADNS services. Then create a CNAME record in the parent DNS zone for gateway.corp.com that is aliased to gateway.gslb.corp.com. When DNS queries make it to NetScaler, they will be for gateway.gslb.corp.com and thus gateway.gslb.corp.com needs to be bound to the GSLB Virtual Server instead of gateway.corp.com. For additional delegations, simply create more CNAME records.
This section covers the first method – delegating an individual DNS record:
- Run DNS Manager.
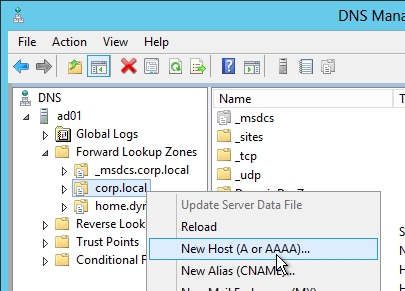
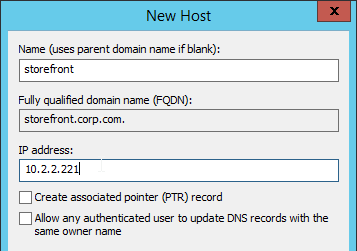
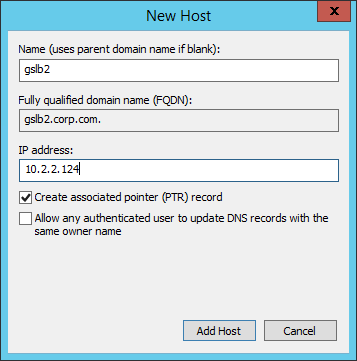
- First, create Host Records pointing to the ADNS services running on the NetScalers in each data center. These host records for ADNS are used for all GSLB delegations no matter how many GSLB delegations you need to create.
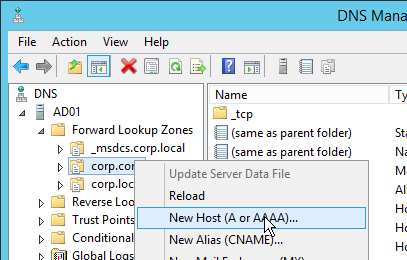
- The first Host record is gslb1 (or similar) and should point to the ADNS service (Public IP) on one of the NetScaler appliances.
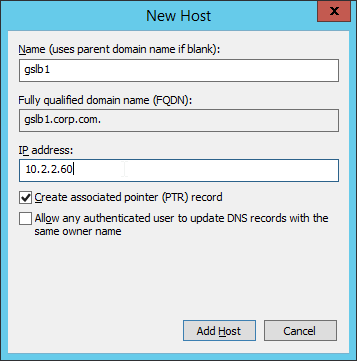
- The second Host record is gslb2 and should point to the ADNS Service (public IP) on the other NetScaler appliance.
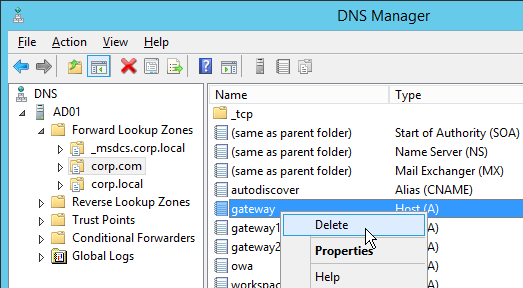
- If you currently have a host record for the service that you are delegating to GSLB (gateway.corp.com), delete it.
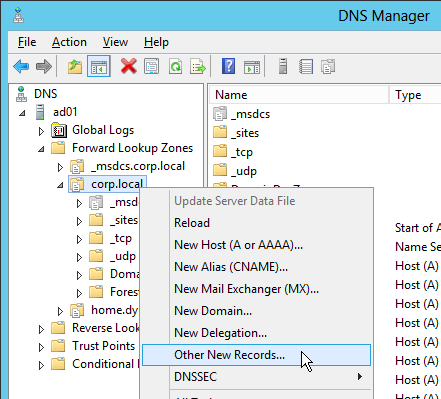
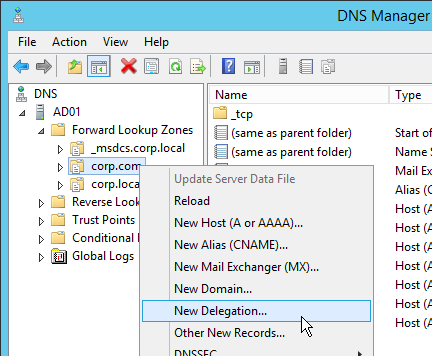
- Right-click the parent DNS zone and click New Delegation.
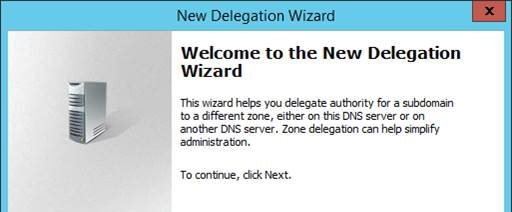
- In the Welcome to the New Delegation Wizard page, click Next.
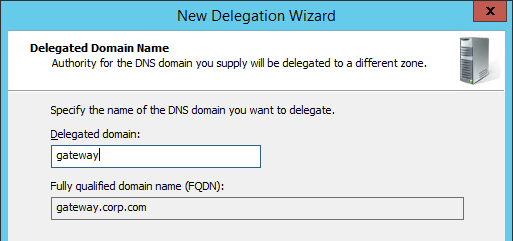
- In the Delegated Domain Name page, enter the left part of the DNS record that you are delegating (e.g. gateway). Click Next.
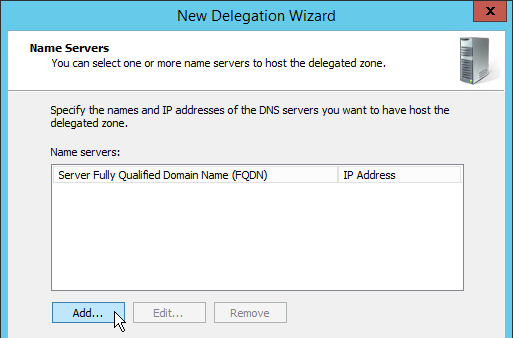
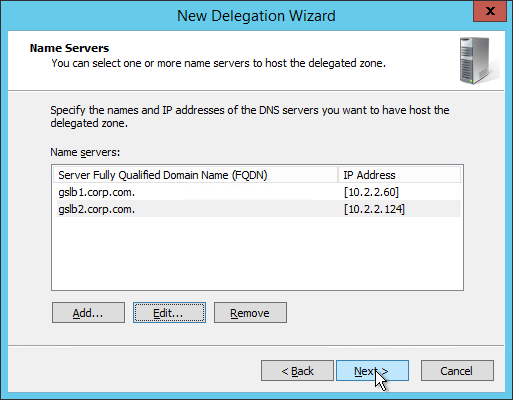
- In the Name Servers page, click Add.
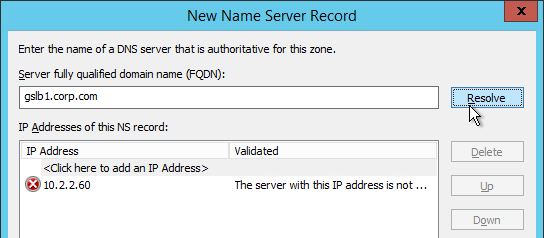
- This is where you specify gslb1.corp.com and gslb2.corp.com. Enter gslb1.corp.com and click Resolve. Then click OK. If you see a message about the server not being authoritative for the zone, ignore the message.
- Then click Add to add the other GSLB ADNS server.
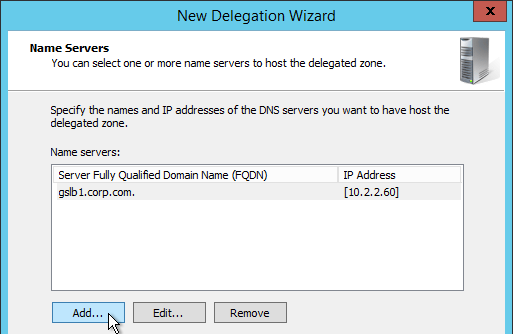
- Once both ADNS servers are added to the list, click Next.
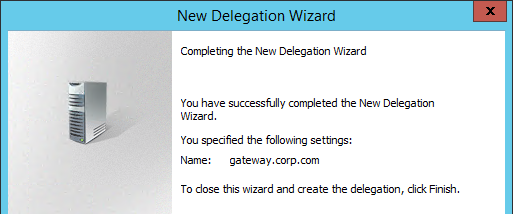
- In the Completing the New Delegation Wizard page, click Finish.
- If you run nslookup against your Microsoft DNS server, it will respond with Non-authoritative answer. That’s because it got the response from NetScaler and not from itself.

That’s all there is to it. Your NetScalers are now DNS servers. For active/passive, the NetScalers will hand out the public IP address of the primary data center. When the primary data center is not accessible, GSLB will hand out the GSLB Service IP bound to the Backup GSLB vServer.
Geo Location Database
If you want to use DNS Policies or Static Proximity GSLB Load Balancing or Responders based on user’s location, import a geo location database.
NetScaler 11 has a built-in database at /var/netscaler/inbuilt_db/ that you can use. Or you can download a database. Common free databases are:
- GeoLite Legacy – http://dev.maxmind.com/geoip/legacy/geolite/
- IP2Location Lite – http://lite.ip2location.com/
For IP2Location, see the blog post Add IP2Location Database as NetScaler’s Location File for instructions on how to import.
To Download GeoLite Legacy:
- Download the GeoLite Country database CSV from http://dev.maxmind.com/geoip/legacy/geolite/.
- Note: GeoLite City is actually two files that must be merged as detailed at Citrix Blog Post GeoLite City as NetScaler location database. GeoLite Country doesn’t need any preparation.
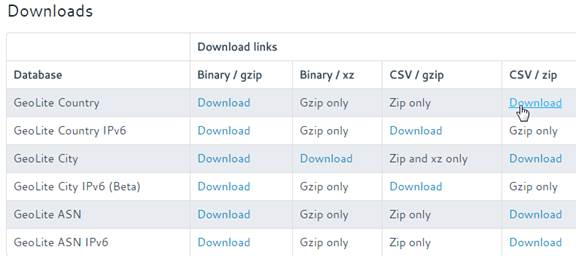
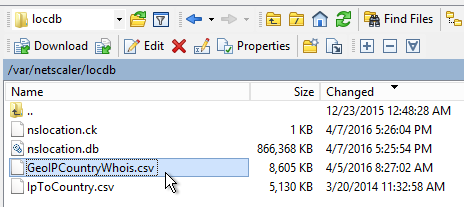
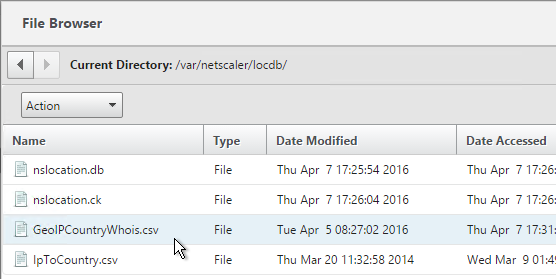
- Upload the extracted database (.csv file) to the NetScaler appliance at /var/netscaler/locdb.
To import the Geo database (including the built-in database):
- In the NetScaler GUI, on the left, expand AppExpert, expand Location and click Static Database (IPv4).
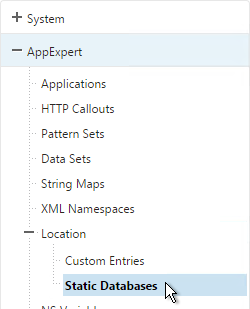
- On the right, click Add.

- Change the Import From selection to File.
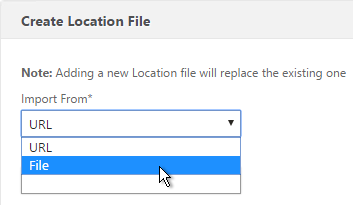
- Click Browse.
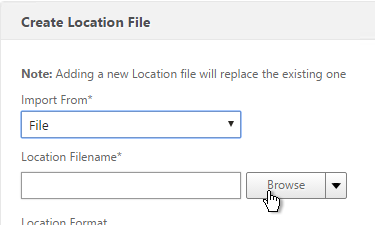
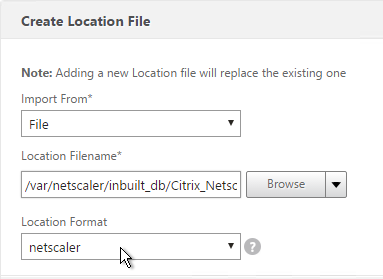
- For the built-in database, browse to /var/netscaler/inbuilt_db/ and open Citrix_NetScaler_InBuild_GeoIP_DB.csv.
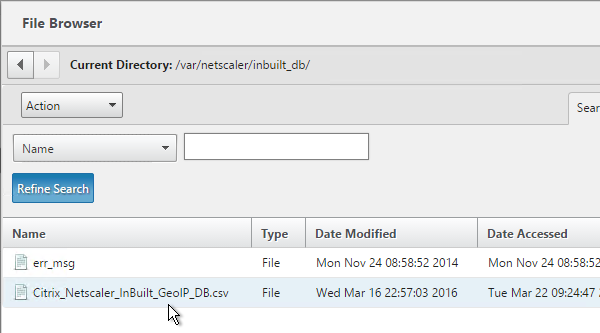
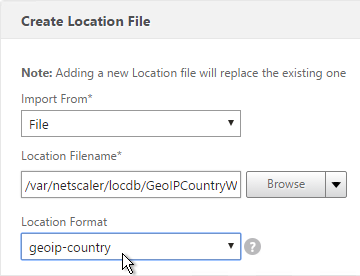
- Or browse to the Geo Location database file you uploaded and open it.
- In the Location Format field, if using the built-in database, select netscaler.
- If using GeoLite Country, select geoip-country.
- Click Create.
- When you open a GSLB Service, the public IP will be translated to a location.
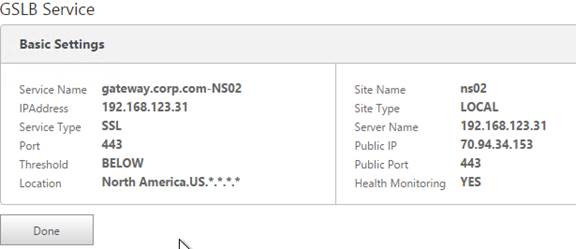
You can use the Geo locations in a DNS Policy, static proximity GSLB Load Balancing, or Responders:
- Citrix Knowledgebase article CTX130701 – How to Block Access to a Website Using a Location Database Based on User’s Country
- Neil Spellings blog post – Using Netscaler HTTP callouts for real-time GeoIP and anonymous proxy detection
- Citrix Docs.citrix.com – Overriding Static Proximity Behavior by Configuring Preferred Locations
