This page contains a list of available XenApp 6.5 updates. It it not meant to be a comprehensive build procedure. Many of the updates are Limited Release and thus are only accessible to Citrix Partners and Citrix Support.
Navigation
- XenApp 6.5 Hotfix Rollup Pack 7
- XenApp 6.5 Hotfixes 💡
- AppCenter 6.5.13
- XenApp Commands Hotfix 4
- Citrix Group Policy Management 1.7.11
- Uninstall Citrix Single Sign-on Console
- HDX WMI Provider Update 1
- HDX MediaStream for Flash 2.0 Hotfix 9
- Server Configuration Tool 1.2 Hotfix 3
- Service Provider Automation Tools
- Citrix Receiver Enterprise 3.4 Update 5
- Offline Plug-in 6.7.6
- Citrix Profile Management 5.7
- Universal Print Server Client 7.6 Hotfix 1
- Citrix Group Policy Client Side Extension 1.7 Hotfix 9
- EdgeSight 5.4 Agent Hotfix 7 for XenApp 6
- Web Interface 5.4 Hotfix 2
💡 = Recently Updated
XenApp 6.5 Hotfix Rollup Pack 7
From CTX120842 Best Practices for Citrix XenApp Hotfix Rollup Pack Installation and Deployment: Citrix recommends the following order of deployment:
- Zone data collector
- Backup zone data collectors
- Database connection server (Applies only to Resource Manager for XenApp 5 for Microsoft Windows Server 2003)
- Primary farm metric server (Applies only to Resource Manager for XenApp 5 for Microsoft Windows Server 2003)
- Backup farm metric server (Applies only to Resource Manager for XenApp 5 for Microsoft Windows Server 2003)
- Member servers
To install a Hotfix Rollup Pack, do the following:
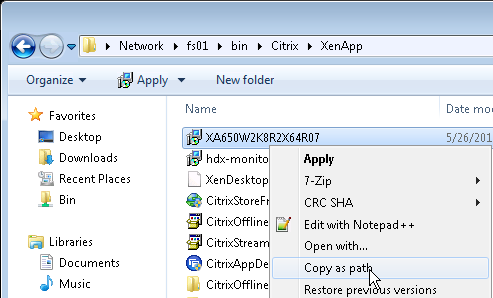
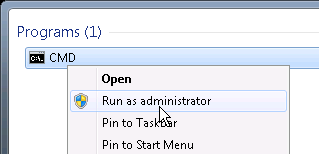
- Go to the downloaded Hotfix Rollup Pack 7, shift+right-click XA650W2K8R2X64R07.msp and click Copy as path.
- Run cmd.exe elevated.
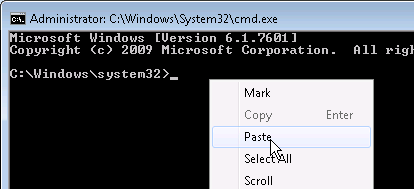
- Right-click the command prompt and paste the path. Then press <Enter> to run it.

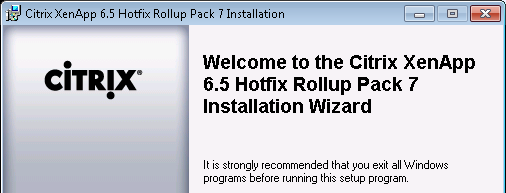
- In the Welcome to the Citrix XenApp 6.5 Hotfix Rollup Pack 7 Installation Wizard page, click Next.
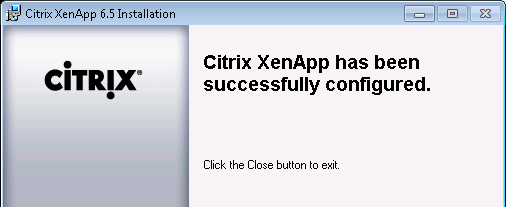
- In the Citrix XenApp has been successfully configured page, click Close.
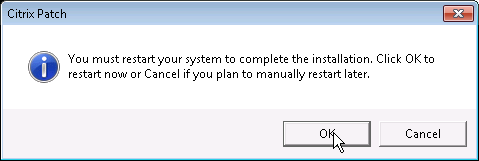
- Click OK when prompted to reboot.
XenApp 6.5 Hotfixes
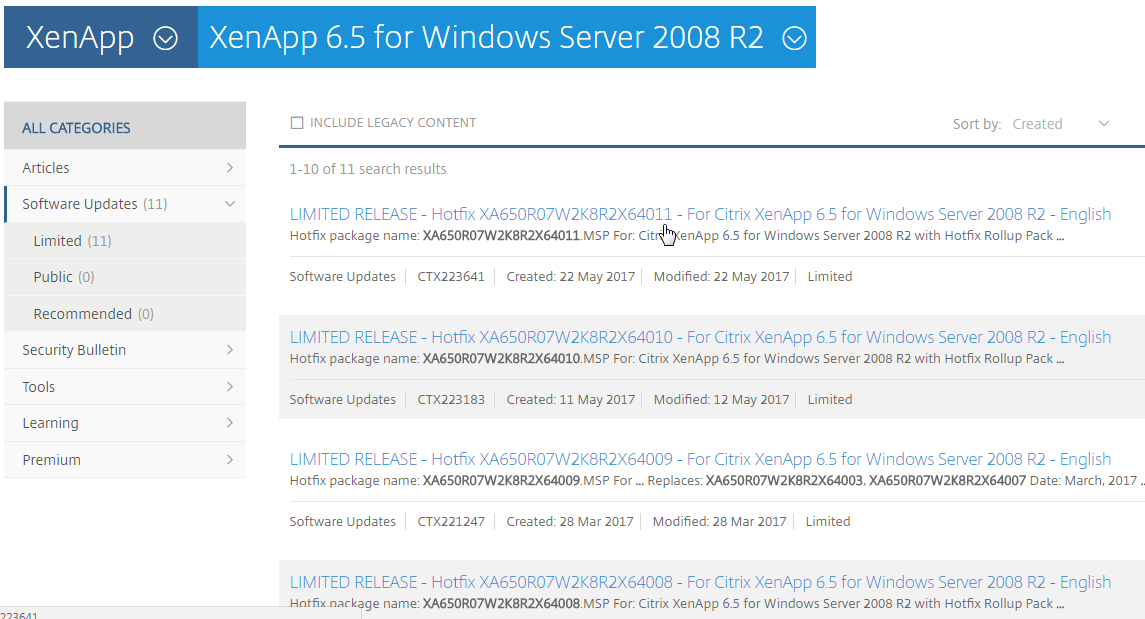
Download post-R07 hotfixes from support.citrix.com by searching for XA650R07*. For example, Hotfix 11 contains a fix for the Citrix Print Management Service. 💡
Citrix CTX129229 Recommended Hotfixes for XenApp 6.x on Windows Server 2008 R2.
If you have several hotfixes to install, create a script similar to the following to install the hotfixes automatically.
for /f %%i in ('dir /b "%~dp0*650W2K8R2R07*.msp"') do (
start /wait msiexec /p "%~dp0%%i" /passive /norestart /l*v "%temp%\%%i.log"
timeout /t 3 /NOBREAK
)
pause
Then run the script elevated.
AppCenter 6.5.13
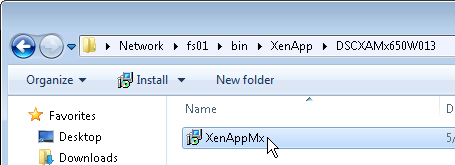
- Go to the downloaded Citrix AppCenter 6.5 Hotfix 13 (DSCXAMx650W013) and run XenAppMx.msi.
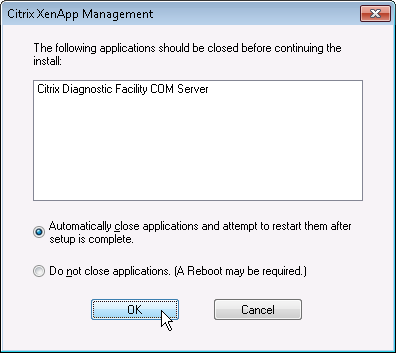
- If you see this message, click OK.
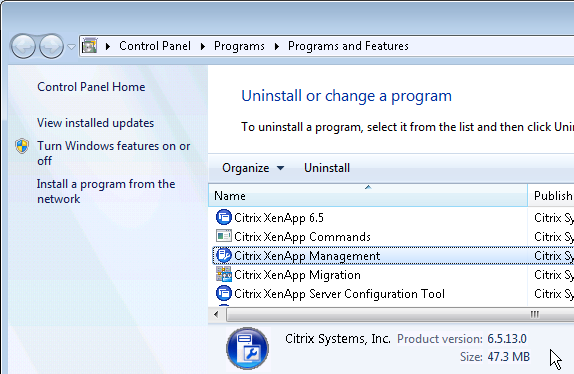
- After installation, in Programs and Features, Citrix XenApp Management will be shown as version 6.5.13.0.
XenApp Commands Hotfix 4
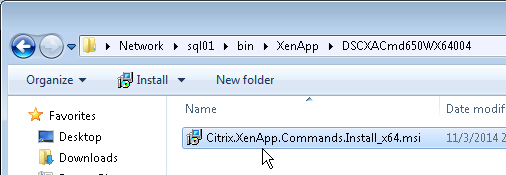
- Go to the downloaded XenApp Commands Hotfix 4 (DSCXACmd650WX64004) and run XenApp.Commands.Install_x64.msi.
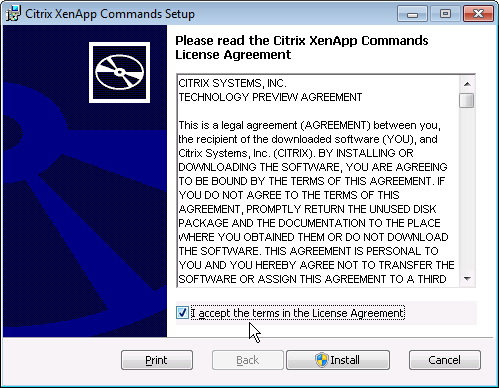
- In the Please read the Citrix XenApp Commands License Agreement page, check the box next to I accept and click Install.
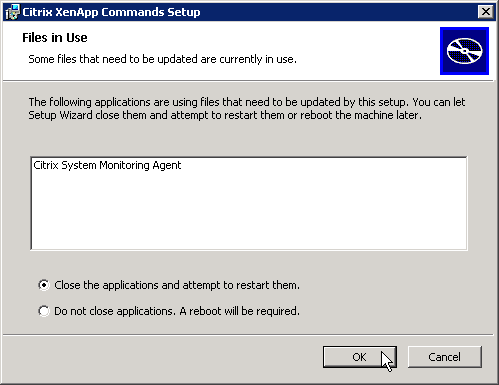
- If you see a Files in Use page, click OK.
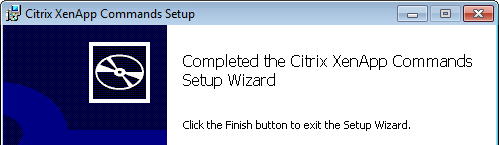
- In the Completed the Citrix XenApp Commands Setup Wizard page, click Finish.
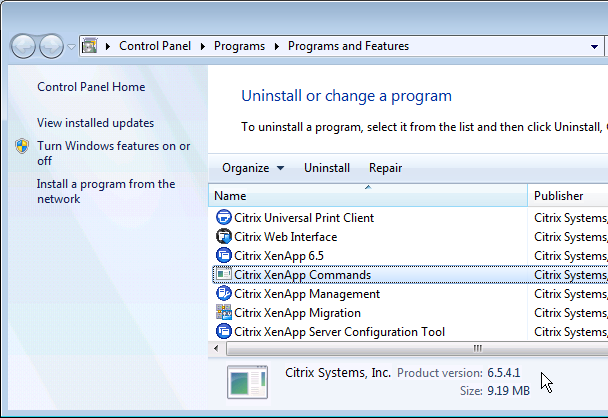
- Programs and Features lists Citrix XenApp Commands as version 6.5.4.1.
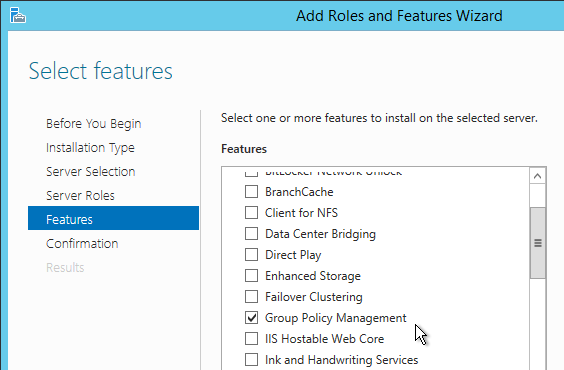
Citrix Group Policy Management 1.7.11
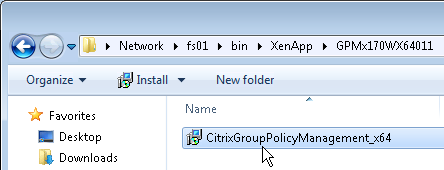
- Go to the downloaded Citrix Group Policy Management 1.7.11 (GPMx170WX64011) and run CitrixGroupPolicyManagement_x64.msi. It installs automatically. Note: this hotfix might break AD GPOs.
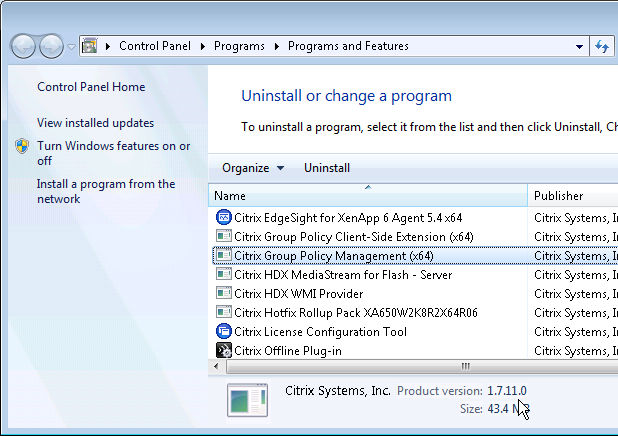
- Programs and Features shows it as version 1.7.11.0.
- This update adds a new Citrix Policy setting at Computer > Server Settings > Graceful session logoff: ignore process. This is equivalent to LogoffCheckSysModules.

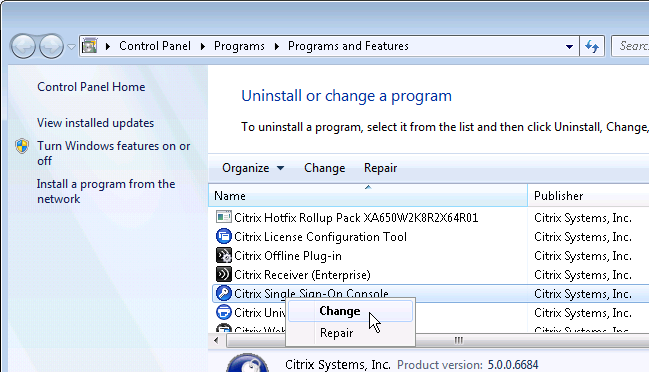
Uninstall Citrix Single Sign-on Console
If you have no desire to implement Citrix Single Sign-on then uninstall the console.
- Go to Programs and Features, right-click Citrix Single Sign-on Console and click Change.
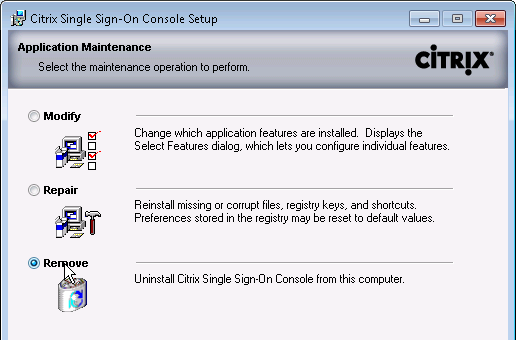
- On the Application Maintenance page, select Remove and click Next.
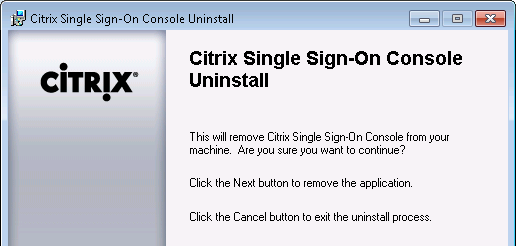
- On the Citrix Single Sign-On Console Uninstall page, click Next.
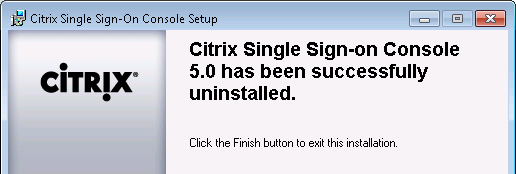
- On the Citrix Single Sign-on Console 5.0 has been successfully uninstalled page, click Finish.
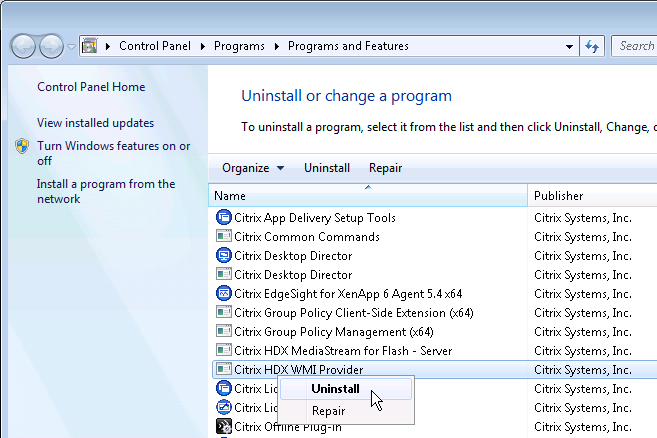
HDX WMI Provider Update 1
- Run Programs and Features, right-click Citrix HDX WMI Provider and click Uninstall. Notice that the version is currently 2.0.0.0
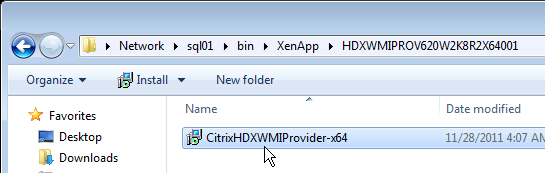
- Go to the downloaded Citrix HDX WMI Provider Update 1 (HDXWMIPROV620W2K8R2X64001) and run CitrixHDXWMIProvider-x64.msi. It installs automatically.
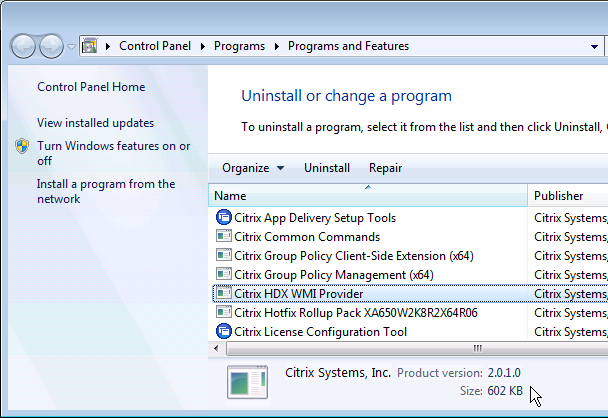
- Programs and Features will now show it as version 2.0.1.0.
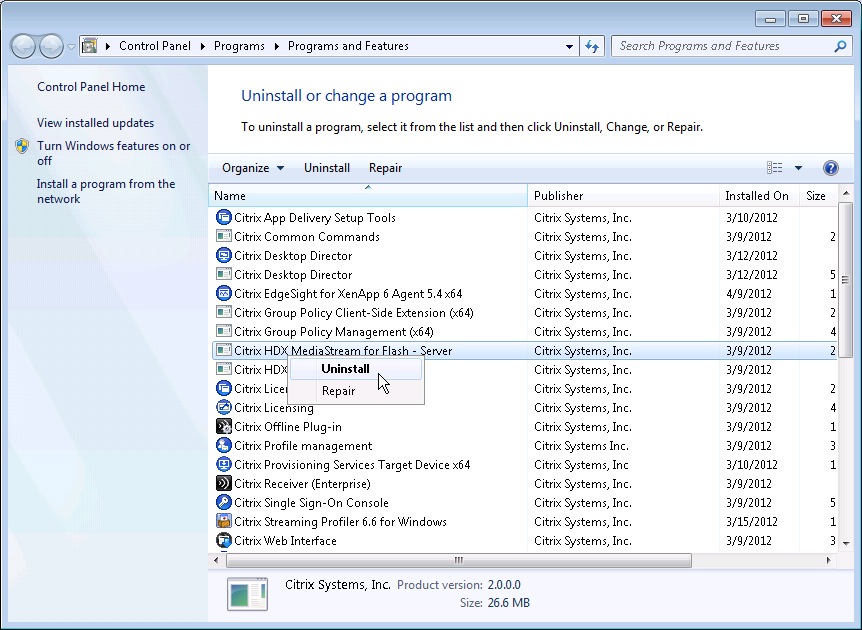
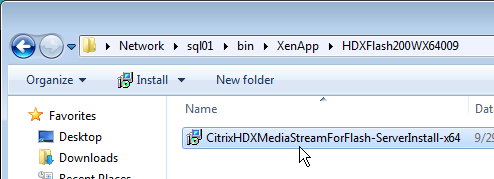
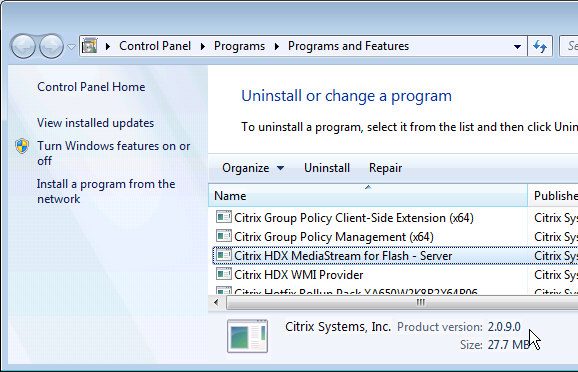
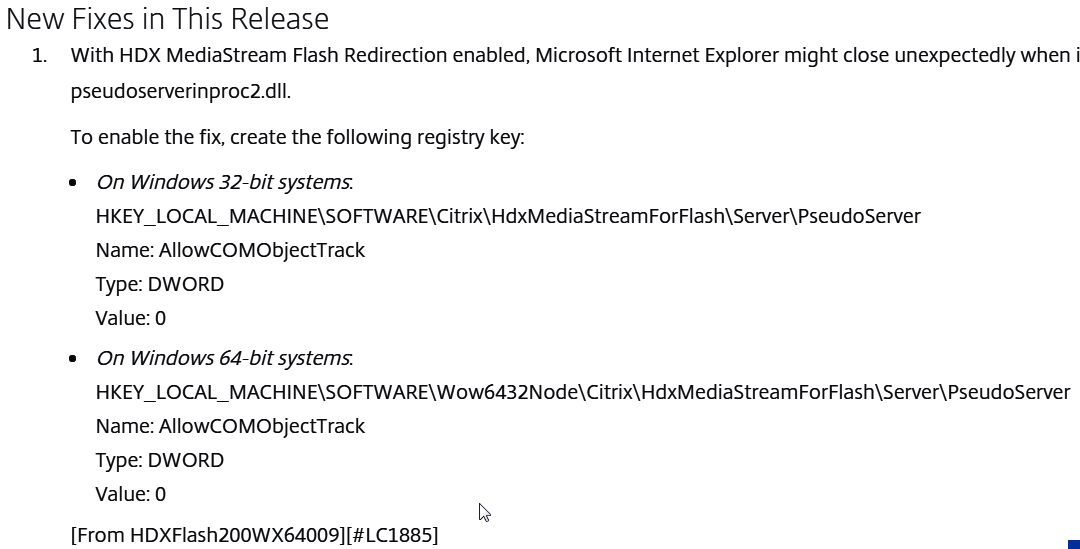
HDX MediaStream for Flash 2.0 Hotfix 9
- Run Programs and Features, right-click Citrix HDX MediaStream for Flash – Server and click Uninstall. Notice that the version is currently 2.0.0.0
- Go to the downloaded HDXFlash200WX64009 and run CitrixHDXMediaStreamForFlash-ServerInstall-x64.msi.
- If you refresh Programs and Features, it now shows the version as 2.0.9.0.
- The article details a registry key that needs to be configured.
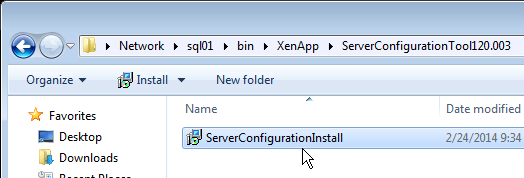
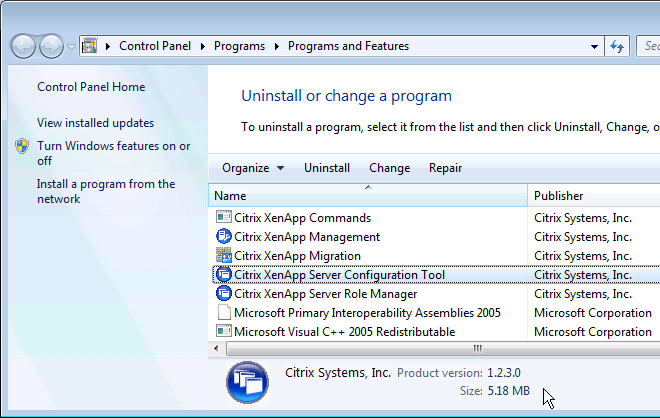
Server Configuration Tool 1.2 Hotfix 3
- Go to the downloaded Server Configuration Tool 120.003 and run ServerConfigurationInstall.msi. It installs automatically without prompting.
- You can verify installation by looking in Programs and Features. Citrix XenApp Server Configuration Tool should be version 1.2.3.0.
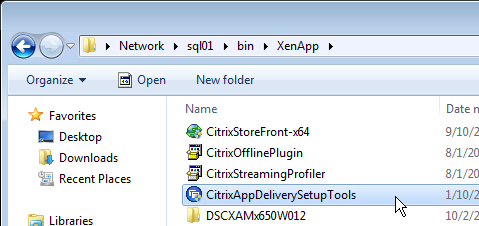
Service Provider Automation Tools
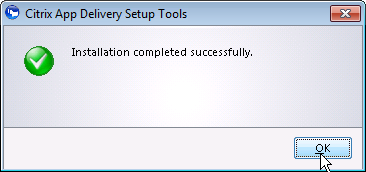
- Run the downloaded CitrixAppDeliverySetupTools.exe.
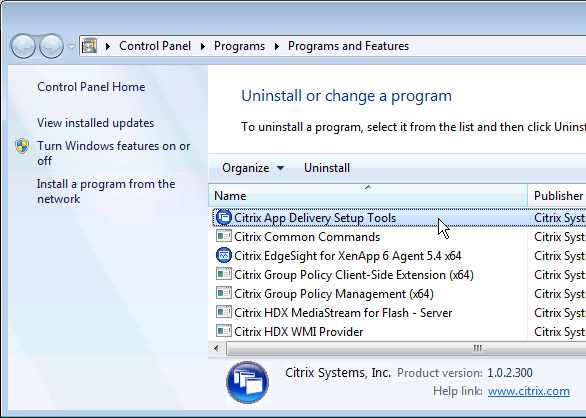
- Click OK once installation is complete.
- Programs and Features lists Citrix App Delivery Setup Tools as version 1.0.2.300.
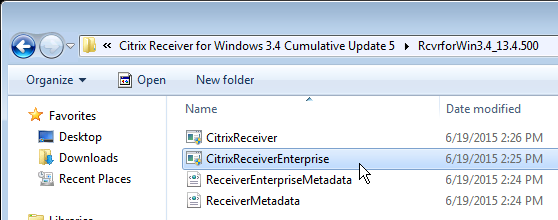
Citrix Receiver Enterprise 3.4 Update 5
- Run the downloaded Citrix Receiver Enterprise 3.4 Cumulative Update 5 (CitrixReceiverEnterprise.exe).
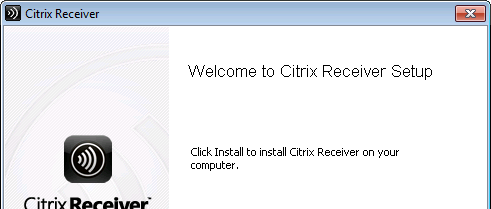
- On the Welcome to Citrix Receiver Setup page, click Install.
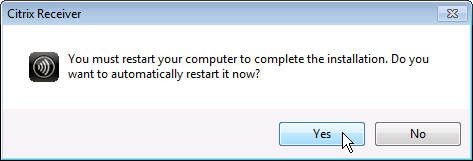
- Click Yes to reboot when prompted.
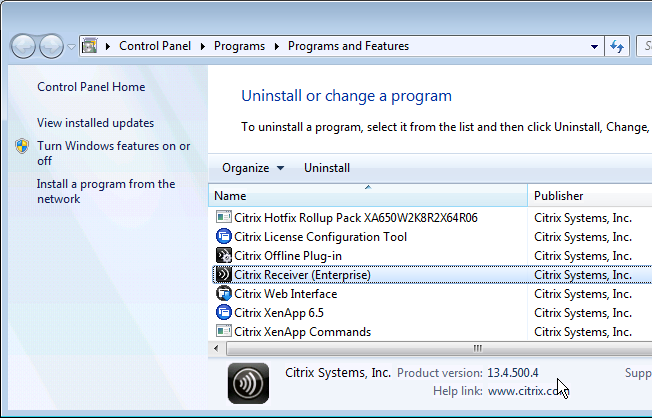
- Programs and Features lists Citrix Receiver (Enterprise) as version 13.4.500.4.
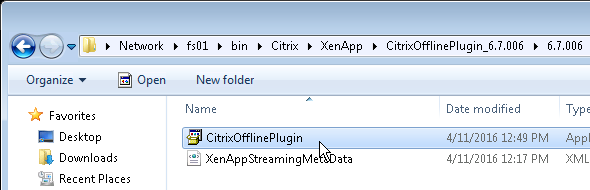
Offline Plug-in 6.7.6
- Go to the downloaded Offline Plug-in 6.7.6 and run CitrixOfflinePlugin.exe.
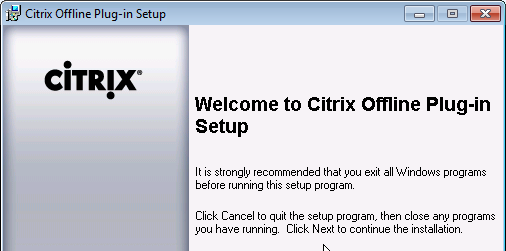
- In the Welcome to the Citrix Offline plug-in Setup page, click Next.
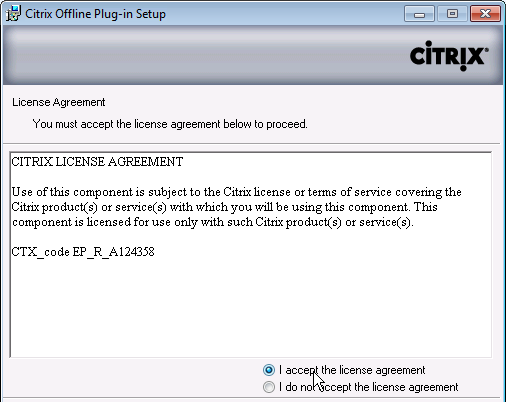
- In the License Agreement page, select I accept the license agreement and click Next.
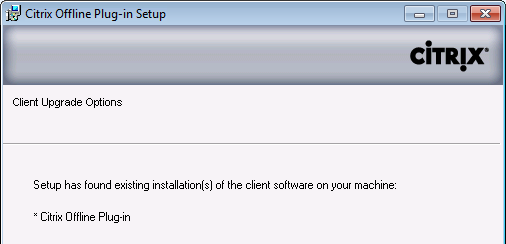
- In the Client Upgrade Options page, click Next.
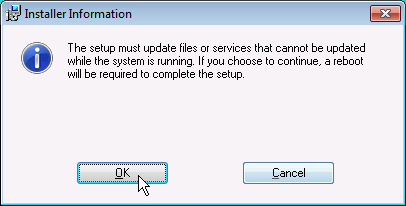
- Click OK if prompted that a reboot is required.
- In the Citrix Offline plug-in has been successfully installed page, click Finish.

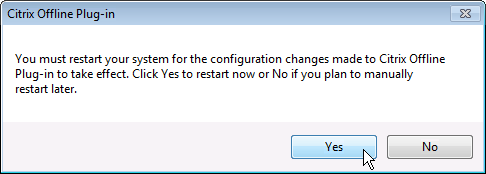
- Click Yes when prompted to restart.
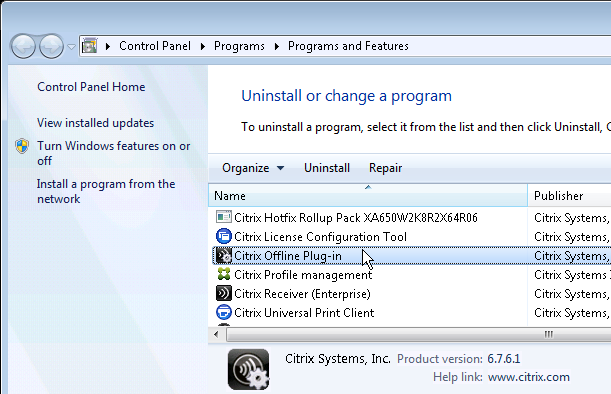
- Programs and Features lists Citrix Offline Plug-in as version 6.7.6.1.
Citrix Profile Management 5.7
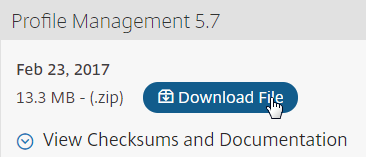
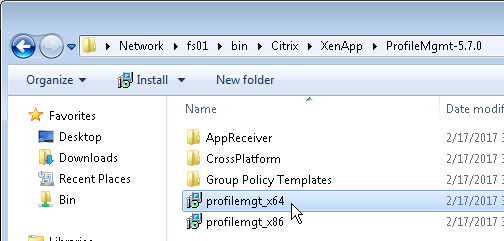
- Download Profile Management 5.7. Expand Components that are on the product ISO but also packaged separately to find it.
- Run profilemgt_x64.msi.
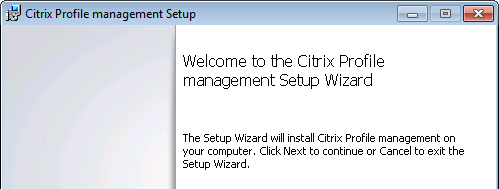
- In the Welcome to the Citrix Profile management Setup Wizard page, click Next.
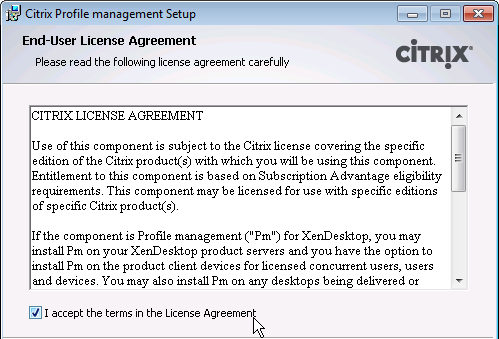
- In the End-User License Agreement page, check the box next to I accept the terms in the License Agreement and click Next.
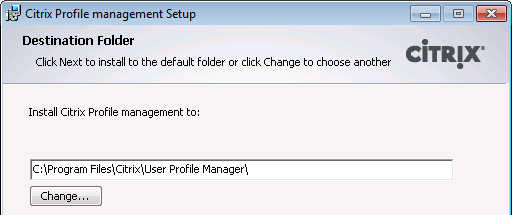
- In the Destination Folder page, click Next.
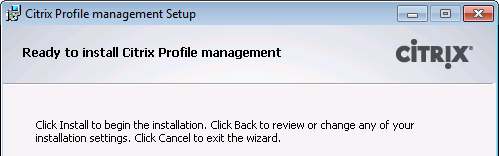
- In the Ready to install Citrix Profile management page, click Install.
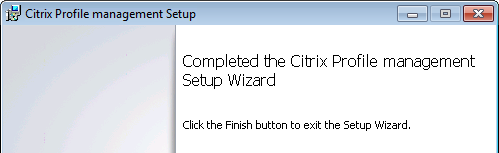
- In the Completed the Citrix Profile management Setup Wizard page, click Finish.
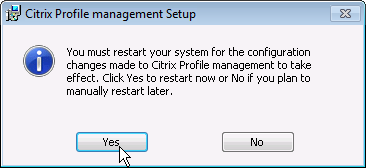
- Click Yes when prompted to restart.
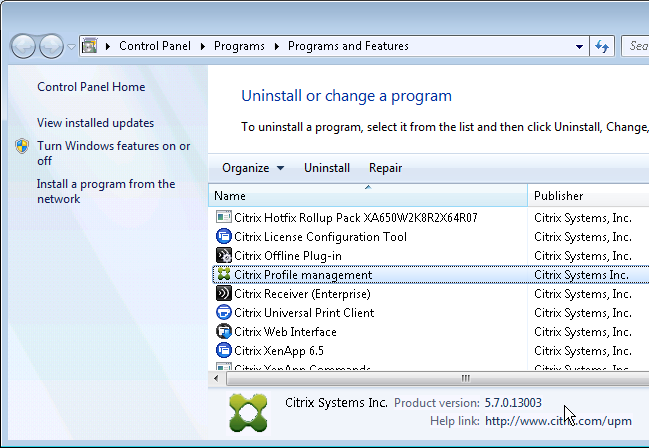
- Programs and Features lists Citrix Profile Management as version 5.7.0.13003.
Universal Print Server Client 7.6 Hotfix 1
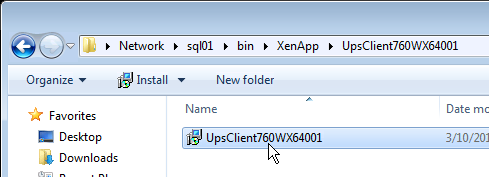
- Go to the downloaded Universal Print Server Client 7.6 Hotfix 1 and run UpsClient760WX64001.exe.
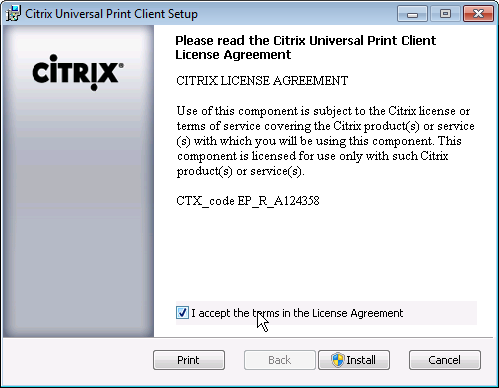
- In the License agreement page, check the box next to I accept the terms and click Install.
- In the Completed the Citrix Universal Print Client Setup Wizard page, click Finish.
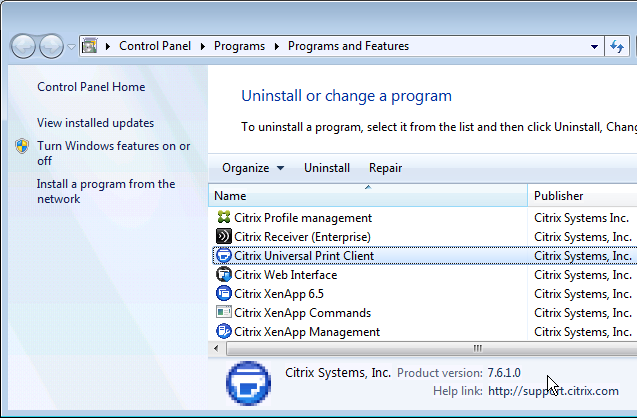
- Programs and Features lists Citrix Universal Print Client as version 7.6.1.0.
Citrix Group Policy Client Side Extension 1.7 Hotfix 9
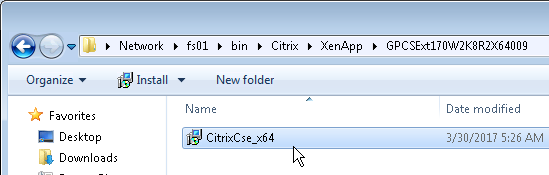
- Go to the downloaded Citrix Group Policy Client Side Extension 1.7 Hotfix 9 (GPCSExt170W28KR2X64009) and run CitrixCse_x64.msi. It installs without prompting.
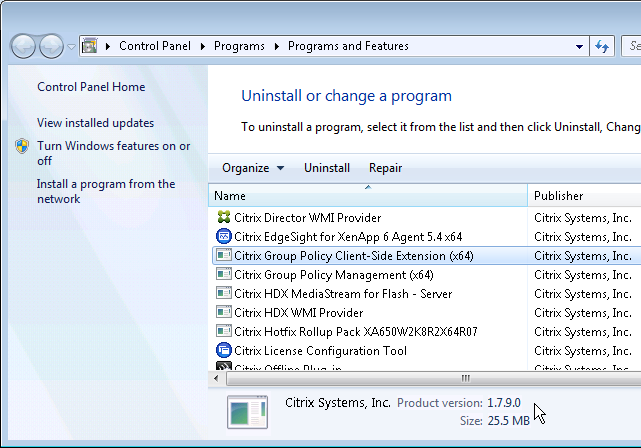
- If you look in Programs and Features, it should show version 1.7.9.0.
EdgeSight 5.4 Agent Hotfix 7 for XenApp 6
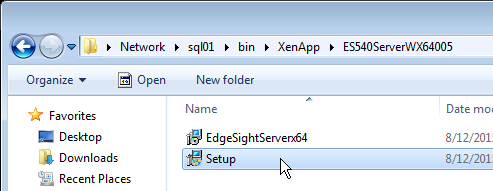
- Make sure EdgeSight 5.4 Server Hotfix 5 (ES540ServerWX64005) is installed on the EdgeSight Server.
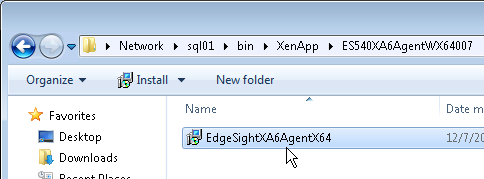
- Go to the downloaded EdgeSight 5.4 Agent Hotfix 7 for XenApp 6 and run EdgeSightXA6Agentx64.msi.
- In the Welcome to the EdgeSight for XenApp x64 Setup page, click Next.
- In the End-User License Agreement page, select I accept the terms in the License Agreement and click Next.

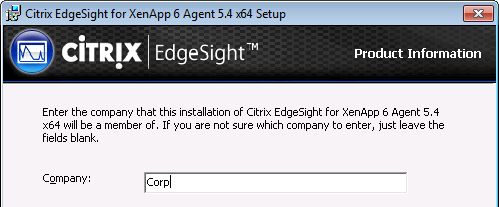
- In the Product Information page, enter the company name specified on the EdgeSight web server and click Next.
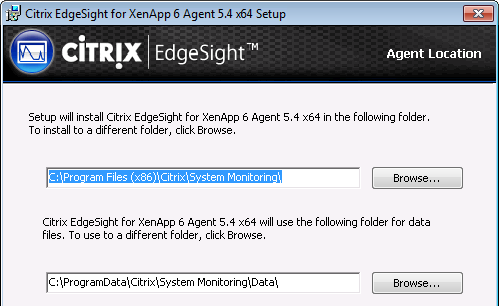
- The Agent Location page appears. If you are installing the EdgeSight Agent on a XenApp server that will be converted to a Provisioning Server vDisk, change the path for the data files so they reside on the cache disk (D:). If this is a normal XenApp server that boots from the C: drive, leave the data files in their default path. Click Next when done.
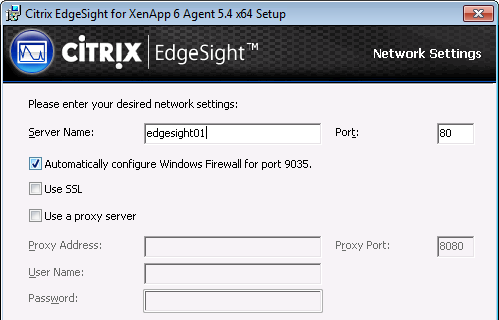
- In the Network Settings page, enter the name of your EdgeSight server and click Next.
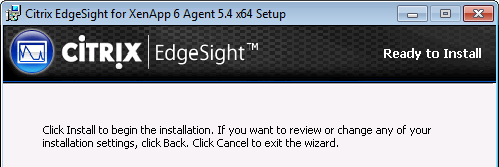
- In the Ready to Install page, click Install.
- In the EdgeSight for XenApp x64 Setup Complete page, click Finish.

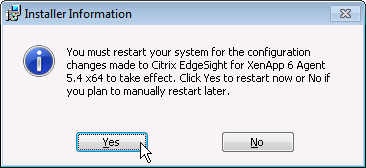
- Click Yes when prompted to reboot.
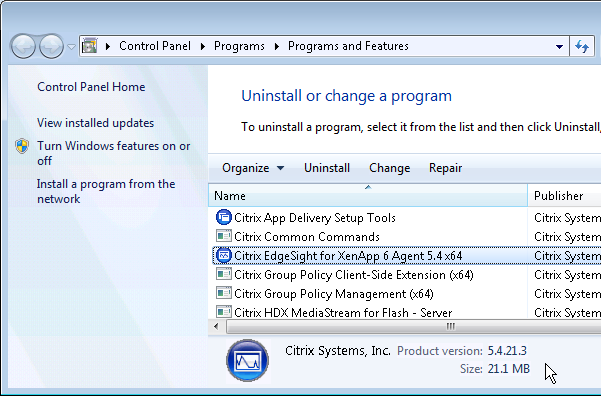
- Programs and Features displays the version as 5.4.21.3.
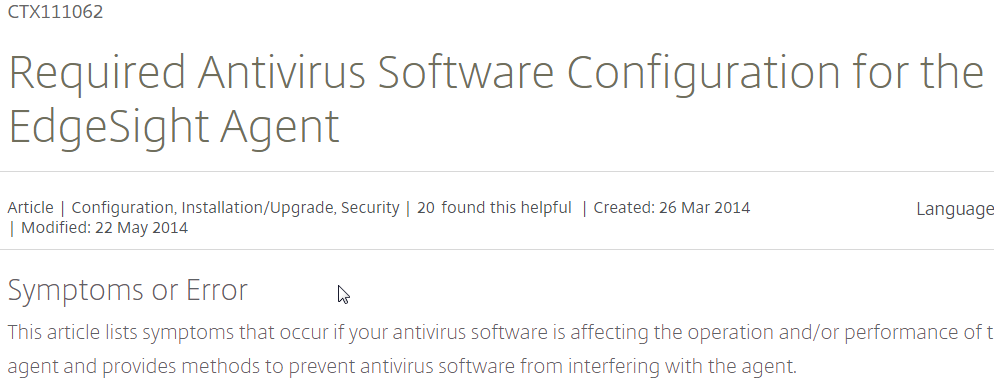
- Check out article http://support.citrix.com/article/ctx111062 for information on how to configure antivirus for the EdgeSight Agent. Do not skip this step.
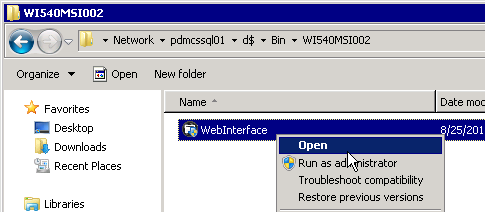
Web Interface 5.4 Hotfix 2
Only run this on your Web Interface servers.
- Run the downloaded Web Interface 5.4 Hotfix 2 WebInterface.exe from WI540MSI002.
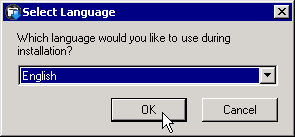
- In the Select Language page, click OK.
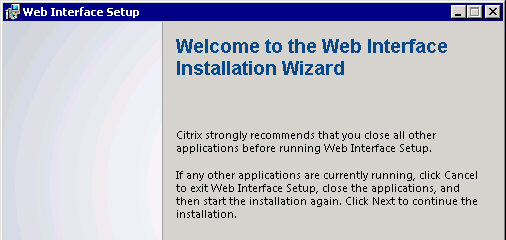
- In the Welcome to the Web Interface Installation Wizard page, click Next.
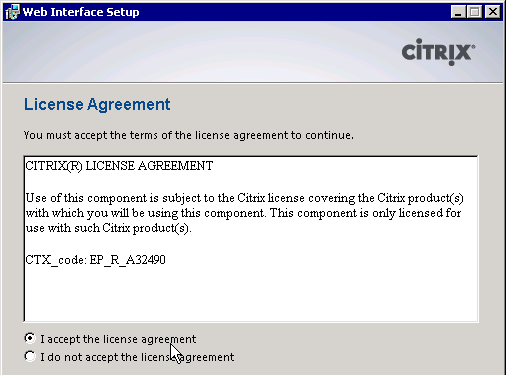
- In the License Agreement page, select I accept and click Next.
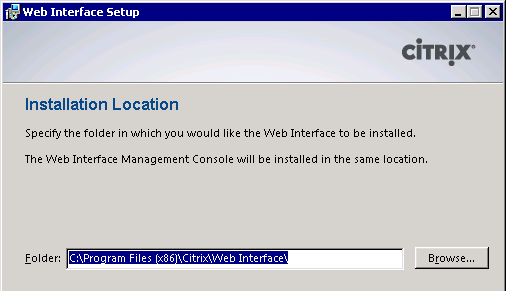
- In the Installation Location page, click Next.
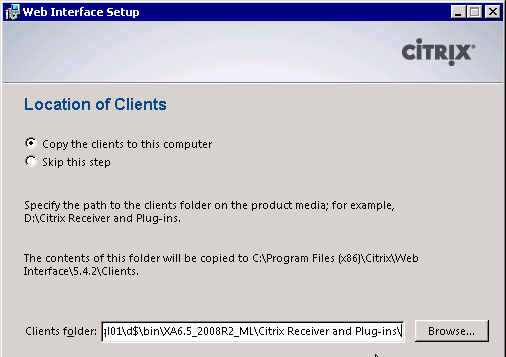
- In the Location of Clients page, change the selection to Copy the clients to this computer. Then browse to the Citrix Receiver and Plug-ins folder on the XenApp 6.5 DVD and click Next.
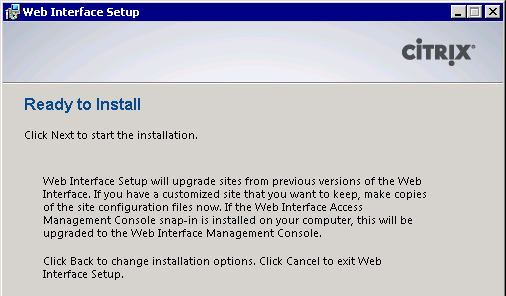
- In the Ready to Install page, click Next.
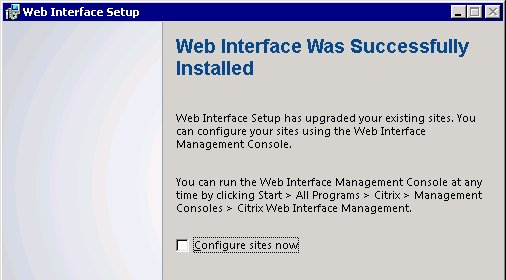
- In the Web Interface Was Successfully Install page, click Finish.


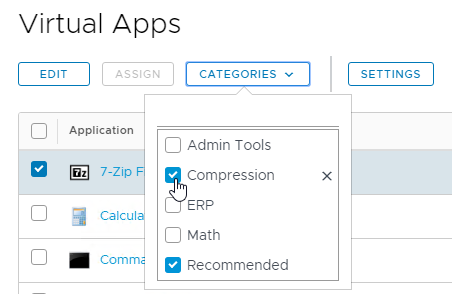
 3The category is then displayed next to the catalog item.