Navigation
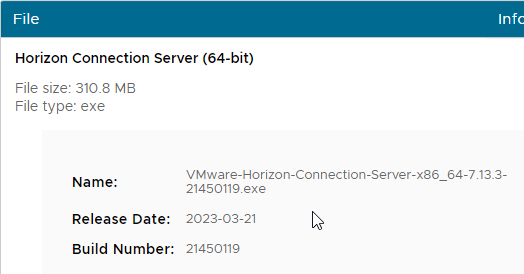
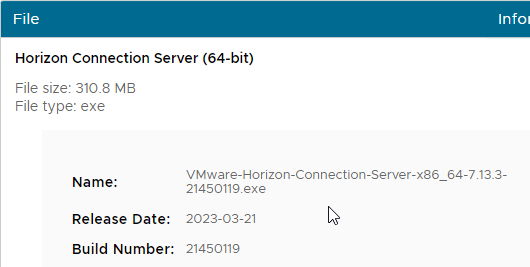
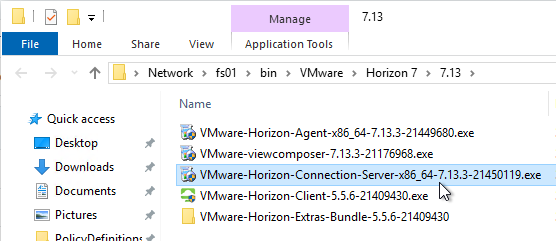
This post applies to all VMware Horizon 7 versions including 7.13.3.
- Change Log
- Preparation:
- Horizon Consoles
- Licensing
- Administrators
- Help Desk
- vCenter and View Composer
- Instant Clone Domain Accounts
- Restrict Remote Access (7.0.2 and newer)
- Disable Secure Tunnel
- Events Configuration
- Global Settings
- Global Policies
- Backups
- Tips
💡 = Recently Updated
Change Log
- 2019 Dec 14 – new Horizon Consoles section
- 2019 Sep 23 – updated Docs links for Horizon 7.10. Added more Horizon Console screenshots.
- 2019 Jul 28 – Global Settings – added link to Lithnet.IdleLogoff – Log off users after periods of inactivity (with group policy support)
- And added link to Raymond Chen How can I log users off after a period of inactivity, rather than merely locking the workstation?
- 2019 Jul 5 – added more Horizon Console instructions for Horizon 7.9
- 2019 Mar 23 – Global Settings – added steps to enable domain list and logon as current user
- 2018 Aug 2 – Help Desk – added link to Horizon Helpdesk Utility Fling
- 2018 May 29 – updated Docs links for Horizon 7.5
- 2018 Jan 5 – updated Docs links for Horizon 7.4
Preparation
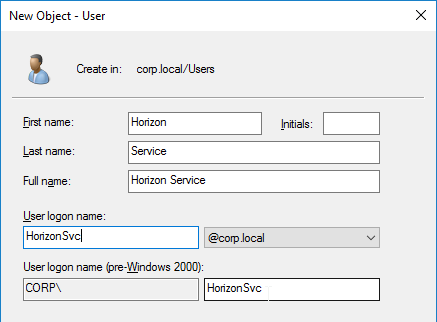
Horizon Service Account
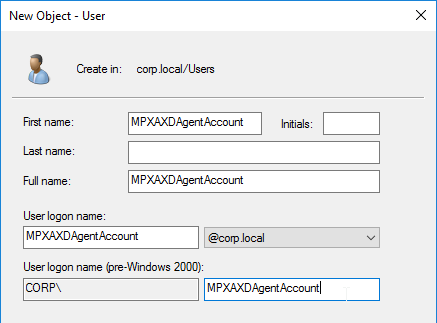
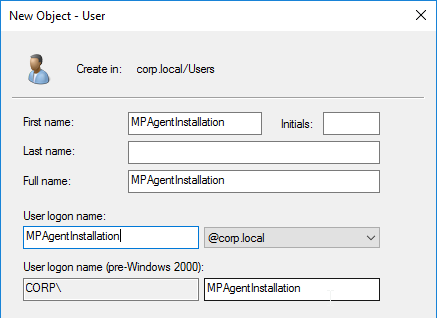
- Create an account in Active Directory that Horizon View will use to login to vCenter. This account can also be used by Composer and Instant Clones to create computer accounts in Active Directory.
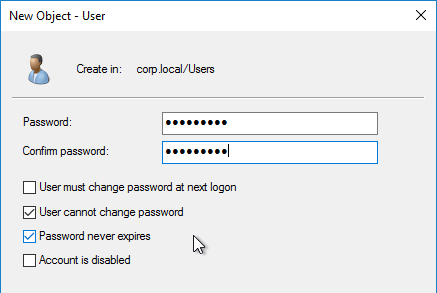
- Make sure the password does not expire.
- Domain User is sufficient. Permissions will be delegated where needed.
vCenter Role for View Composer
This role has all permissions needed for both full clones and linked clones. See Privileges Required for the vCenter Server User and View Composer and Instant Clone Privileges Required for the vCenter Server User at VMware Docs.
See the Product Interoperability Matrix for supported vCenter versions.
Create vSphere Role:
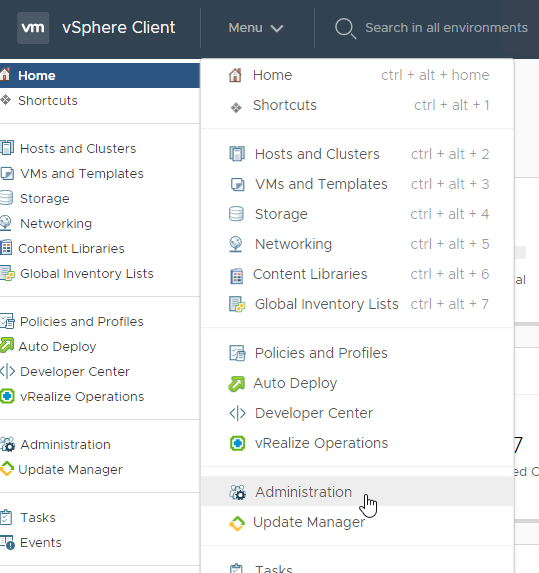
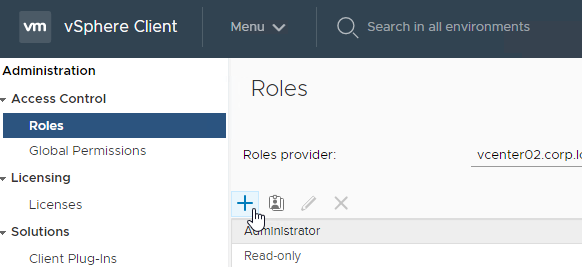
- In vSphere Web Client, go to Administration.
- In the Roles node, click the plus icon to add a Role.
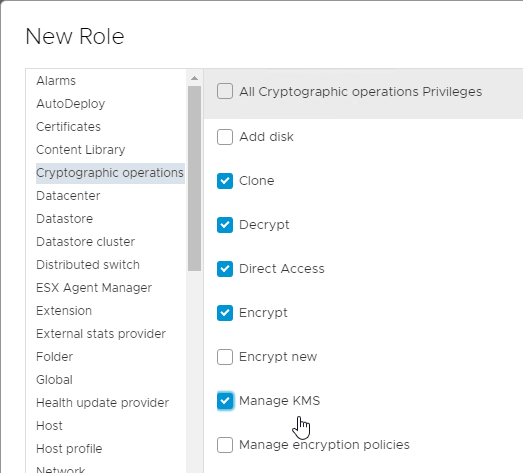
- If you are using vTPM, then on the left, click Cryptographic operations. On the right, enable Clone, Decrypt, Direct Access, Encrypt, and Manage KMS. Scroll down on the right to see more Cryptographic operations permissions.
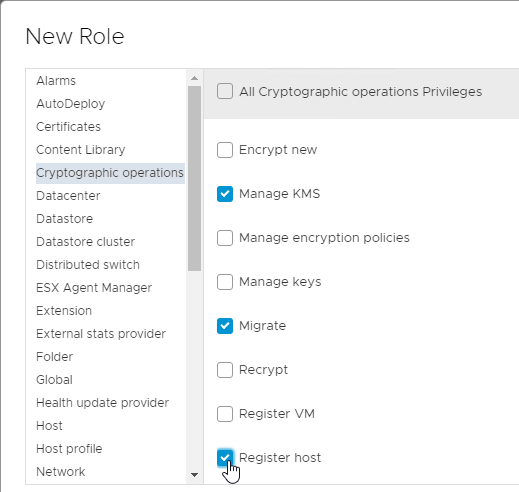
- While still in Cryptographic operations, scroll down and enable Migrate and Register host.
- While still in Cryptographic operations, scroll down and enable Migrate and Register host.
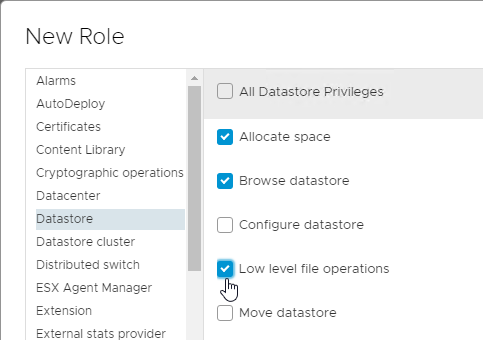
- On the left, click Datastore. On the right, enable Allocate space, Browse datastore, and Low level file operations.
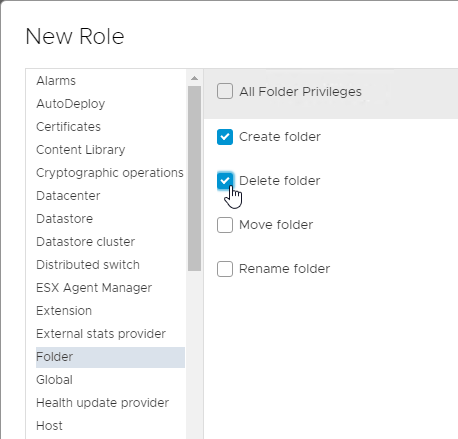
- On the left, click Folder. On the right, enable Create folder, and Delete folder.
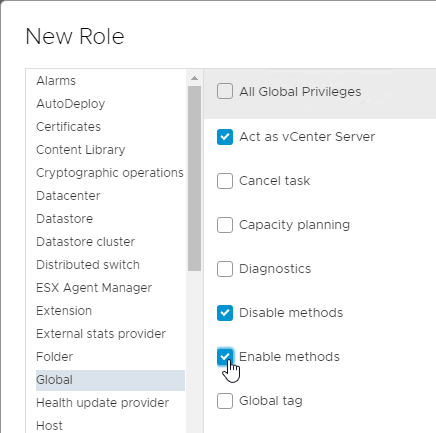
- On the left, click Global. On the right, enable Act as vCenter Server, Disable Methods, and Enable Methods, and then scroll down on the right to see more Global permissions.
- While still in Global, enable, Manage custom attributes, Set custom attribute, and System tag.
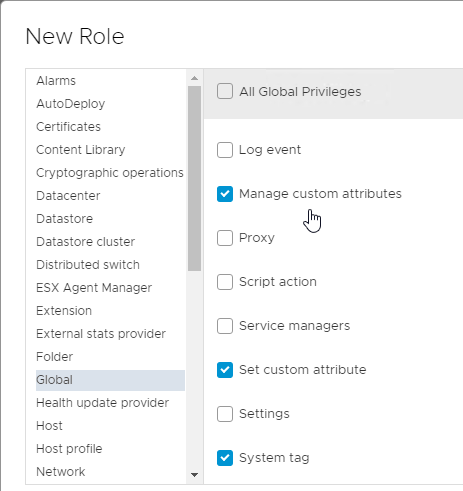
- While still in Global, enable, Manage custom attributes, Set custom attribute, and System tag.
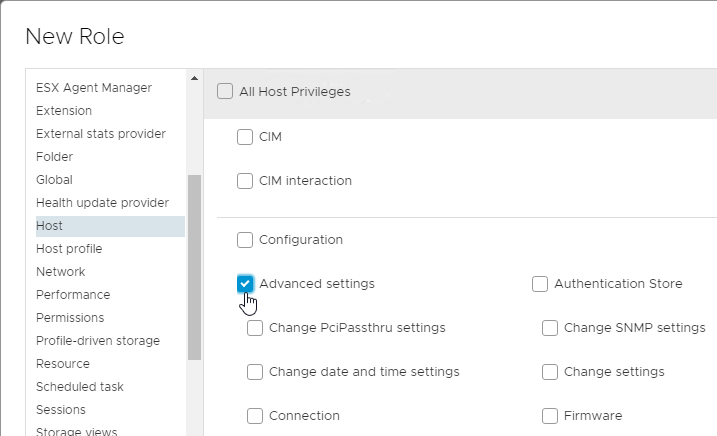
- On the left, click Host. On the right, in the Configuration section, enable Advanced Settings. Then scroll down on the right to see more Host settings.
- While still in Host, scroll down to the Inventory section and click Modify cluster.
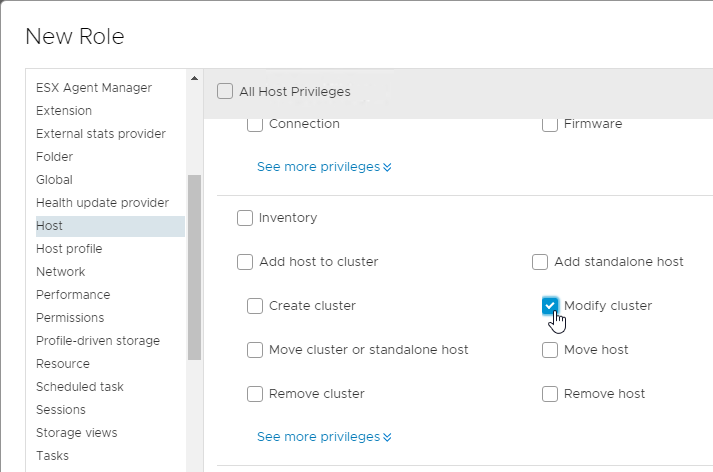
- While still in Host, scroll down to the Inventory section and click Modify cluster.
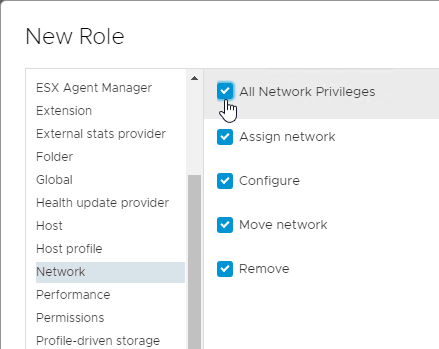
- On the left, click Network. On the right, enable All Network Privileges.
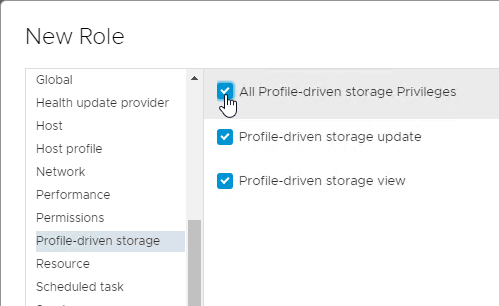
- For Virtual SAN, enable Profile-driven storage and everything under it. VMware 2094412 When attempting to deploy linked clones using VMware Virtual SAN (VSAN) you receive the error: Unable to connect to PBM sub system PB may be down
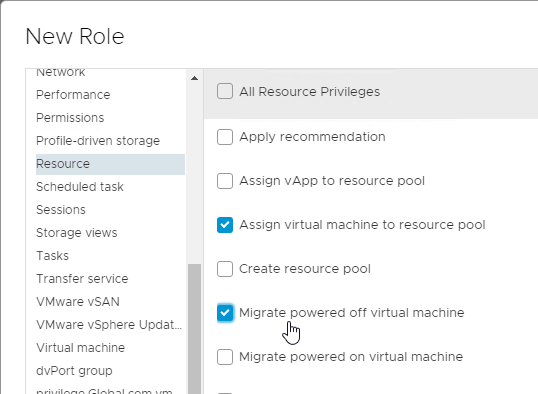
- On the left, click Resource. On the right, enable Assign virtual machine to resource pool, and Migrate powered off virtual machine.
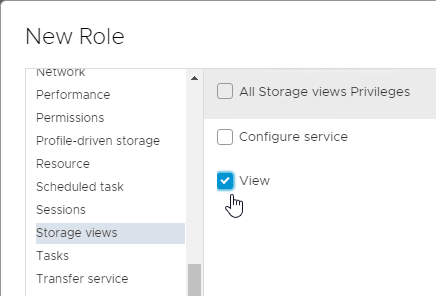
- On the left, click Storage views. On the right, enable View.
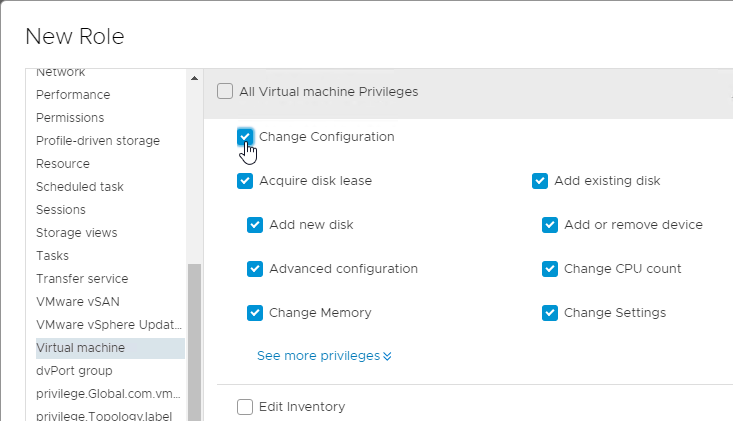
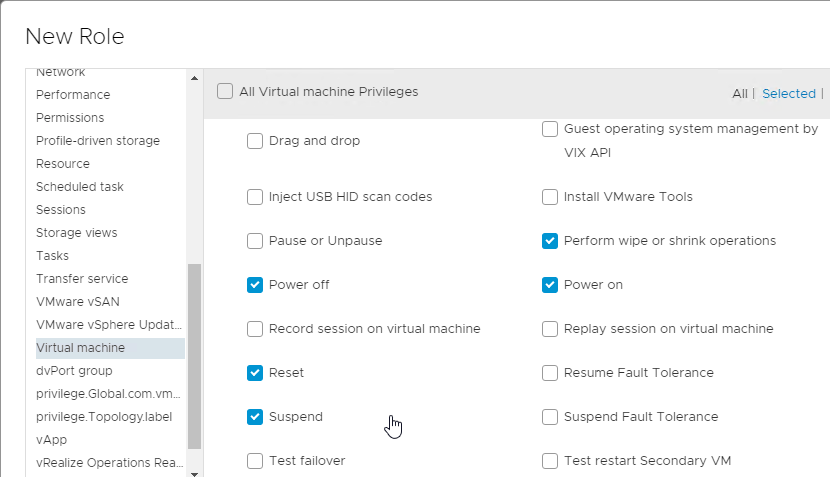
- On the left, click Virtual Machine. On the right, click Change Configuration to enable all Configuration permissions. Scroll down on the right to see more Virtual machine permissions.
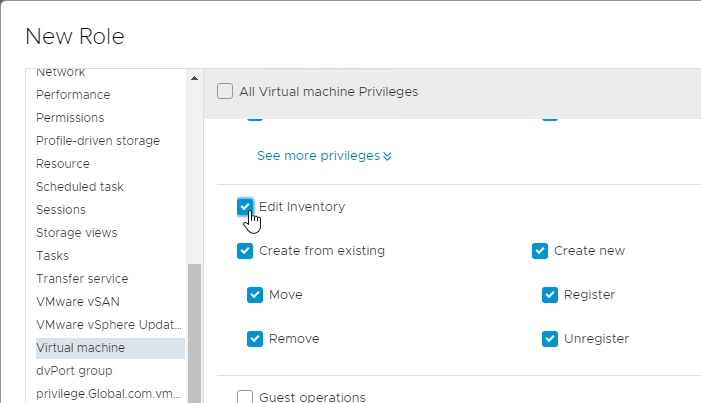
- While still in Virtual Machine, scroll down and click Edit Inventory to enable all Inventory permissions.
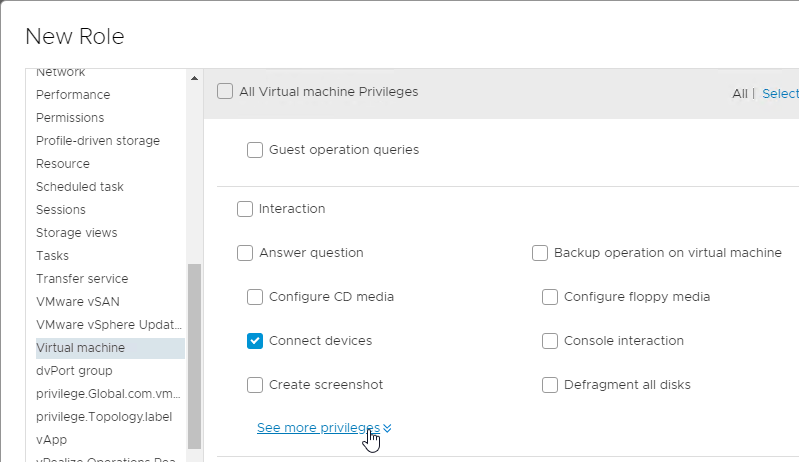
- While still in Virtual Machine, scroll down to the Interaction section, enable Connect devices, and then click See more privileges.
- While still in Virtual Machine, scroll down and enable Perform wipe or shrink operations, Power Off, Power On, Reset, and Suspend.
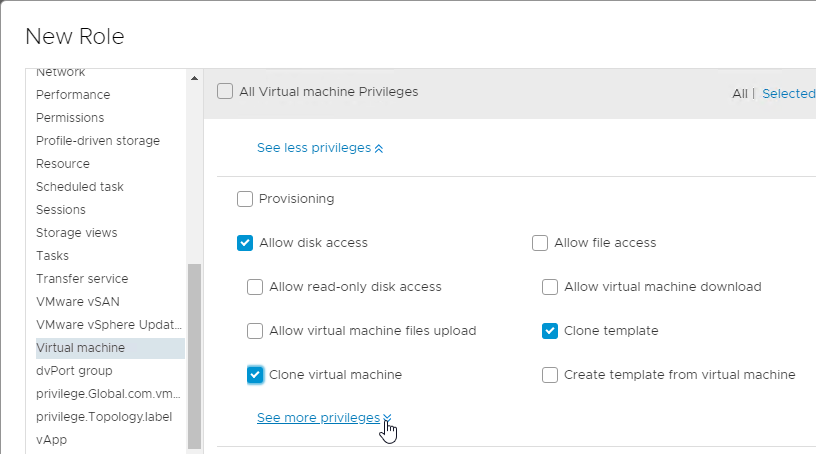
- While still in Virtual Machine, scroll down to the Provisioning section and enable Allow disk access, Clone template, and Clone virtual machine. Then click See more privileges.
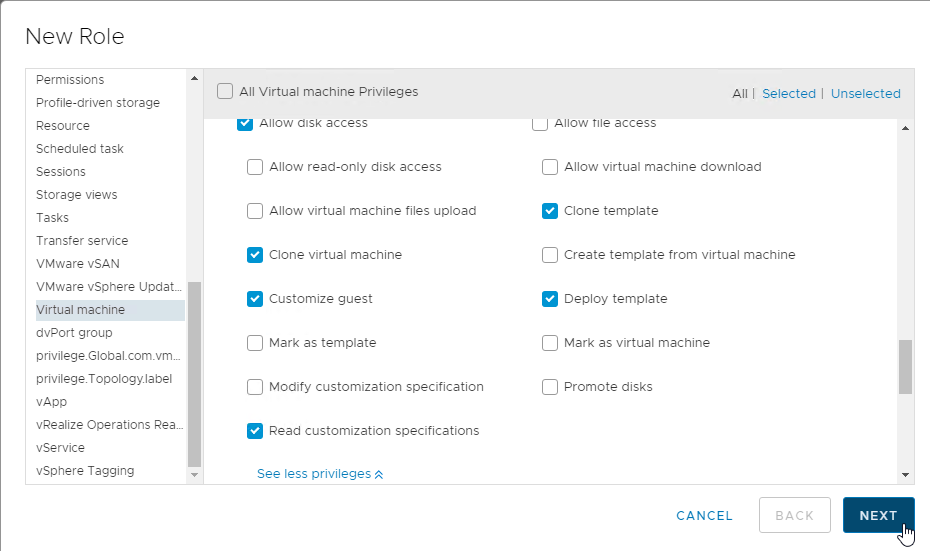
- While still in Virtual Machine, scroll down and enable Customize guest, Deploy template, and Read customization specifications.

- While still in Virtual Machine, scroll down and click Snapshot Management to enable all Snapshot permissions.

- While still in Virtual Machine, scroll down and click Edit Inventory to enable all Inventory permissions.
- Click Next.
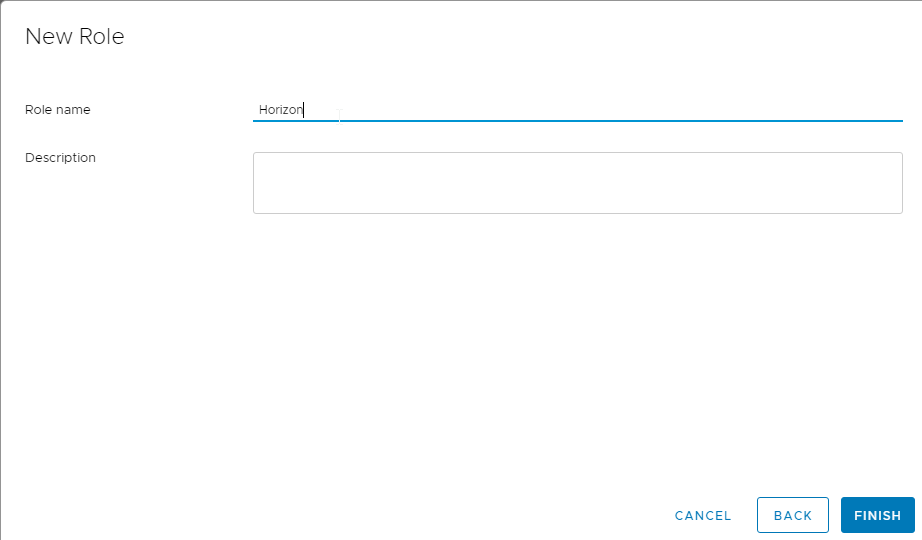
- Name it Horizon or similar. Then click Finish
Assign role to service account:
- Create an account in Active Directory that Horizon View will use to login to vCenter.
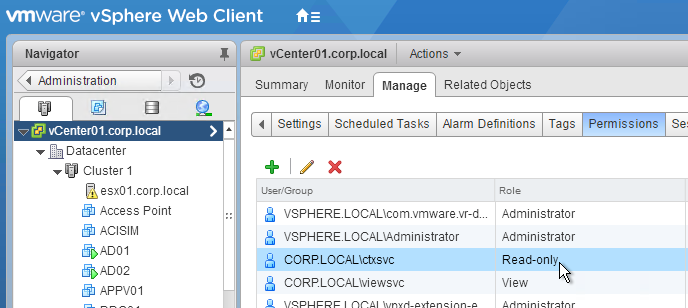
- In vSphere Web Client, in Hosts and Clusters view, browse to the vCenter object. Permissions must be assigned at the vCenter level. It won’t work at any lower level.
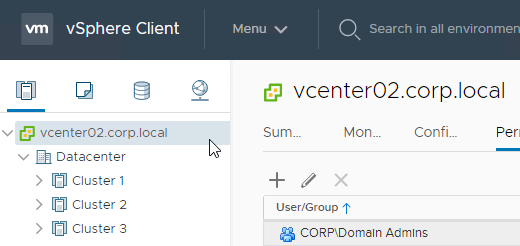
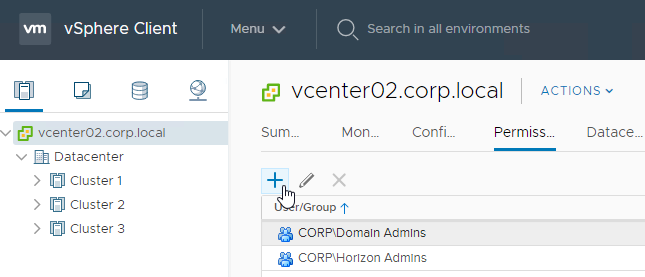
- On the right, select the tab named Permissions.
- Click the plus icon to add a permission.
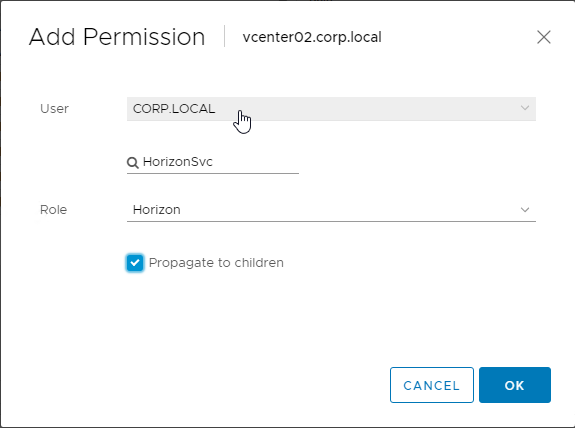
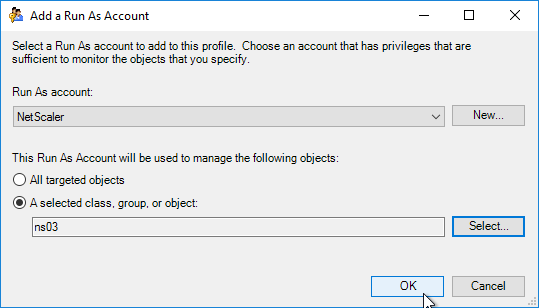
- In the Add Permission dialog box, do the following:
- Change the User domain.
- Search for the service account.
- Change the Role to the one you created in the previous section.
- Check the box next to Propagate to children.
- Click OK.
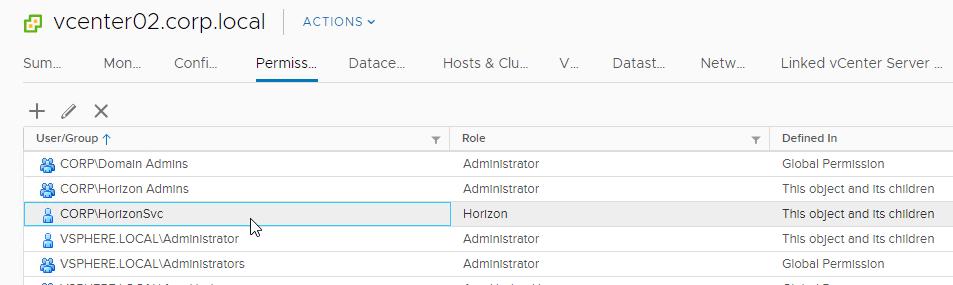
- The service account is now listed on the Permissions tab.
- From VMware Docs Configure a vCenter Server User for Horizon 7 and View Composer: If you install Horizon Composer on the same machine as Windows vCenter Server, you must make the Horizon service account a local system administrator on the Windows vCenter Server machine.
- If you install Horizon Composer on a different machine than Windows vCenter Server, you do not have to make the Horizon service account a local administrator on the Windows vCenter Server machine. However, the Horizon service account must be a local administrator on the Horizon Composer standalone machine.
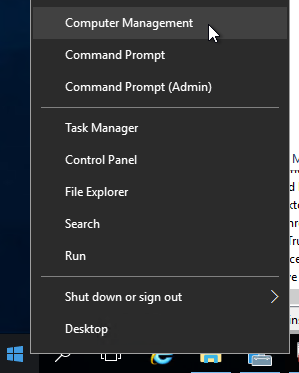
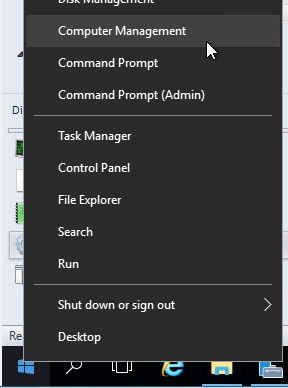
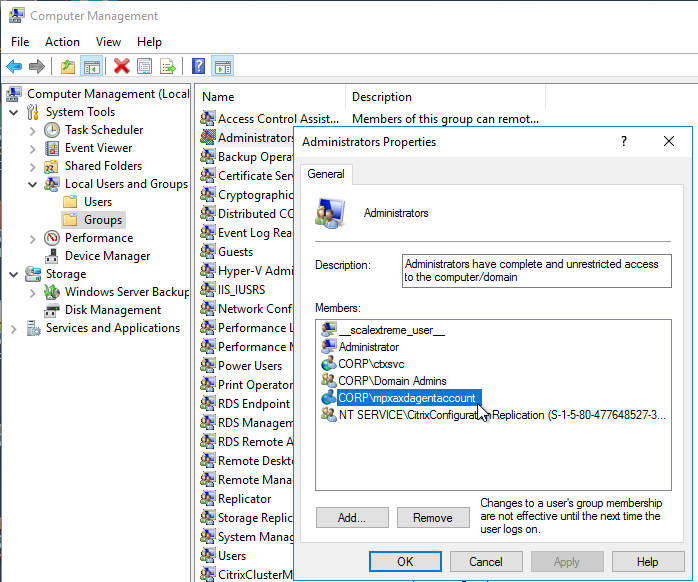
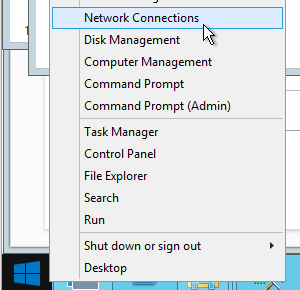
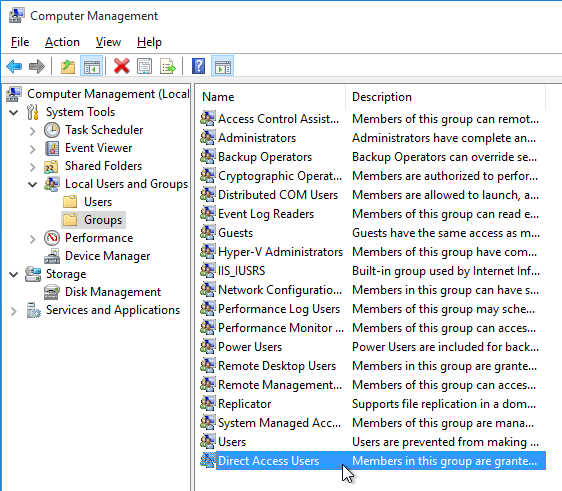
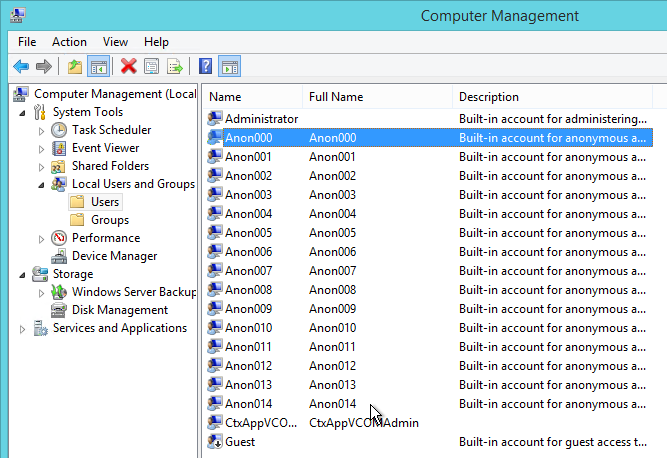
- On the Horizon Composer server, right-click the Start button, and click Computer Management.
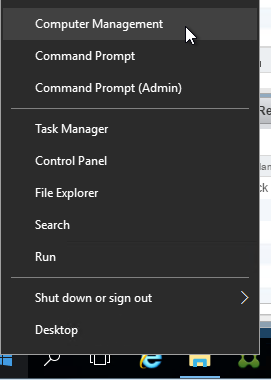
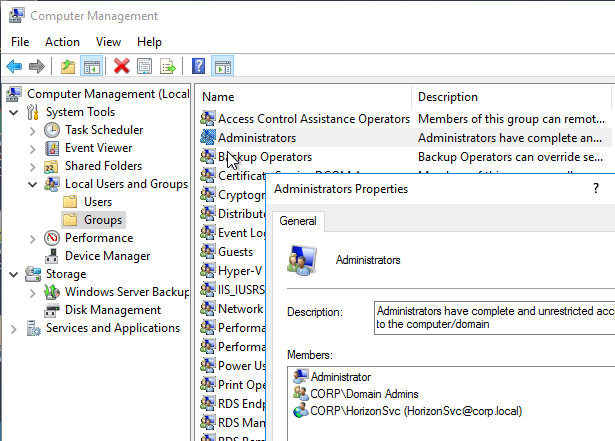
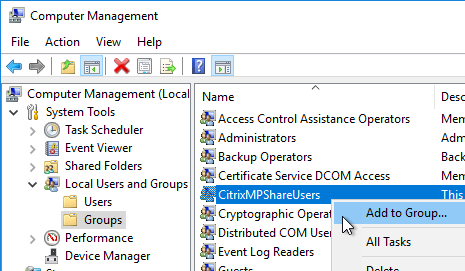
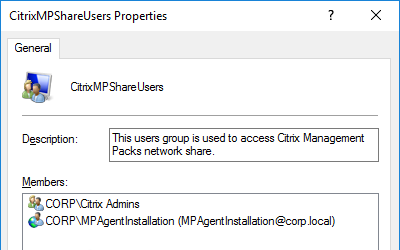
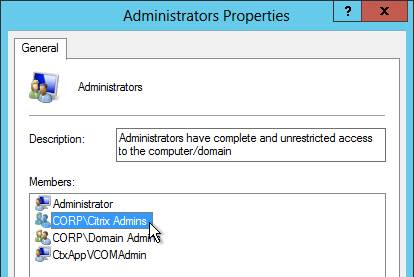
- Go to System Tools > Local Users and Groups > Groups. Double-click Administrators. Add the Horizon service account, and click OK.

Active Directory Delegation for Instant Clones and Composer
Horizon Composer and Instant Clones create computer objects in Active Directory. Horizon is configured with an Active Directory service account that must be granted permission to create computer objects. See Create a User Account for Instant-Clone Operations at VMware Docs.
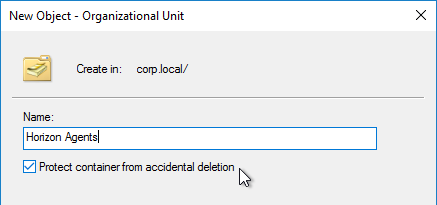
- Create an OU in Active Directory where the Horizon Agent computer objects will be stored.
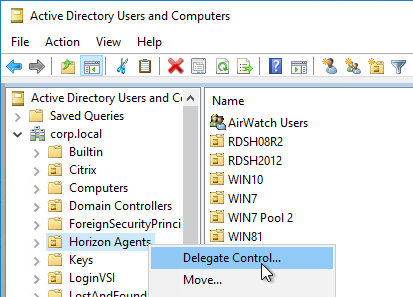
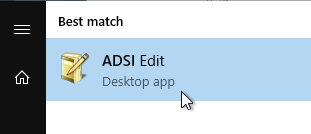
- In Active Directory Users & Computers, right-click the Horizon Agents OU, and click Delegate Control.
- In the Welcome to the Delegation of Control Wizard page, click Next.
- In the Users or Groups page, add the Active Directory service account for Instant Clones and/or Horizon Composer. Then click Next.

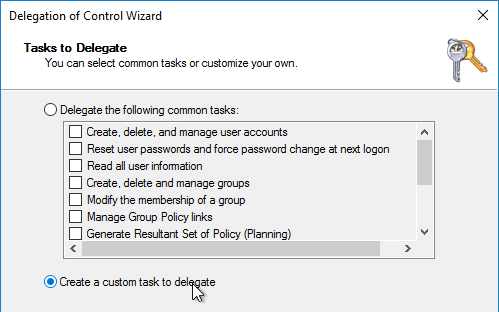
- In the Tasks to Delegate page, select Create a custom task to delegate, and click Next.
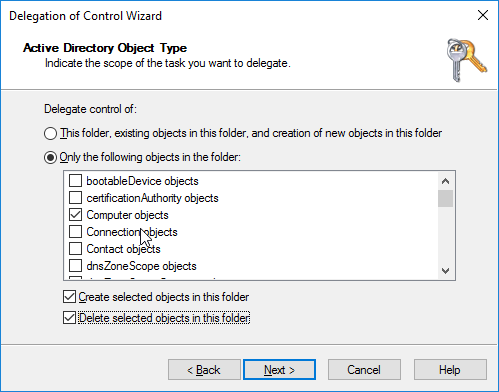
- In the Active Directory Object Type page, do the following:
- Change the radio button to select Only the following objects in the folder.
- Check the boxes next to Create select objects in this folder and Delete selected objects in this folder.
- Click Next.
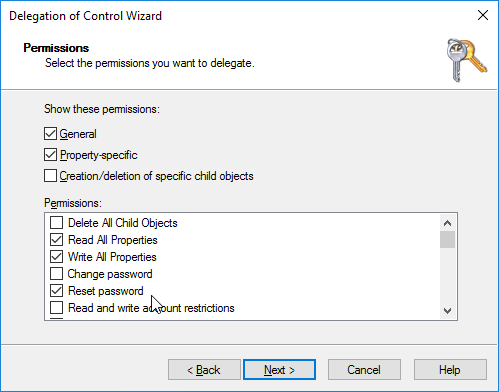
- In the Permissions page, check the boxes next to Read All Properties, Write All Properties, and Reset Password. Then Next.
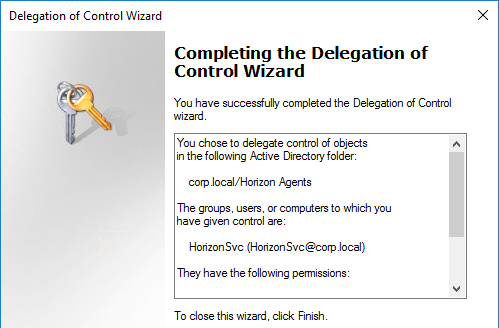
- In the Completing the Delegation of Control Wizard page, click Finish.
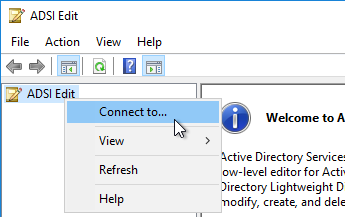
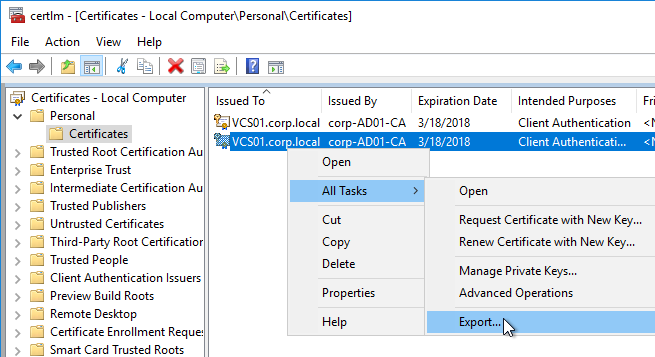
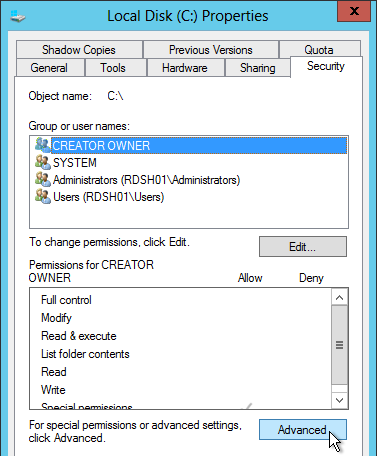
- If you are viewing Advanced Features in Active Directory Users & Computers, if you view the properties of the OU, on the Security tab, click Advanced, find your service account, you should see permissions similar to the following.

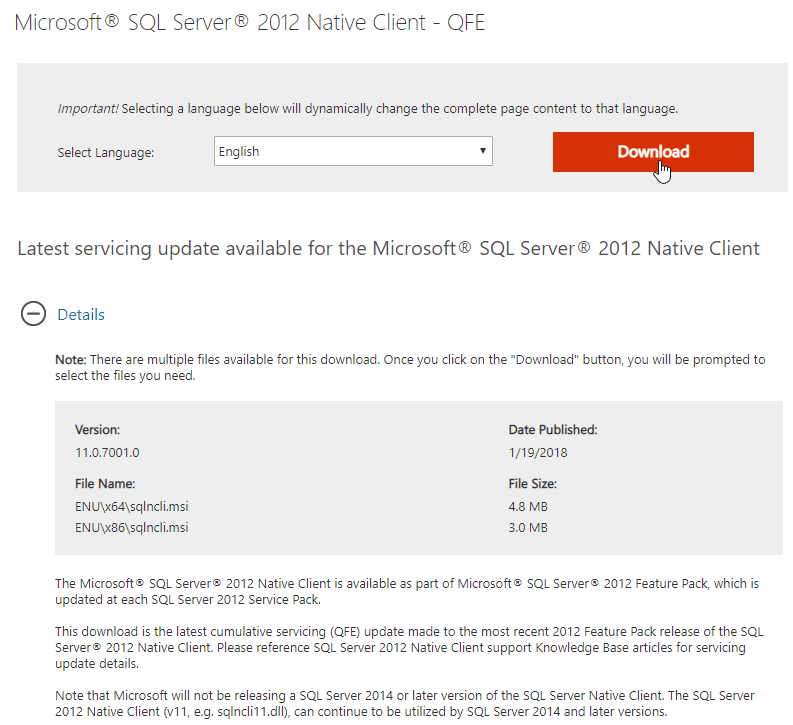
Events SQL Database
A new empty SQL database is needed for storage of View Events.
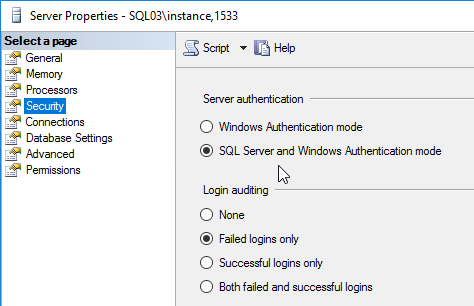
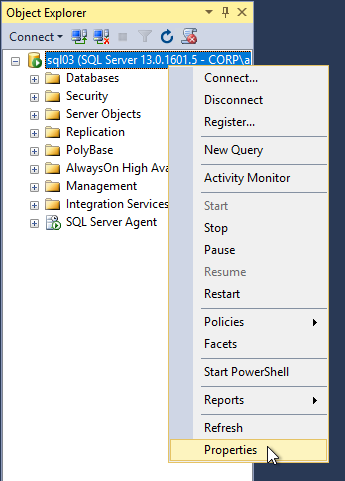
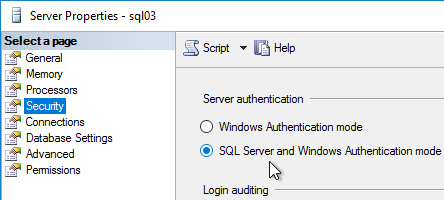
- Only SQL Server authentication is supported, so make sure it’s enabled on your SQL Server > Properties > Security page.
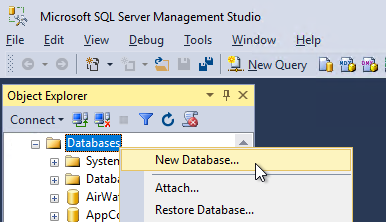
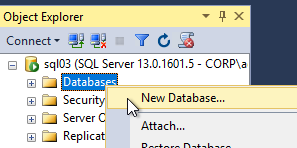
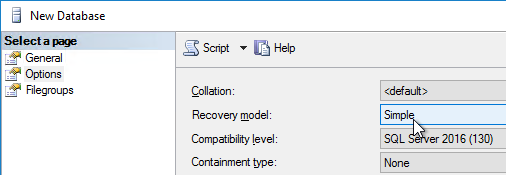
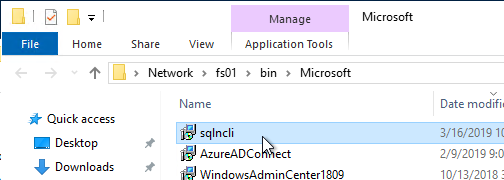
- In SQL Server Management Studio, create a new database.
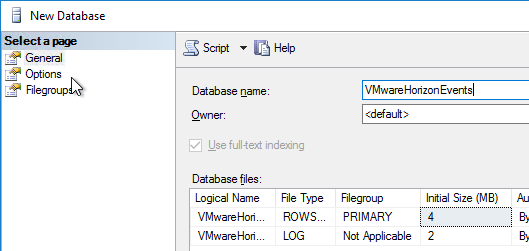
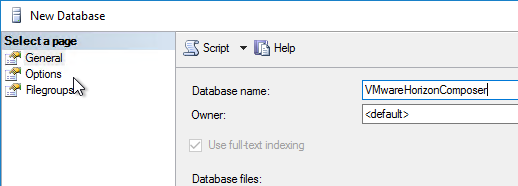
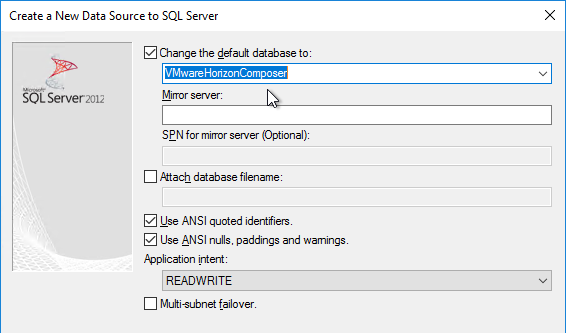
- Name it VMwareHorizonEvents or similar. Switch to the Options tab.
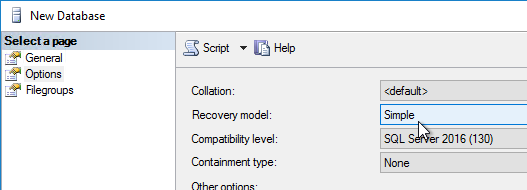
- Select your desired Recovery model, and click OK.
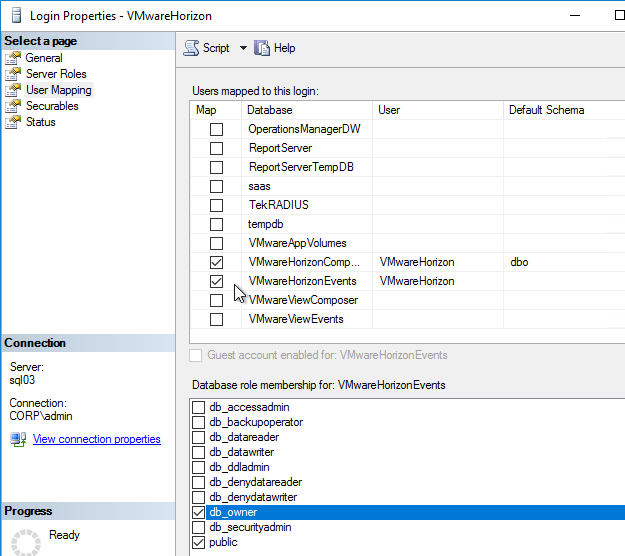
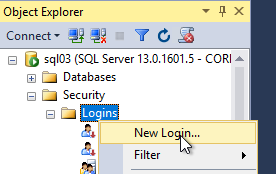
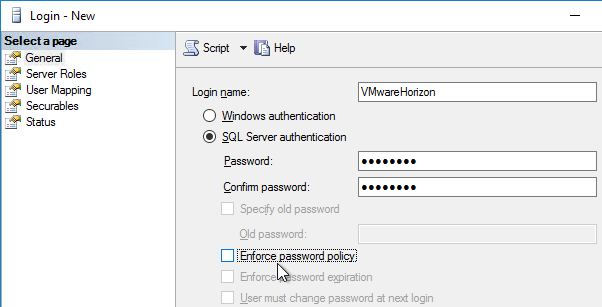
- Under Security > Logins, add a SQL login if one does not exist already. Windows authentication is not supported.
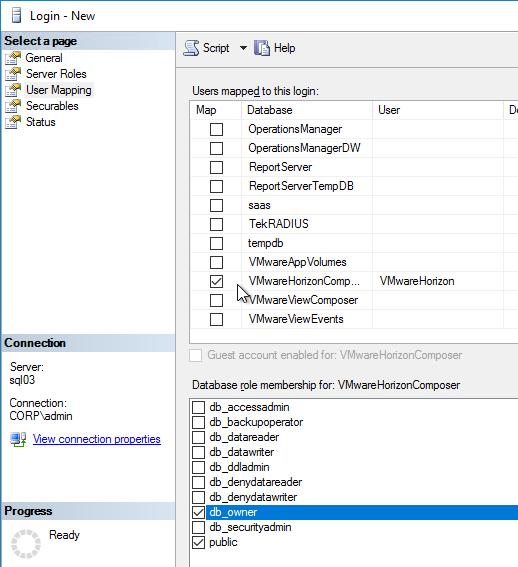
- Right-click a SQL login, and click Properties.

- On the User Mapping page, check the Map box next to the VMwareHorizonEvents database.
- On the bottom, add the user to the db_owner database role. Click OK when done.
Horizon Consoles
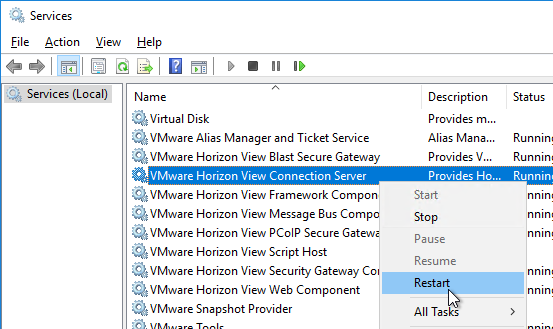
On the desktop of the Horizon Connection Server is an icon to launch Horizon 7 Administrator Console.
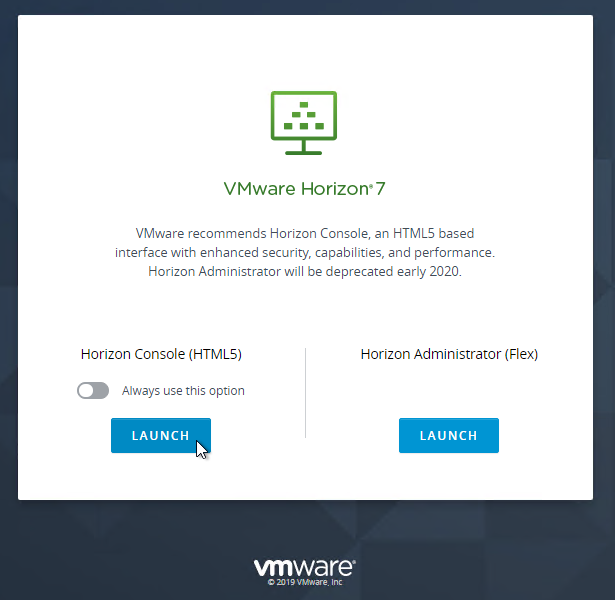
Horizon 7.5 and newer have two administrator consoles:
- Horizon Console (HTML5)
- Horizon Administrator (Flex) – Flash-based
In Horizon versions 7.5 through 7.10, Horizon Console was not yet feature complete so most administrators continue to use the Flash-based Horizon Administrator. In these versions, you can access Horizon Console by navigating to https://viewConnectionServer/newadmin (add /newadmin to the end of your Connection Server FQDN). Or click the Horizon Console link at the top right of the Horizon Administrator console.
In Horizon 7.10 and newer, Horizon Console is feature complete and is now the primary administrator interface. The Flash-based Horizon Administrator is now deprecated.
In Horizon 7.11 and later:
- When you connect to Horizon Administrator (/admin at the end of the Connection Server URL), you are prompted to choose between Horizon Console and Horizon Administrator. In prior versions of Horizon, going to /admin always opens the Flash-based administrator console.
- If you navigate to /newadmin, it will redirect you to /admin where you can choose between the two consoles.
- You can go directly to the Flash-based administrator console by navigating to /flexadmin.
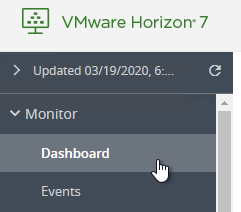
Horizon Console 7.11 and newer’s Dashboard can show you the CPU/Memory of the Connection Servers:
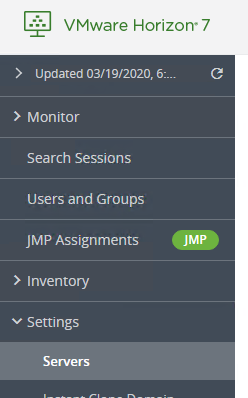
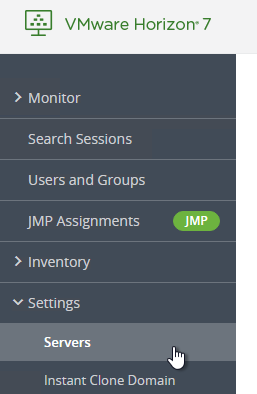
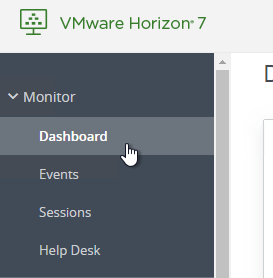
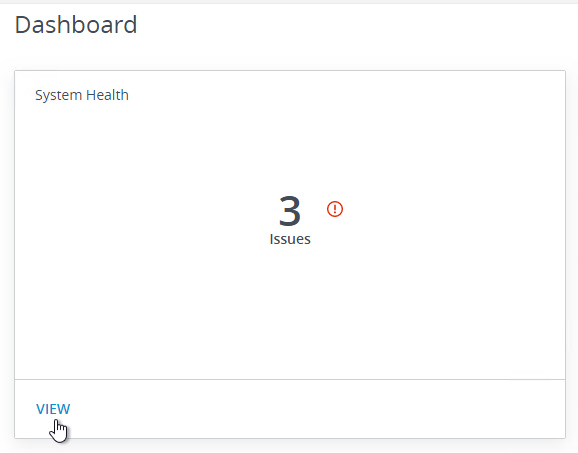
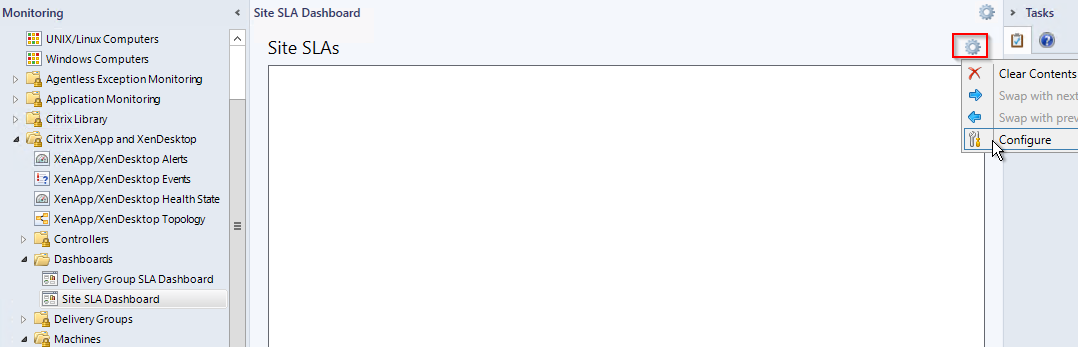
- On the top left, expand Monitor and click Dashboard.
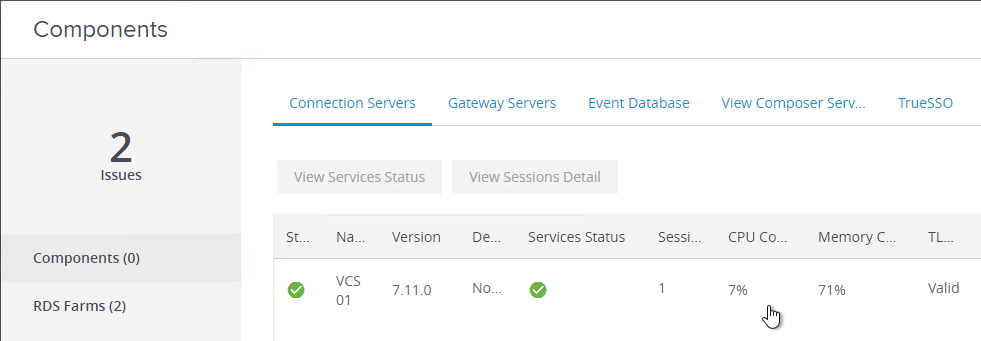
- On the right, in the top-left block named System Health, click VIEW.
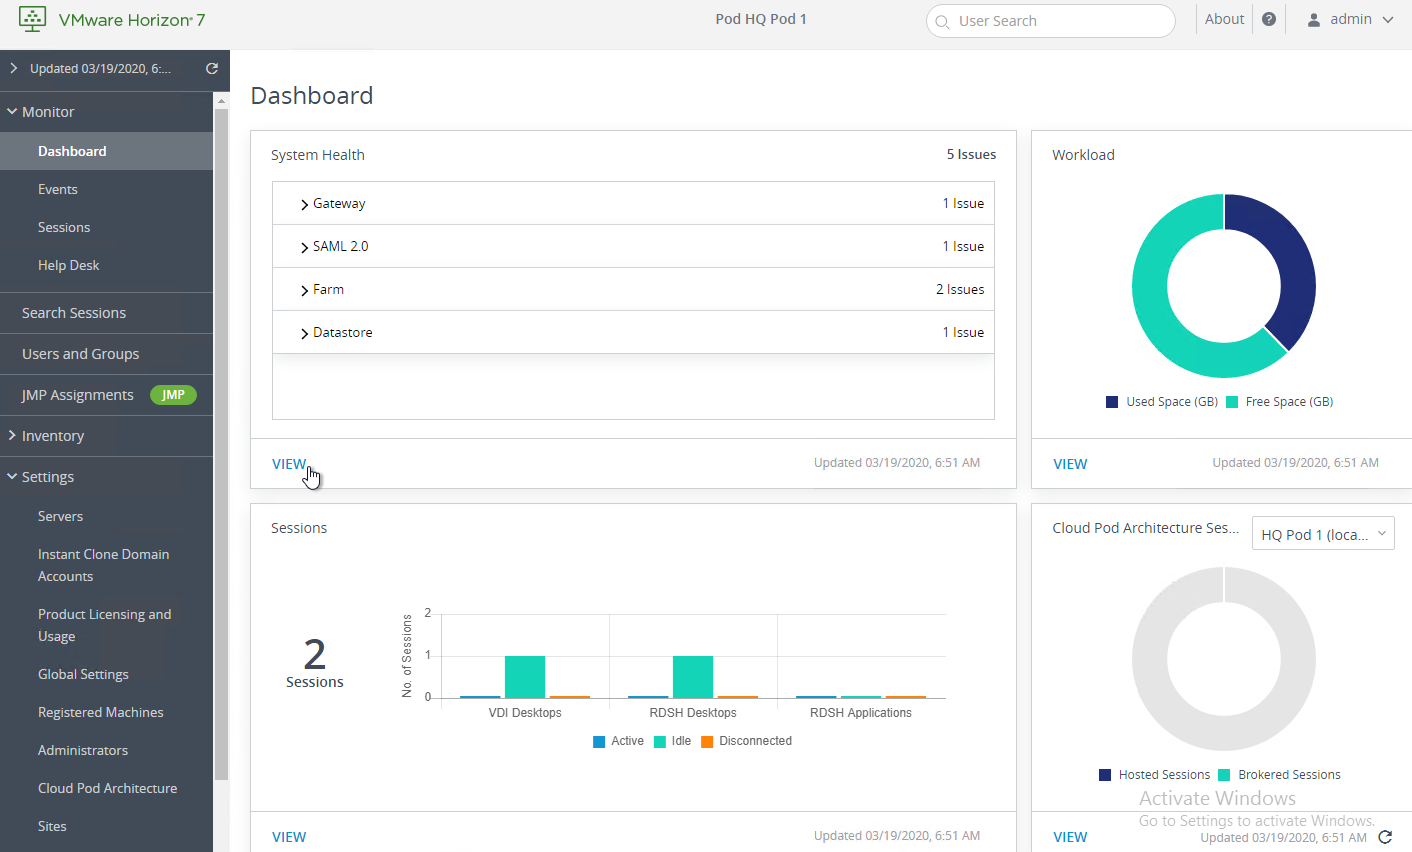
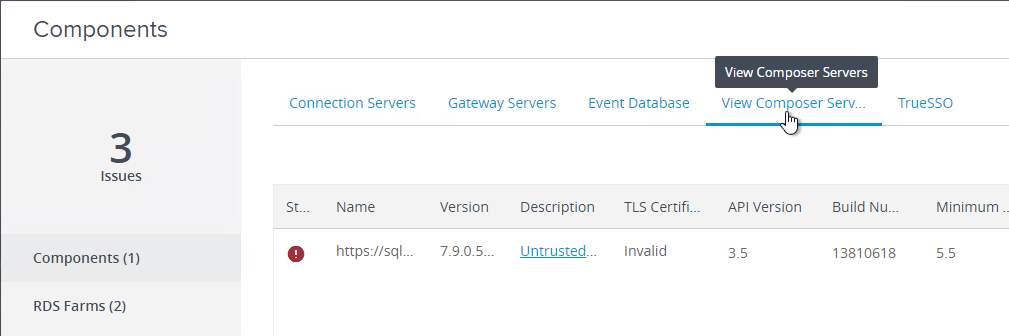
- With Components selected on the left, the first tab on the right is Connection Servers. It shows you a list of Connection Servers in the pod and each server’s CPU and Memory Consumption.
Licensing
As of Horizon 7.9, Horizon Licensing can be configured in either the new HTML5-based Horizon Console or the classic Flash-based Horizon Administrator.
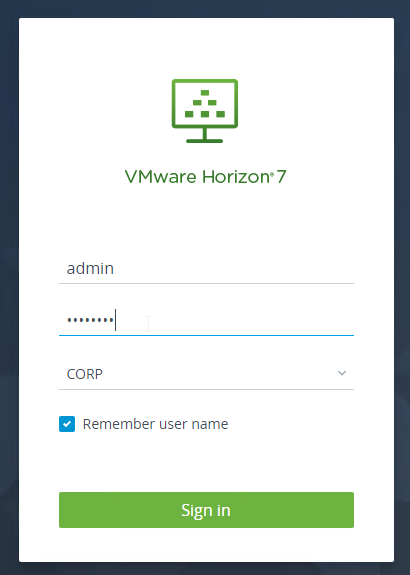
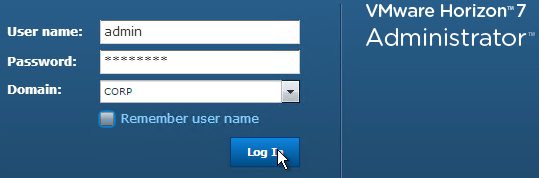
- Open Horizon Console or Horizon Administrator.
- Login using a Horizon administrator account.
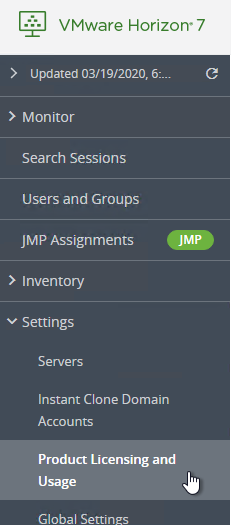
- In Horizon Console on the left, expand Settings and click Product Licensing and Usage.
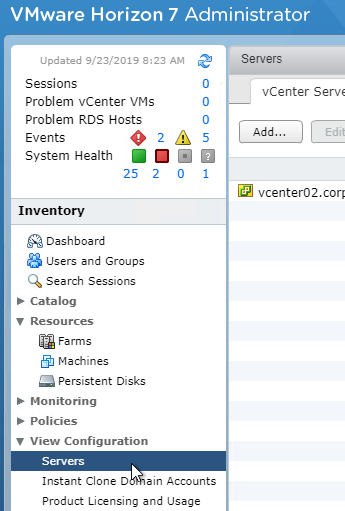
- Or in Horizon Administrator, on the left, under View Configuration, click Product Licensing and Usage.
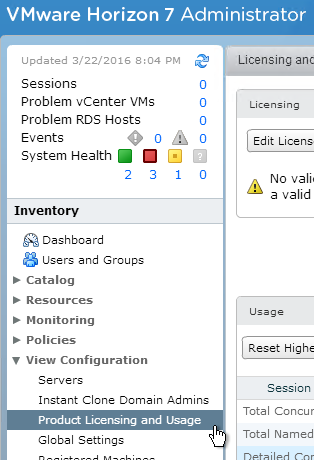
- Or in Horizon Administrator, on the left, under View Configuration, click Product Licensing and Usage.
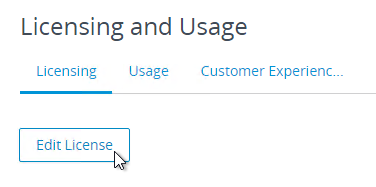
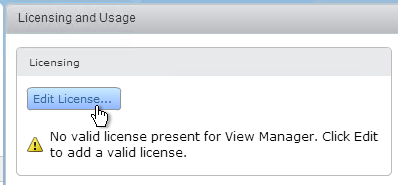
- In the right pane, on the top left, click Edit License.
- In the Edit License window, enter your license serial number, and click OK.
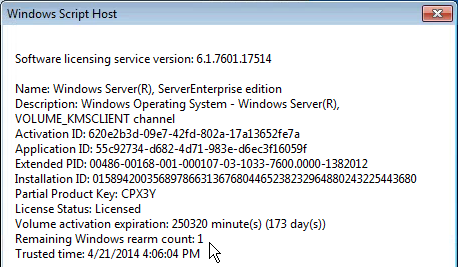
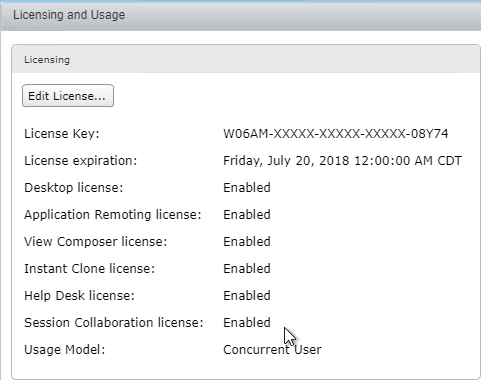
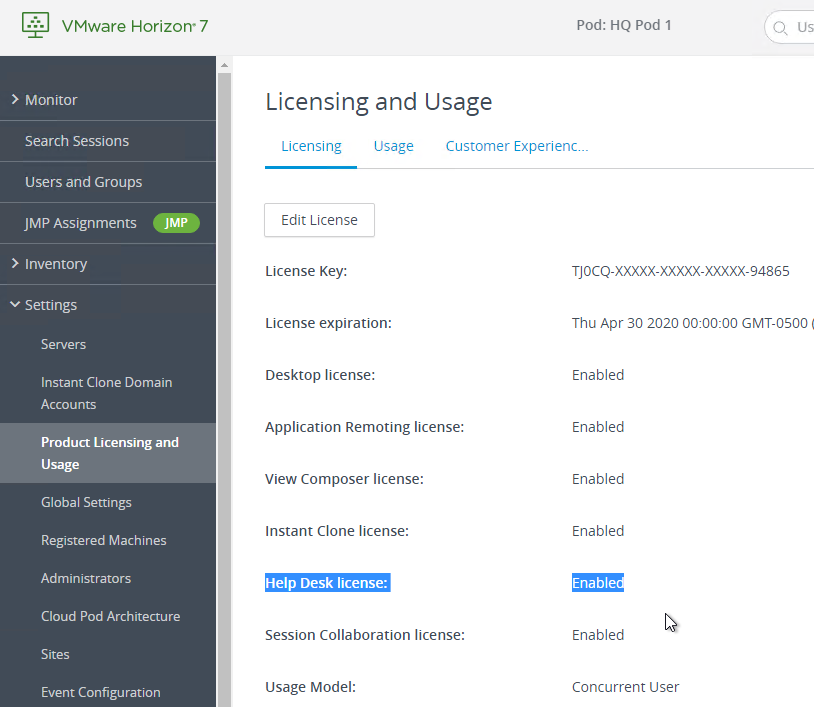
- Licensing information is displayed:
- License expiration is shown.
- Application Remoting (published applications) requires Horizon Advanced Edition.
- Skype Optimization requires Horizon Advanced Edition.
- In Horizon 7.13, Instant Clones are available in all editions of Horizon. Prior to 7.13, Instant Clones requires Horizon Enterprise Edition.
- Session Collaboration requires Horizon Enterprise Edition.
- Help Desk tool requires Horizon Enterprise Edition.

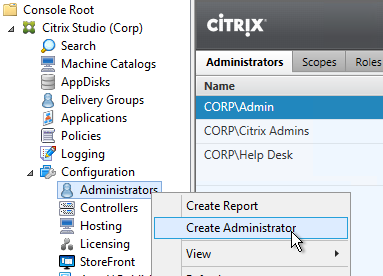
Horizon Administrators
To configure Horizon Administrators:
- In Horizon Console 7.8 or newer, on the left, expand Settings, and click Administrators.
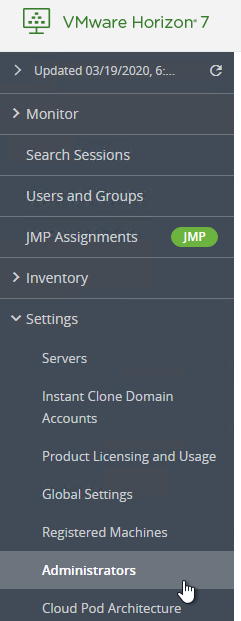
- Or in Horizon Administrator, on the left, expand View Configuration, and click Administrators.

- Or in Horizon Administrator, on the left, expand View Configuration, and click Administrators.
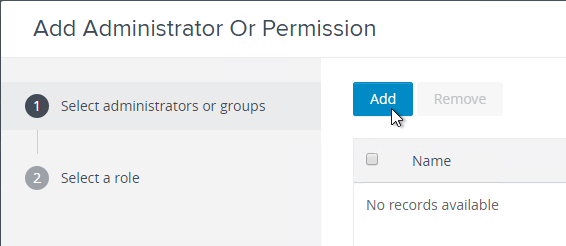
- On the right, near the top, click Add User or Group.
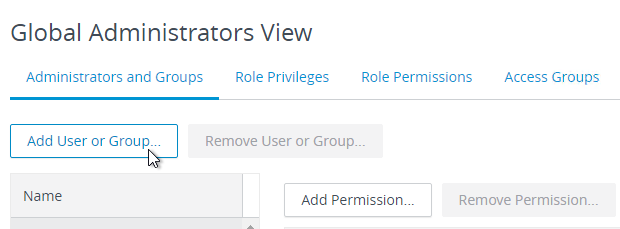
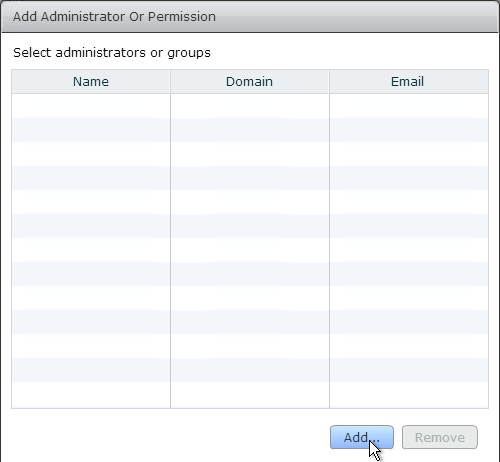
- In the Select administrators or groups page, click Add.
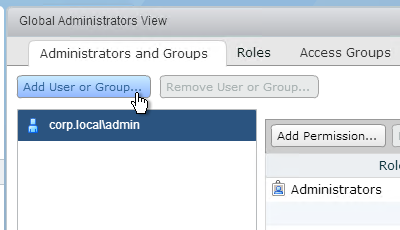
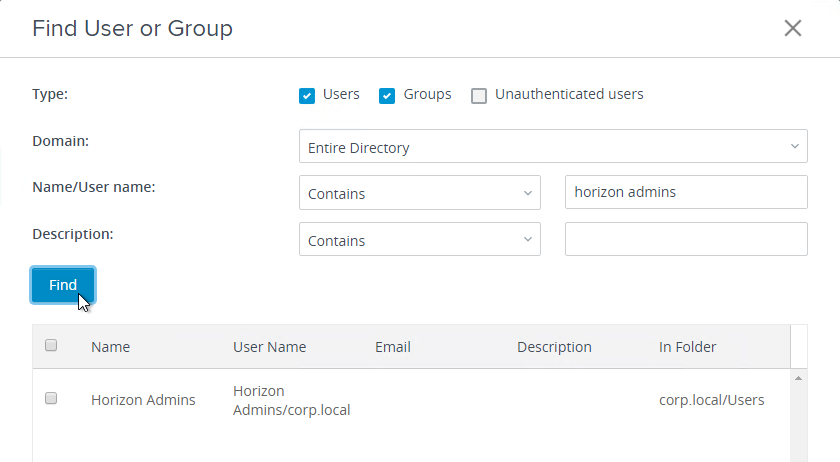
- Enter the name of a group that you want to grant Horizon Administrator permissions to, and click Find.
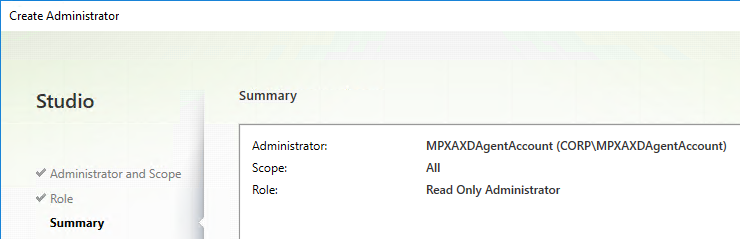
- After the group is found, check the box next to the group (or highlight the group), and then click OK.
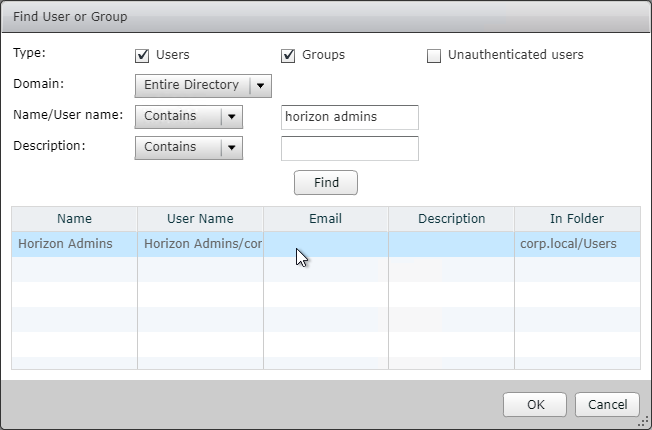
- Continue adding groups, or just click Next.
Note: This wizard only lets you select one role; so, only add groups that will have the same role assigned. You can run the wizard multiple times.
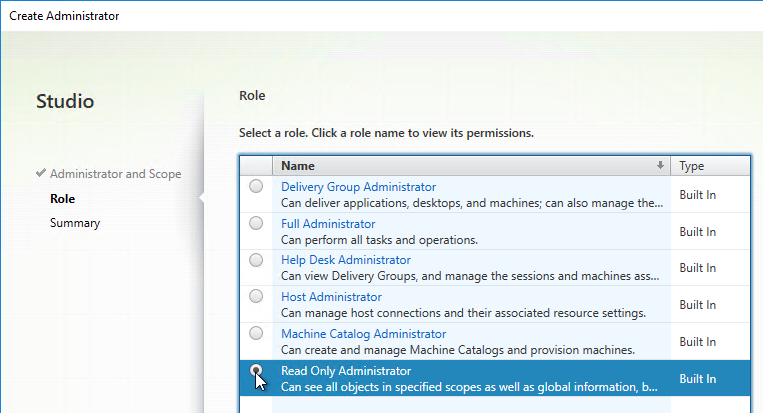
- In the Select a role page, select the role (e.g. Administrators). Newer versions of Horizon include a built-in Help Desk Administrators role, which grants access to the Help Desk tool. Then click Next.
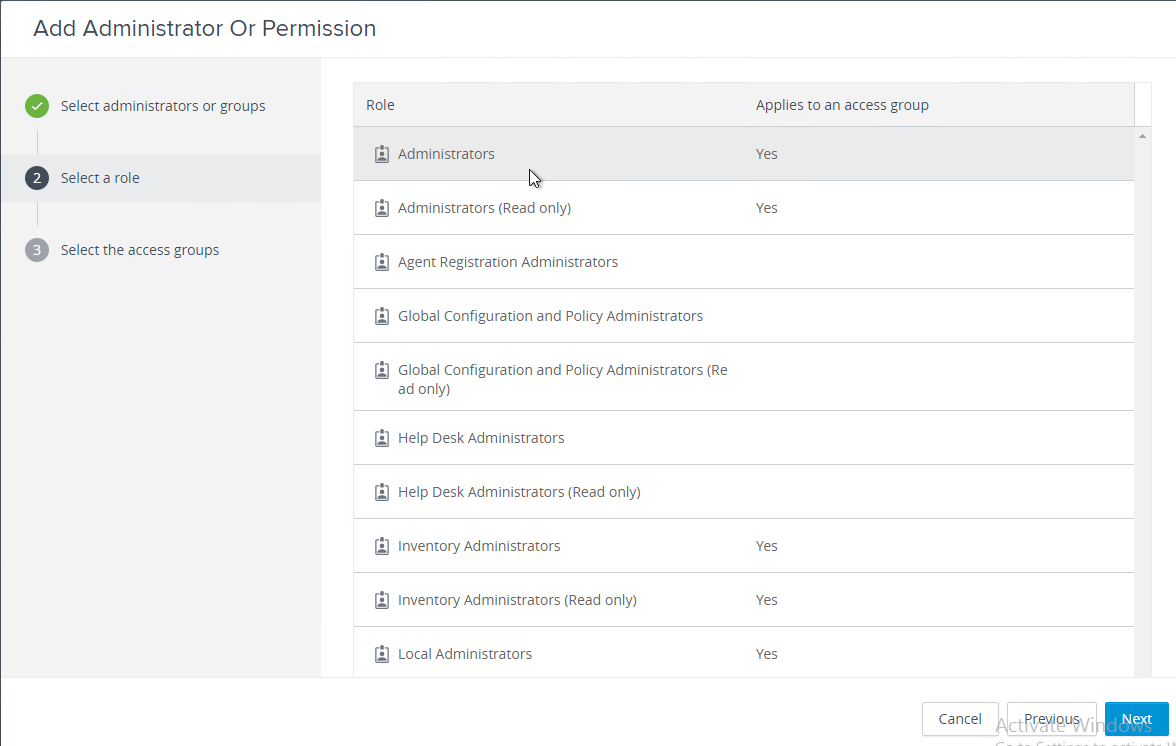
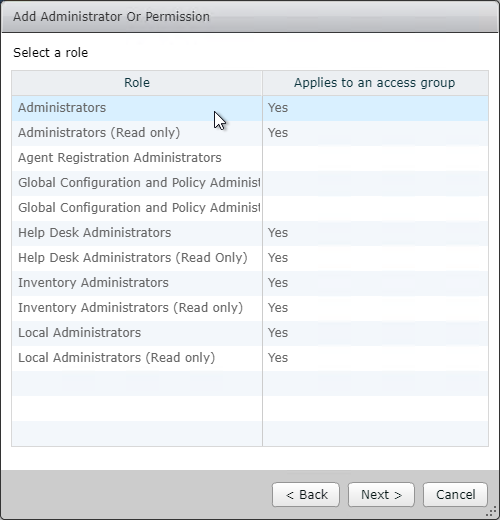
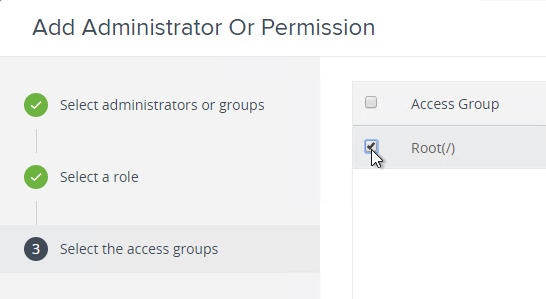
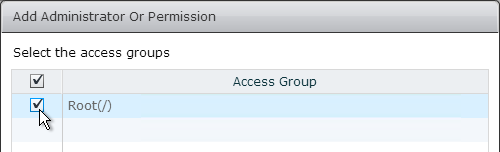
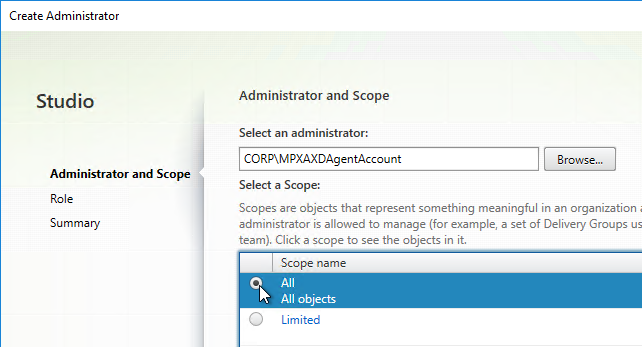
- Select an access group to which the permission will be applied and then click Finish.
- Access Groups let you designate permissions to specific pools instead of to all pools.
- Note: If you intend to integrate Horizon with VMware Identity Manager (aka VMware Access), then only pools in the Root Access group will sync with Identity Manager. Other Access Groups won’t work.
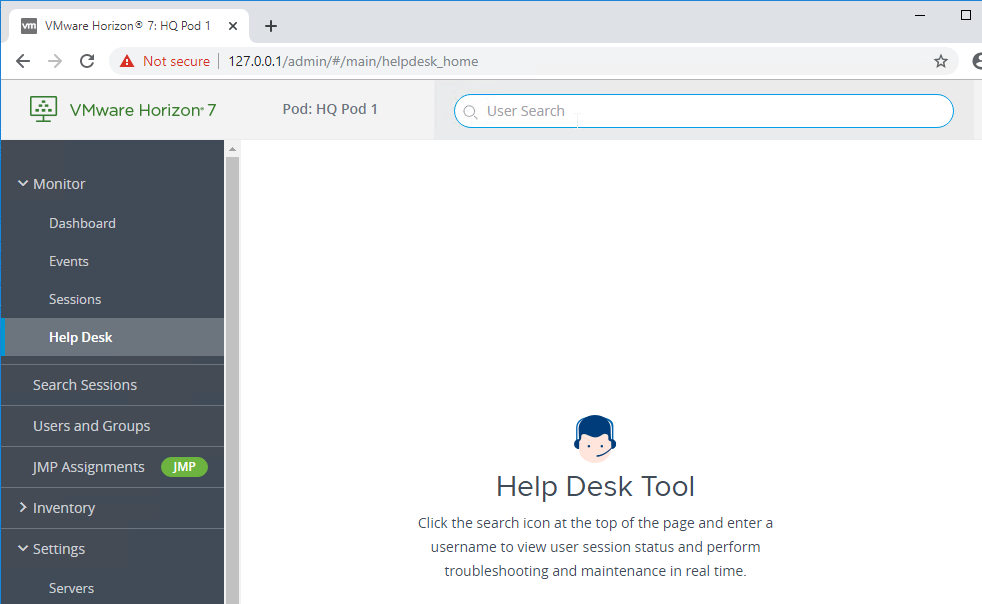
Help Desk Website
Horizon 7.2 and newer have a new web-based Help Desk tool built into Horizon Connection Server.
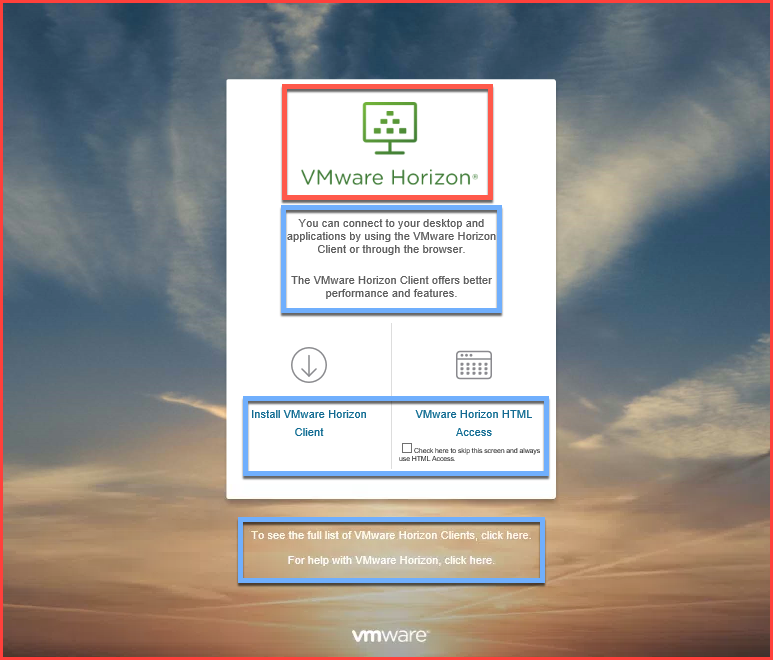
- In Horizon Console (Horizon 7.5 and newer), simply enter a user name in the search box.
- VMware also has an alternative Horizon Helpdesk Utility Fling
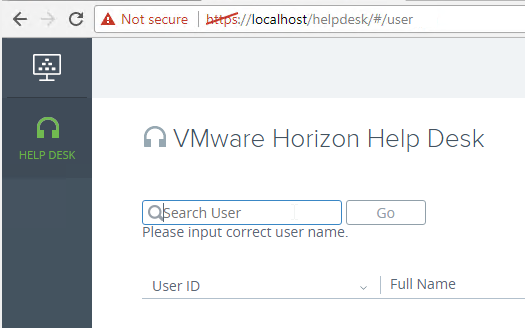
- For Horizon 7.2 through 7.4, go to https://HorizonFQDN/helpdesk (e.g. https://view.corp.com/helpdesk).
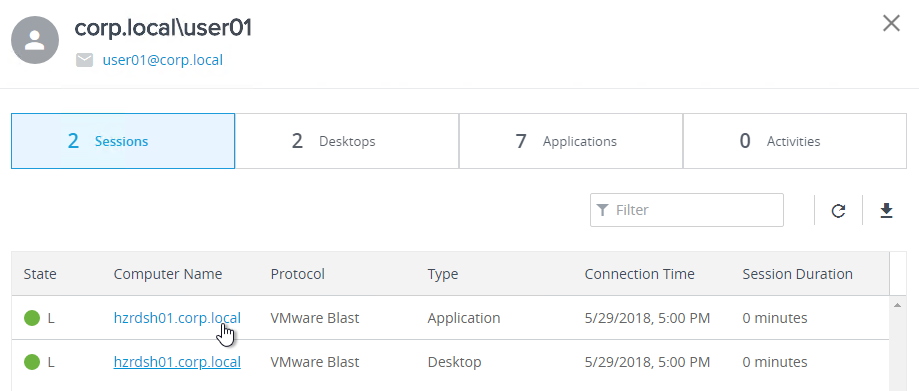
The Desktops and Applications tabs let you see what the user it entitled to. You can even export these lists.

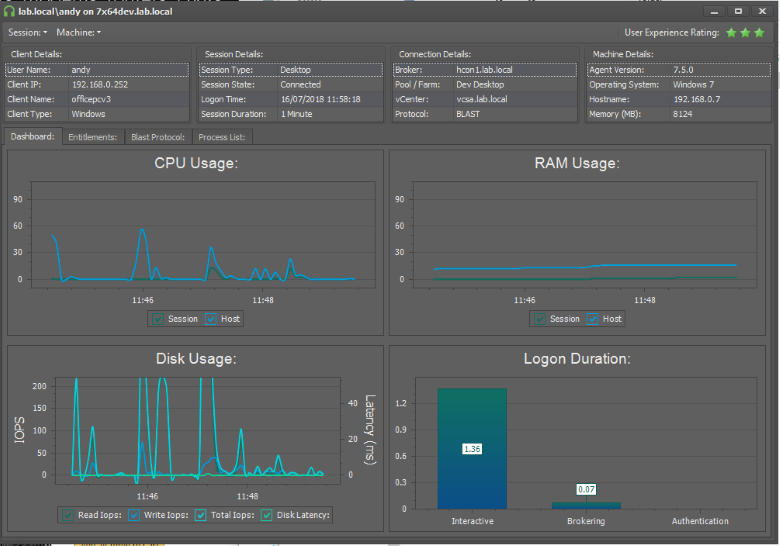
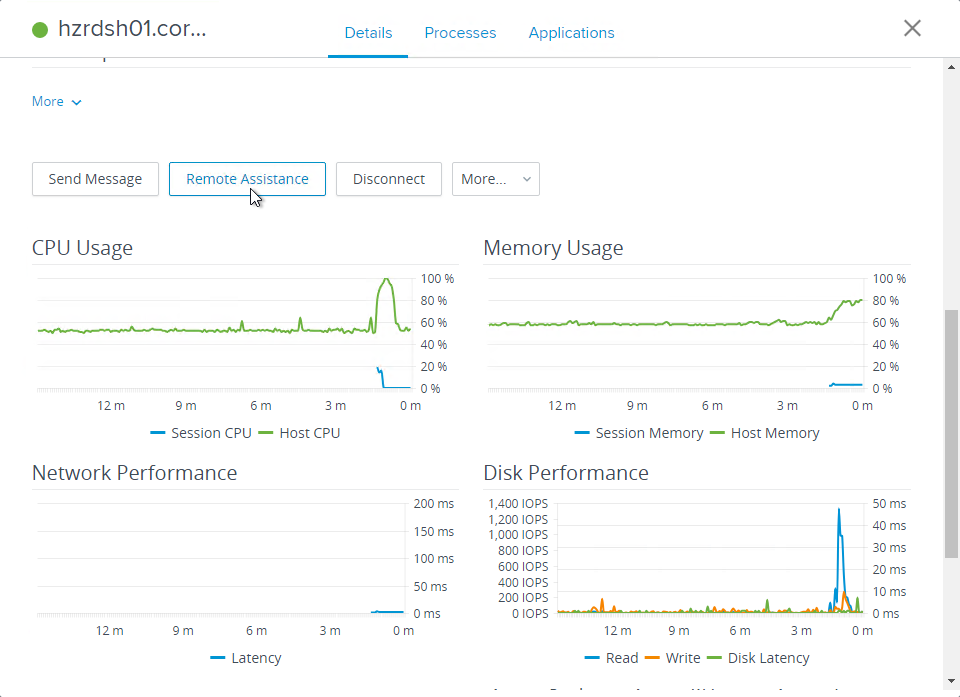
On the Sessions tab, click a session to see more details.
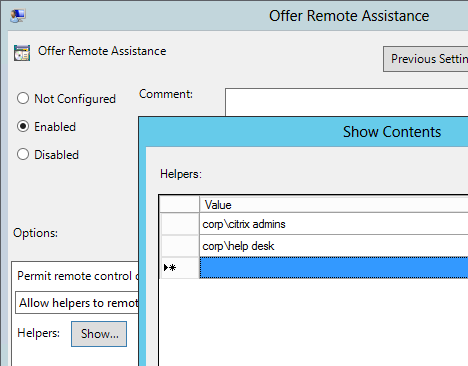
On the Details tab, scroll down to find action buttons like Remote Assistance. These buttons are kind of hidden.
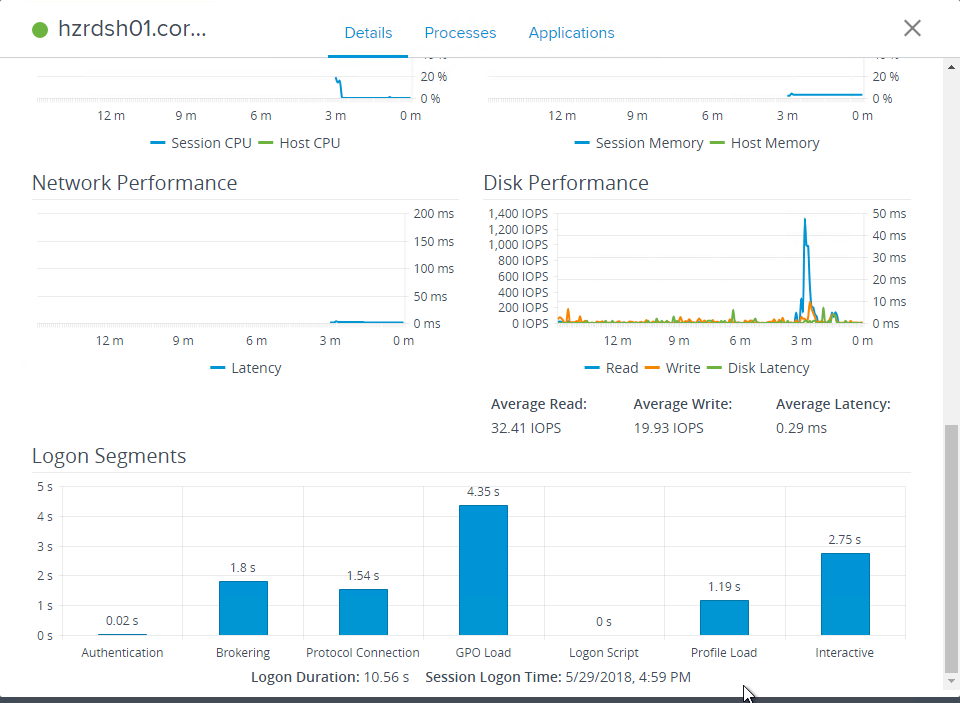
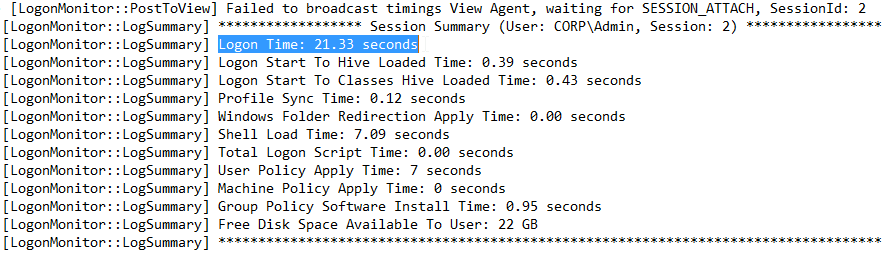
Keep scrolling down and you’ll see Logon Segments.
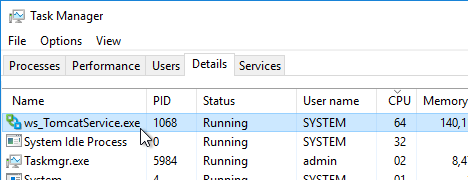
The Processes tab lets you end processes in the user’s session.

Notes on the Help Desk feature:
- Enterprise Licensing – Help Desk tool requires Horizon Enterprise edition license, or Horizon Apps Advanced edition license. Horizon Standard Edition licenses do not include this tool. In Horizon 7.3 and newer, the Product Licensing page indicates if Help Desk is licensed or not.

- In Horizon 7.2, only Full Horizon Administrators can login to the Help Desk web page.
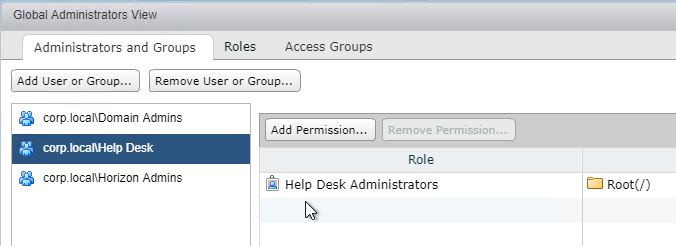
- Horizon 7.3 and newer have built-in Help Desk Administrators roles that can log into the Help Desk tool.


- Add Help Desk users to the Administrators and Groups tab, and assign them one of the Help Desk roles.
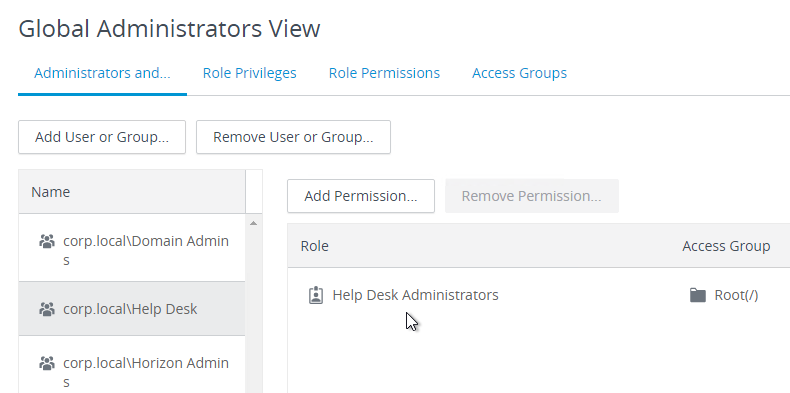
- Add Help Desk users to the Administrators and Groups tab, and assign them one of the Help Desk roles.
- 15 minutes of History – There’s only 15 minutes of collected metric data. Use vRealize Operations for Horizon for longer historical monitoring.
- See Rob Beekmans Helpdesk functionality added to VMware Horizon 7.2.
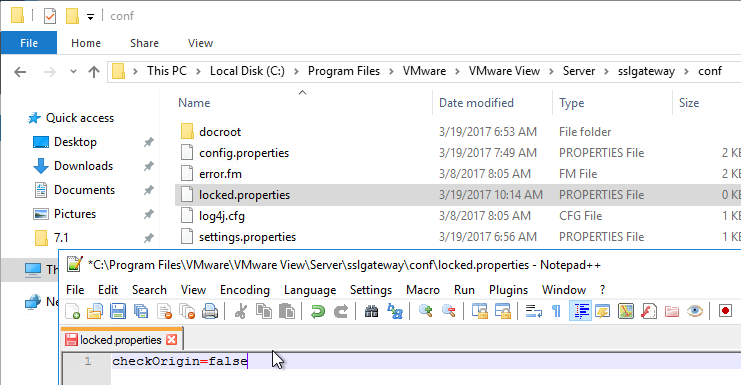
- According to Pascal van de Bor Horizon 7.2: With a little helpdesk from my friends, checkOrigin needs to be disabled to prevent the “Authentication failed, invalid domain, username or password. Please try again” error.
See Troubleshooting Users in Horizon Help Desk Tool at VMware Docs.
vCenter Connection, and optional Horizon Composer
Horizon must connect to vCenter for several reasons:
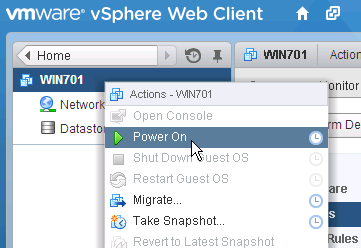
- Power manage the virtual machines
- Create new virtual machines using Instant Clones or Horizon Composer
- Update virtual machines using Instant Clones or Horizon Composer
See the Product Interoperability Matrix for supported vCenter versions.
If you are adding multiple vCenter servers to Horizon, make sure each vCenter Server has a Unique ID. In vSphere Web Client, go to the vCenter Server > Manage > Settings > General > Edit > Runtime Settings, and confirm that the ID is unique for each vCenter server.

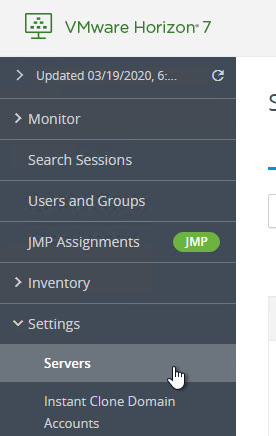
- In Horizon Console 7.8 or newer, on the left, expand Settings, and click Servers.
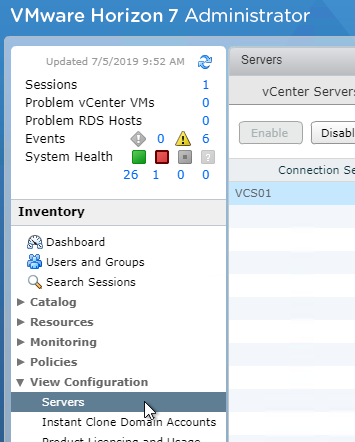
- Or in Horizon Administrator, on the left, expand View Configuration, and click Servers.
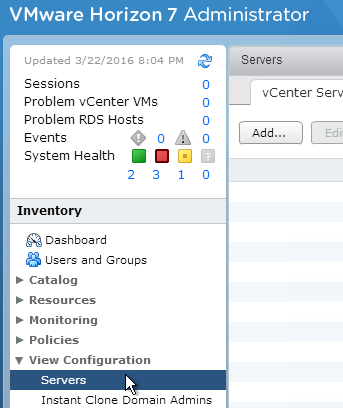
- Or in Horizon Administrator, on the left, expand View Configuration, and click Servers.
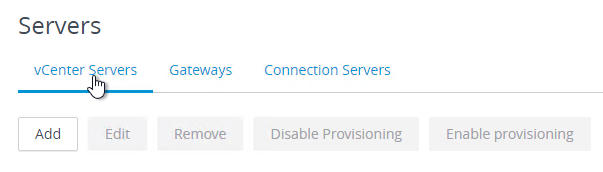
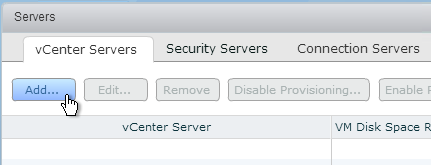
- In the right pane, in the vCenter Servers tab, click Add.
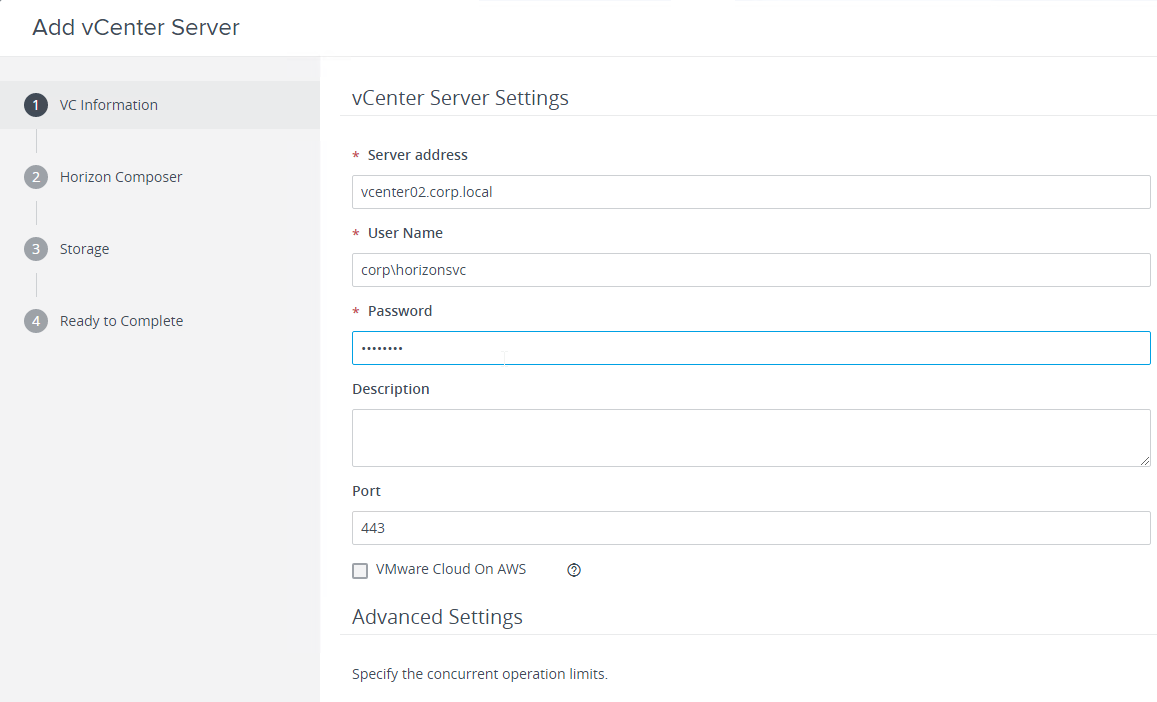
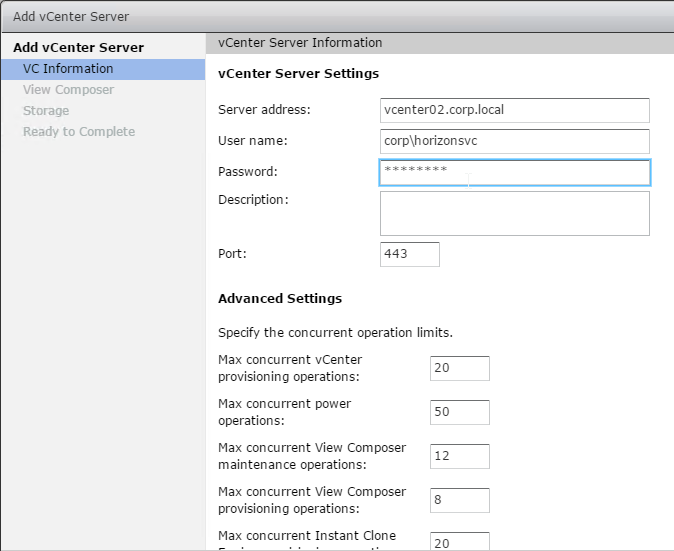
- In the VC Information page, do the following:
- In the Server address field, enter the FQDN of the vCenter server.
- See the Product Interoperability Matrix for supported vCenter versions.
- In the User Name field, enter the previously created Active Directory account (domainname\username) that Horizon will use to login to vCenter.
- Also enter the service account’s password.
- In the Server address field, enter the FQDN of the vCenter server.
- Click Next.
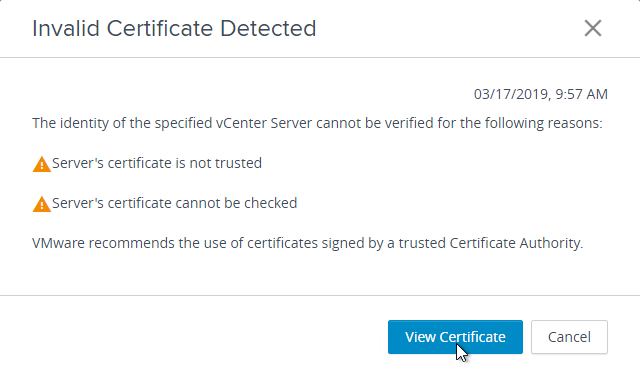
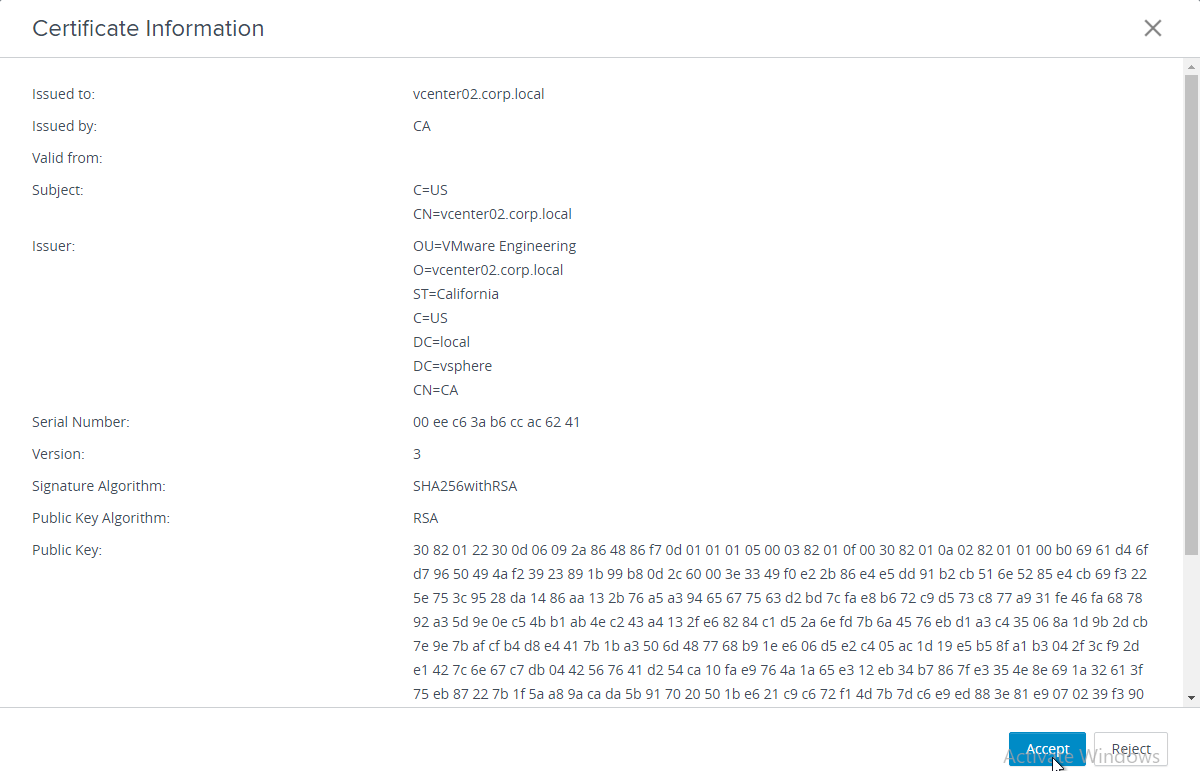
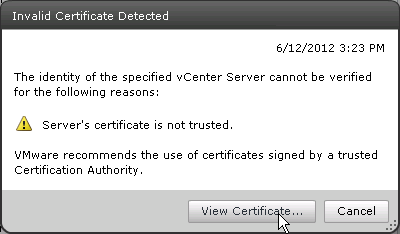
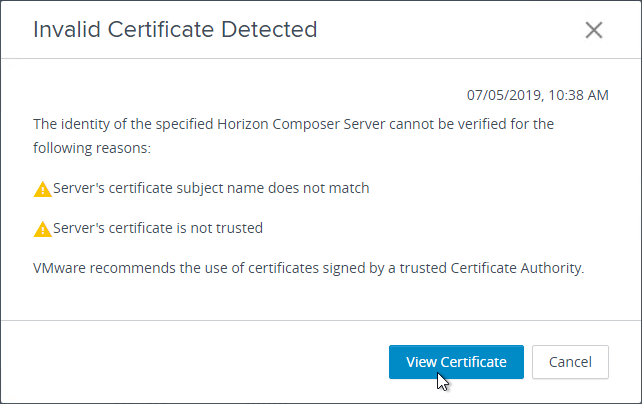
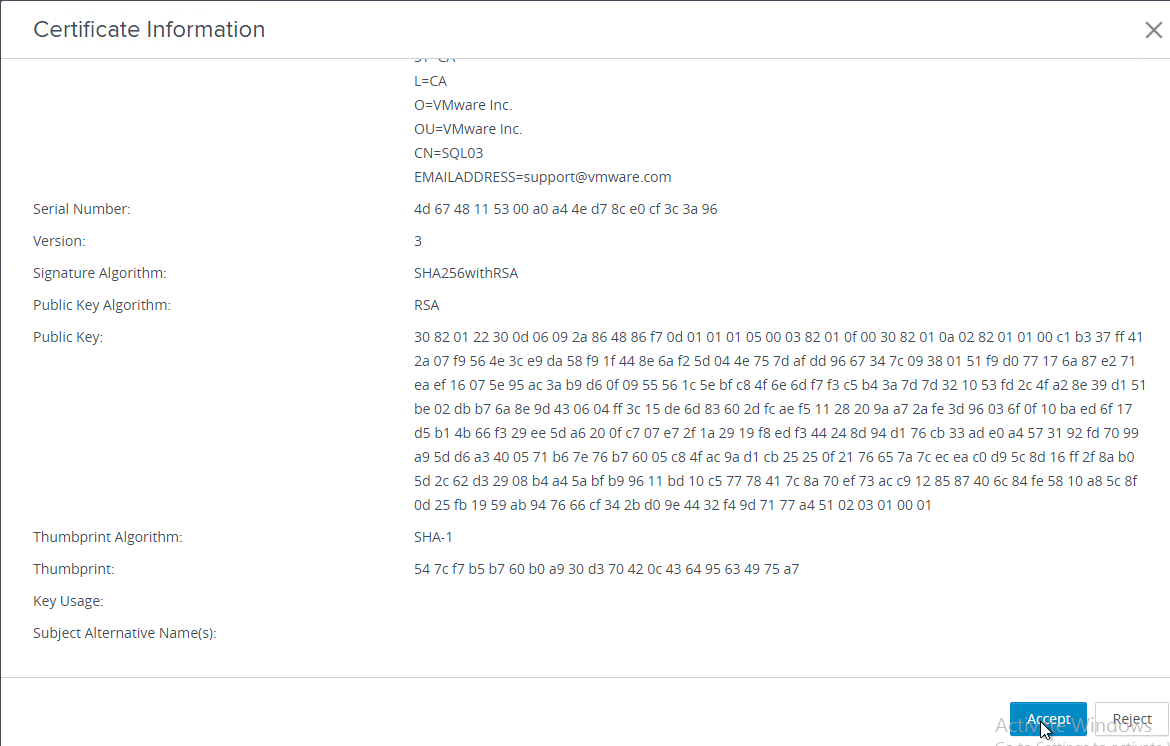
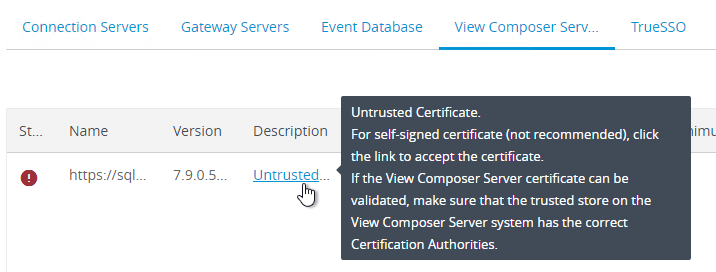
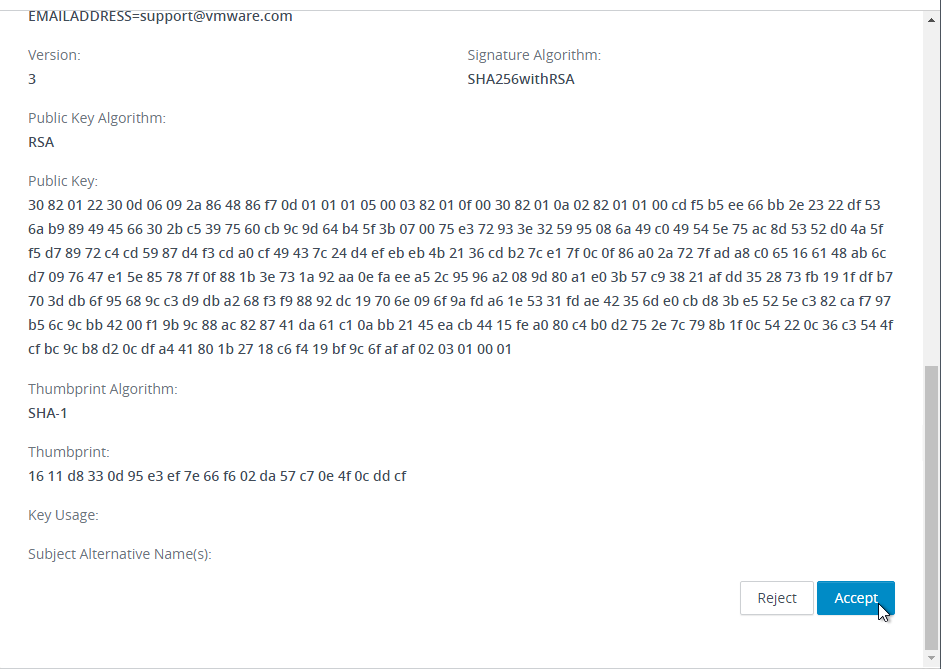
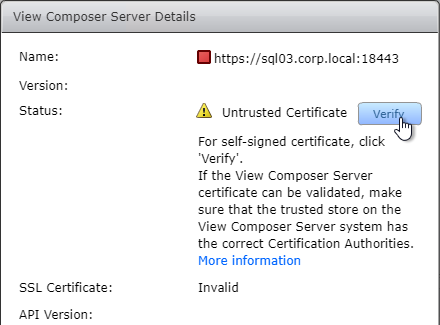
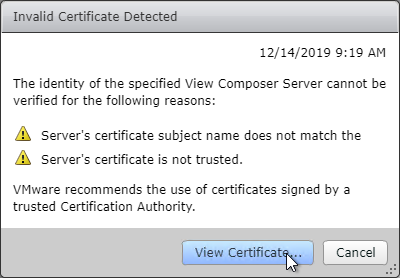
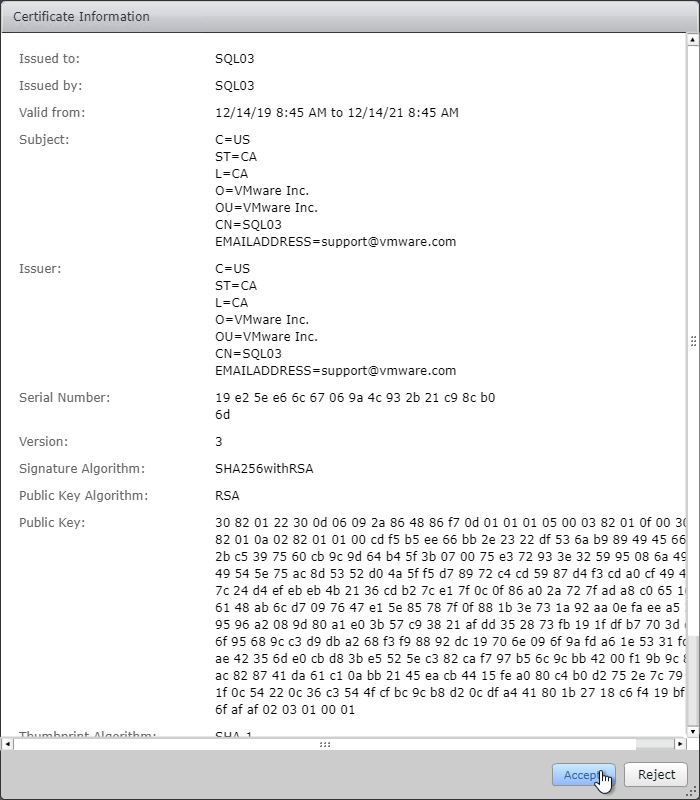
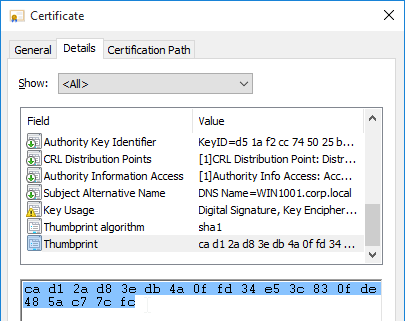
- If you see a message regarding invalid certificate, click View Certificate. Then click Accept.
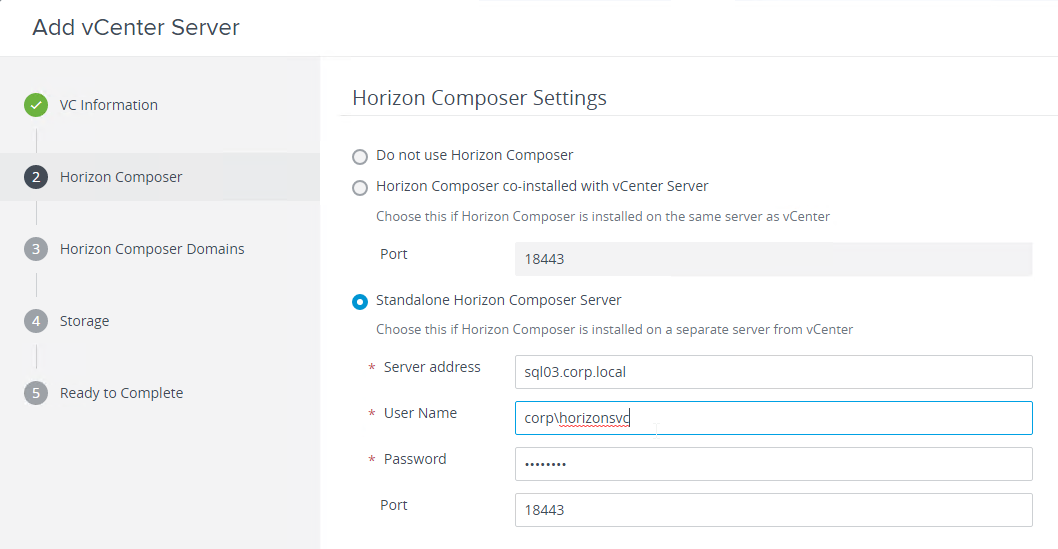
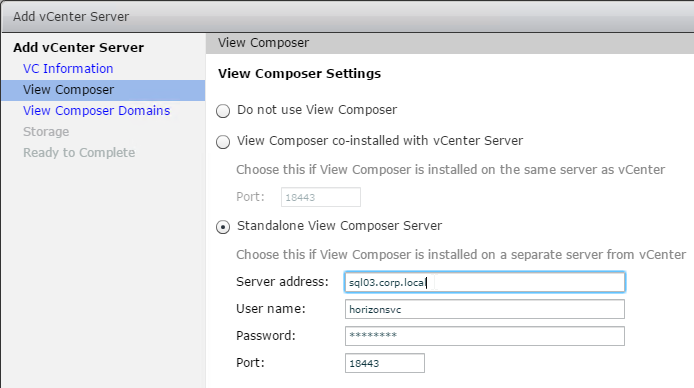
- In the View Composer page, if you are using Horizon Composer, then do the following:
- Select Standalone View Composer Server.
- Enter the FQDN of the Composer Server, and the credentials of an account to access the Horizon Composer server. The service account must be a local administrator on the Horizon Composer Server.
- Click Next.
- If you see an invalid certificate, click View Certificate. Then click Accept.

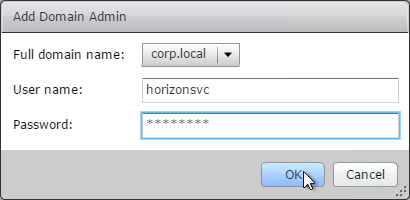
- If you are using Horizon Composer, then in the View Composer Domains page, do the following:
- Click Add.
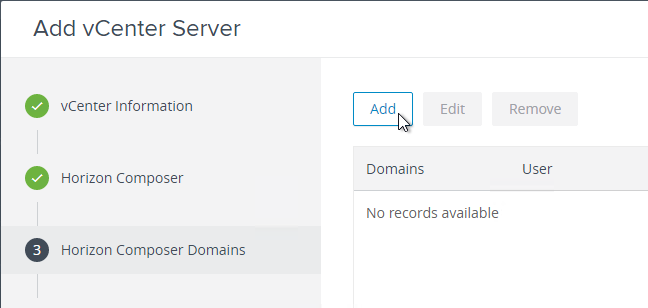
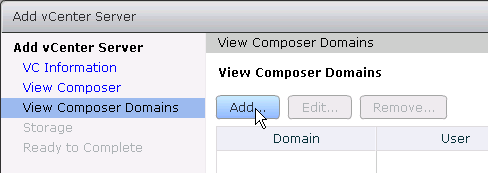
- Enter the Full domain name of where the virtual desktop computer objects will be created.
- Enter the Active Directory service account credentials that has permission to create computer objects, and click Submit.
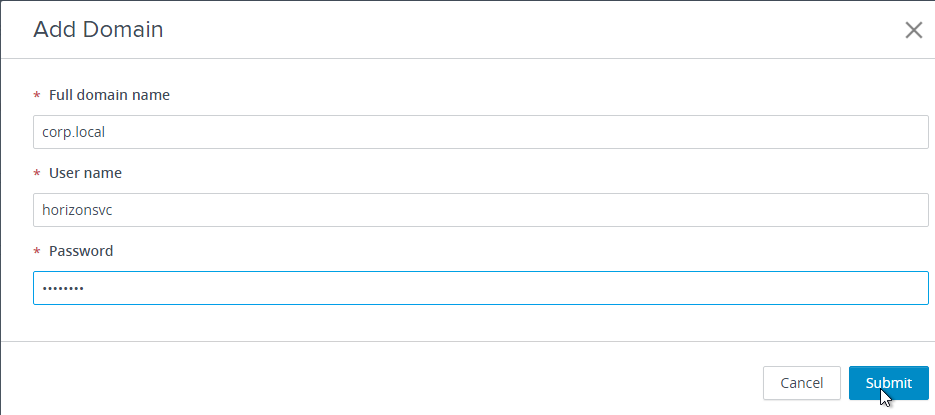

- Click Add.
- Then click Next.
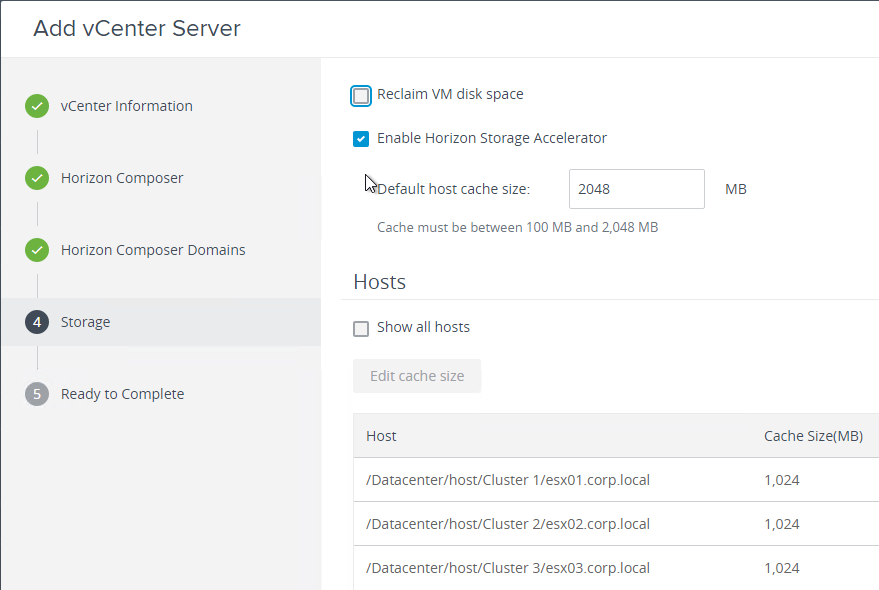
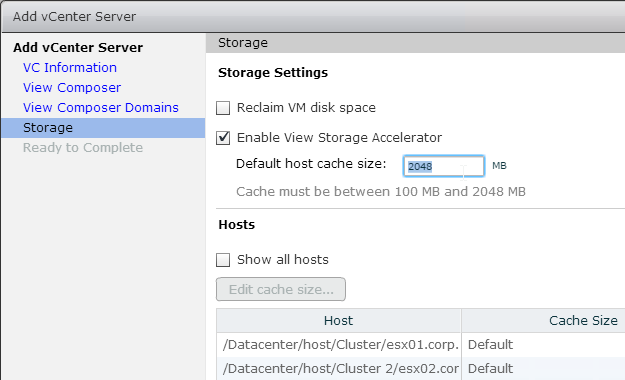
- In the Storage page, do the following:
- Reclaim VM disk space requires IOPS during its operation. This feature is not needed for Instant Clones.
- Check the box to Enable Horizon Storage Accelerator, and increase the host cache size to 2048. Notes:
- Horizon Storage Accelerator is required for Instant Clones.
- Horizon Storage Accelerator causes digest files to be created, thus increasing disk space requirements and increasing how long it takes to Recompose a pool.
- Click Next.
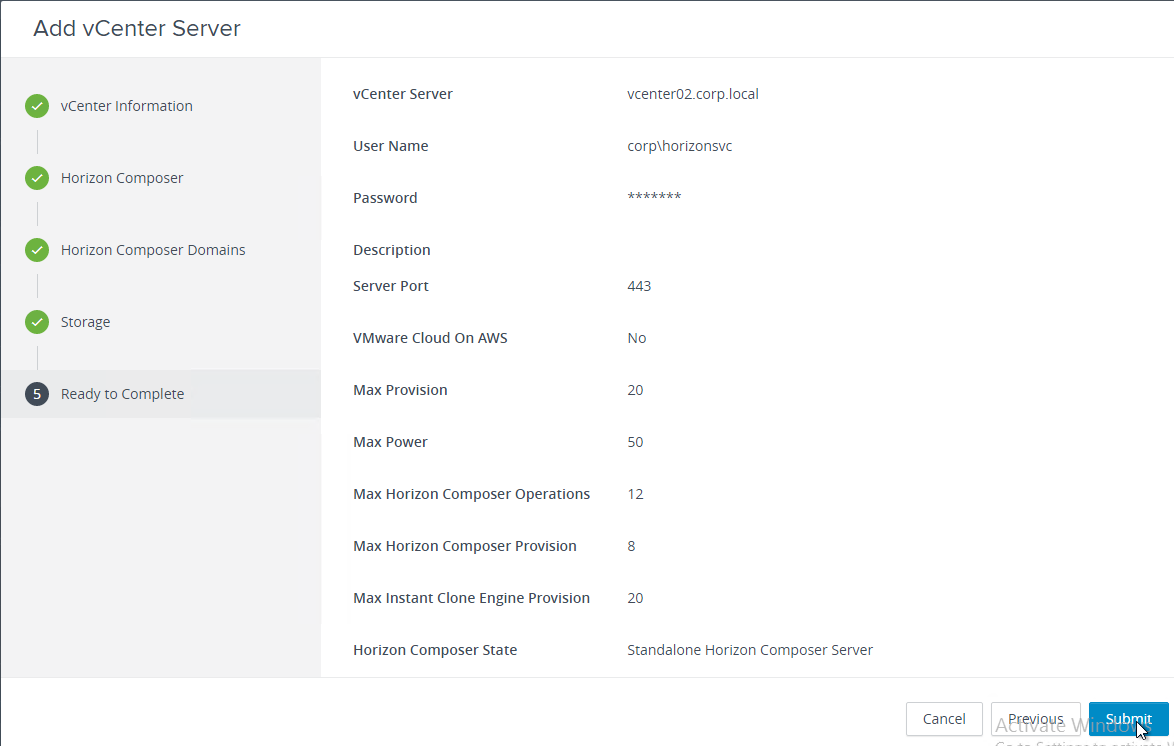
- In the Ready to Complete page, click Submit.

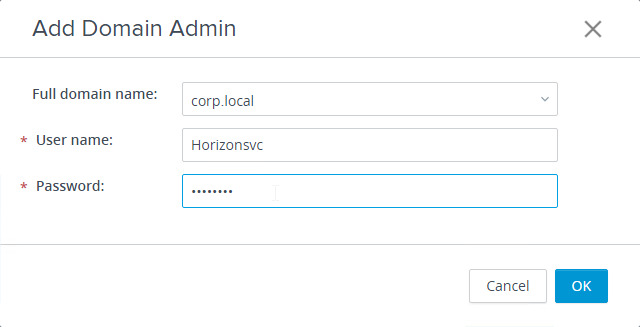
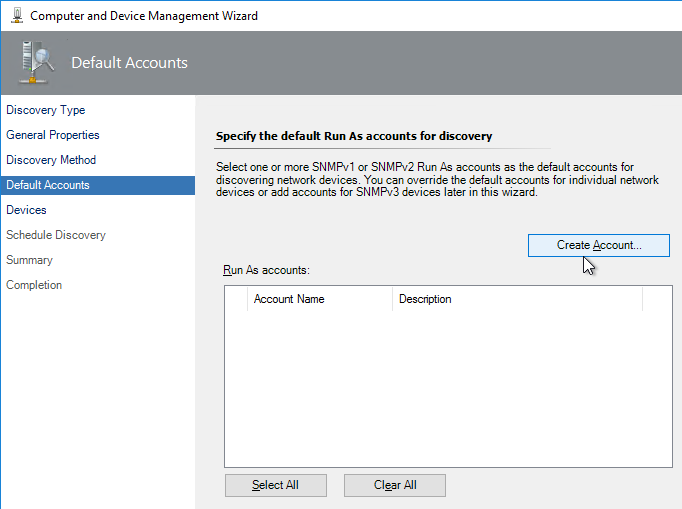
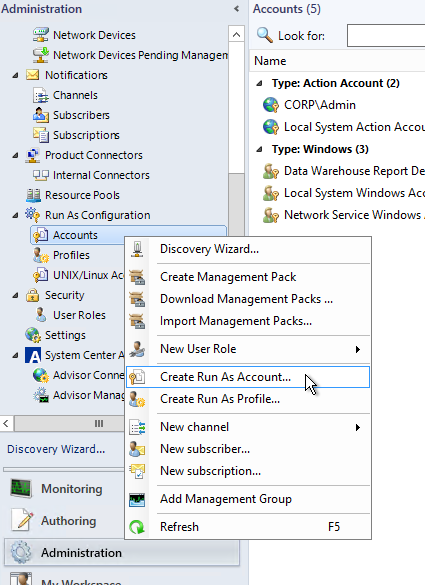
Instant Clone Domain Accounts
If you plan to use Instant-Clone to create non-persistent virtual desktops, then add an administrator account that can join machines to the domain.
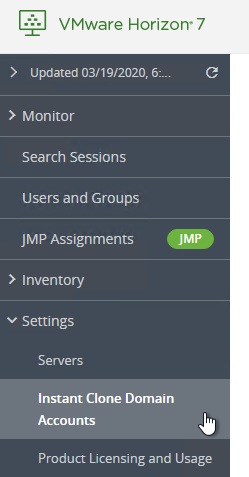
- In Horizon Console 7.9 or newer, on the left, expand Settings and click Instant Clone Domain Accounts.
- Or in Horizon Administrator, on the left, expand View Configuration, and click Instant Clone Domain Accounts.
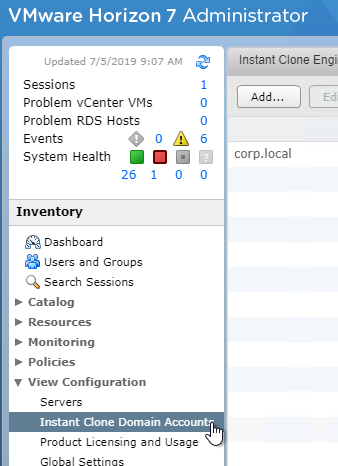
- Or in Horizon Administrator, on the left, expand View Configuration, and click Instant Clone Domain Accounts.
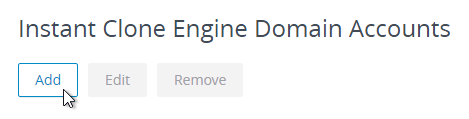
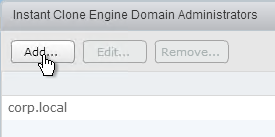
- On the right, click Add.
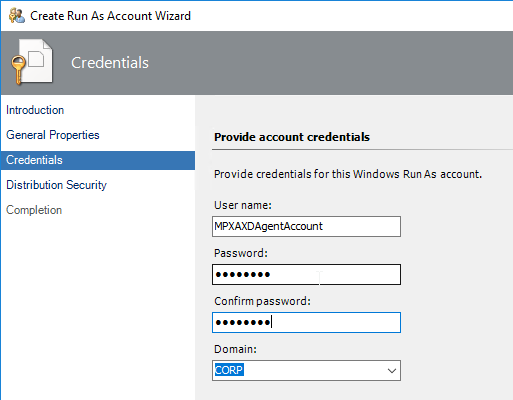
- Select the domain.
- Enter credentials of a service account that can join machines to the domain. Click OK.
Disable Check Origin
If you connect to Horizon Connection Server using any DNS name (e.g. load balancing DNS name) that doesn’t match the server’s DNS name, then it might not work unless you disable Origin Check as detailed at VMware 2144768 Accessing the Horizon View Administrator page displays a blank error window in Horizon 7.
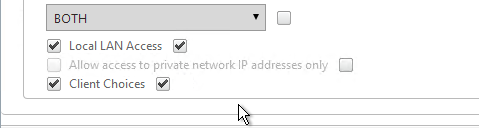
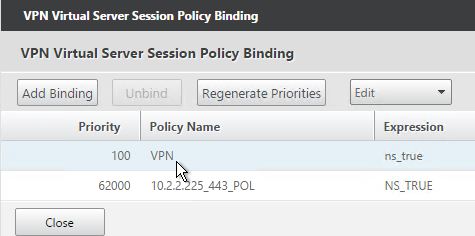
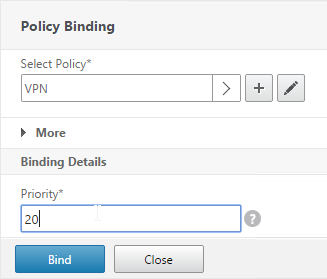
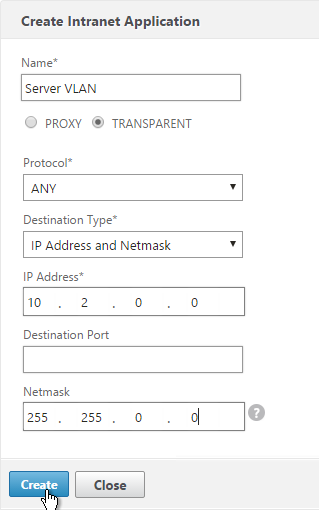
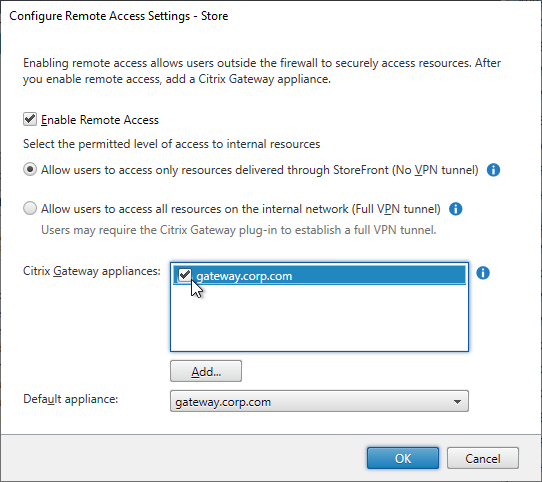
Restrict Remote Access
The Users and Groups node has a new Remote Access tab. You can configure this in either the Horizon Console or in Horizon Administrator.
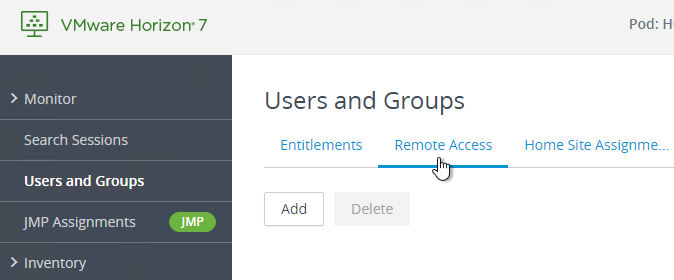
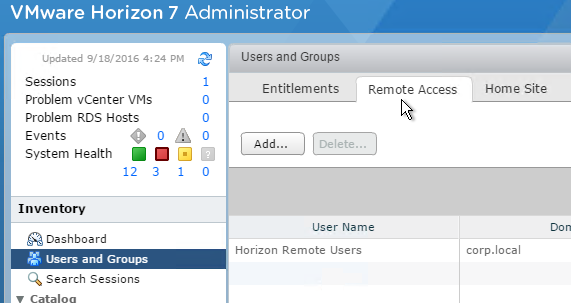
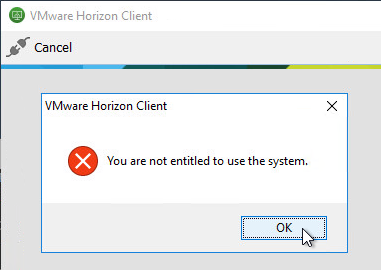
If you add groups or users to this tab, only these groups and users can login through Unified Access Gateway (UAG) or Security Server.
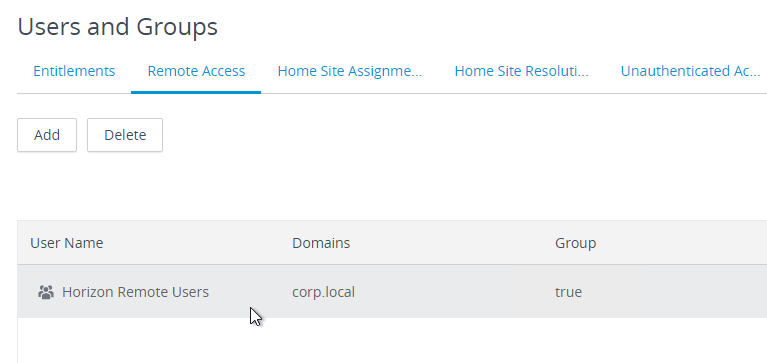
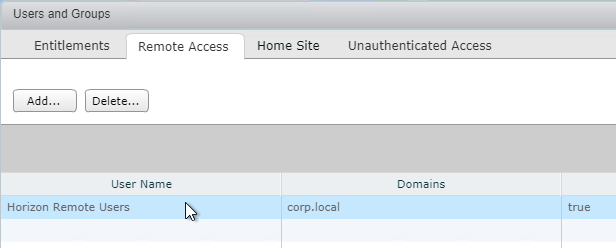
Users not in the list can’t login through Unified Access Gateway (UAG) or Security Server.
Disable Secure Tunnel
By default, internal Horizon Clients connect to Horizon Agents by tunneling (proxying) Blast or PCoIP through a Horizon Connection Server. It would be more efficient if the internal Horizon Clients connect directly to the Horizon Agents instead of going through a Connection Server.
- If the tunnels are enabled, and if you reboot the Connection Server, then user connections will drop.
- If the tunnels are disabled, then rebooting the Connection Server will not affect existing connections.
To disable the tunnels in either Horizon Console or Horizon Administrator:
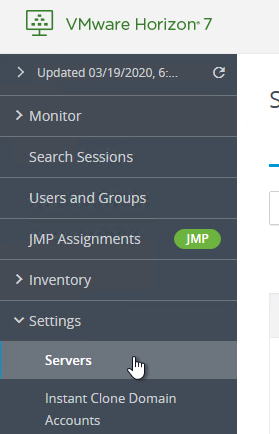
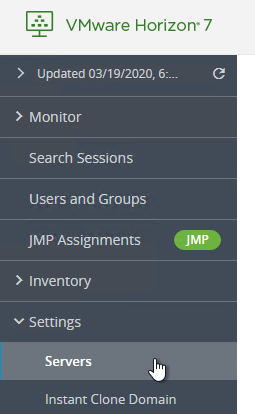
- In Horizon Console, on the left, expand Settings, and click Servers.
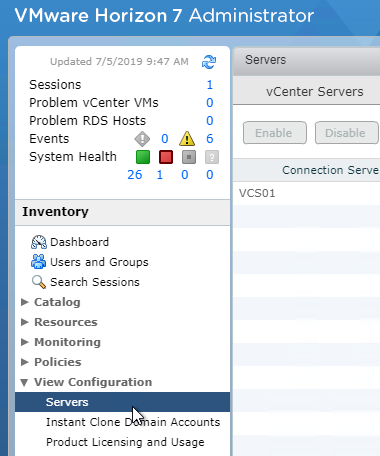
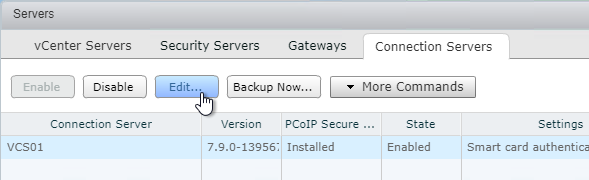
- Or in Horizon Administrator, on the left, expand View Configuration, and click Servers.
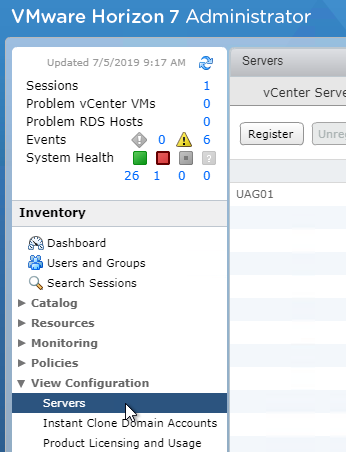
- Or in Horizon Administrator, on the left, expand View Configuration, and click Servers.
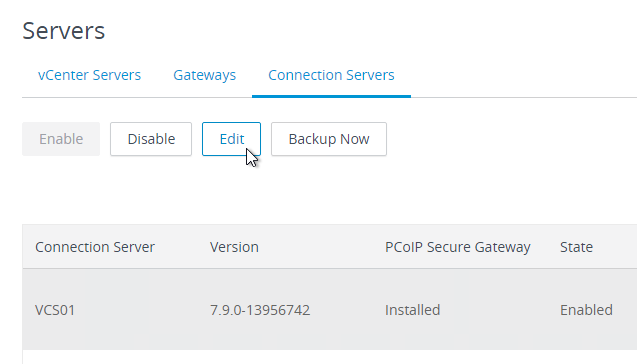
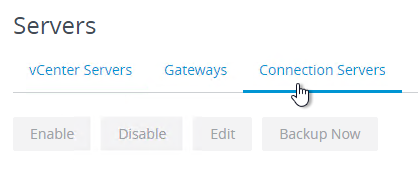
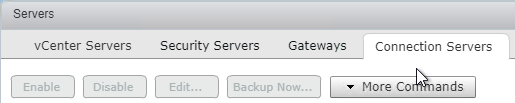
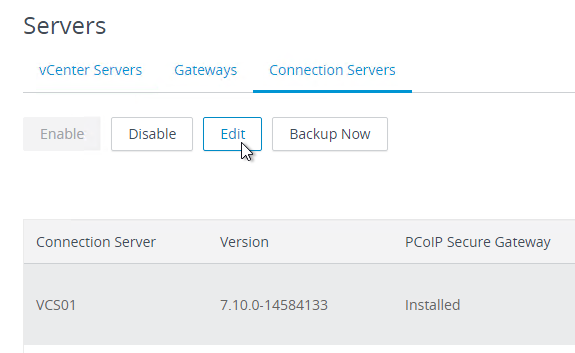
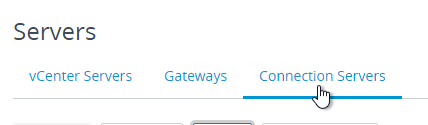
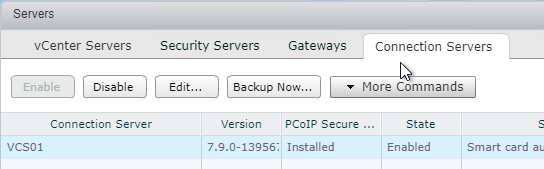
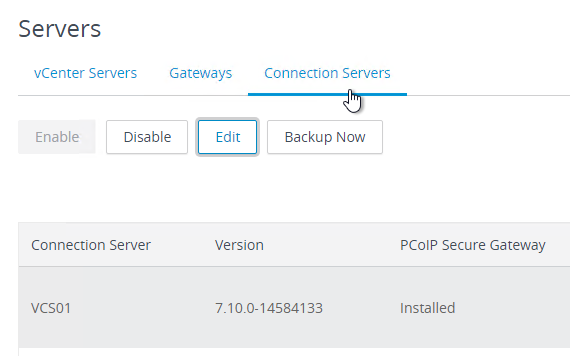
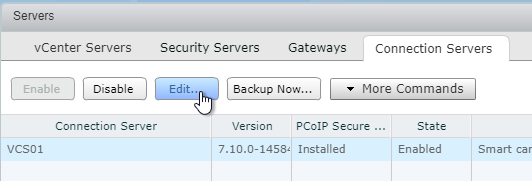
- On the right, switch to the Connection Servers tab.

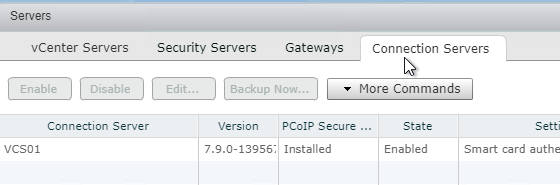
- Click the Connection Server to highlight it, and click Edit.
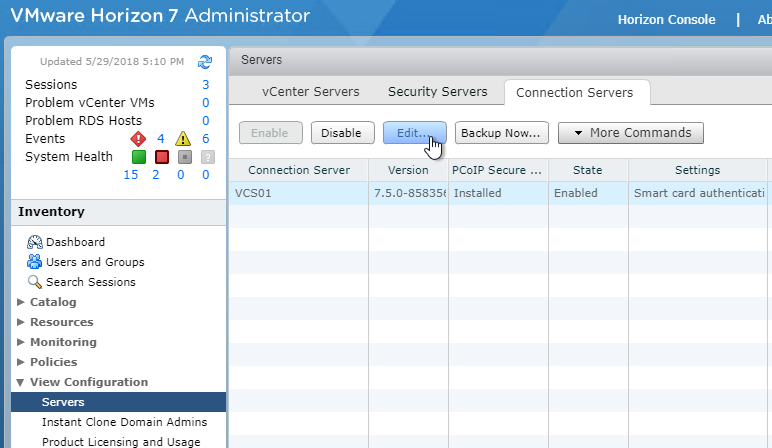
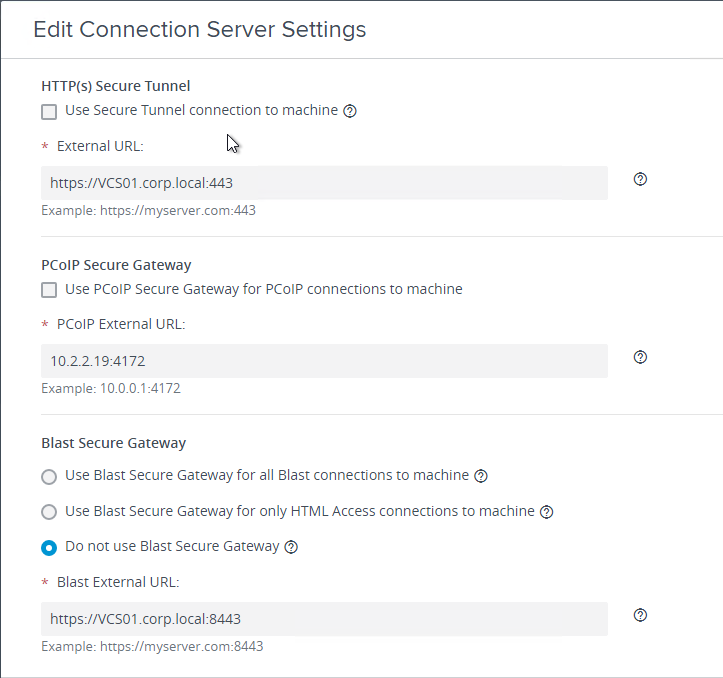
- On the General tab, uncheck the boxes next to HTTP(S) Secure Tunnel and the two Gateways. Click OK.
- Note: if you are using HTML5 Blast internally, then disabling the Blast Secure Gateway will cause HTML5 Blast connections to go directly to the Horizon Agent, and the Agent certificate is probably not trusted. Newer versions of Horizon have an option to use Blast Secure Gateway only for HTML Access.

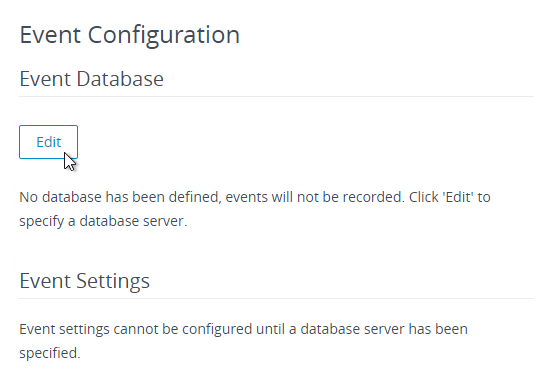
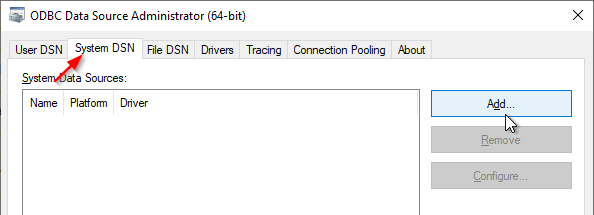
Event Database and Syslog
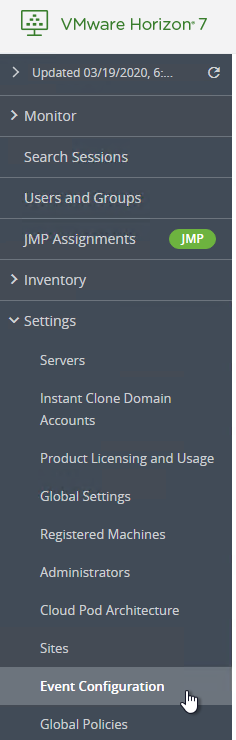
- In Horizon Console 7.9 or newer, on the left, expand Settings and click Event Configuration.
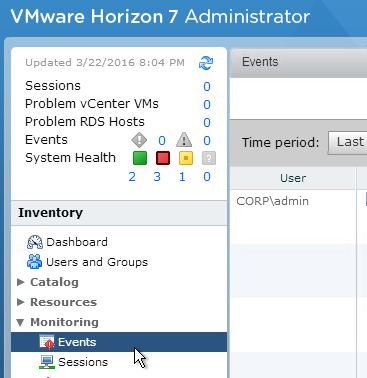
- Or in Horizon Administrator, expand View Configuration, and click Event Configuration.
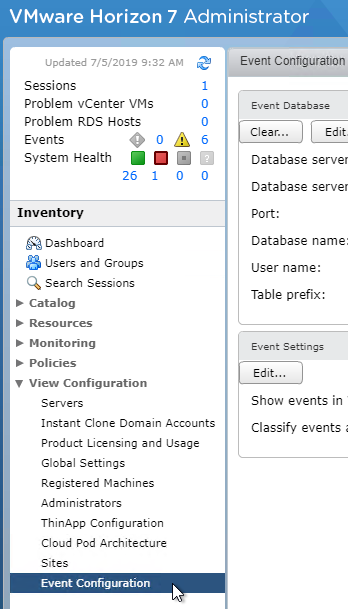
- Or in Horizon Administrator, expand View Configuration, and click Event Configuration.
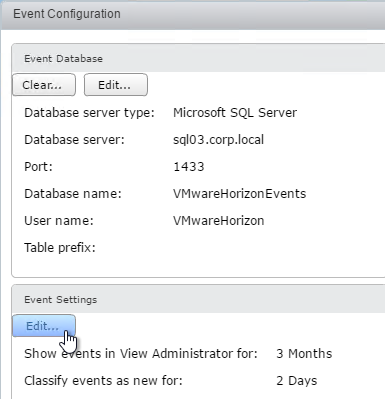
- On the right, under Event Database, click Edit.

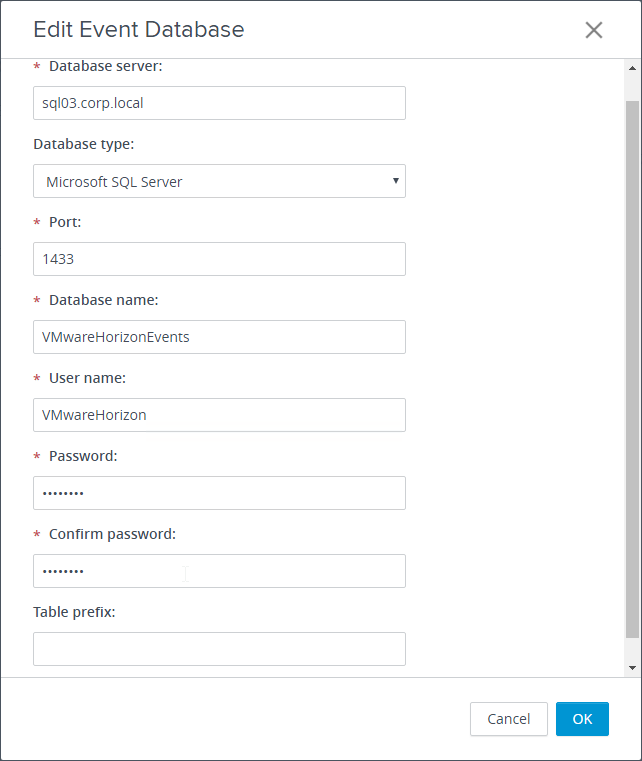
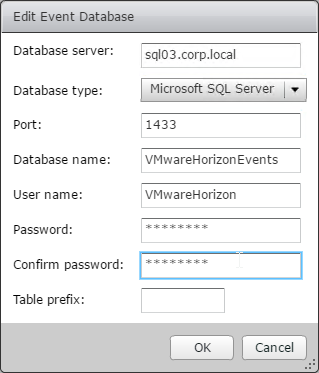
- In the Edit Event Database dialog box, do the following:
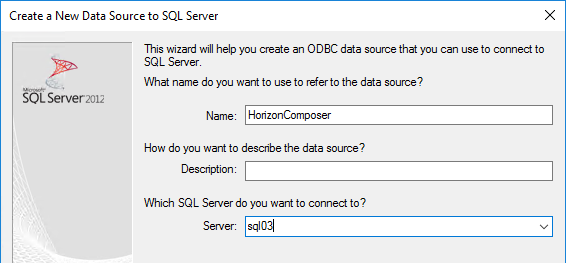
- Enter the name of the SQL server.
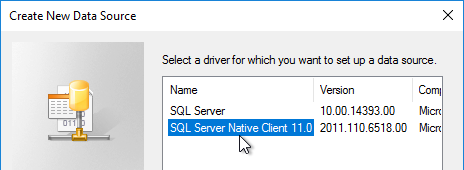
- Select Microsoft SQL Server as the Database type.
- Enter the name of the database.
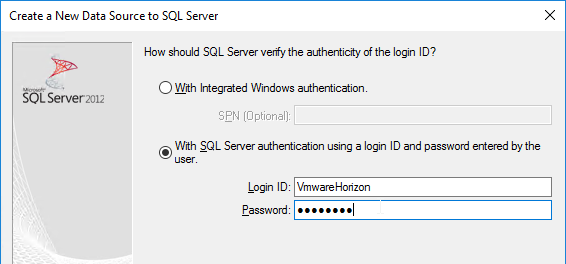
- Enter the SQL account credentials (no Windows authentication).
- Optionally, enter VE_ (or similar) for the Table prefix. This allows you to use the same Events database for multiple View installations.
- Click OK.
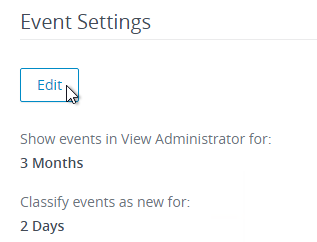
- On the right, in the Event Settings section, you can click Edit to change the age of events shown in Horizon Console or Horizon Administrator.
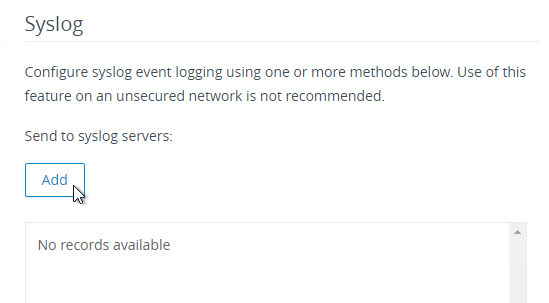
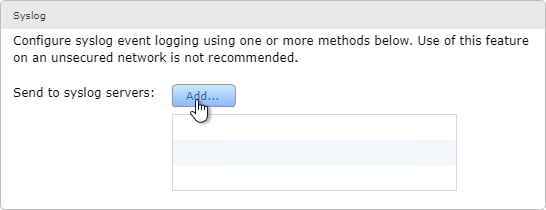
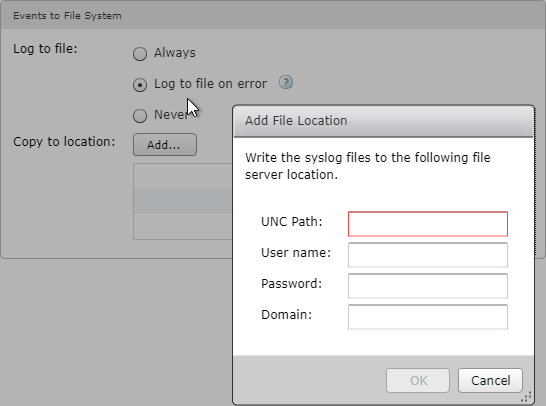
- To add a Syslog server, look on the right side of the page.
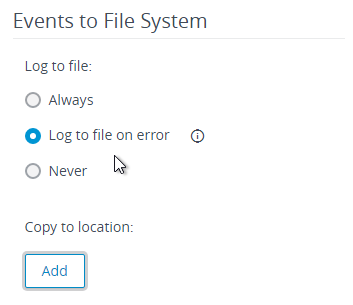
- There are configuration options for logging to a file (Events to File System).
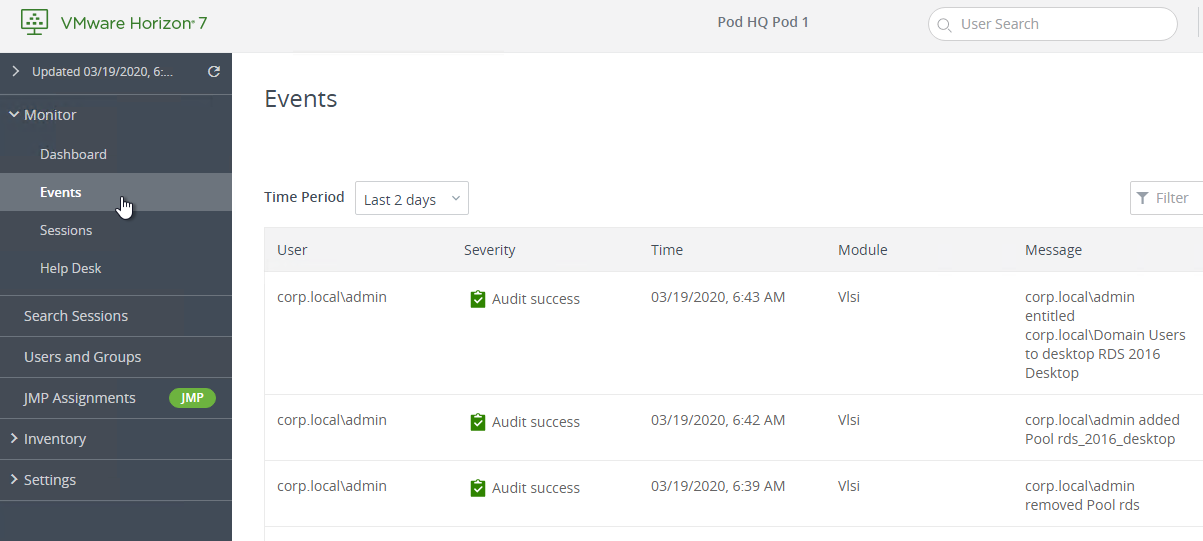
- You can go to Monitor > Events to view the events in the database.
Event Database SQL Index
VMware Knowledgebase article – The Event database performance in VMware View 6.0.x is extremely slow (2094580): Symptoms:
- The Event database performance in VMware View 6.0.x is extremely slow when browsing within View
- High CPU usage on the SQL server, hosting the Event database
- The larger the Event database becomes, the slower the queries run.
To resolve this issue, create an index. Run this command on your SQL Event database:
CREATE INDEX IX_eventid ON dbo.VDIevent_data (eventid)
Substitute VDIevent_data for the table name using your Event database prefix.
Event Queries
VMware Fling – Horizon View Event Notifier: collects and sends the alerts via email (SMTP) to users that are specified during the configuration process. It allows aggregation of alerts across multiple Horizon View Pods and for near real-time alerting of Horizon View alerts that are otherwise very difficult to be notified on.
Chris Halstead – VMware Horizon View Events Database Export Utility: this utility allows administrators to easily apply very detailed filtering to the data and export it to .csv. You can filter on time range, event severity, event source, session type (Application or Desktop), Usernames and Event Types. The application allows for extremely granular export of data. The exported columns can also be customized and the application will export data from both the live and the historical tables in the View Events Database.
VMware Knowledgebase article – Creating SQL views to retrieve the top 50 maximum number of concurrent desktop sessions over a period: This article provides steps to create database views to retrieve the maximum number of concurrent desktop sessions over a period from the event_historical table.
To retrieve the top 50 maximum number of concurrent desktop sessions over a period time from the event_historical table, run this query:
select Count, Time from(select top 50 DOB.<prefix>_data_historical.IntValue as 'Count', DOB.<prefix>_historical.Time as 'Time' from DOB.<prefix>_historical.DOB.<prefix>_data_historical where DOB.<prefix>_historical.EventID = DOB.<prefix>_data_historical.EventID and DOB.<prefix>_data_historical.Name = 'UserCount' and DOB.<prefix>_historical.EventType='BROKER_DAILY_MAX_DESKTOP order by DOB.<prefix>_historical.Time DESC) A Order by Time
Where <prefix> is the prefix for the event table. You can find the prefix that you must use by examining other view definitions, such as user_events.
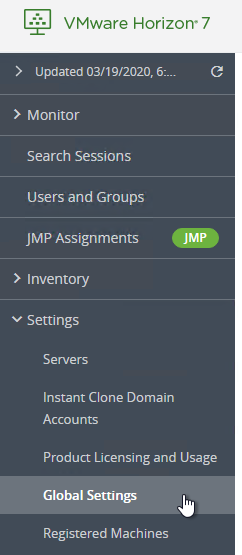
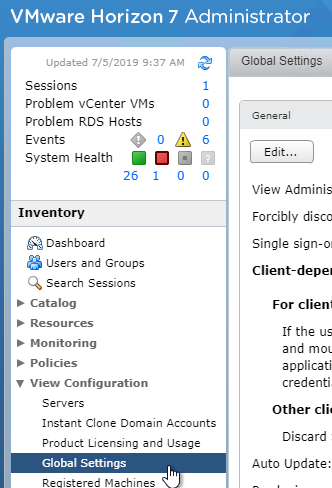
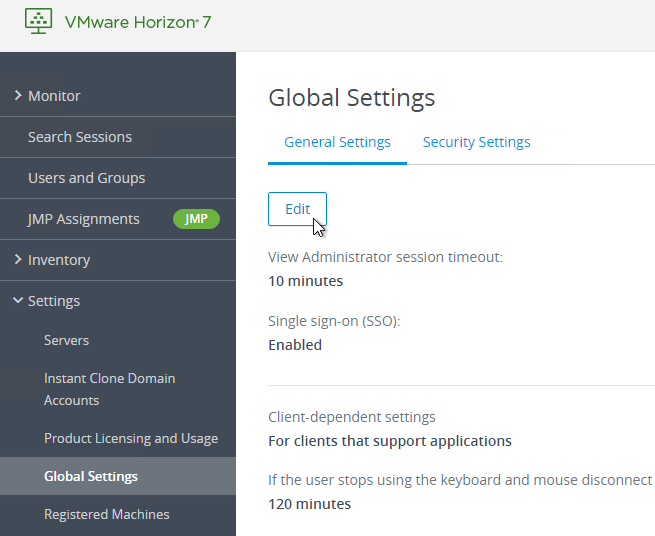
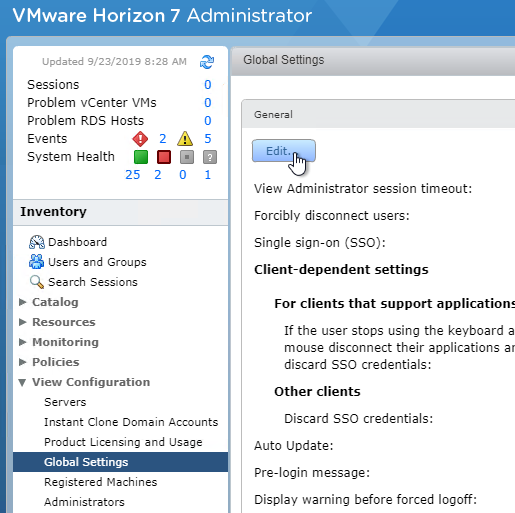
Global Settings
- In Horizon Console 7.9 or newer, on the left, expand Settings and click Global Settings. Or in Horizon Administrator, on the left, under View Configuration, click Global Settings.
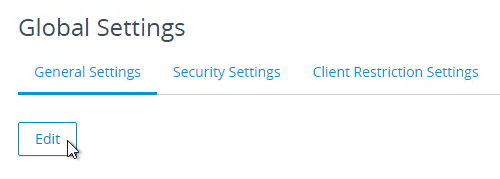
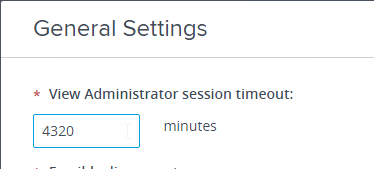
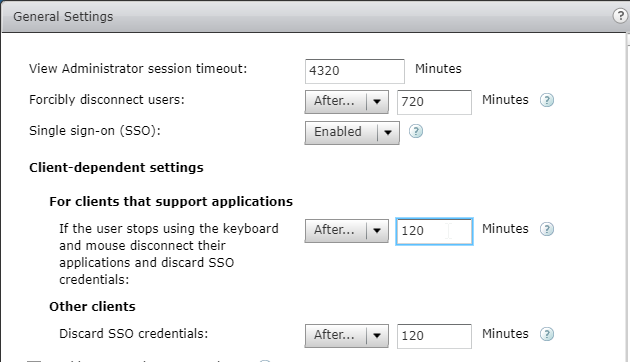
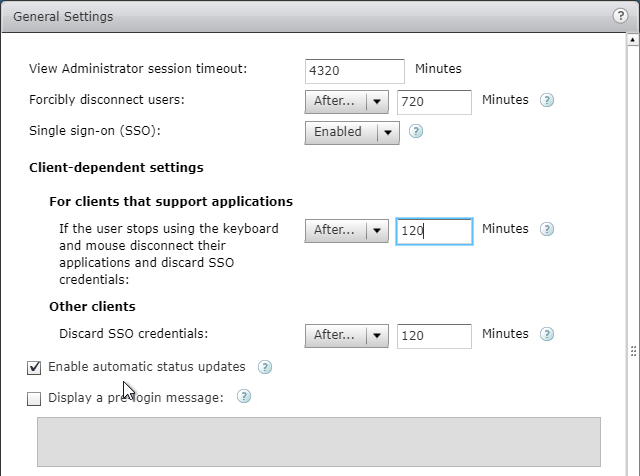
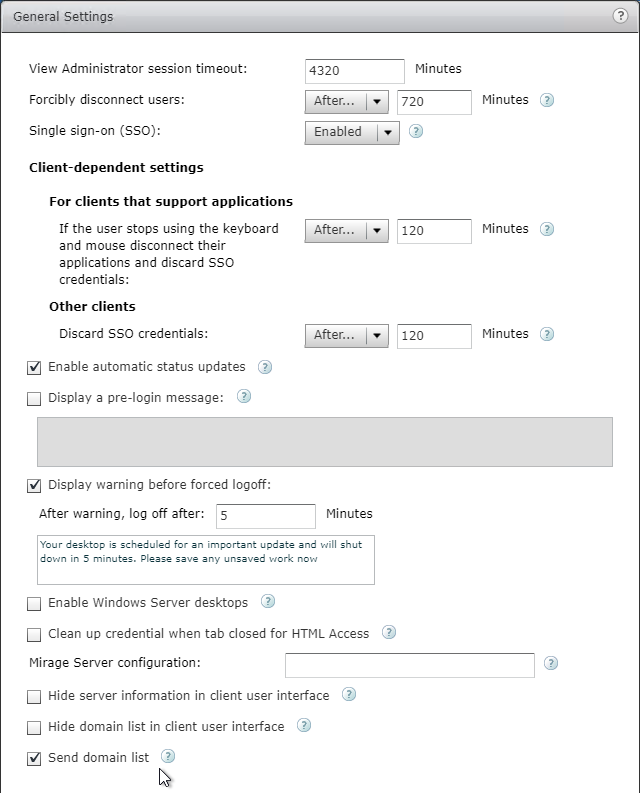
- On the right, under Global Settings, in the General Settings tab (or General section), click Edit.
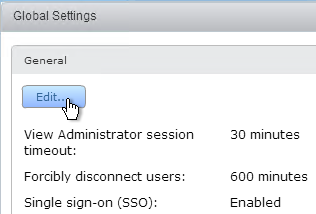
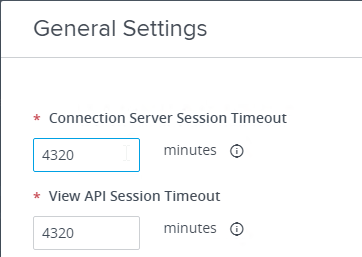
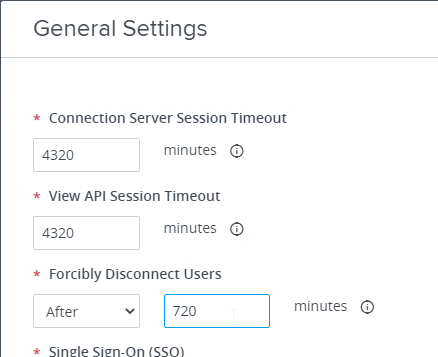
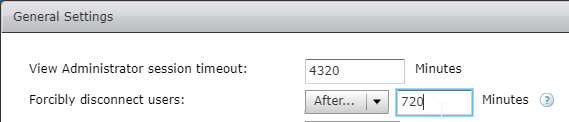
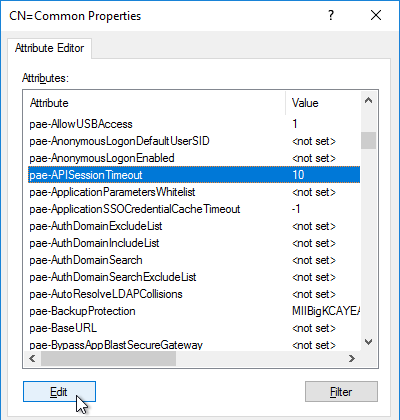
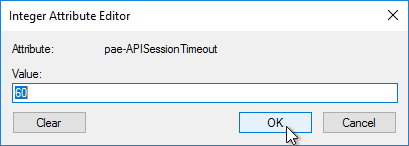
- Set the Connection Server Session Timeout (7.13 only) or View Administrator session timeout, which applies to both administrators and help desk. 4320 minutes (72 hours) is the maximum.

- Forcibly disconnect users is an active session timeout. It is not an idle timeout in that it doesn’t care if the user is working or not. The default is 10 hours so consider increasing it. Note: this timer does not log the user out of Windows. Instead it merely disconnects the user, and requires the user to logon to Horizon Connection Server again.
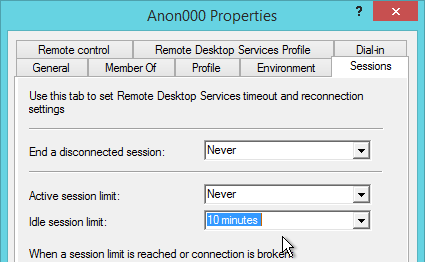
- Under Client-dependent settings you can set an idle timeout. This is a disconnect, not logoff.
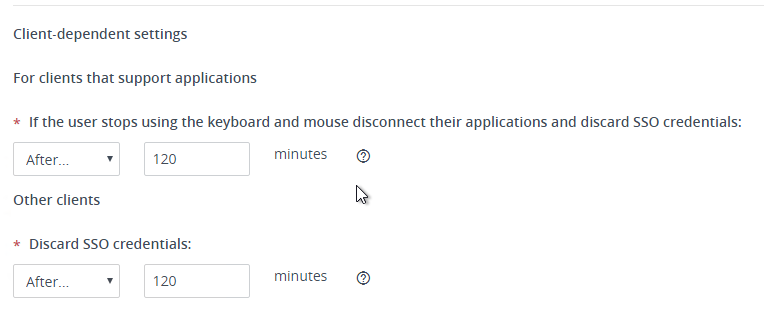
- To configure an idle timeout for desktop sessions:
- Lithnet.IdleLogoff – Log off users after periods of inactivity (with group policy support)
- Use the instructions in http://myvirtualcloud.net/vmware-view-disconnect-logoff-or-shutdown-your-vm-when-idle/.
- Create a screensaver. http://communities.vmware.com/message/1756450?tstart=0
- Raymond Chen – Scheduled Task that triggers from a Windows Event Log entry caused by screensaver
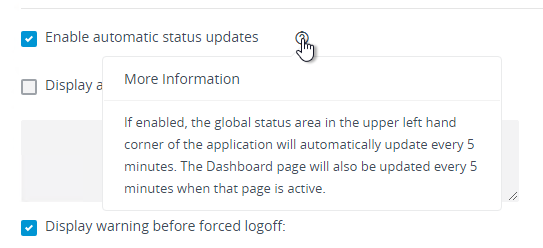
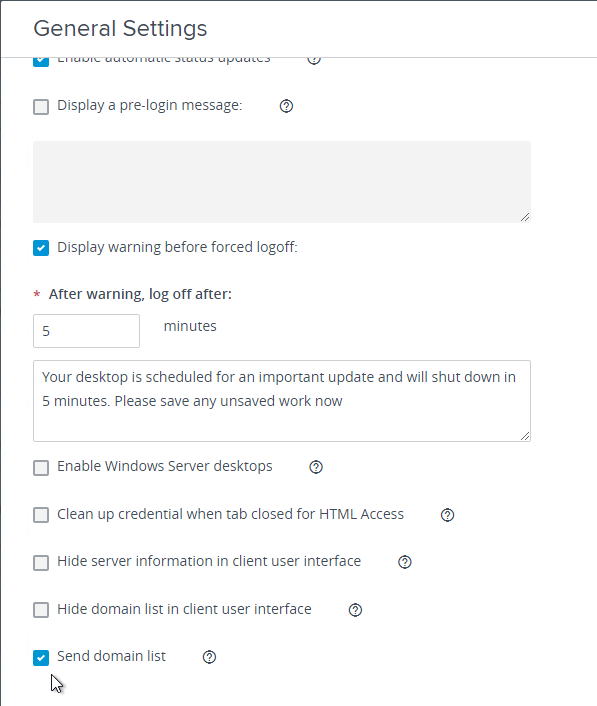
- Enable automatic status updates enables automatic updating of the table displayed in the top-left corner of Horizon Administrator.
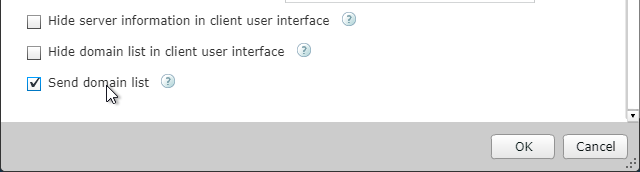
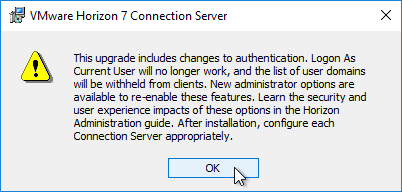
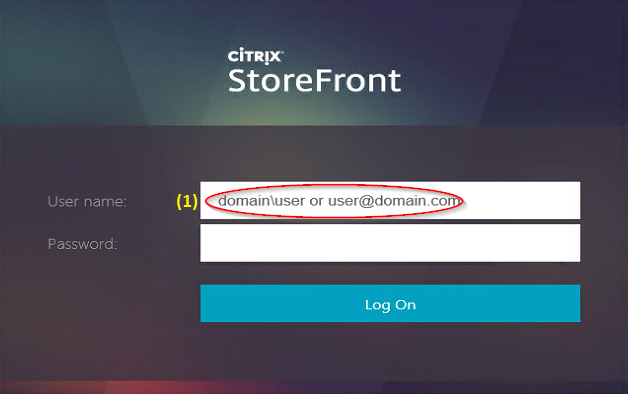
- In Horizon 7.8 and newer, the Send domain list option in Horizon Console and Horizon Administrator is unchecked by default, which means users must enter a domain name instead of picking one from a list. Check this box to restore functionality from Horizon 7.7 and earlier. See VMware Blog Post Changes in Logon for VMware Horizon. Note: This setting is configurable in Horizon Console 7.10 and newer.

- Make other changes as desired. Click OK when done.
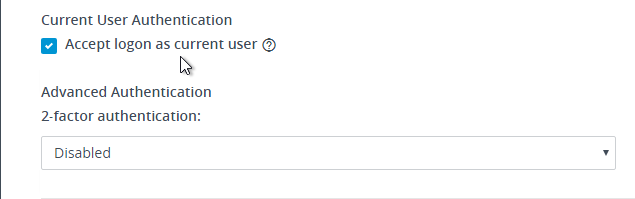
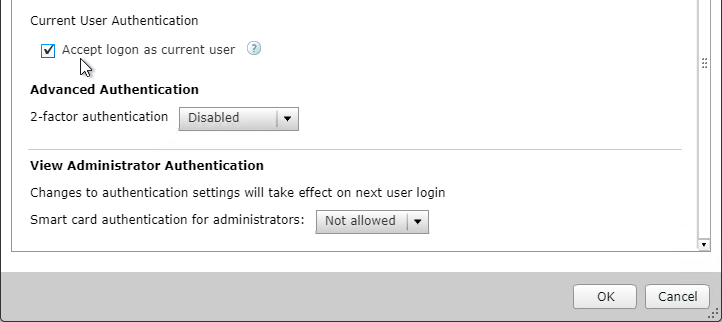
Horizon 7.8 and newer disable “Log On as Current User” by default. To enable this client feature:
- In Horizon Console 7.10 or newer, on the left, expand Settings, and click Servers.
- Or in Horizon Administrator, on the left, expand View Configuration and click Servers.
- Or in Horizon Administrator, on the left, expand View Configuration and click Servers.
- On the right, switch to the Connection Servers tab.
- Highlight a Connection Server and click Edit.
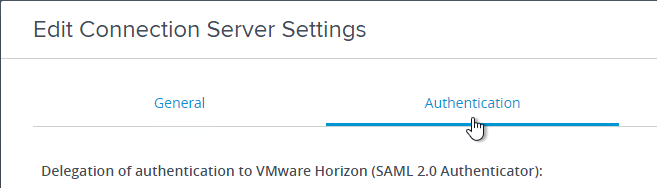
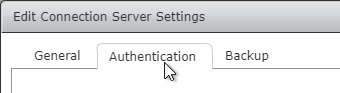
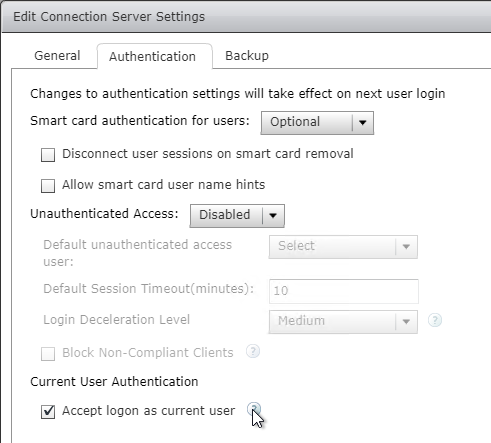
- Switch to the Authentication tab.
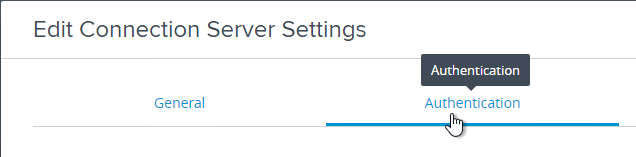
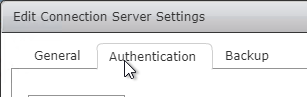
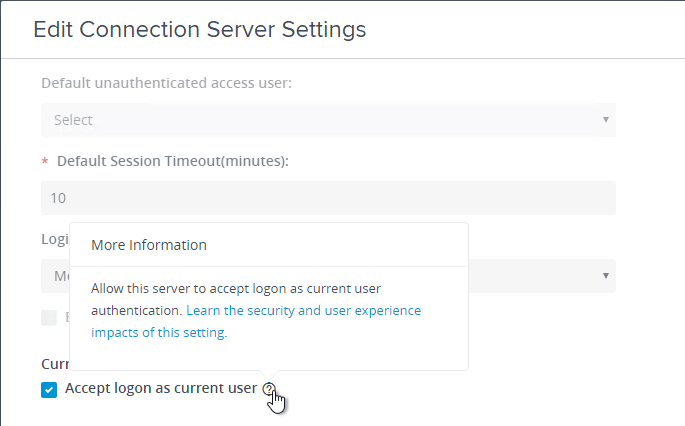
- Scroll down. Check the box next to Accept logon as current user. Click OK.
Horizon 7.11 and newer can restrict connections to a minimum version of Horizon Client. 💡
- In Horizon Console 7.11 or newer, on the left, expand Settings, and click Global Settings.
- On the right, switch to the tab named Client Restriction Settings.
- Click Edit.
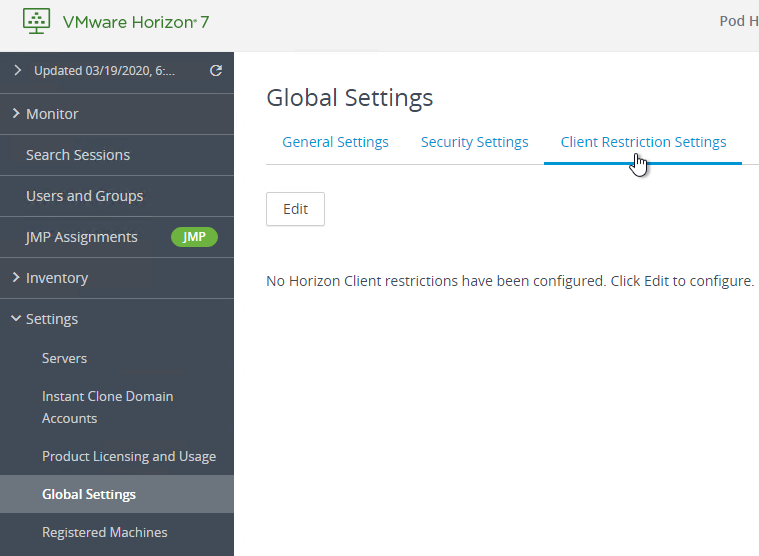
- For each client type, enter a minimum version number. Click OK when done.

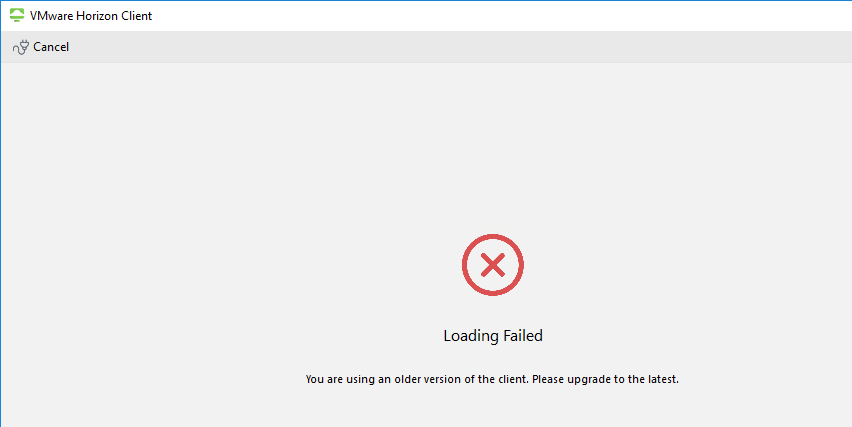
- The client version is enforced when you try to launch an icon.
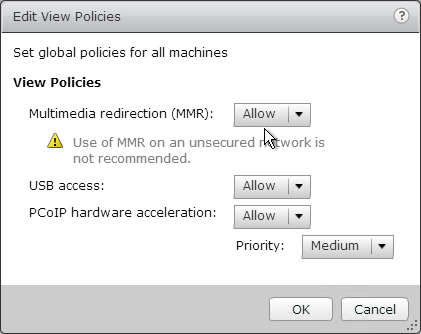
Global Policies
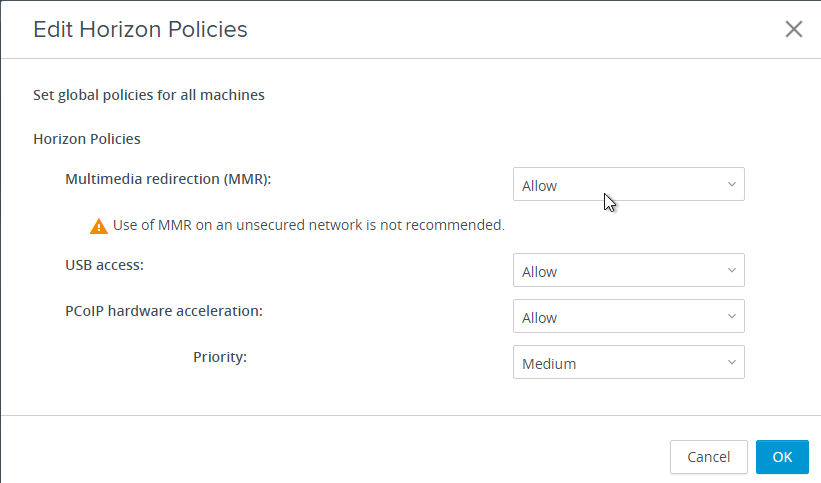
By default, Multimedia Redirection is disabled. You can enable it in Global Policies.
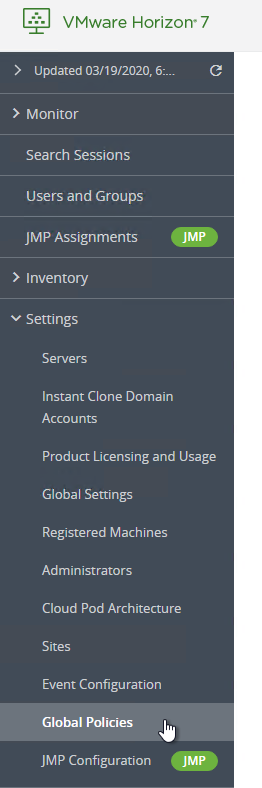
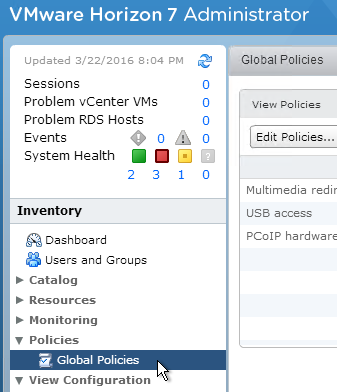
- In Horizon Console 7.8 or newer, go to Settings > Global Policies. Or in Horizon Administrator, go to Policies > Global Policies.
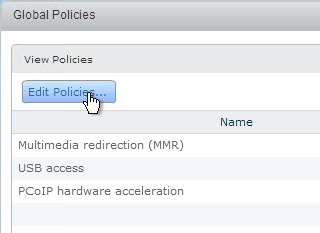
- On the right, click Edit Policies.

- Set Multimedia redirection to Allow, and click OK. Notice that Multimedia redirection is not encrypted.
Backups
Connection Server LDAP Backup and Composer Database Backups can be configured in Horizon Administrator, or in Horizon Console.
- in Horizon Console 7.8 or newer, on the left, expand Settings and click Servers. Or in Horizon Administrator, on the left, expand View Configuration, and click Servers.
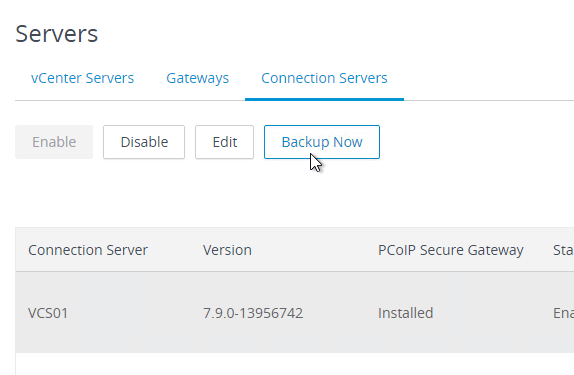
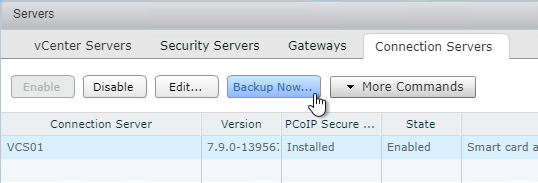
- On the right, switch to the Connection Servers tab.
- Select a Horizon Connection Server, and click Backup Now. Backups can be found in C:\ProgramData\VMware\VDM\backups.
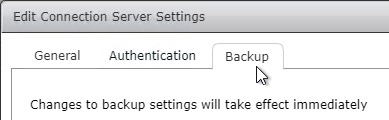
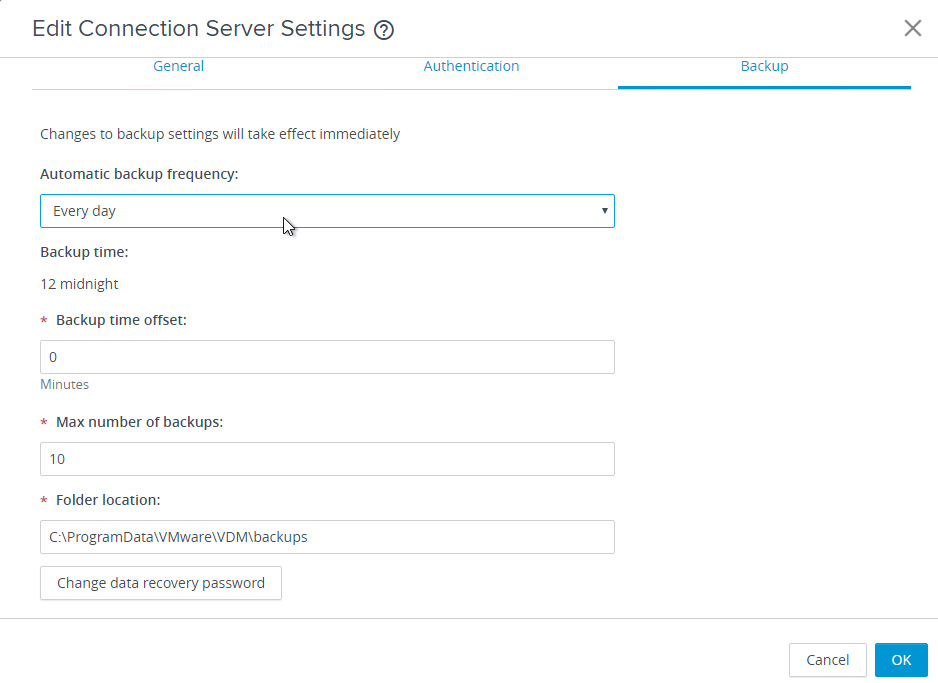
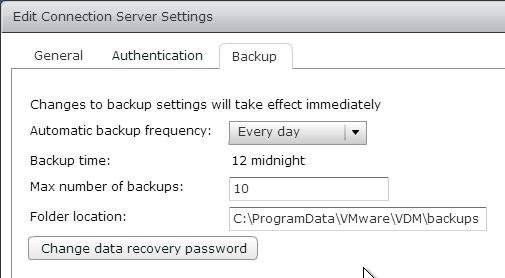
- To change automatic backup settings, Edit the Horizon Connection Server, and switch to the Backup tab.
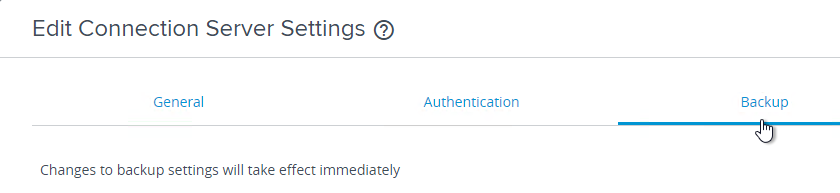
- you can schedule automatic backups. This also backs up the View Composer database but not the vCenter database. See VMware 1008046 Performing an end-to-end backup and restore for VMware View Manager.
Tips
VMware Blog Post Top 10 Tips for a Successful Horizon VDI
Related Pages
- Back to VMware Horizon 7


 `
`