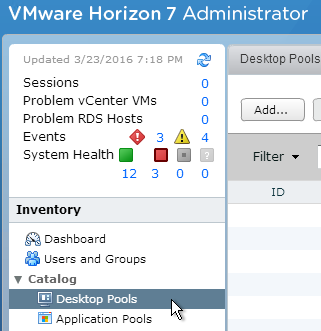
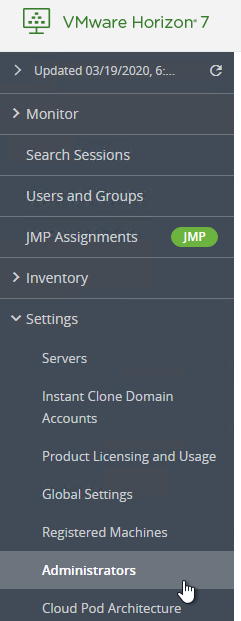
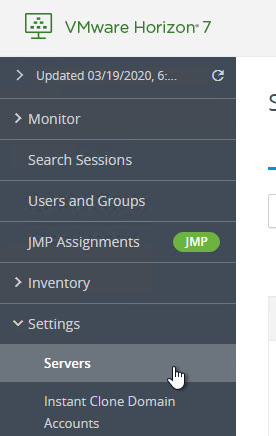
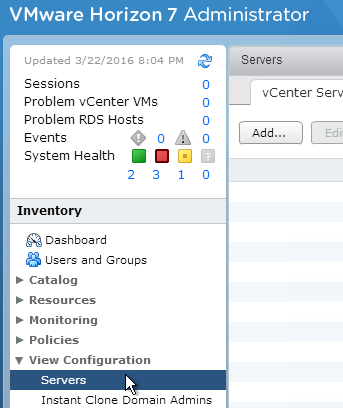
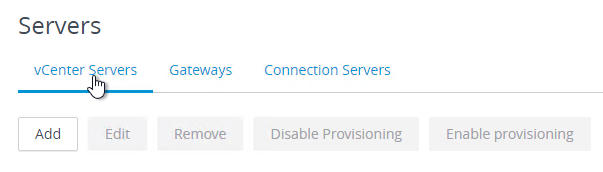
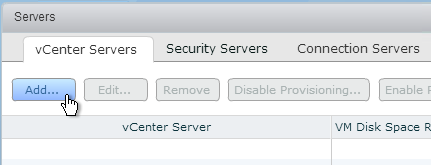
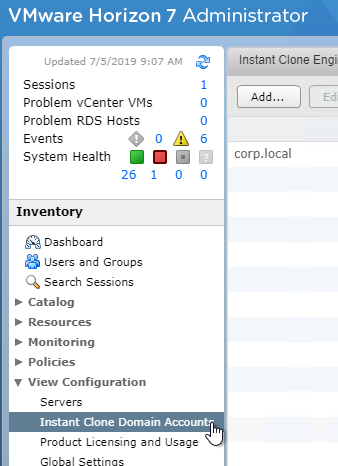
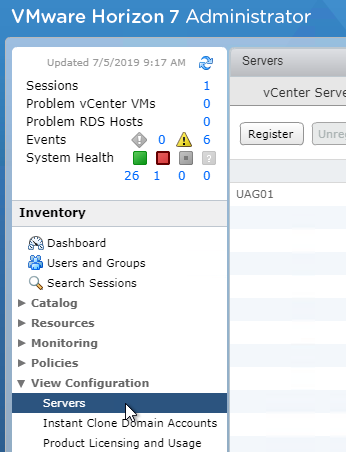
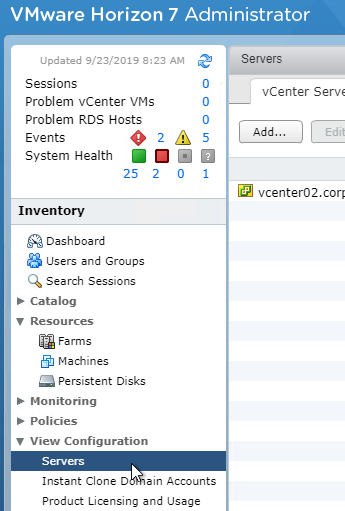
Navigation
Use this post to build a virtual desktop that will be used as the parent image or source image for additional virtual desktops. There’s a separate article for RDS Session Host.
This post applies to all VMware Horizon 7 versions including 7.13.3 (ESB).
💡 = Recently Updated
Change Log
Virtual Hardware
Lieven D’hoore has a desktop VM build checklist at VMware Horizon View – Windows 10 Golden Image Creation
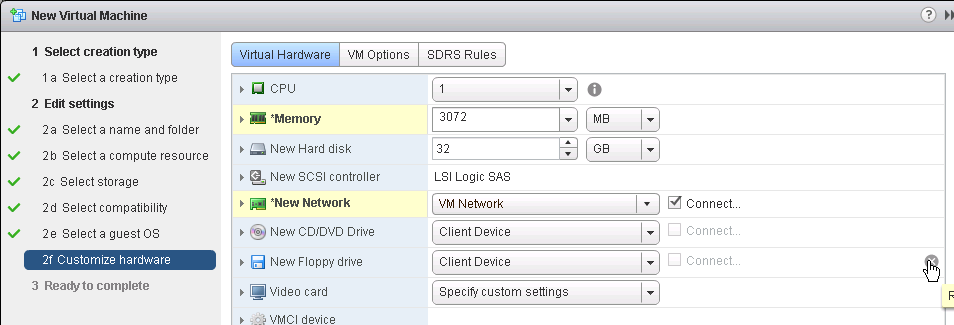
- The virtual desktop pools will use the same hardware specs (e.g. vCPUs, memory size, network label) specified on the master virtual desktop. Adjust accordingly.
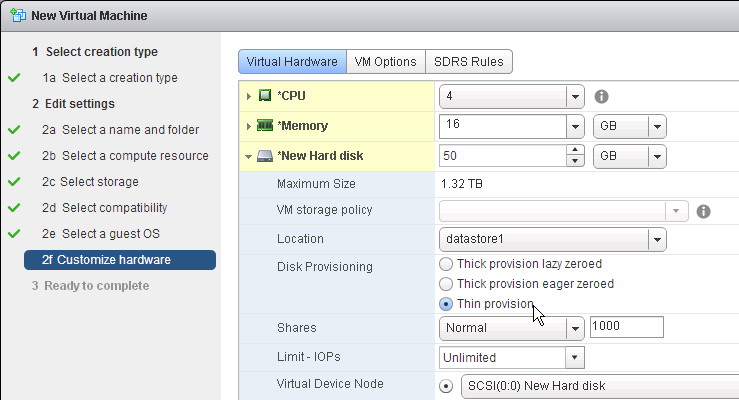
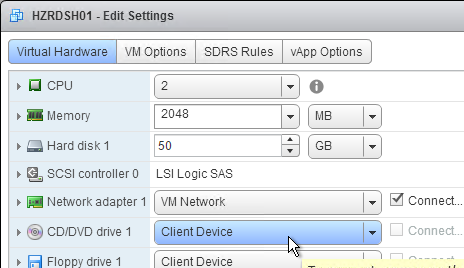
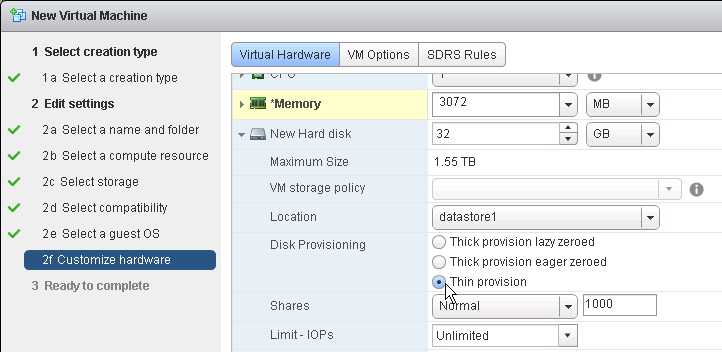
- For New Hard disk, consider setting Thin provision.
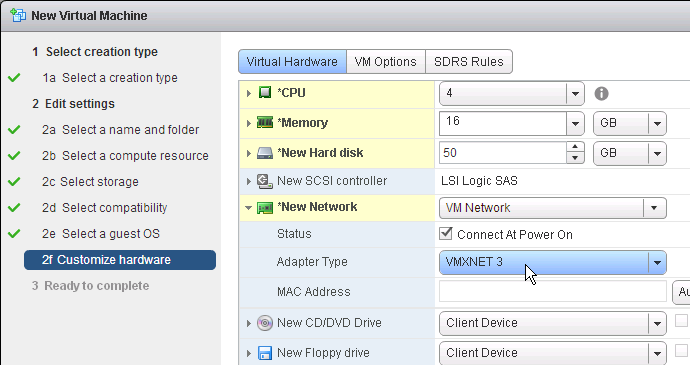
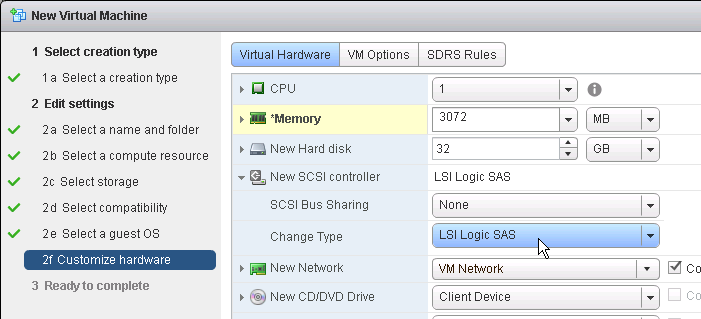
- Make sure the virtual desktop is using a SCSI controller.
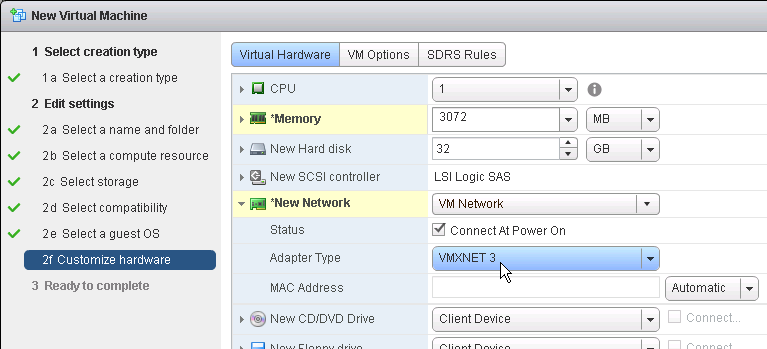
- The master virtual desktop should be configured with a VMXNET 3 network adapter.
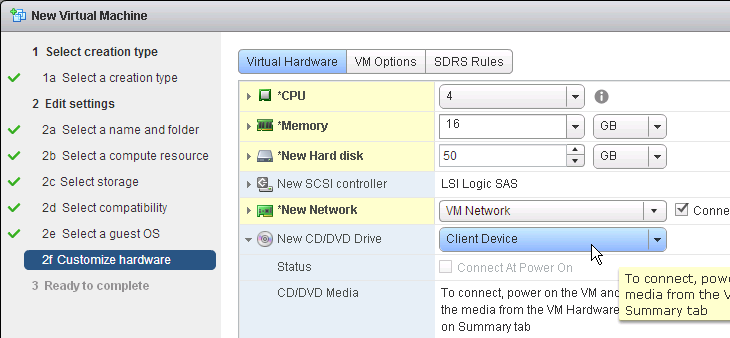
- When building the master virtual desktop, you will probably boot from an ISO.
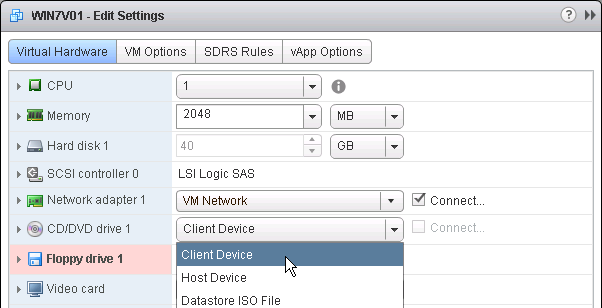
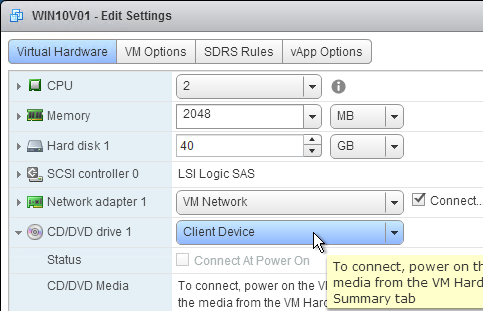
- Before using View Administrator to create a pool, ensure the CD/DVD drive points to Client Device and is not Connected. The important part is to make sure ISO file is not configured.
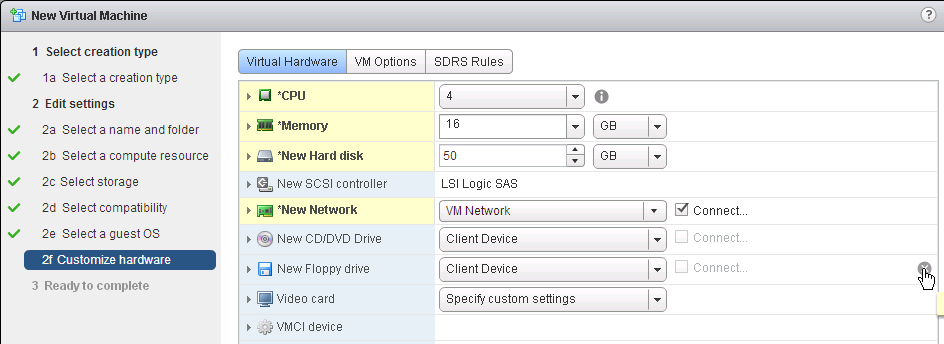
- There’s no need for the Floppy drive so remove it.
- If you have any Serial ports, remove them.
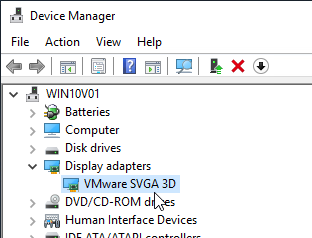
- In Device Manager, after installing VMware Tools, make sure the video driver is VMware SVGA 3D.
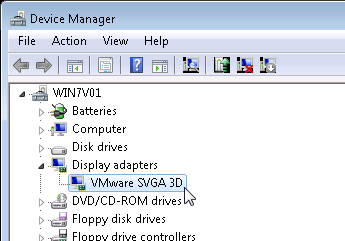
- If not, you can use the driver at C:\Program Files\Common Files\VMware\Drivers\video_wddm.
Windows
VMware TechZone Creating an Optimized Windows Image for a VMware Horizon Virtual Desktop
Preparation
- Windows 10 Versions
- VMware Tools. Install the latest version of VMware Tools and Guest Introspection (formerly known as vShield Endpoint) Driver prior to installing the Horizon 7 Agent.
- Teradici Audio Driver – http://www.teradici.com/web-help/teradici_virtual_audio_driver/1.2.2/release_notes/
- For the AppVolumes Agent and Imprivata OneSign agent (if applicable), don’t install them until Horizon 7 Agent is installed.
Windows 7 VMXNET 3 Networking Hotfix
For Windows 7 machines:
- Ensure the vSphere network port group allows a sufficient number of connected virtual machines.
- Make sure Windows 7 Service Pack 1 is installed.
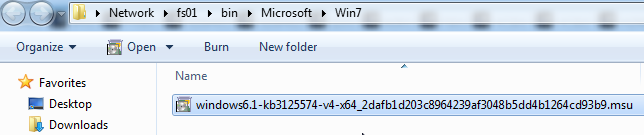
- The recommended hotfix for fixing VMXNET 3 is the 3125574 Convenience Rollup.
- Run windows6.1-kb3125574-v4-x64.msi.
- Or, the minimum hotfix is 2550978 http://support.microsoft.com/kb/2550978.

- Run Windows6-1-KB2550978.msu.
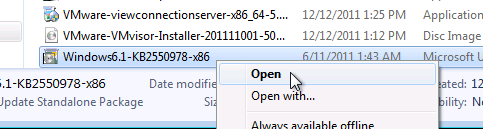
- Click Yes when asked to install the hotfix.
- Click Restart Now.
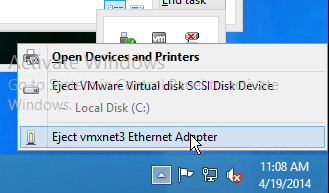
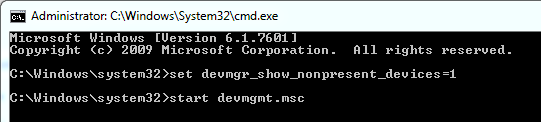
- After installing either hotfix, follow http://support.microsoft.com/kb/315539 to delete ghost NICs.
From Microsoft KB article http://support.microsoft.com/kb/235257: For desktop VMs using VMXnet3 NICs, you can significantly improve the peak video playback performance of your View desktop by simply setting the following registry setting to the value recommended by Microsoft:
- HKLM\System\CurrentControlSet\Services\Afd\Parameters\FastSendDatagramThreshold to 1500
Windows 7 Black Screen Hotfix
For Windows 7 machines, request and install Microsoft hotfix 2578159: The logon process stops responding in Windows. More info at VMware 2073945 Reconnecting to the VDI desktop with PCoIP displays a black screen.
Windows 7 SHA2 Hotfix
For Windows 7 machines, install Microsoft Security Advisory 3033929, Availability of SHA-2 Code Signing Support for Windows 7 and Windows Server 2008 R2.
Windows 7 Hotfix for AppVolumes
For Windows 7 machines, install the Microsoft hotfix for mountmgr.sys. More info at VMware 2126775 Logging in to a virtual machine fails or is slow at the Welcome Screen when using VMware AppVolumes,

Power Options
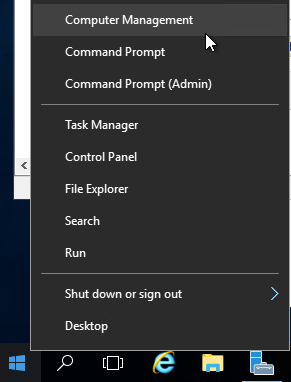
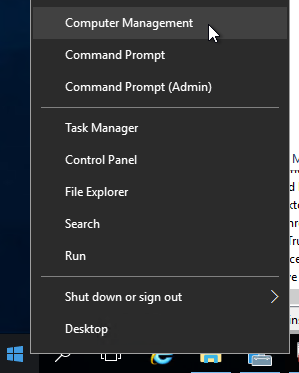
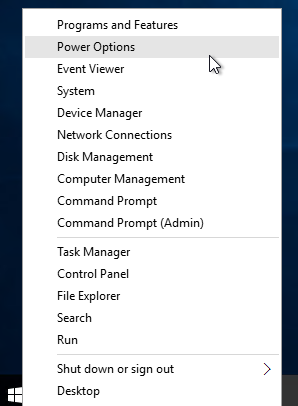
- Run Power Options. In Windows 8 and newer, right-click the Start Menu to access Power Options.
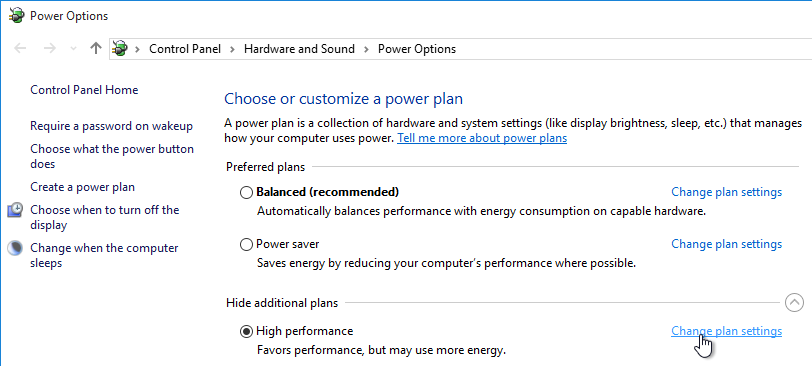
- Click the arrow to show more plans, and select High performance.

- Next to High performance, click Change plan settings.
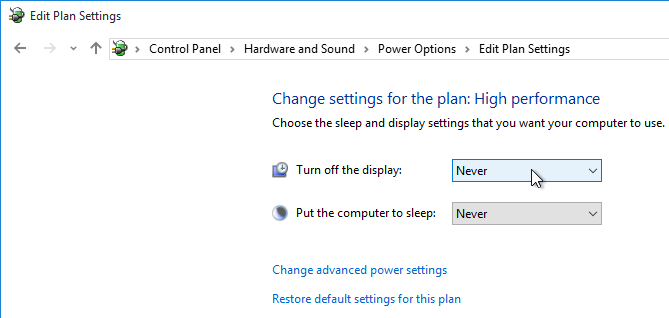
- Change the selection for Turn off the display to Never, and click Save changes.
System Settings
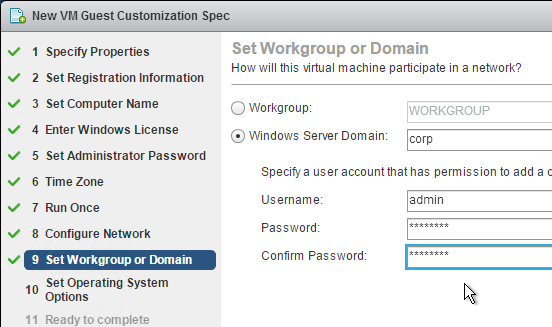
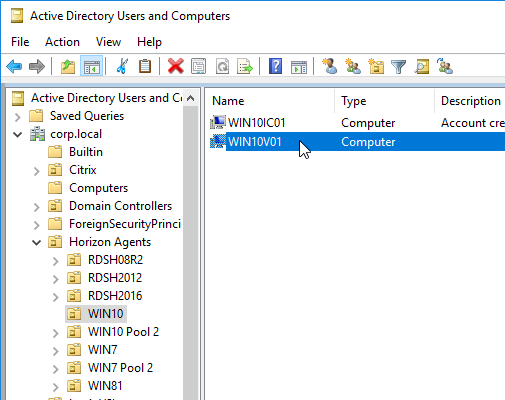
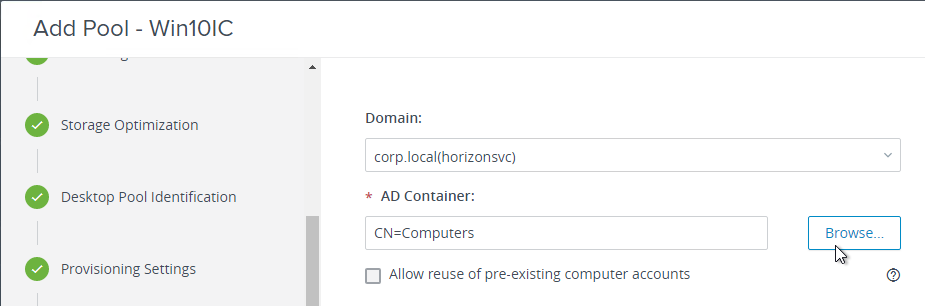
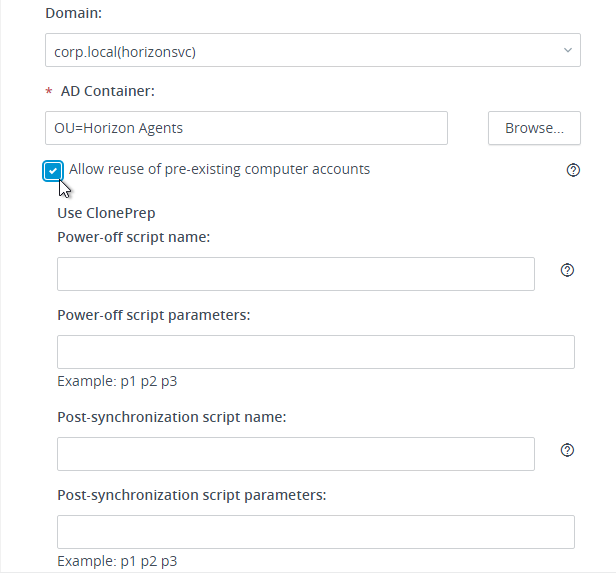
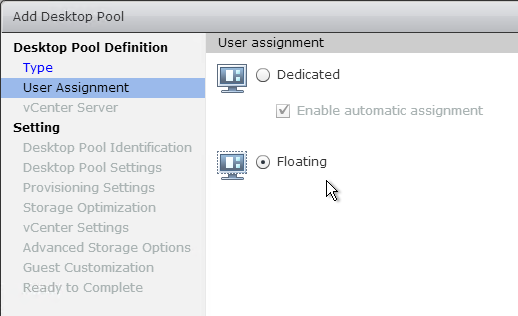
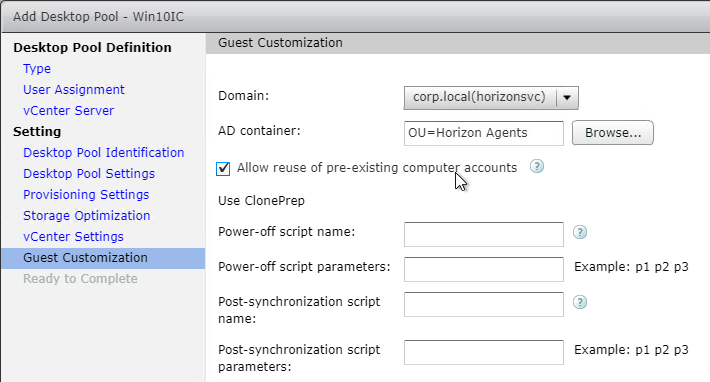
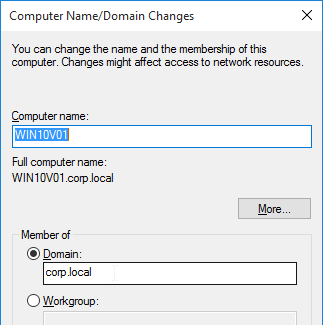
- Domain Join. For linked clones, join the machine to the domain. For Instant Clones, see VMware 2150495 Computer-based Global Policy Objects (GPOs) that require reboot are not applied on instant clones.
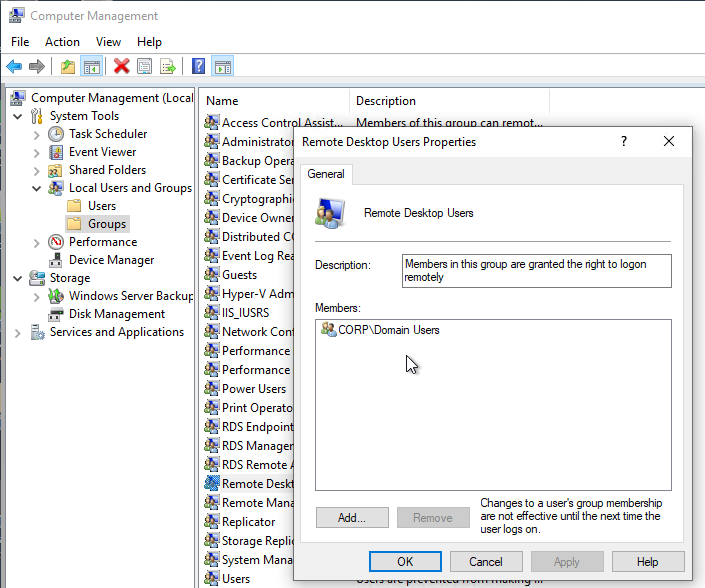
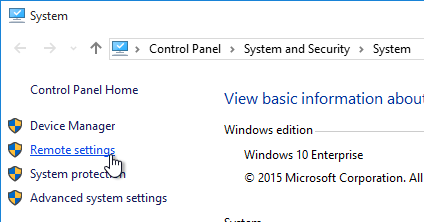
- In System control panel applet (right-click the Start Menu > System), click Remote settings.
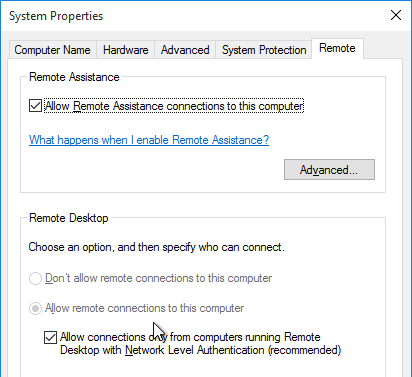
- Enable Remote Desktop.
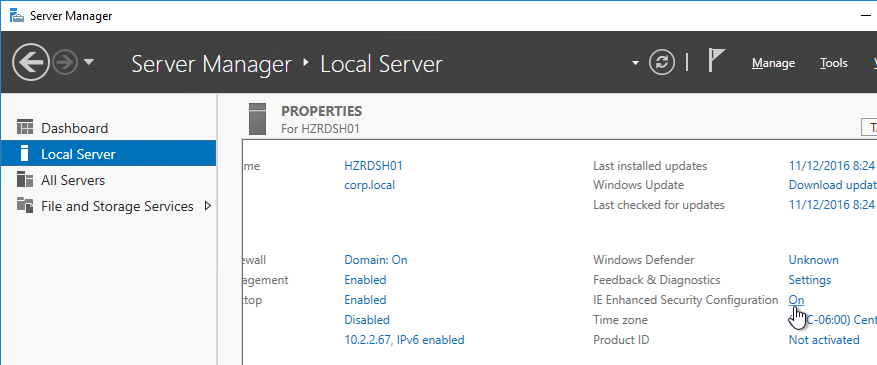
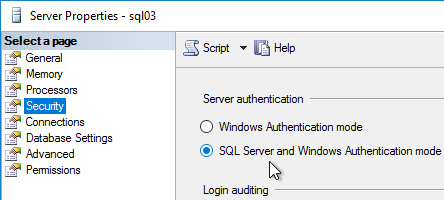
- Activate Windows with a KMS license if not already activated. Note: only KMS is supported with View Composer.
Windows Profiles v3/v4 Hotfix
Roaming user profiles are tied to the operating system version so profiles on Windows 8.1-based, Windows 10-based, or Windows Server 2012 R2-based computers are incompatible with roaming user profiles in earlier versions of Windows.
Profiles are compatible only between the following client and server operating system pairs:
- v6 = Windows 10 1607 and newer, Windows Server 2016, Windows Server 2019
- v5 = Windows 10 1511 and older
- v4 = Windows 8.1 and Windows Server 2012 R2
- v3 = Windows 8 and Windows Server 2012
- v2 = Windows 7 and Windows Server 2008 R2
If Windows 8, install hotfix http://support.microsoft.com/kb/2887239.
If Windows 8.1, ensure update rollup 2887595 is installed. http://support.microsoft.com/kb/2890783
After you apply this update, you must create a registry key before you restart the computer.
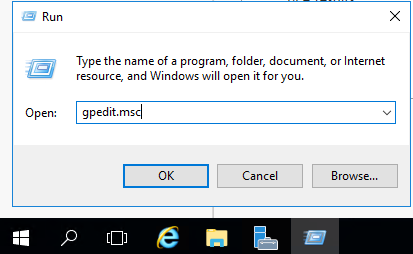
- Run regedit.
- Locate and then tap or click the following registry subkey:
HKEY_LOCAL_MACHINE\System\CurrentControlset\Services\ProfSvc\Parameters
- On the Edit menu, point to New, and then tap or click DWORD Value.
- Type UseProfilePathExtensionVersion.
- Press and hold or right-click UseProfilePathExtensionVersion, and then tap or click Modify.
- In the Value data box, type 1, and then tap or click OK.
- Exit Registry Editor.
After you configure the UseProfilePathExtensionVersion registry entry, you have to restart the computer. Then, Windows 8.1 creates a user profile and appends the suffix “.v4” to the profile folder name to differentiate it from version 2 of the profile in Windows 7 and version 3 of the profile in Windows 8. Then, Windows 8.1-based computers that have update rollup 2887595 installed and the UseProfilePathExtensionVersion registry entry configured use version 4 of the profile.
Windows 8 creates a new copy of the user profile and appends the suffix “.v3” in the profile folder name to differentiate it from the original version 2 profile for Windows 7. After that, Windows 8-based computers that have this hotfix installed and the UseProfilePathExtensionVersion registry entry configured use the version 3 profile for users.
Install Applications
Install applications locally if you want them to be available on all virtual desktops created based on this master virtual desktop.
- Choose installers that install to C:\Program Files instead of to %appdata%. Search for VDI or Enterprise versions of the following applications. These VDI versions do not auto-update so you’ll have to update them manually.
Or you can use a Layering product (e.g. VMware App Volumes, Unidesk) or App Streaming (e.g. ThinApp, Microsoft App-V).
Antivirus
VMware Tech Paper Antivirus Considerations for VMware Horizon 7 contains exclusions for Horizon View, App Volumes, User Environment Manager, ThinApp, etc.
Microsoft’s virus scanning recommendations (e.g. exclude group policy files) – http://support.microsoft.com/kb/822158.
Carbon Black
Interoperability of VMware Carbon Black and Horizon (79180)
Symantec
Symantec links:
Trend Micro
Trend Micro Slow login on Citrix environment after installing OfficeScan (OSCE): The following registries can be used to troubleshoot the issue. These registries will allow a delay on the startup procedure of OSCE until the system has launched successfully. This avoids deadlock situations during login.
Citrix CTX136680 – Slow Server Performance After Trend Micro Installation. Citrix session hosts experience slow response and performance more noticeable while users try to log in to the servers. At some point the performance of the servers is affected, resulting in issues with users logging on and requiring the server to be restarted. This issue is more noticeable on mid to large session host infrastructures.
Trend Micro has provided a registry fix for this type of issue. Create the following registry on all the affected servers. Add new DWORD Value as:
[HKEY_LOCAL_MACHINE\SYSTEM\CurrentControlSet\Services\TmFilterParameters] “DisableCtProcCheck”=dword:00000001
Trend Micro Links:
Sophos
Sophos Endpoint Security and Control: Best Practice for running Sophos on virtual systems: we’ve amassed the following practical information about how you can optimize our software to work with this technology.
Sophos Endpoint Security and Control: Installation and configuration considerations for Sophos Anti-Virus on a Remote Desktop Services server: It maybe desirable to disable the Sophos AutoUpdate shield icon
Sophos Endpoint Security and Control: How to include current version of Sophos in a disk image for cloned virtual machines: This procedure will make sure that the produced target/cloned computers:
- Get their distinct identity with Enterprise Console, under which they can be subsequently managed.
- Have the desired version of Sophos Anti-Virus already installed and configured on the created image.
Palo Alto Traps
- Install Traps Agent for Windows:
- Virtual desktop infrastructure (VDI) installation—Intended for non-persistent endpoints that replicate (also referred to as spawn) from a golden image which has Traps installed.
- Temporary session—Intended for either physical or virtual endpoints (such as a Remote Desktop Server) that repeatedly revert to a snapshot (or image) on which Traps is not installed.
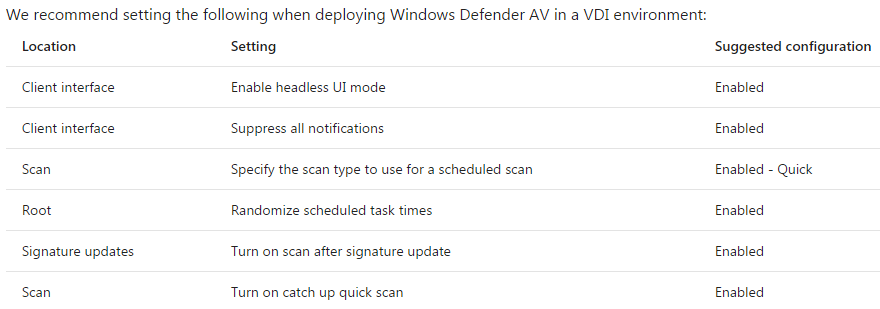
Windows Defender Antivirus
Configuring Microsoft Defender Antivirus for non-persistent VDI machines – Microsoft Blog
Deployment guide for Windows Defender Antivirus in a virtual desktop infrastructure (VDI) environment – Microsoft Docs
Onboarding and servicing non-persistent VDI machines with Microsoft Defender ATP

Cylance
CTX232722 Unable to launch application with Cylance Memory Protection Enabled. Cylance must be run in compatibility mode in order to the VDA and Cylance to run on the same machine. See the article for detailed instructions.
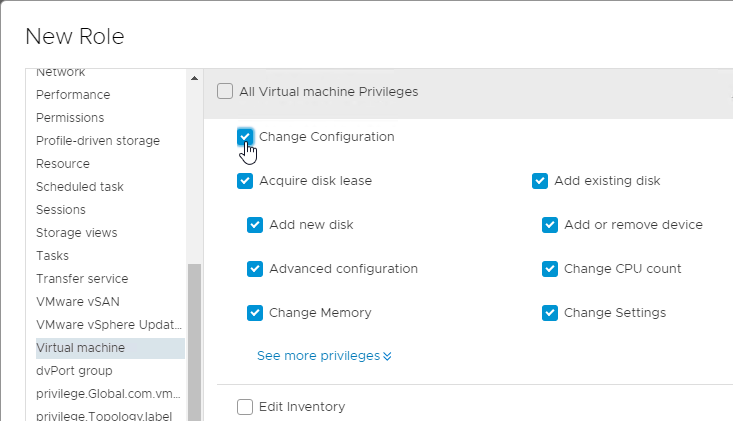
Horizon Agent
Horizon Agent Installation/Upgrade
Install Horizon Agent on the master virtual desktop. Upgrades are performed in-place.
- See VMware 2149393 Supported versions of Windows 10 on Horizon Agent.
- Windows 10 version 1903 is supported by Horizon Agent 7.8 and newer.
- Windows 10 version 1809 is supported by Horizon Agents 7.5.1 and newer.
- VMware Tools – Only install Horizon Agent after you install VMware Tools.
- If you need to update VMware Tools, uninstall Horizon Agent, upgrade VMware Tools, and then reinstall Horizon Agent.
- See VMware Product Interoperability Matrices for supported versions of VMware Tools with different versions of Horizon Agent.
- If VMware Tools 11.x, VMware recommends running the following: (source = VMware 78434 Performance issues for Horizon 7 when using VMware VMTools 11.x)
C:\Program Files\VMware\VMware Tools\VMwareToolboxCmd.exe" config set appinfo disabled true
- Check the video driver to make sure it is VMware SVGA 3D.
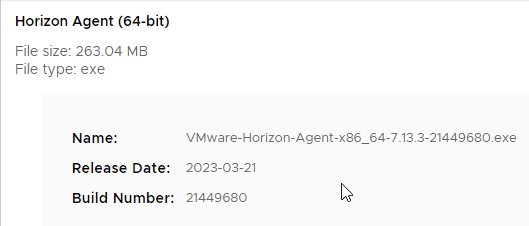
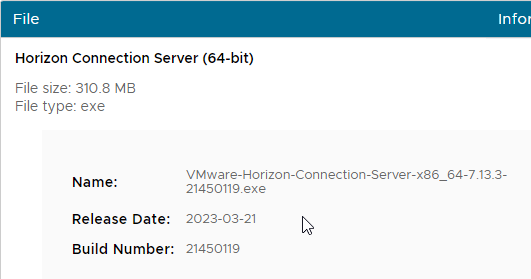
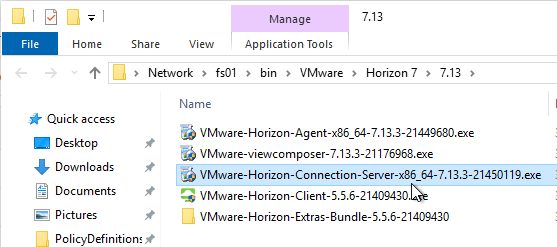
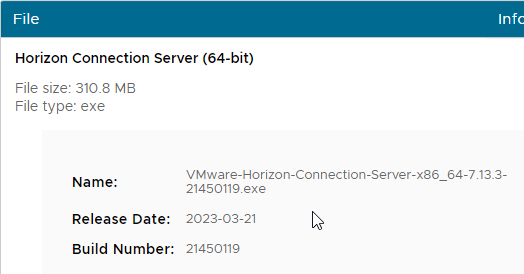
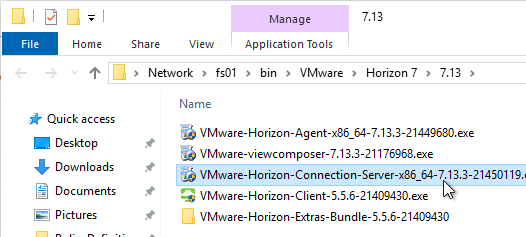
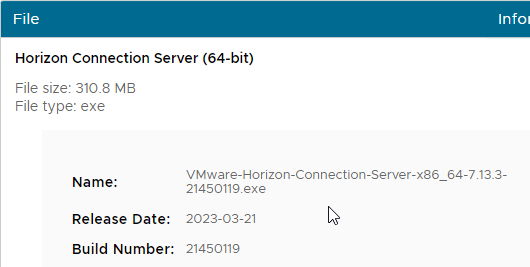
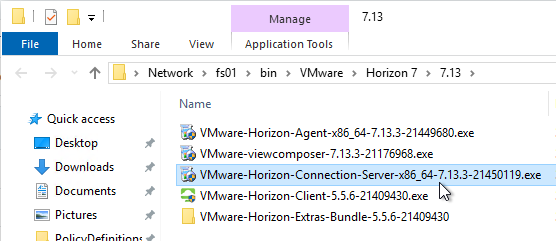
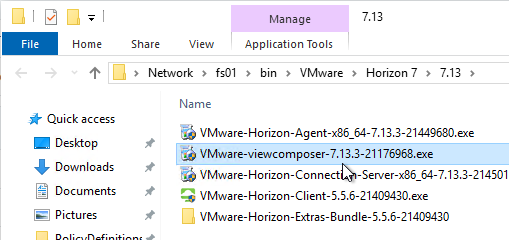
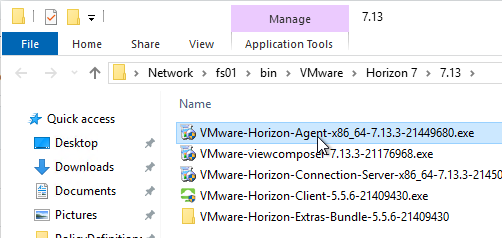
- Download Horizon 7.13.3 Agent.
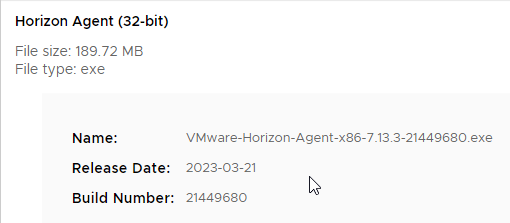
- Run the downloaded VMware-Horizon-Agent-x86_64-7.13.3.exe.
- If you want the URL Content Redirection feature, then you must run the Agent installer with the the following switches:
/v URL_FILTERING_ENABLED=1

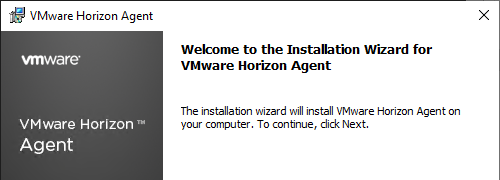
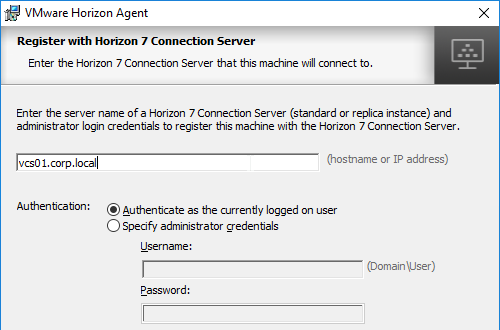
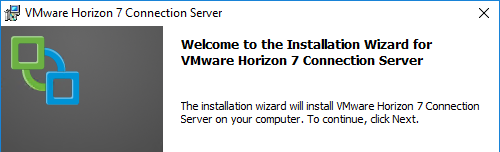
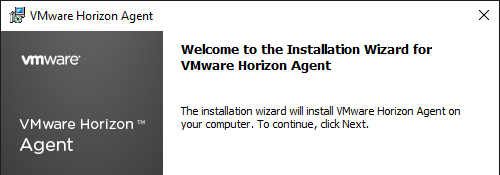
- In the Welcome to the Installation Wizard for VMware Horizon Agent page, click Next.
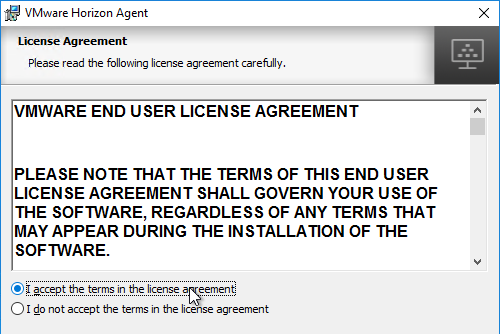
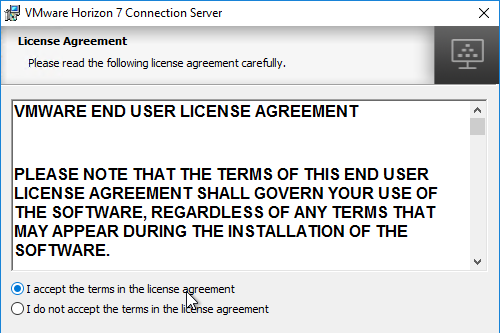
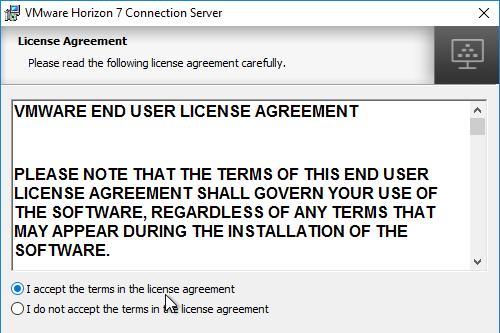
- In the License Agreement page, select I accept the terms, and click Next.

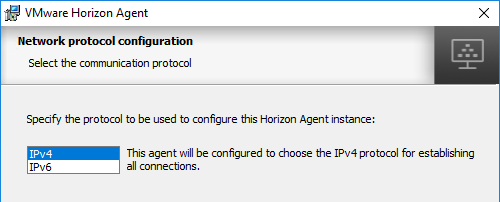
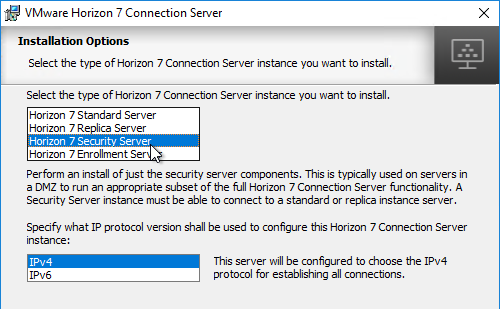
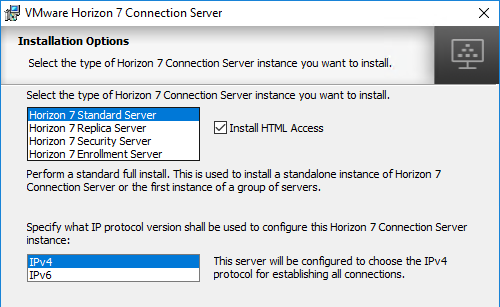
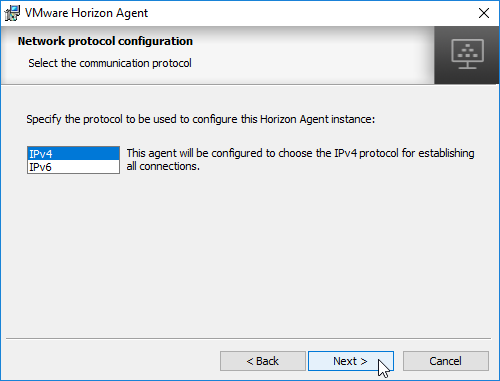
- In the Network protocol configuration page, select IPv4, and click Next.
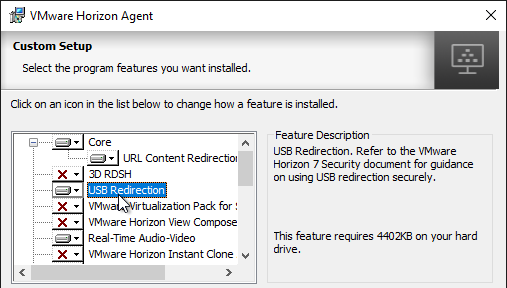
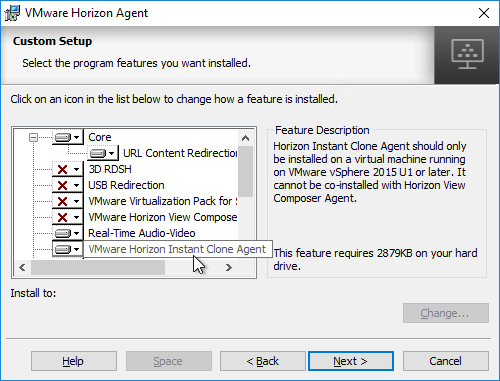
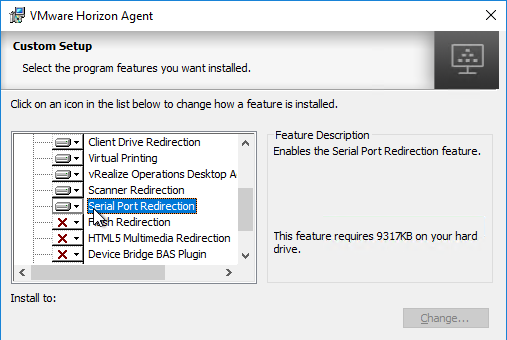
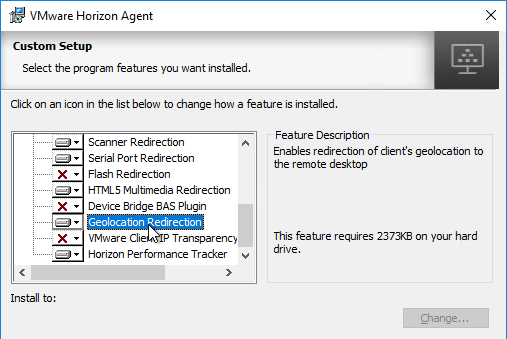
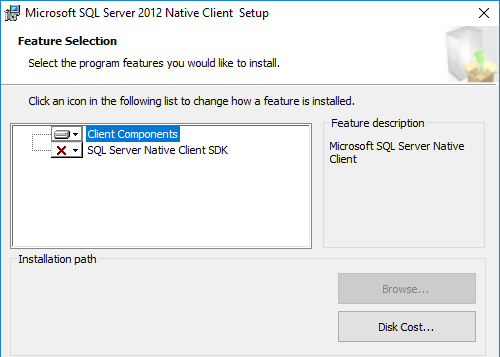
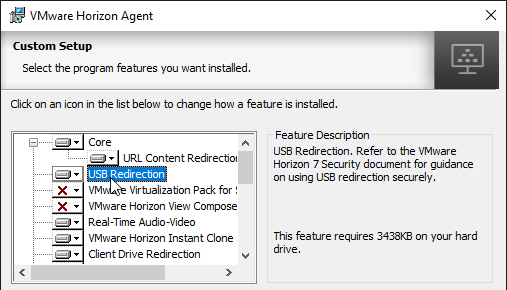
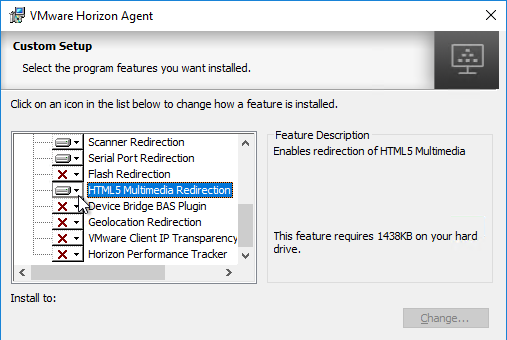
- In the Custom Setup page, there are several features not enabled by default. Feel free to enable them.
- If you want USB Redirection, then enable that feature.
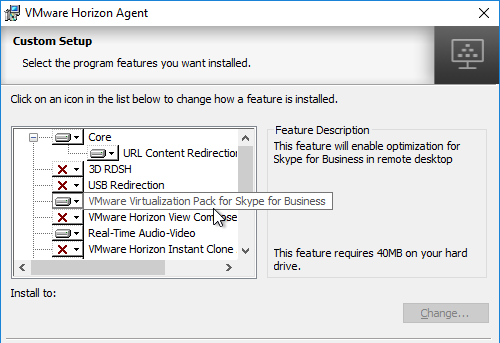
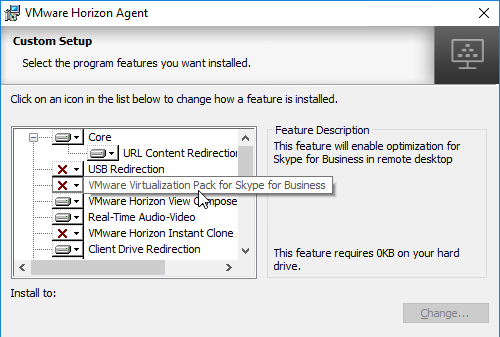
- Horizon 7.2 and newer have VMware Virtualization Pack for Skype for Business. See Configure Skype for Business at VMware Docs for details.
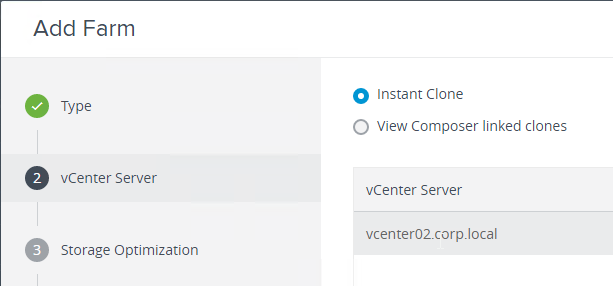
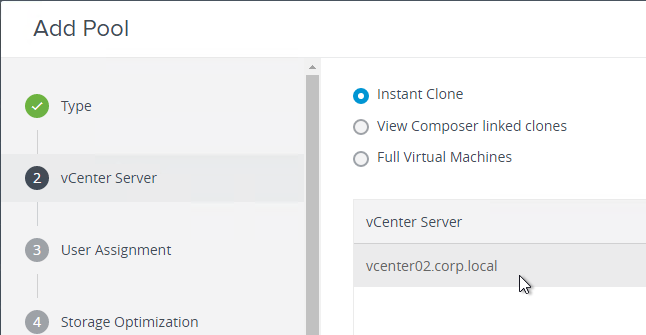
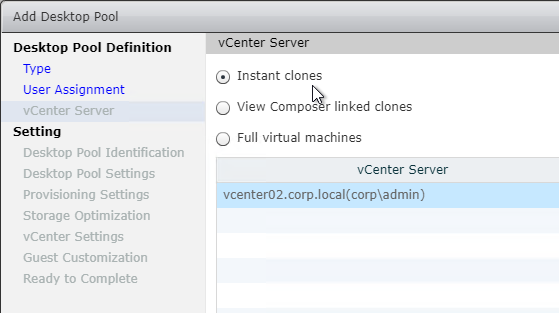
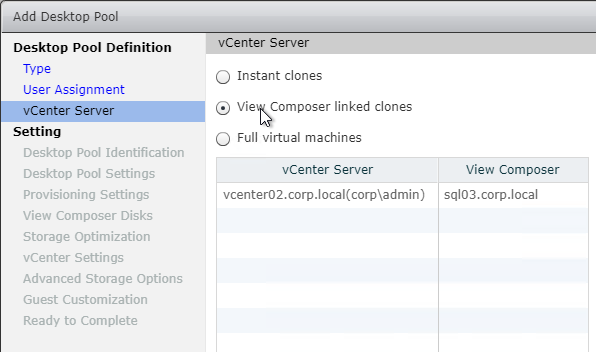
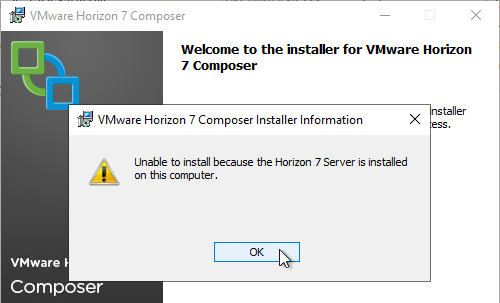
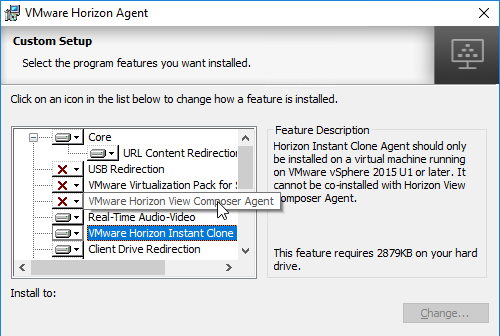
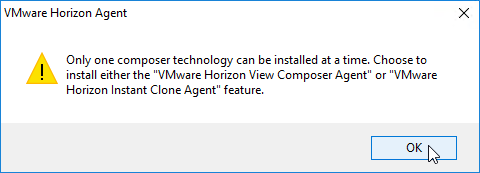
- You can install Instant Clone Agent, or View Composer Agent, but not both.
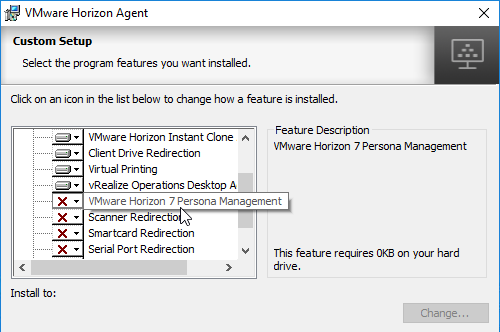
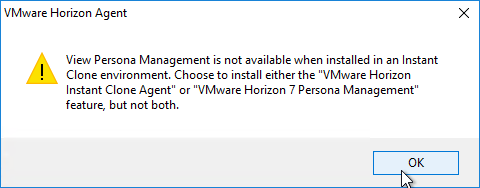
- According to Instant-Clone Desktop Pools at VMware Docs, Persona is not supported with Instant Clones.
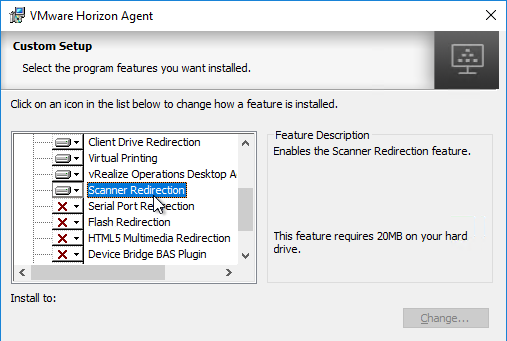
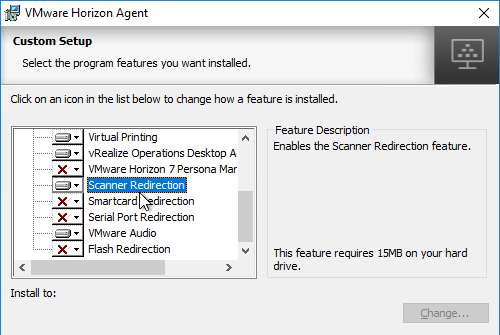
- If you want Scanner Redirection, then enable that feature. Note: Scanner Redirection will impact host density.
- Horizon 7.3 through Horizon 7.9 have HTML5 Multimedia Redirection. In Horizon 7.10 and newer, HTML5 Browser Redirection seems to be installed automatically. To enable and configure these features, see HTML5 Redirection in Horizon Group Policy.
- Horizon 7.6 and newer have an option for Geolocation Redirection. The feature requires a plugin for Internet Explorer 11 and Horizon Client 4.9. No other browsers are supported. See Configuring Geolocation Redirection at VMware Docs.

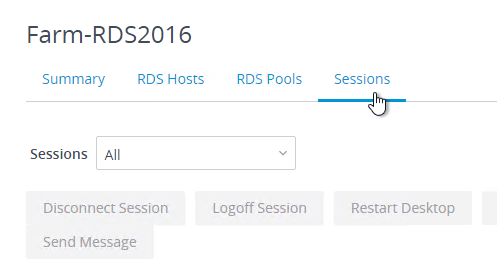
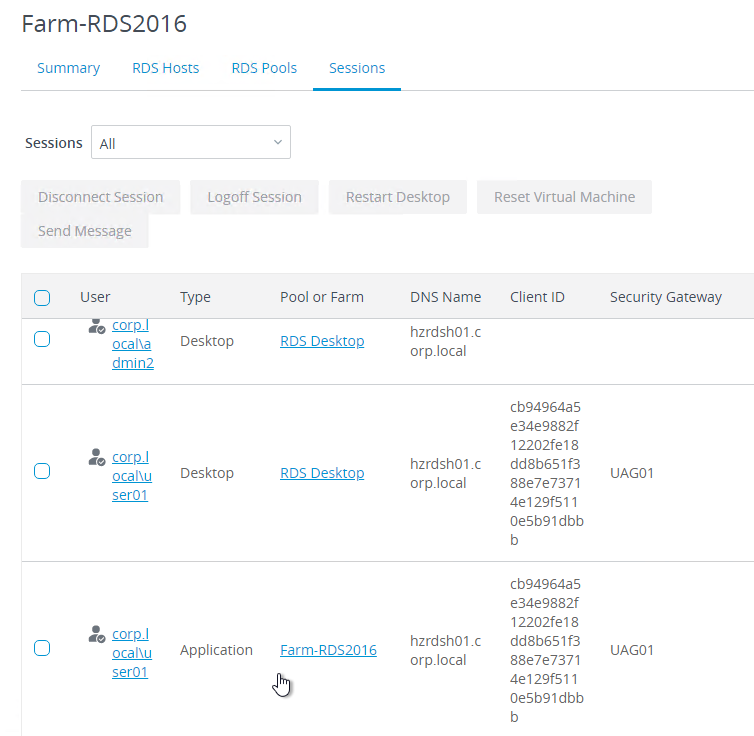
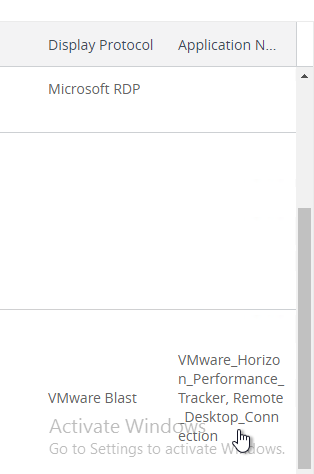
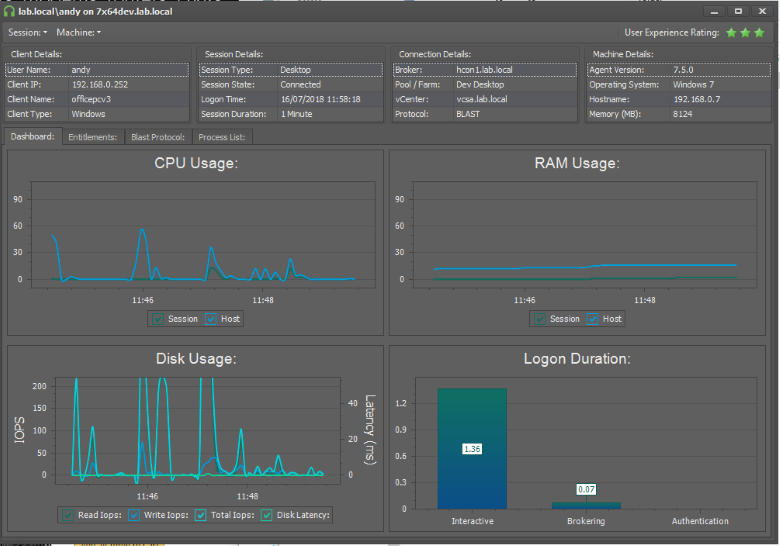
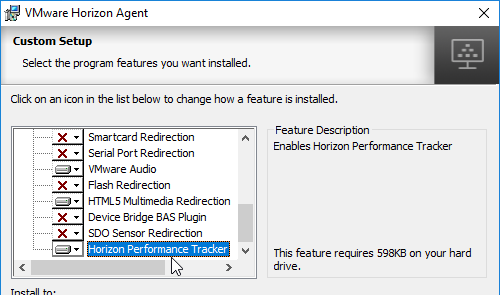
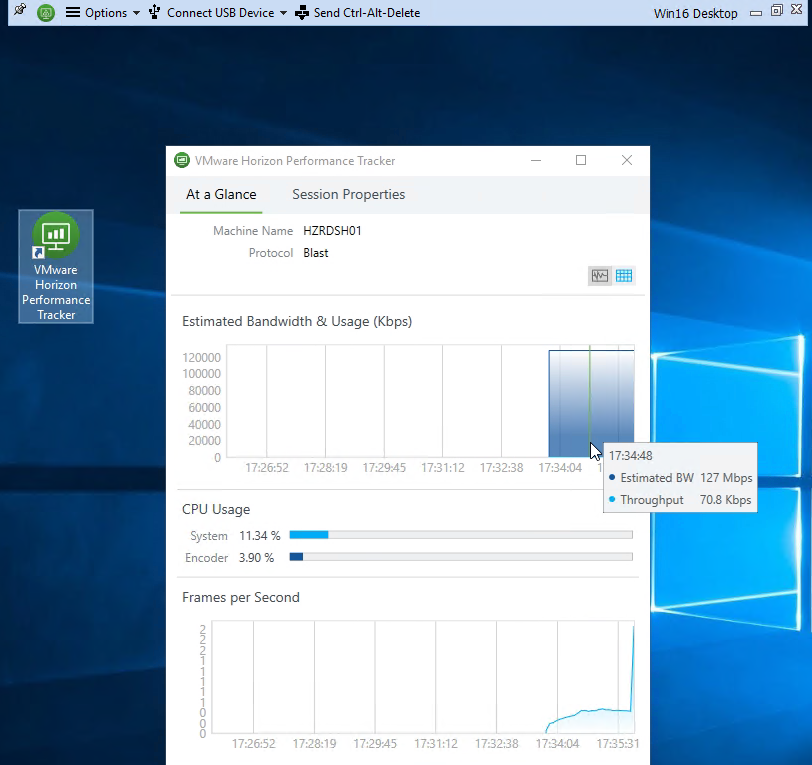
- Horizon 7.5 and newer have Horizon Performance Tracker, which adds a program to the Agent that can show the user performance of the remote session. You can publish the Tracker.
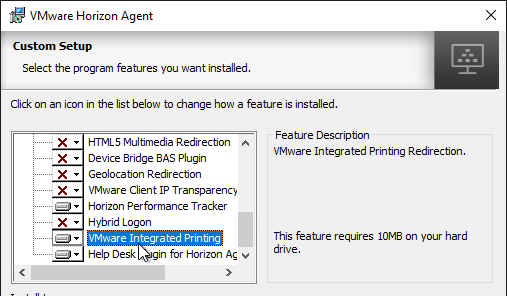
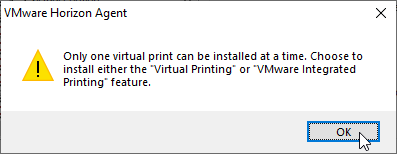
- Horizon 7.7 and newer have a VMware Integrated Printing or VMware Advanced Printing option, which replaces the older ThinPrint technology. VMware Integrated Printing requires Horizon Client 4.10 or newer.
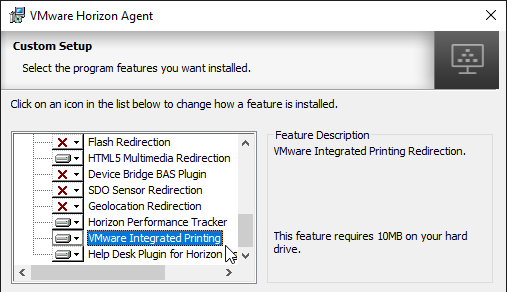
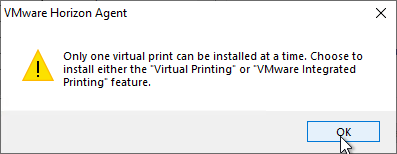
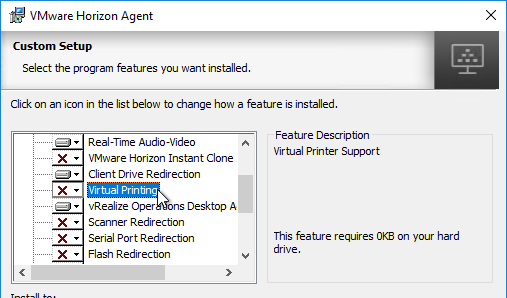
- If you enable VMware Integrated Printing, then you must disable Virtual Printing, which is higher in the list.
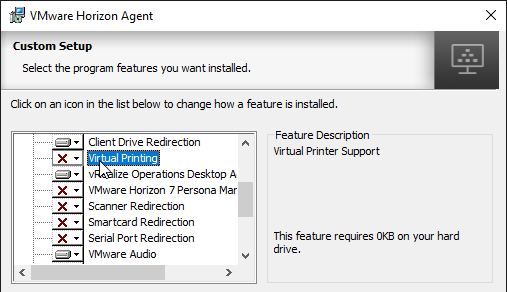
- Click Next when done making selections.
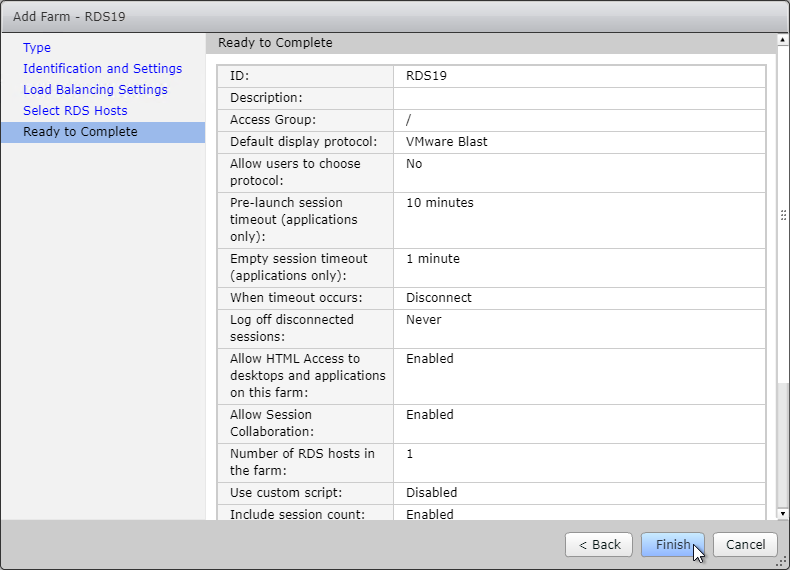
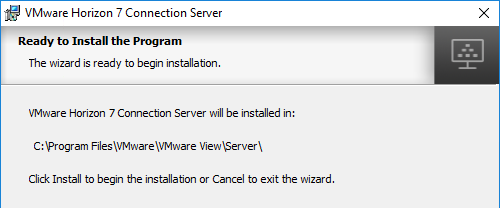
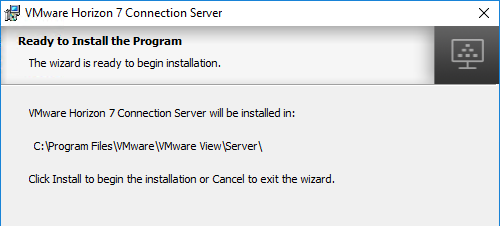
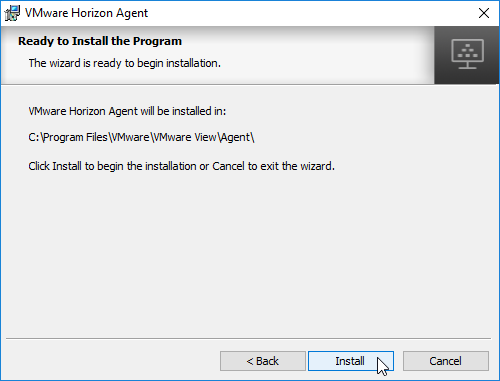
- In the Ready to Install the Program page, click Install.
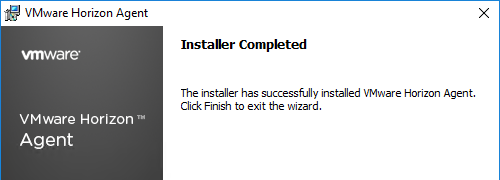
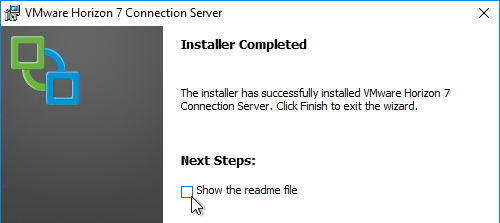
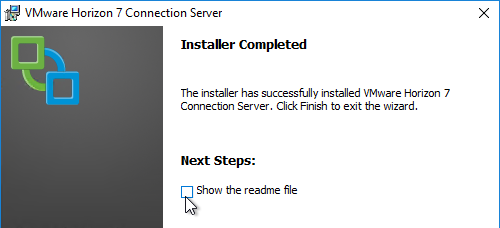
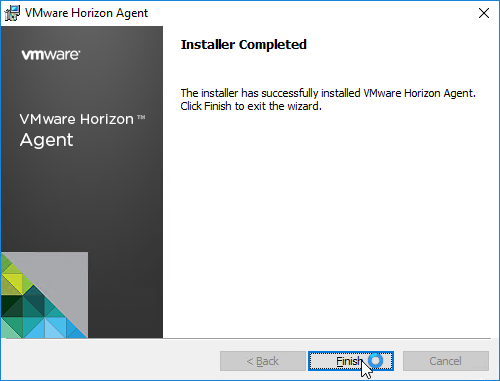
- In the Installer Completed page, click Finish.
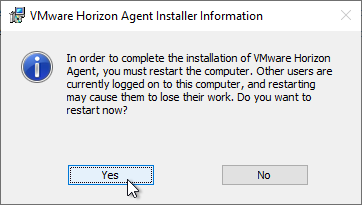
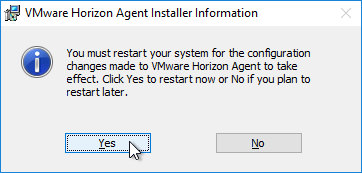
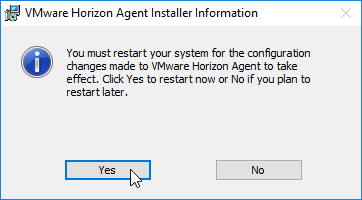
- Click Yes when asked to restart.
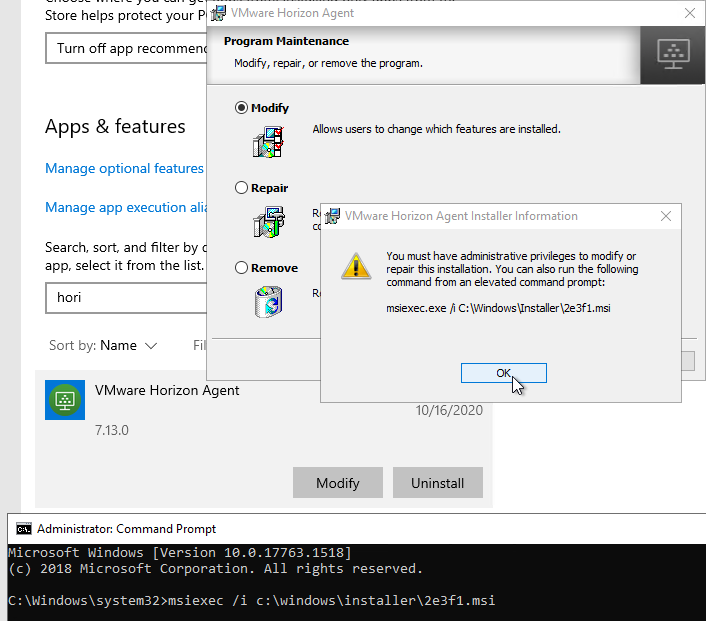
- Horizon Agent 7.13 and newer let you Modify the features that were selected during installation. In older versions, you must uninstall Horizon Agent and reinstall it.
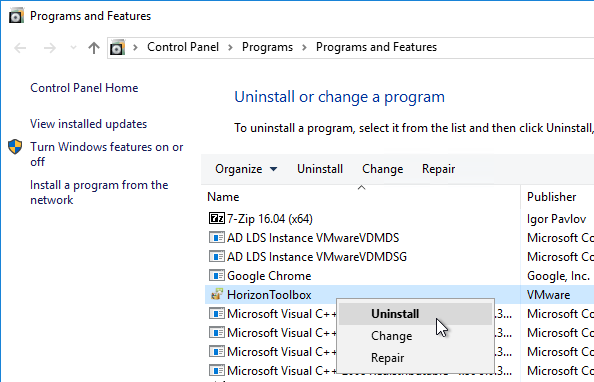
- If you click Modify from Apps & features (or Programs and Features), it will tell you to open an elevated command prompt and run the command shown in the window.
- You can’t change from Manual to Instant Clone or back again using this method.

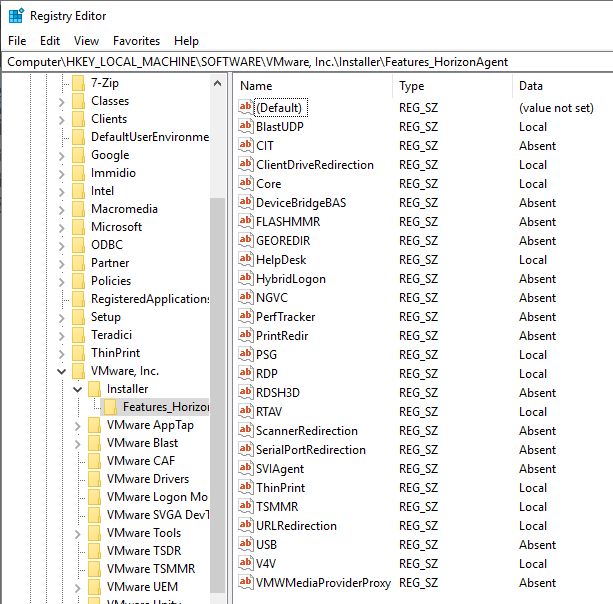
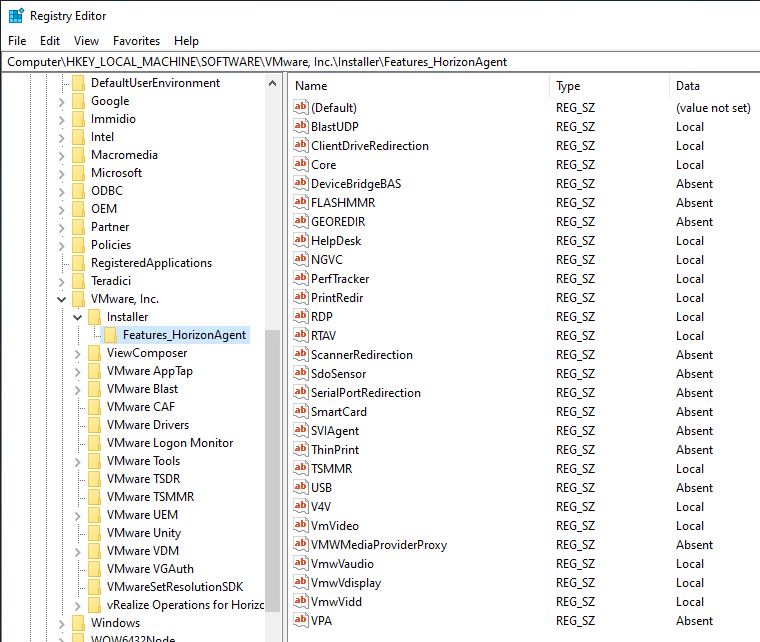
- If you want to know what features were selected during installation, look in HKLM\Software\VMware, Inc.\Installer\Features_HorizonAgent. Or look in the installation log files as detailed at Paul Grevink View Agent, what is installed?
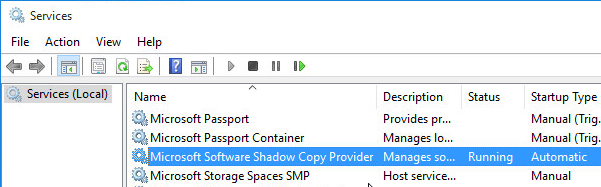
- For Horizon Persona (not with Instant Clones), enable the Microsoft Software Shadow Copy Provider service. See Windows 10 with Persona management not syncing at VMware Communities.
- If Windows 10 version 1709 with View Composer, you might have to delete
HKEY_LOCAL_MACHINE\SYSTEM\CurrentControlSet\Services\BFE\Security. See VMware 51518 Production Support for VMware Horizon 7.4, 7.3.2, and 7.2 with Win 10 1709 Semi-Annual Channel (SAC) Guest OS

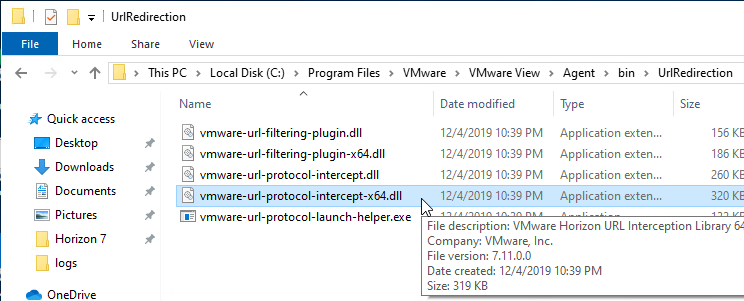
- To verify installation of the URL Content Redirection feature, check for the presence of C:\Program Files\VMware\VMware View\Agent\bin\UrlRedirection.
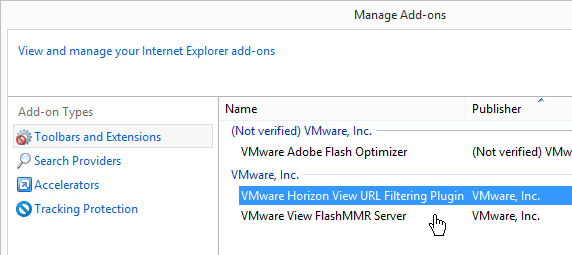
- There’s also a new IE add-on.
- URL Content Redirection is configured using group policy.
Install/Upgrade Dynamic Environment Manager (DEM) Agent
Dynamic Environment Manager (DEM) is the new name for User Environment Manager (UEM).
If you are licensed for Dynamic Environment Manager (Horizon Enterprise Edition), install the Dynamic Environment Manager (DEM) Enterprise Agent.
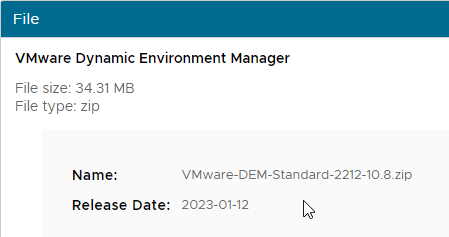
- DEM Enterprise has the same or more features that has always been included in Horizon Enterprise. DEM Standard is a reduced-feature version for Horizon 8 Standard Edition.
- Note: UEM 9.1 and newer can also work without Active Directory (Group Policy); see VMware 2148324 Configuring advanced UEM settings in NoAD mode for details.
DEM 2006 and newer Agents (FlexEngines) require additional configuration to enable DEM Computer Settings. You can either configure registry settings on each DEM Agent machine, or in DEM Agent 2103 and newer you can use an installer command-line switch. Both are detailed at Perform Installation with Computer Environment Settings Support at VMware Docs.
To install DEM Agent:
- Windows 10 Compatibility – See VMware 57386 VMware Dynamic Environment Manager and Windows 10 Versions Support Matrix
- Make sure Prevent access to registry editing tools is not enabled in any GPO since this setting prevents the FlexEngine from operating properly.
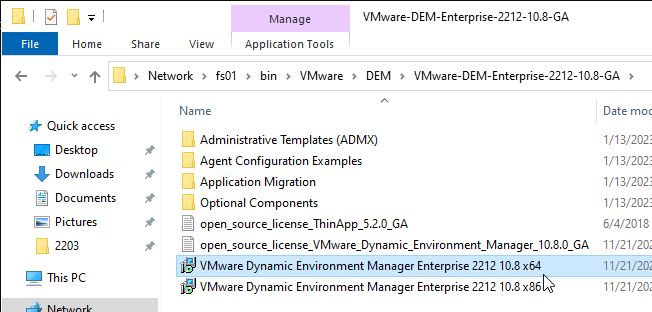
- Based on your entitlement, download either DEM 2212 (10.8) Enterprise Edition, or DEM 2212 (10.8) Standard Edition. For ESB Horizon, download the DEM version included with your ESB version of Horizon.
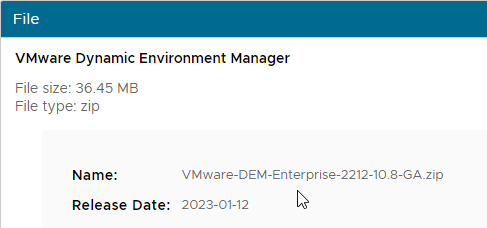
- Run the extracted VMware Dynamic Environment Manager Enterprise 2212 10.8 x64.msi.
- In the Welcome to the VMware Dynamic Environment Manager Enterprise Setup Wizard page, click Next.
- In the End-User License Agreement page, check the box next to I accept the terms, and click Next.
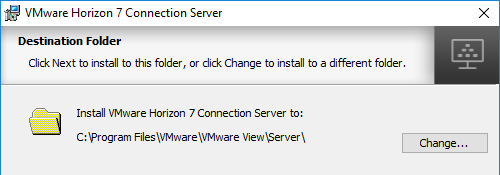
- In the Destination Folder page, click Next.
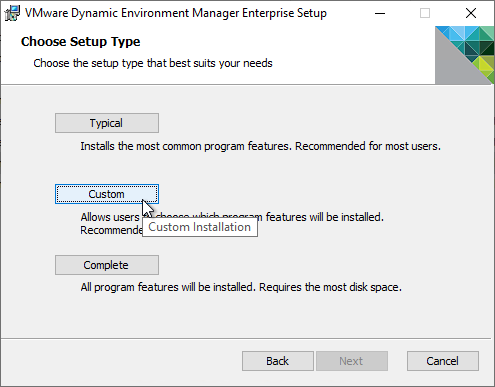
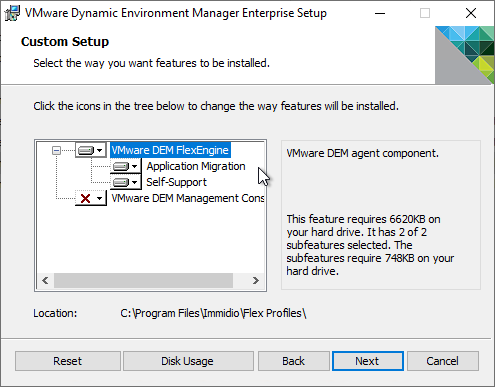
- The Choose Setup Type page appears. By default, the installer only installs the engine. You can click Custom or Complete to also install the Management Console. The Management Console is typically installed on an administrator workstation, not on a master image.
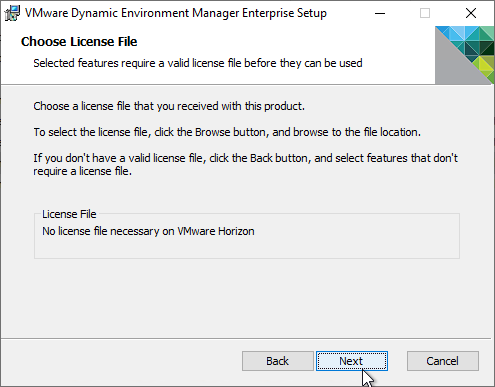
- In the Choose License File page, if installing on a Horizon Agent, then no license file is needed. Click Next.
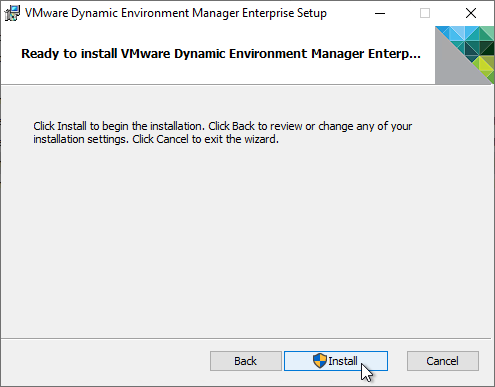
- In the Ready to install VMware Dynamic Environment Manager Enterprise page, click Install.
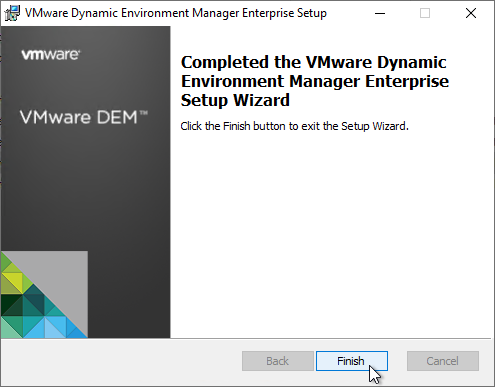
- In the Completed the VMware Dynamic Environment Manager Enterprise Setup Wizard page, click Finish.
- If you have PCoIP Zero Clients that map USB devices (e.g. USB drives), then you might have to set the following registry value. (Source = VMware 2151440 Smart card SSO fails when you use User Environment Manager with a zero client)
- HKLM\Software\VMware, Inc.\VMware VDM\Agent\USB
Unity Touch
With the Unity Touch feature, tablet and smart phone users can quickly navigate to a Horizon View desktop application or file from a Unity Touch sidebar. Although end users can specify which favorite applications appear in the sidebar, for added convenience, administrators can configure a default list of favorite applications.
In the Unity Touch sidebar, the favorite applications and favorite files that users specify are stored in the user’s profile. For non-persistent pools, enable Roaming Profiles.
To set the default list of favorite applications:
- Navigate to HKLM\Software\Wow6432Node\VMware, Inc.\VMware Unity
- Create a string value called FavAppList.
- Specify the default favorite applications using format:
path-to-app-1|path-to-app-2|path-to-app-3|…. For example:
Programs/Accessories/Accessibility/Speech Recognition.lnk|Programs/VMware/VMware vSphere Client.lnk|Programs/Microsoft Office/Microsoft Office 2010 Tools/Microsoft Office 2010 Language Preferences.lnk
Unity Touch can be disabled by setting HKEY_LOCAL_MACHINE\Software\VMware,Inc.\VMware Unity\enabled to 0.
For more information, see Configure Favorite Applications Displayed by Unity Touch at VMware Docs.
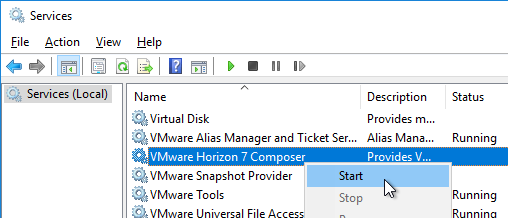
Composer – Rearm
By default, when View Composer creates linked clones and runs QuikPrep, one of the tasks is to rearm licensing. You can prevent rearm by setting the following registry key:
- HKEY_LOCAL_MACHINE\SYSTEM\CurrentControlSet\services\vmware-viewcomposer-ga
- SkipLicenseActivation (DWORD) = 0x1
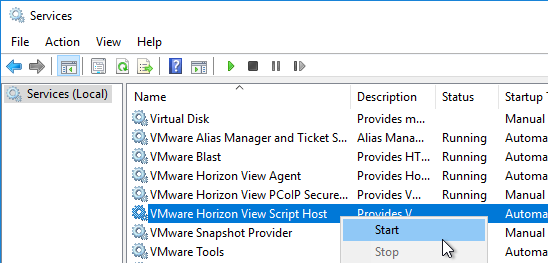
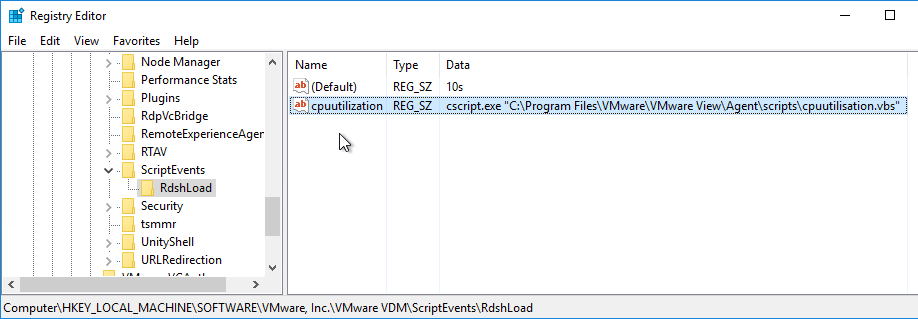
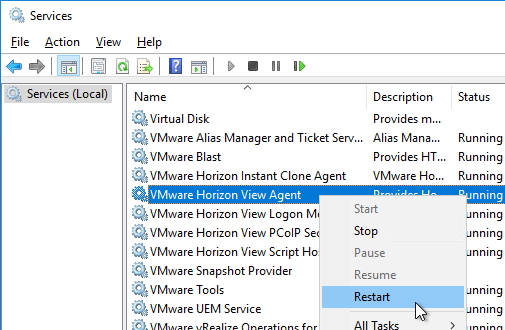
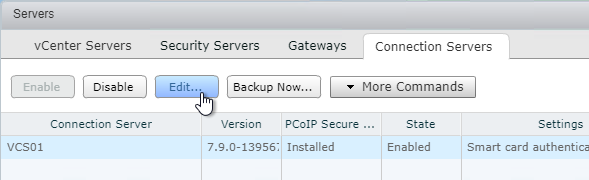
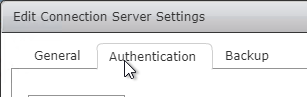
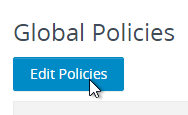
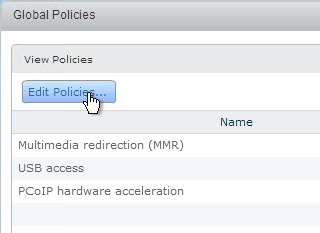
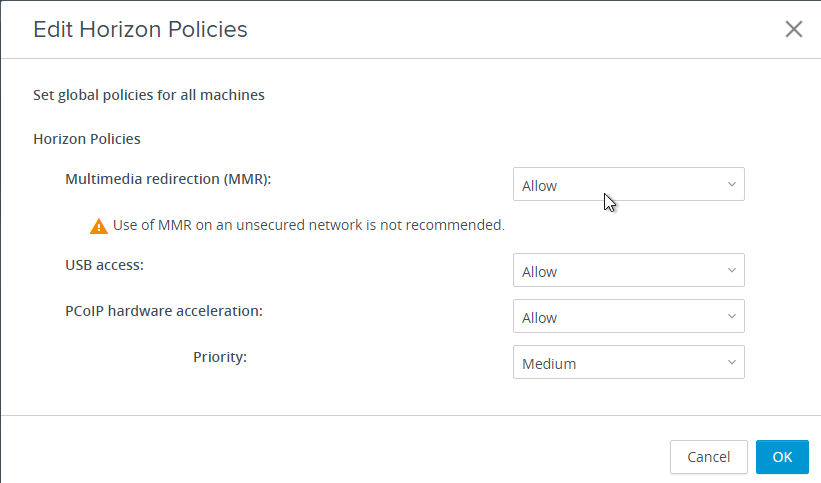
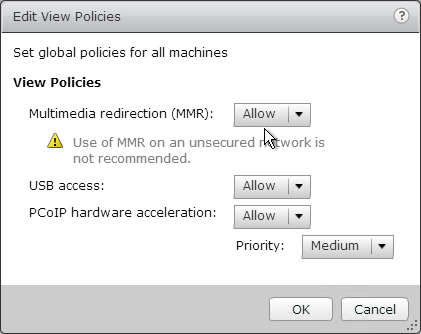
Dynamic PCoIP Policies
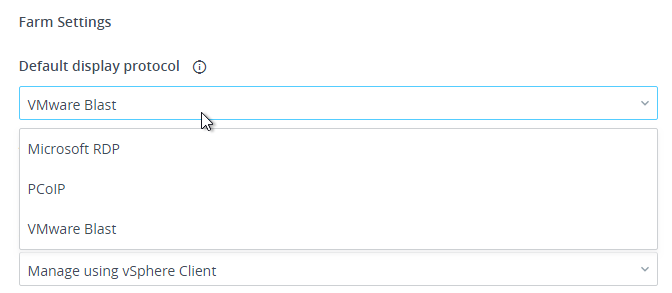
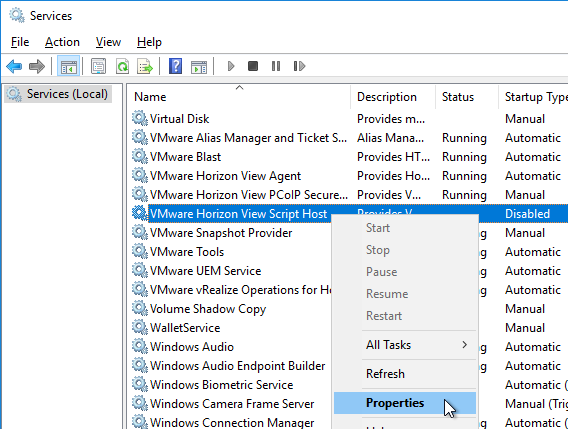
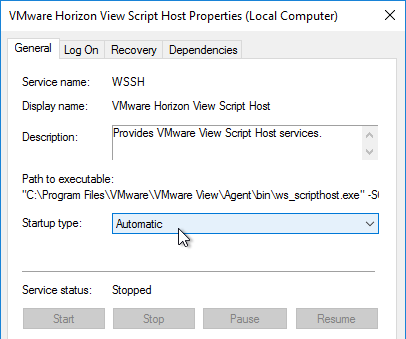
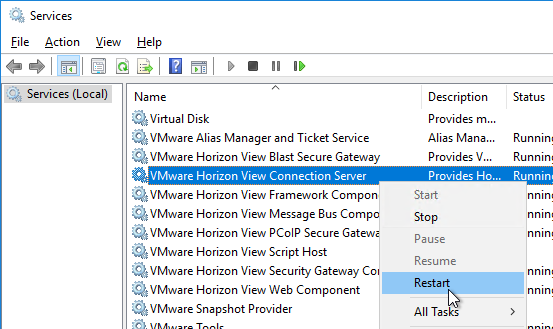
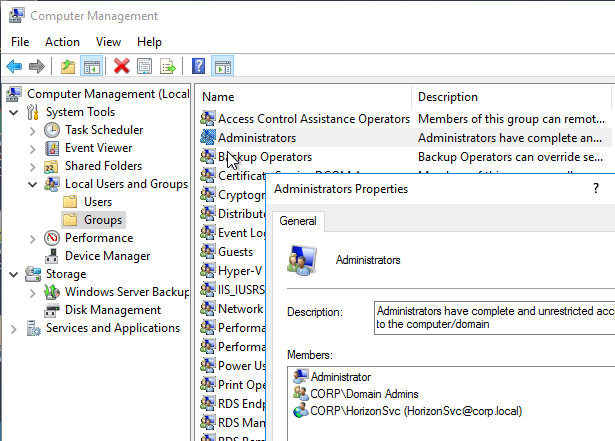
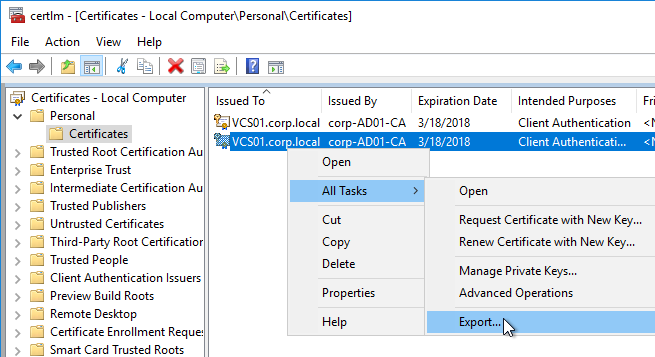
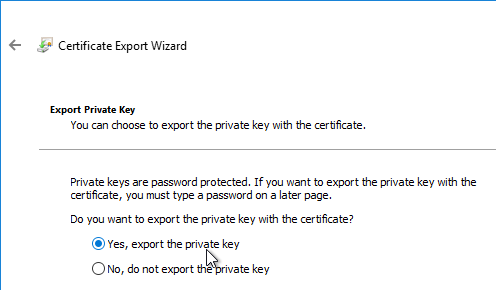
If you wish to change PCoIP Policies (e.g. clipboard redirection, client printers, etc.) based on how the user connects, see VMware Blog Post VMware Horizon View Secret Weapon. The article describes configuring VMware Horizon View Script Host service to run a script to change PCoIP configuration based on the Connection Server that the user connected through. Full script is included in the article.

Microsoft FSLogix
Why FSLogix?
Microsoft FSLogix has two major features:
- Profile Container is an alternative to VMware DEM Personalization.
- App Masking is an alternative to VMware App Volumes.
DEM has three categories of features: Personalization, User Settings, and Computer Settings. FSLogix Profile Container only replaces the Personalization feature set. You typically do FSLogix Profile Container for profiles and use DEM for User Settings and Computer Settings. Here are some advantages of DEM Profile Container over DEM Personalization:
- FSLogix Profile Container saves the entire profile but DEM Personalization requires you to specify each setting location that you want to save. FSLogix is “set and forget” while DEM Personalization requires tweaking for each application.
- At logon, DEM Personalization must download and unzip each application’s profile settings, which takes time. FSLogix simply mounts the user’s profile disk, which is faster than DEM Personalization.
- FSLogix Profile Container has special support for roaming caches and search indexes produced by Microsoft Office products (e.g. Outlook .ost file).
- FSLogix is owned, developed and supported by Microsoft.
Here are some FSLogix Challenges as compared to DEM Personalization:
- FSLogix Profile disk consumes significant disk space. The default maximum size for a FSLogix profile disk is 30 GB per user.
- High Availability for FSLogix Profile disks file share is challenging. The file server High Availability capability must be able to handle .vhdx files that are always open. DFS Replication is not an acceptable HA solution. One option is Microsoft Scale Out File Server (SOFS) cluster. Another option is Nutanix Files.
VMware App Volumes has some drawbacks, including the following:
- Completely separate infrastructure that must be built, maintained, and troubleshooted.
- Introduces delays during logon as AppStacks are mounted.
- AppStacks can sometimes conflict with the base image or other AppStacks.
An alternative approach is to install all apps on the base image and use FSLogix App Masking to hide unauthorized apps from unauthorized users. No delays during logon.
Microsoft FSLogix is free for all Microsoft RDS CALs, Microsoft Virtual Desktop Access per-user CALs, and all Microsoft Enterprise E3/E5 per-user licenses. Notice that per-device licenses are excluded. See Licensing Requirements at Microsoft Docs.
FSLogix Installation
Do the following to install Microsoft FSLogix on the Horizon Agent machine:
- Go to https://docs.microsoft.com/en-us/fslogix/install-ht and click the download link.

- Extract the downloaded .zip file.
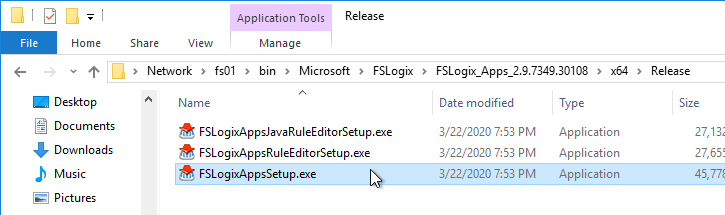
- In the FSLogix \x64\Release folder, run FSLogixAppsSetup.exe.
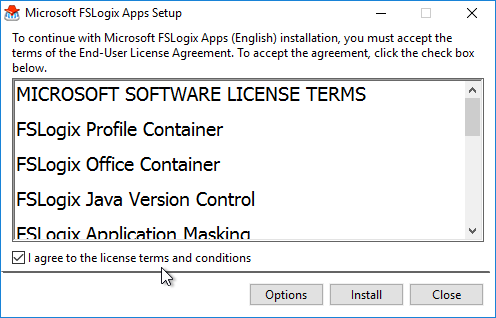
- Check the box next to I agree to the license terms and conditions and click Install.
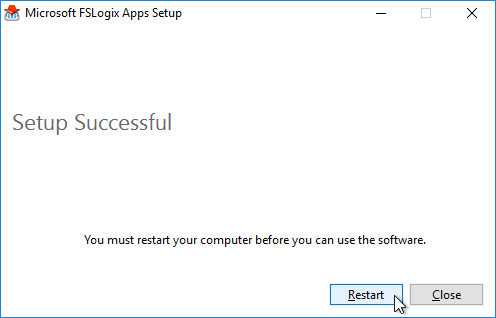
- In the Setup Successful page, click Restart.
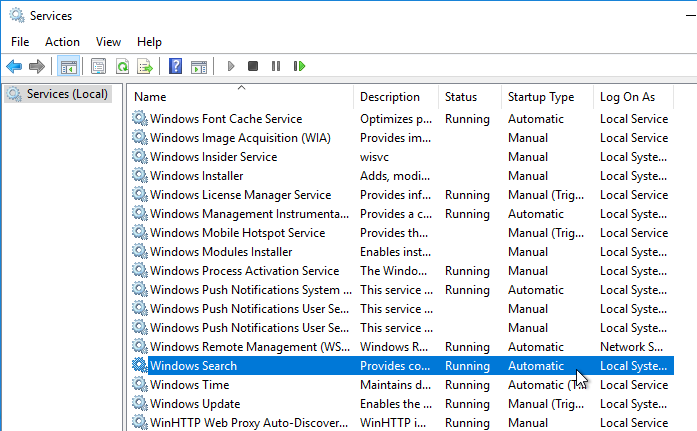
- Make sure the Windows Search service is set to Automatic and Running.
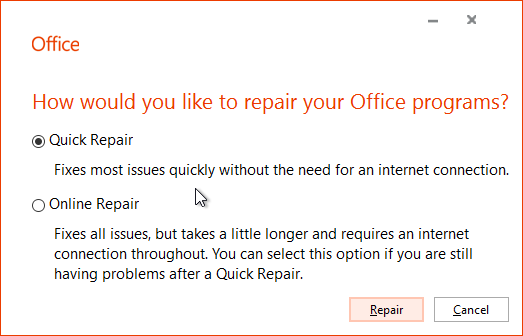
- If Office is already installed, then repair the Office installation after installing and starting the Windows Search Service.
FSLogix is configured through Group Policy or by editing registry values on each FSLogix Agent machine.
VMware OS Optimization Tool
- See VMware Windows Operating System Optimization Tool Guide for details on this tool.
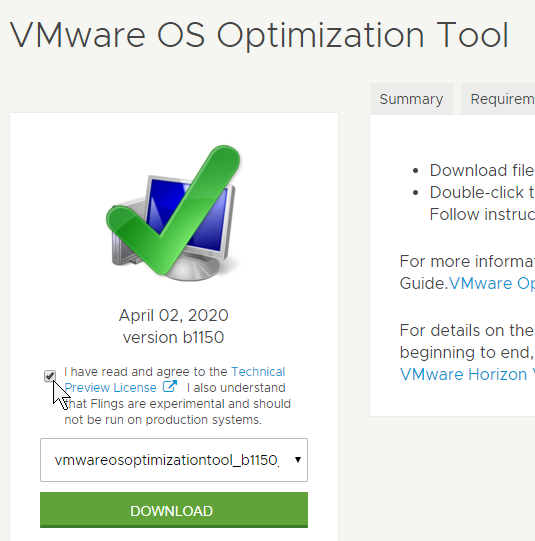
- Download the VMware OS Optimization Tool VMware fling.
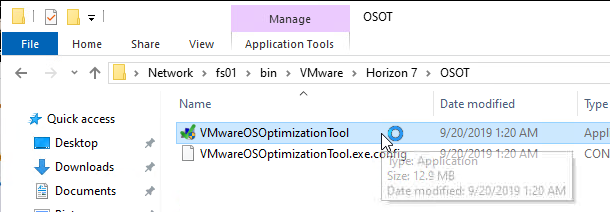
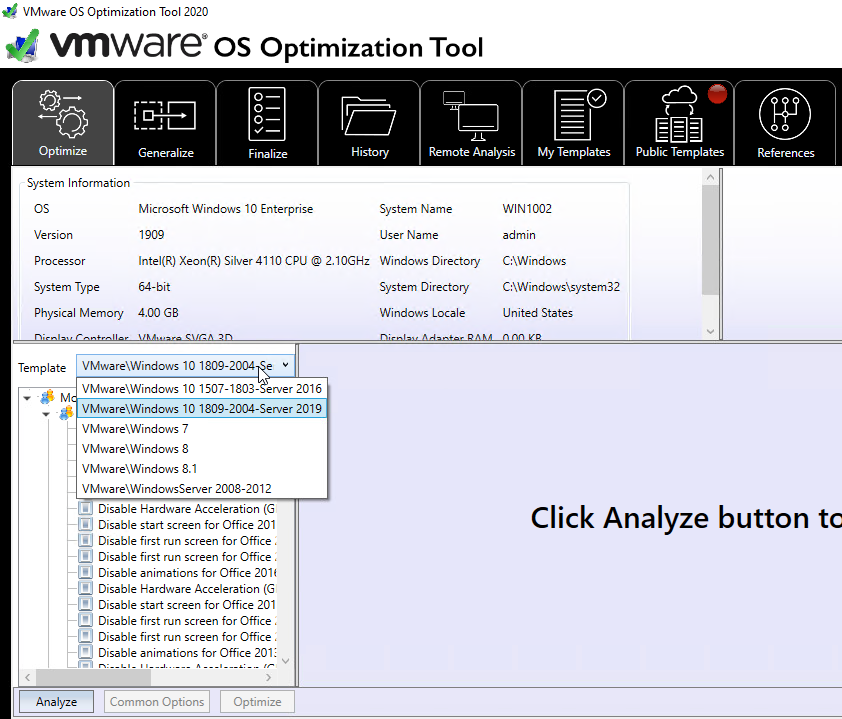
- Run the extracted VMwareOSOptimizationTool.exe.
- On the Optimize tab, choose a template.
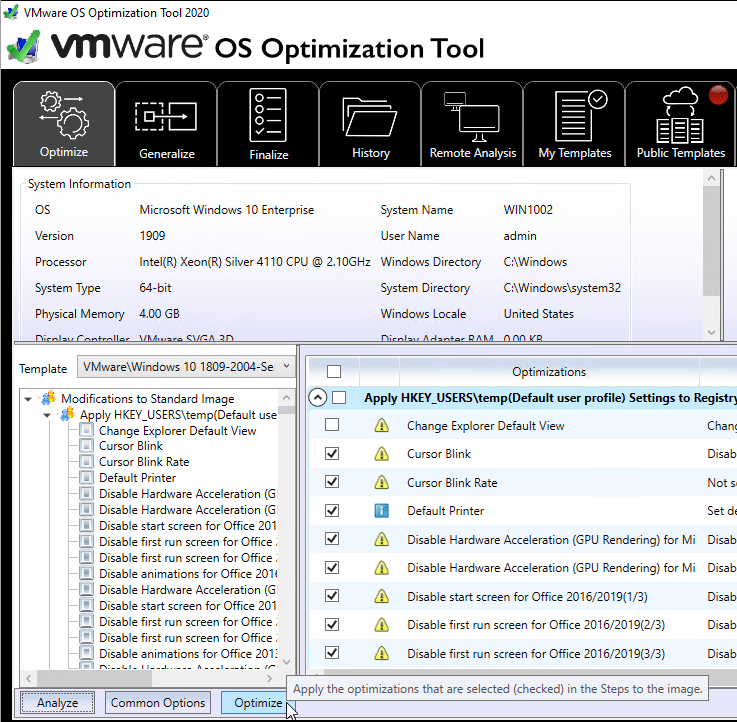
- Then click Analyze on the bottom of the window.
- On the Optimize tab, review the optimizations, and make changes as desired. Then on the bottom left, click Optimize.
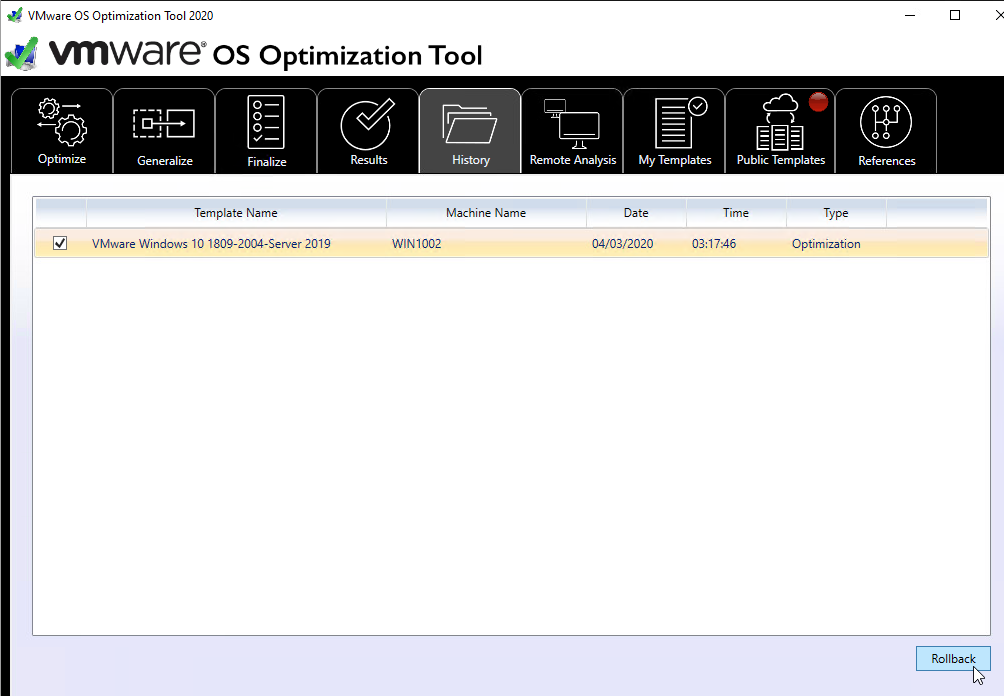
- The History tab lets you rollback the optimizations.
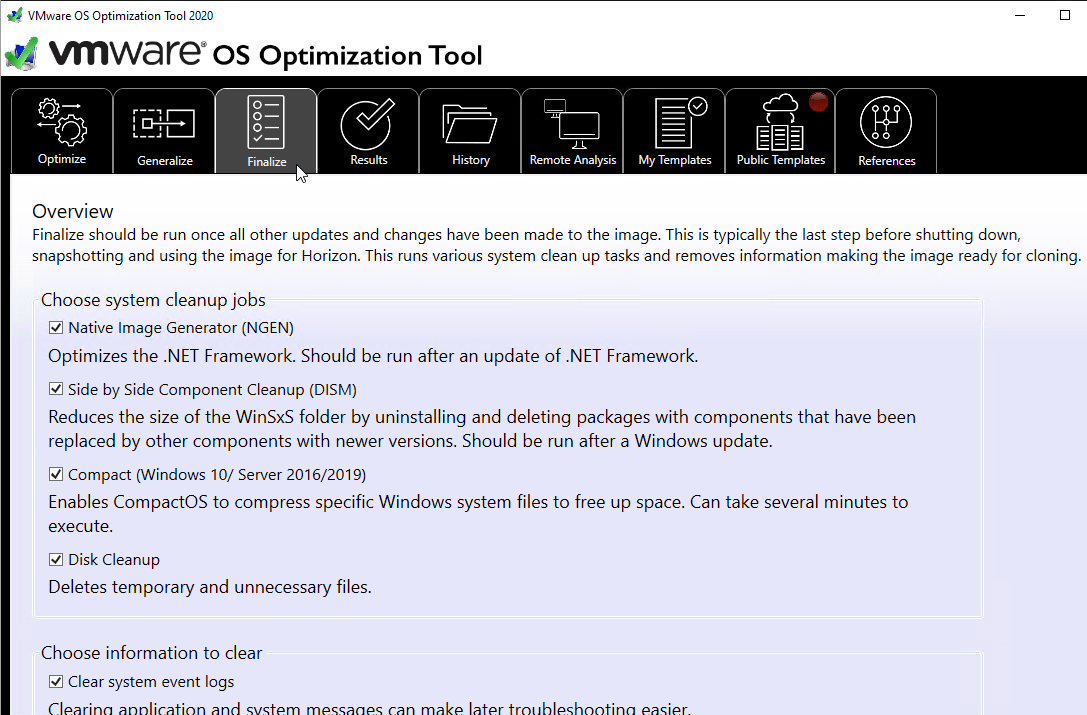
- The Finalize tab contains tasks that should be run every time you seal your master image.
Additional Optimizations
Additional Windows 10 Optimizations
Additional Windows 7 Optimizations
Microsoft has compiled a list of links to various optimization guides.
It’s a common practice to optimize a Windows 7 virtual machine (VM) template (or image) specifically for VDI use. Usually such customizations include the following.
- Minimize the footprint, e.g. disable some features and services that are not required when the OS is used in “stateless” or “non-persistent” fashion. This is especially true for disk-intensive workloads since disk I/O is a common bottleneck for VDI deployment. (Especially if there are multiple VMs with the same I/O patterns that are timely aligned).
- Lock down user interface (e.g. optimize for specific task workers).
With that said the certain practices are quite debatable and vary between actual real-world deployments. Exact choices whether to disable this or that particular component depend on customer requirements and VDI usage patterns. E.g. in personalized virtual desktop scenario there’s much less things to disable since the machine is not completely “stateless”. Some customers rely heavily on particular UI functions and other can relatively easily trade them off for the sake of performance or standardization (thus enhance supportability and potentially security). This is one of the primary reasons why Microsoft doesn’t publish any “VDI Tuning” guide officially.
Though there are a number of such papers and even tools published either by the community or third parties. This Wiki page is aimed to serve as a consolidated and comprehensive list of such resources.
Daniel Ruiz XenDesktop Windows 7 Optimization and GPO’s Settings
Microsoft Whitepaper Performance Optimization Guidelines for Windows 7 Desktop Virtualization
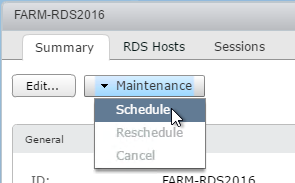
Snapshot
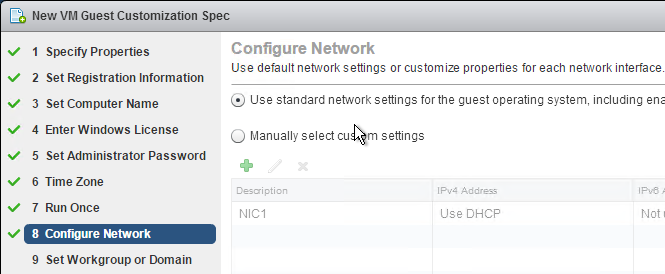
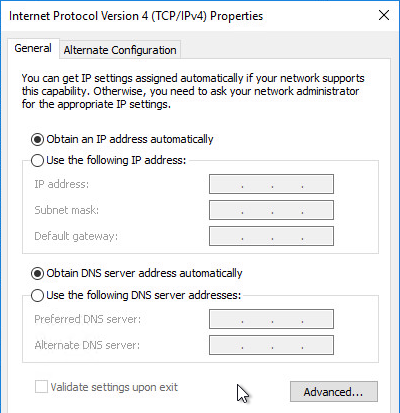
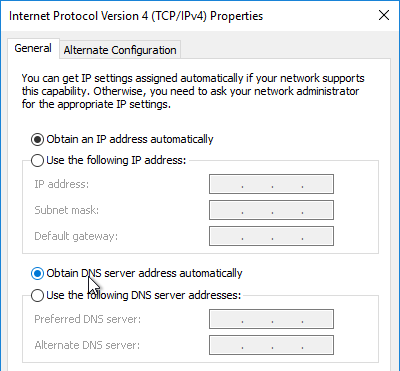
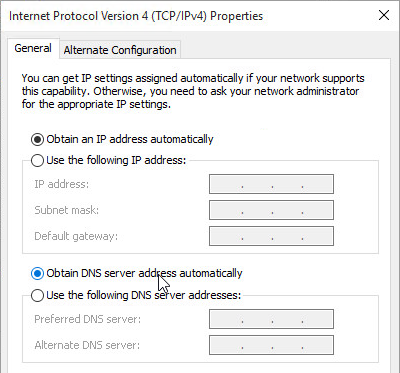
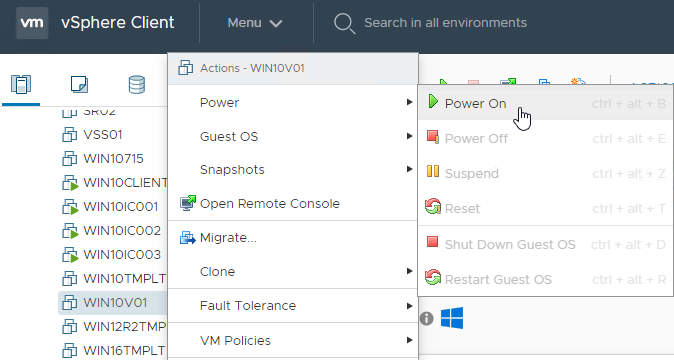
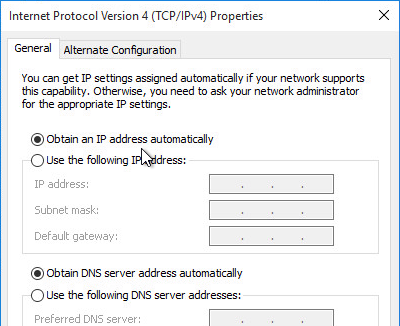
- Make sure the master virtual desktop is configured for DHCP.
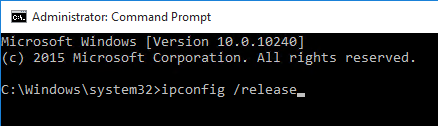
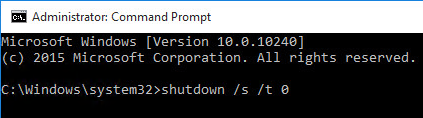
- If connected to the console, run ipconfig /release.
- Run antivirus sealing tasks:
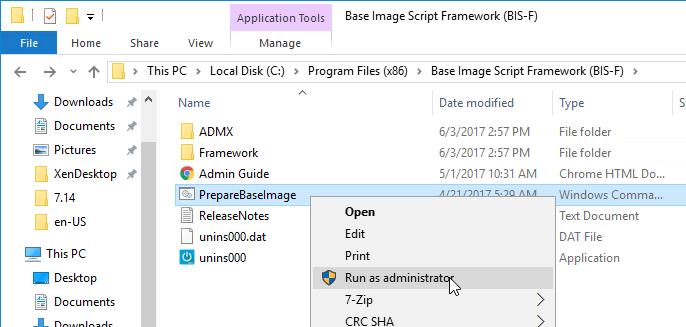
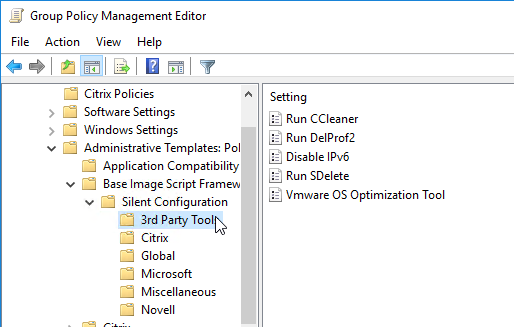
- Base Image Script Framework (BIS-F) automates many image sealing tasks. The script is configurable using Group Policy.
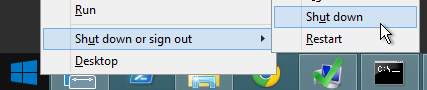
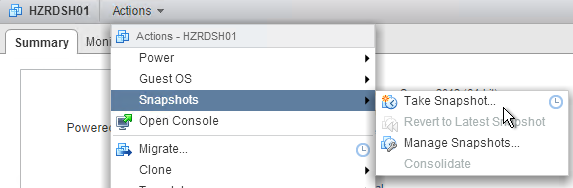
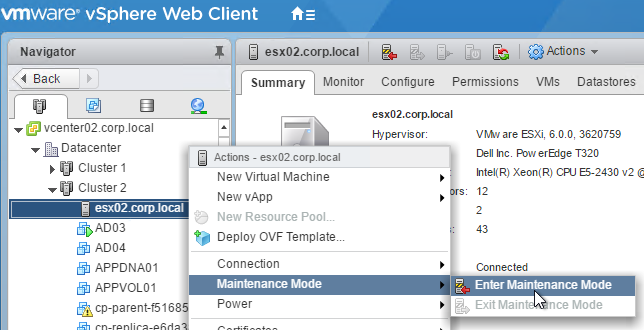
- Shutdown the master virtual desktop.
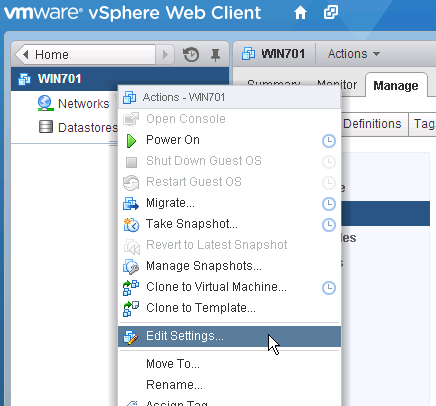
- Edit the Settings of the master virtual machine and disconnect the CD-ROM. Make sure no ISO is configured in the virtual machine.
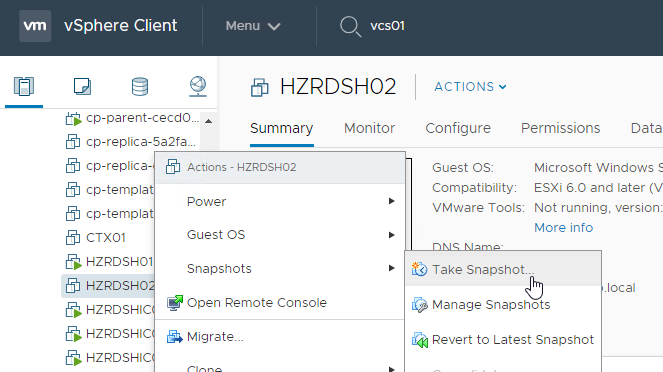
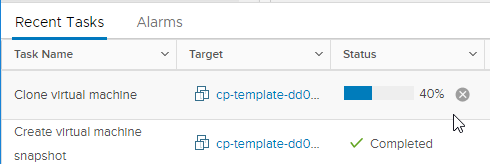
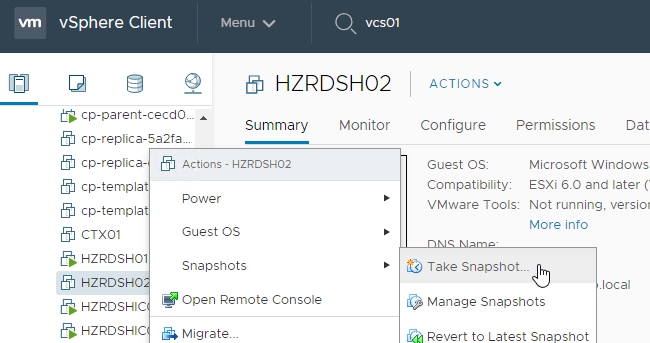
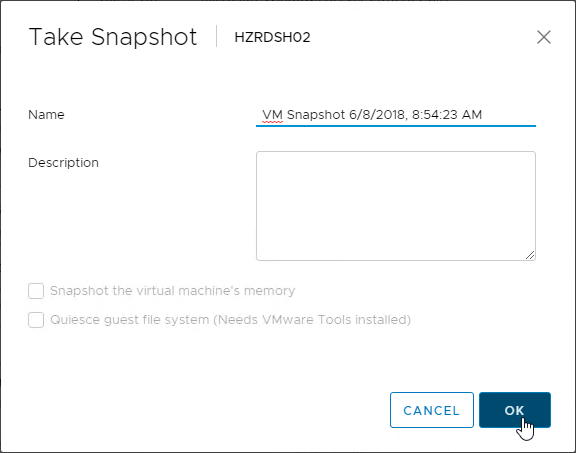
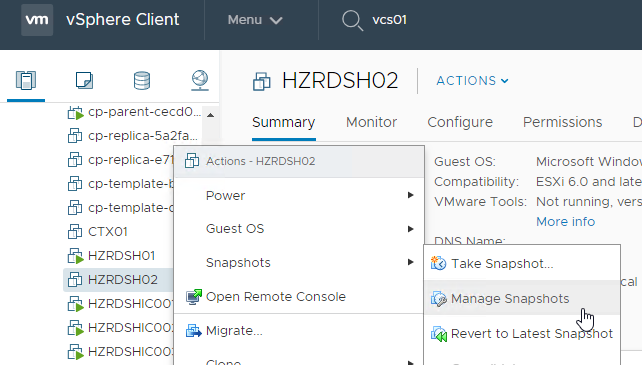
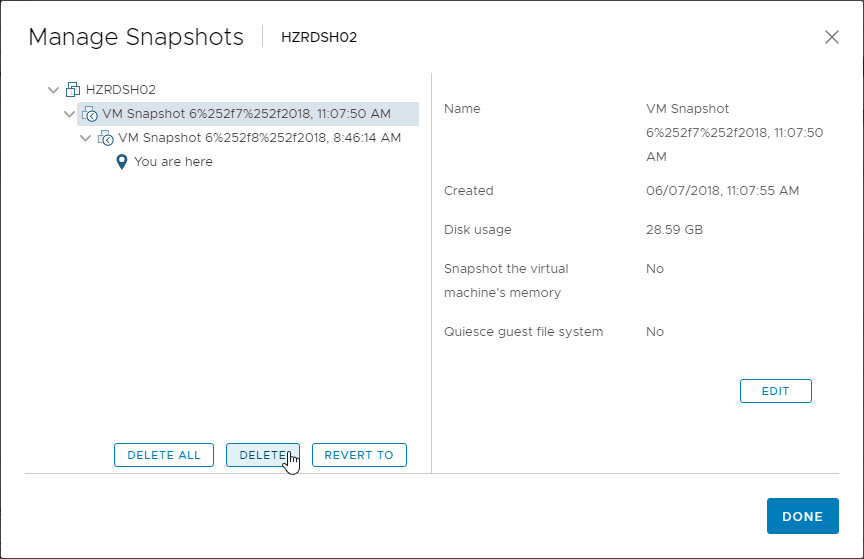
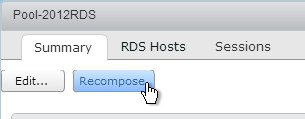
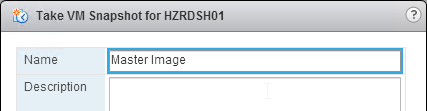
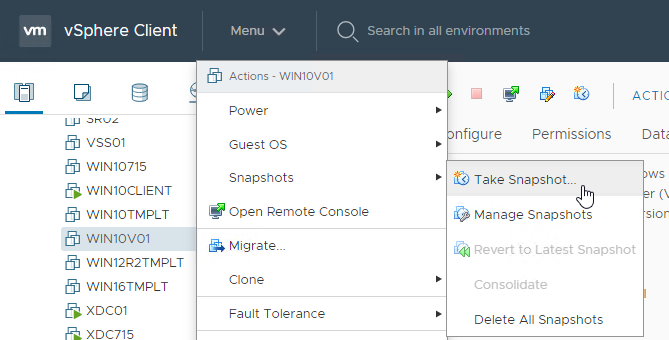
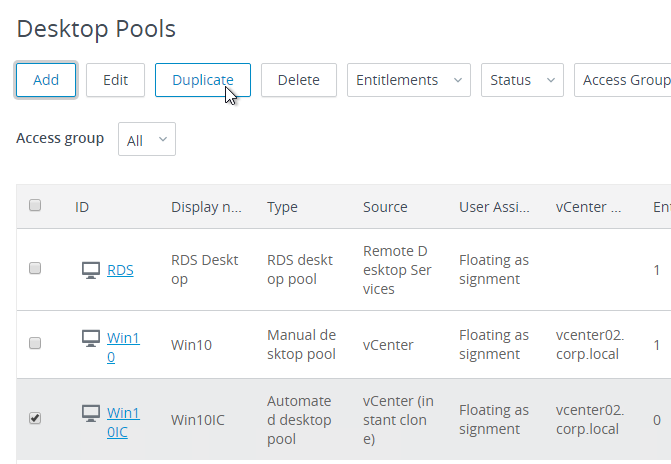
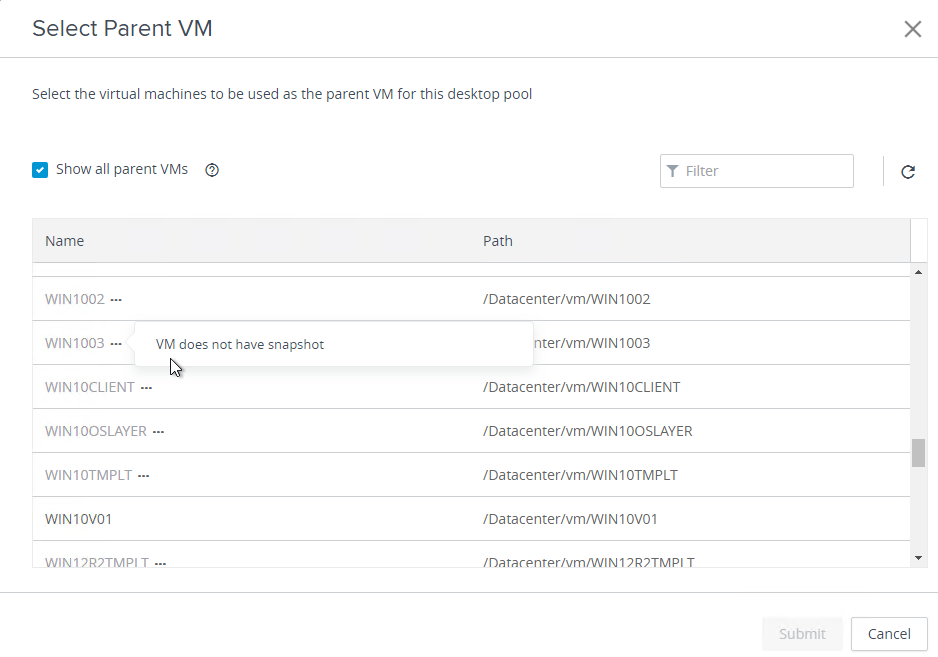
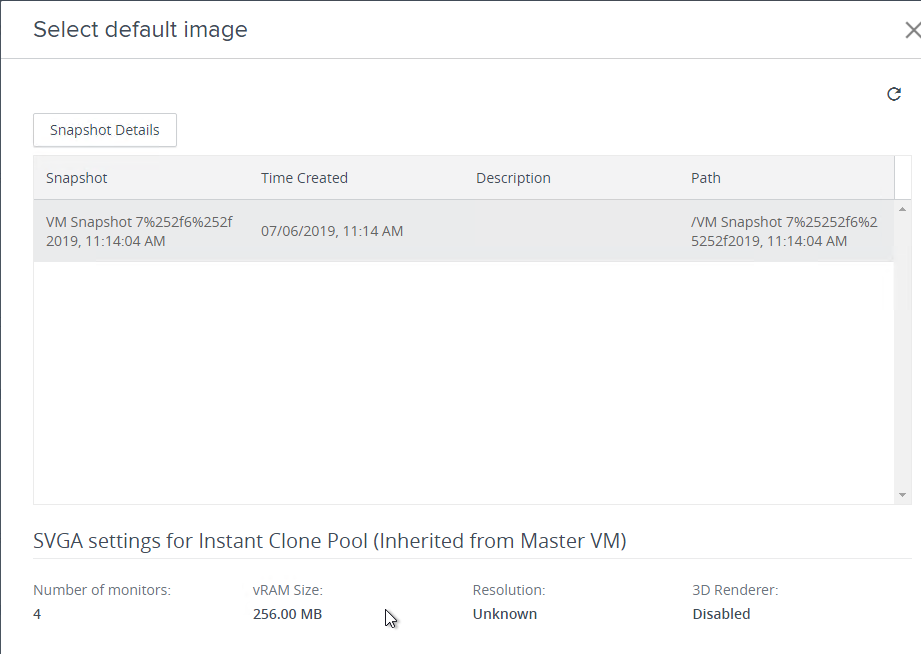
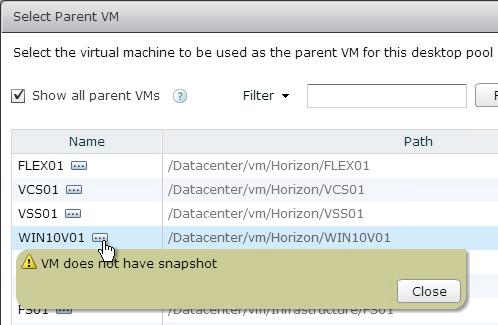
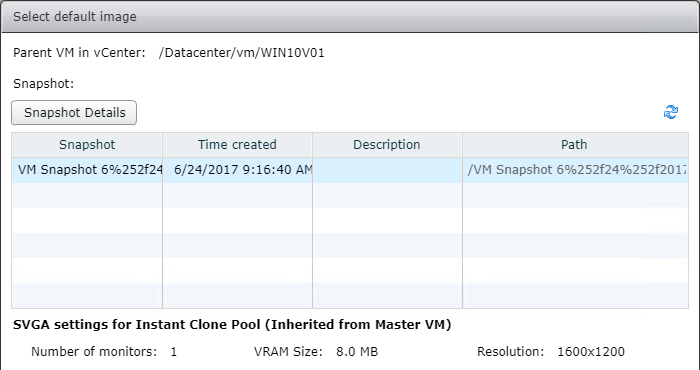
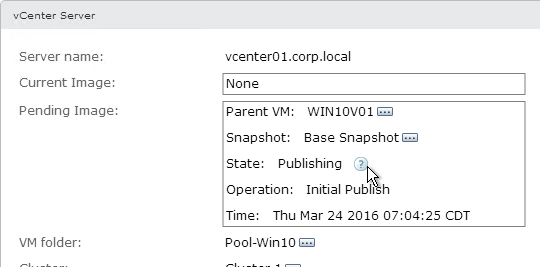
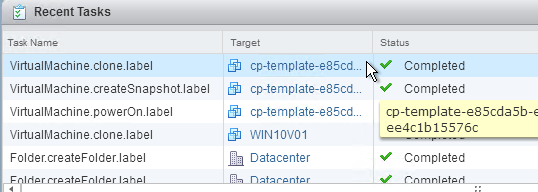
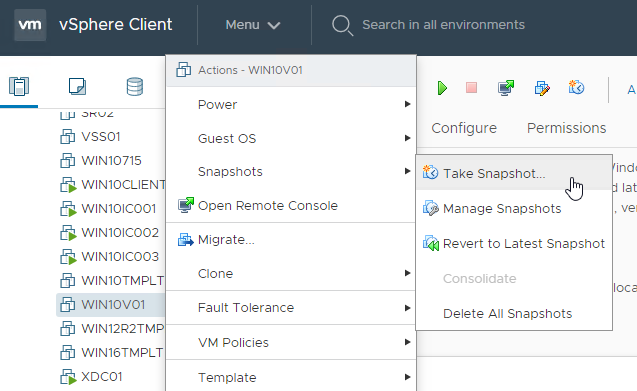
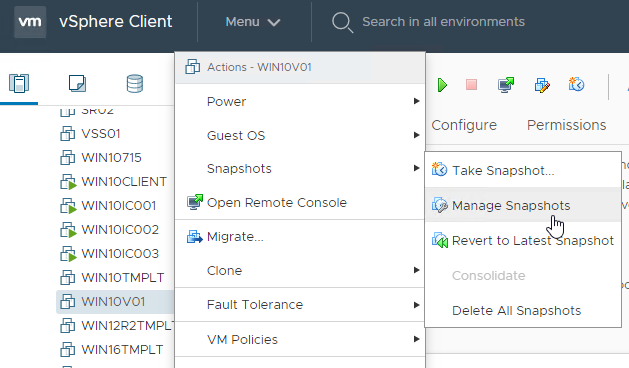
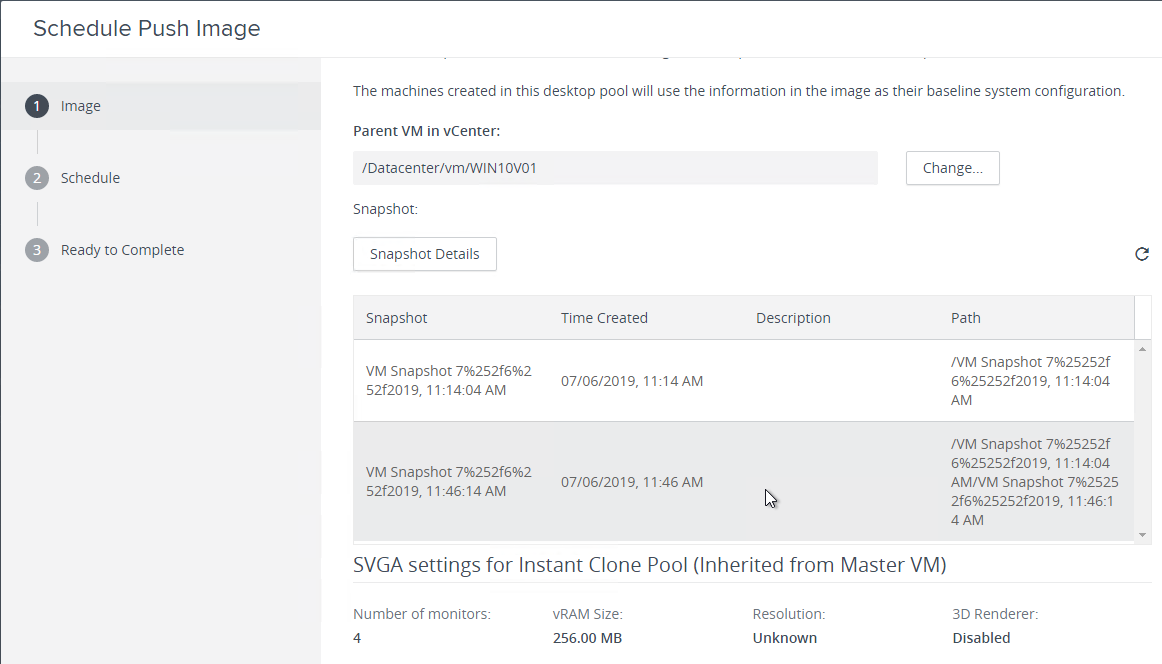
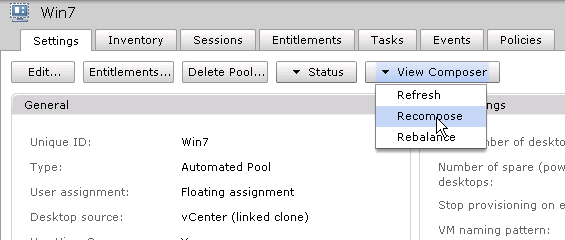
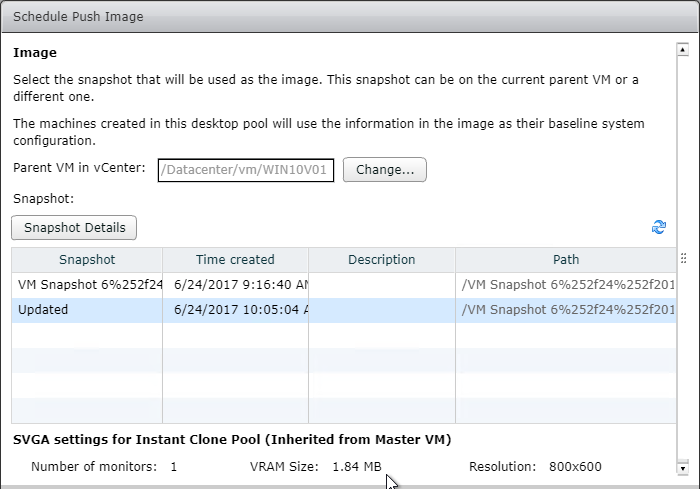
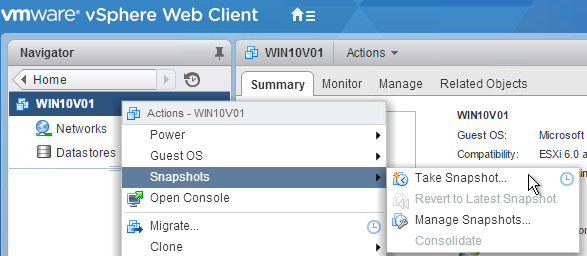
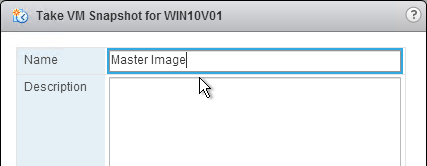
- Take a snapshot of the master virtual desktop. View Composer requires a snapshot.
Related Pages