Navigation
- Change Log
- NetScaler Gateway Universal Licenses
- Create NetScaler Gateway Virtual Server
- Verify SSL Settings
- Gateway Portal Theme
- SSL Redirect
- DNS SRV Records for Email-based discovery
- Block Citrix VPN for iOS
- View ICA sessions
- Customize Logon Page
- UDP Audio Through Gateway
- StoreFront – Rewrite X-Citrix-Via
💡 = Recently Updated
Change Log
- 2018 Feb 8 – in Gateway VServer > TCP Profile section, added link to Citrix CTX232321 Recommended TCP Profile Settings for Full Tunnel VPN/ICAProxy from NetScaler Gateway 11.1 Onwards
NetScaler Gateway Universal Licenses
For basic ICA Proxy connectivity to XenApp/XenDesktop, you don’t need to install any NetScaler Gateway Universal licenses on the NetScaler appliance.
However, if you need SmartAccess features (e.g. EPA scans), or VPN, then you must install NetScaler Gateway Universal licenses. These licenses are included with the Platinum editions of XenApp / XenDesktop, Advanced or Enterprise editions of XenMobile, and the Platinum edition of NetScaler.
- NetScaler 11.1 build 49 and later come with built-in Gateway Universal licenses: NetScaler Standard Edition = 500 licenses, NetScaler Enterprise Edition = 1000 licenses, and NetScaler Platinum Edition = unlimited licenses.
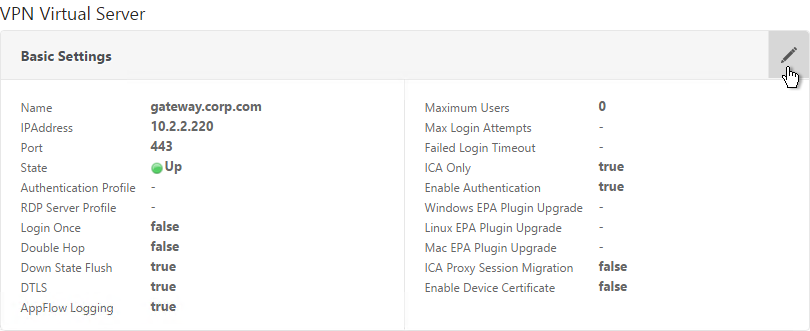
When you create a NetScaler Gateway Virtual Server, the ICA Only setting determines if you need NetScaler Gateway Universal licenses or not. If the Virtual Server is set to ICA Only, then you don’t need licenses. But if ICA Only is set to false then you need a NetScaler Gateway Universal license for every user that connects to this NetScaler Gateway Virtual Server. Enabling ICA Only disables all non-ICA Proxy features, including: SmartAccess, SmartControl, and VPN.
If you don’t need any non-ICA Proxy features, then you don’t need any Gateway Universal licenses, and you can skip to the next section.
If you are running NetScaler Platinum Edition 11.1 build 49 or later, then you already have unlimited licenses and can skip to the next section.
For other NetScaler editions and older builds, you can install more Gateway Universal licenses. The Gateway Universal licenses are allocated to the case sensitive hostname of each appliance. If you have an HA pair, and if each node has a different hostname, allocate the Gateway Universal licenses to the first hostname, and then reallocate the same licenses to the other hostname.
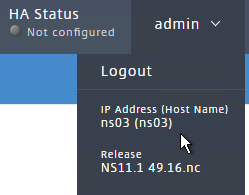
To see the hostname, click your username on the top right.
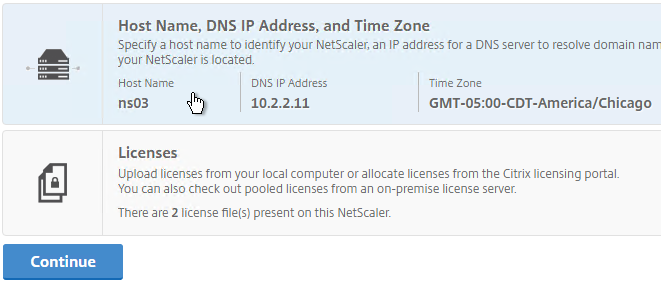
To change the hostname:
- Click the gear icon on the top right.

- Then click the third section.
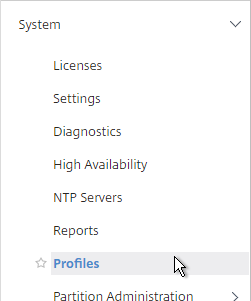
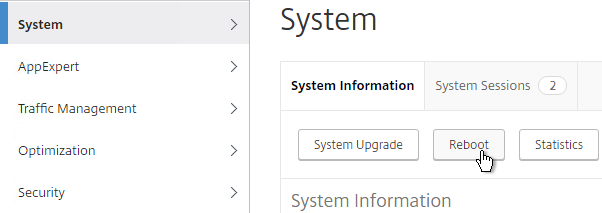
To upload the allocated Gateway Universal licenses to the appliance, go to System > Licenses. A reboot is required.
After NetScaler Gateway Universal licenses are installed on the appliance, they won’t necessarily be available for usage until you make a configuration change as detailed below:
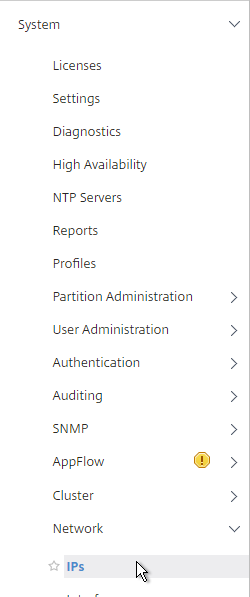
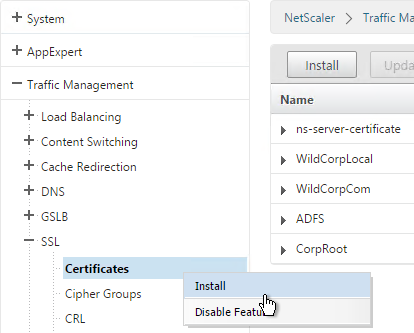
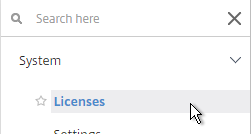
- On the left, expand System, and click Licenses.
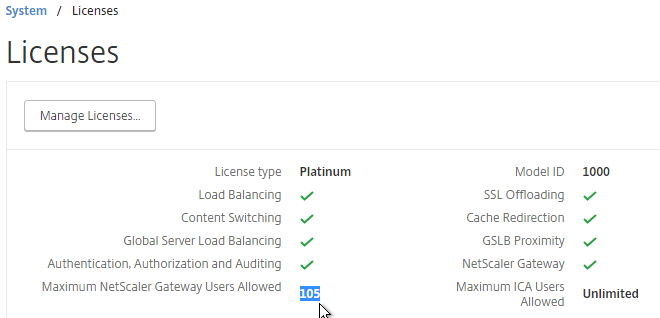
- On the right, in the Maximum NetScaler Gateway Users Allowed field is the number of licensed users for NetScaler Gateway Virtual Servers that are not set to ICA Only.
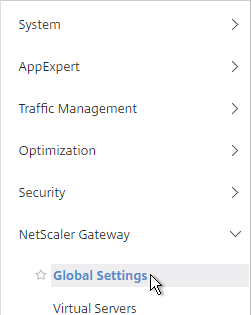
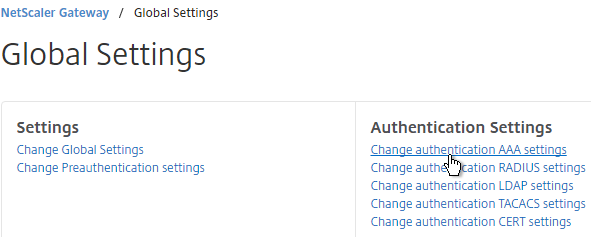
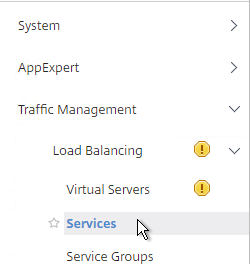
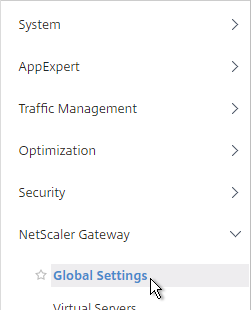
- On the left, under NetScaler Gateway, click Global Settings.
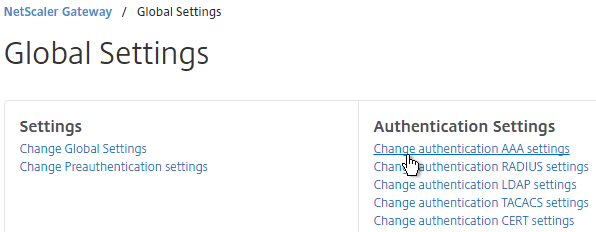
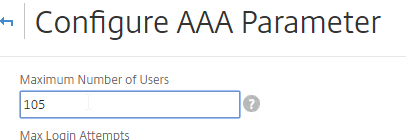
- In the right column of the right pane, click Change authentication AAA settings.
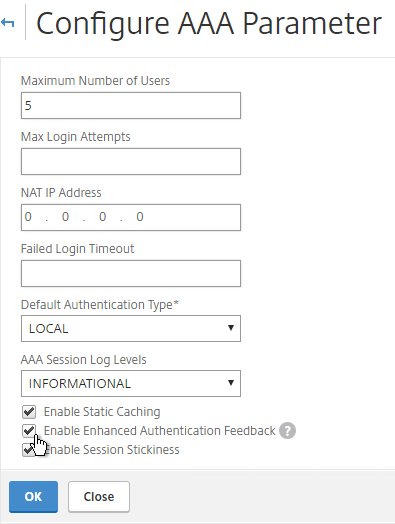
- Change the Maximum Number of Users to your licensed limit. In NetScaler 11.1 build 49 and newer, this value should already match the number of licensed users. In older builds, you must manually configure this setting, and if not configured, then it defaults to only 5 concurrent connections.

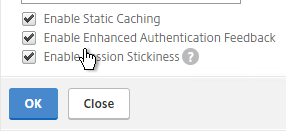
- If desired, check the box for Enable Enhanced Authentication Feedback. Click OK.
set aaa parameter -enableEnhancedAuthFeedback YES -maxAAAUsers 200
Create Gateway Virtual Server
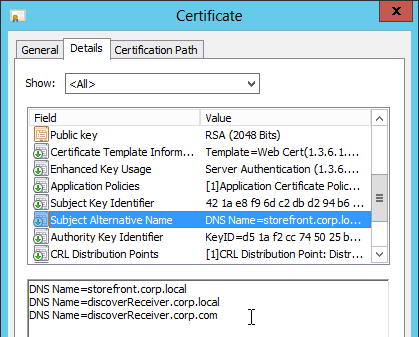
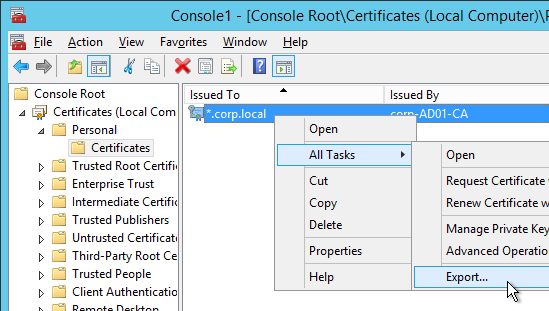
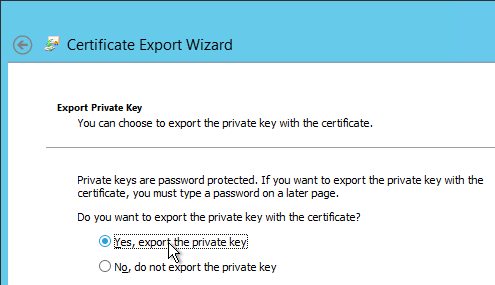
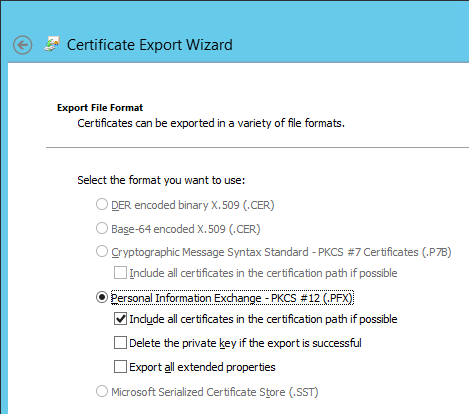
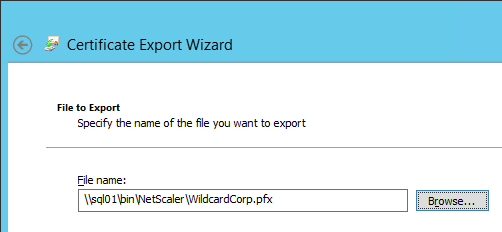
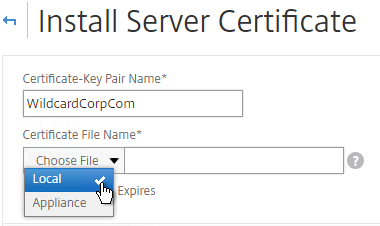
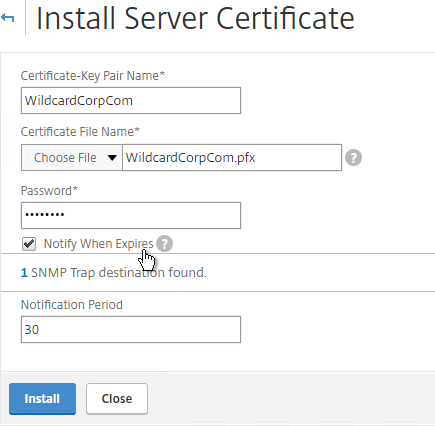
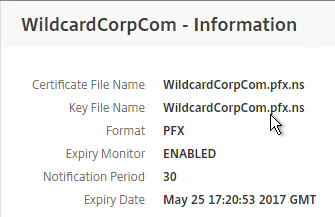
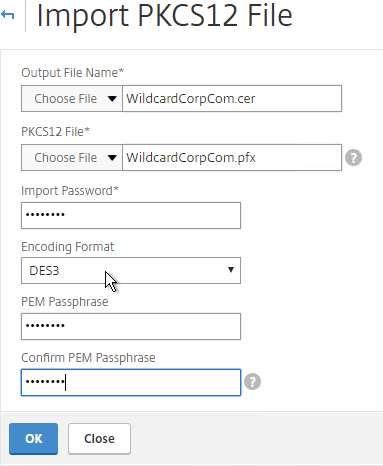
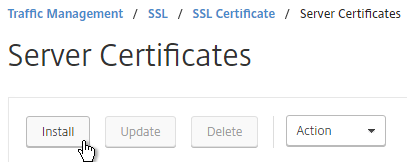
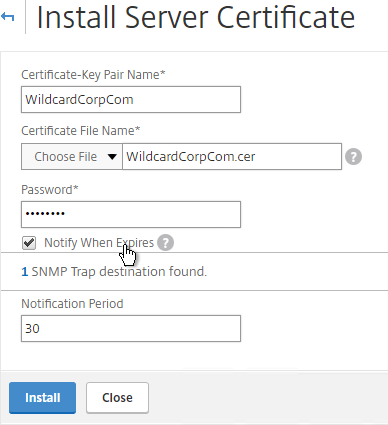
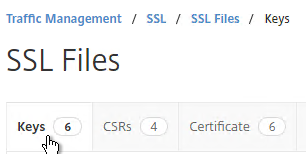
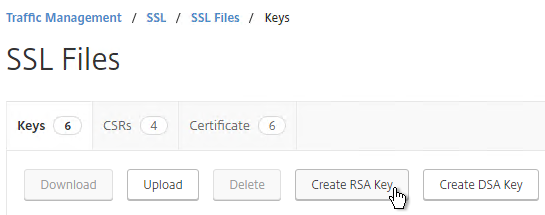
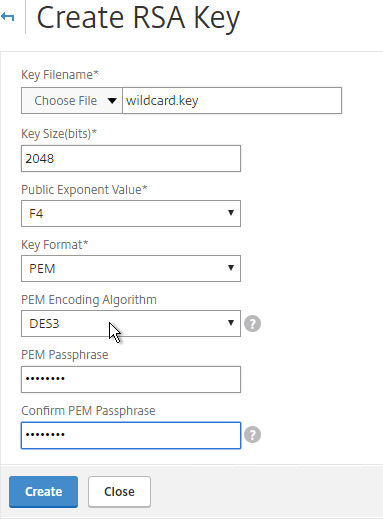
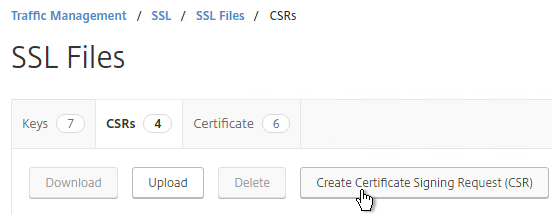
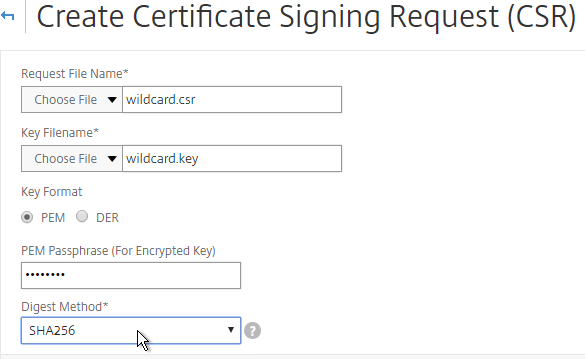
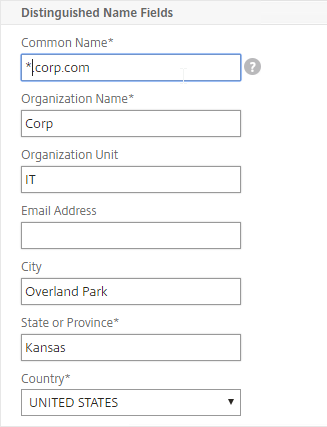
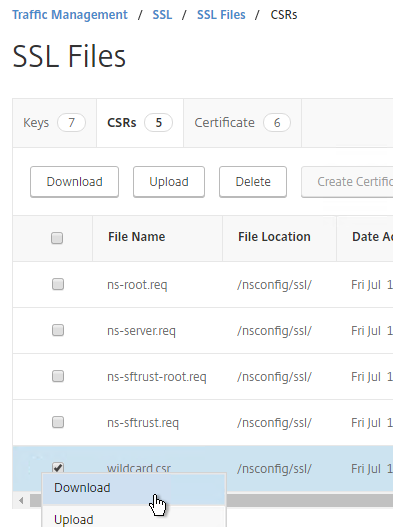
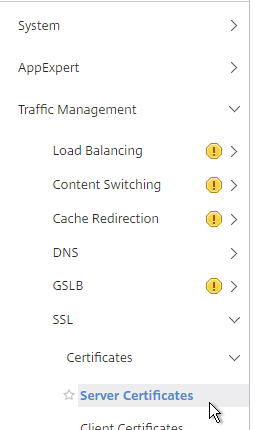
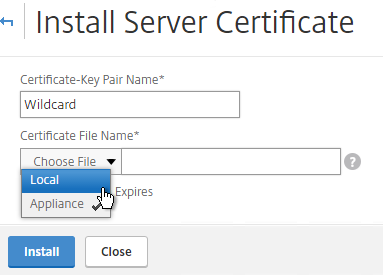
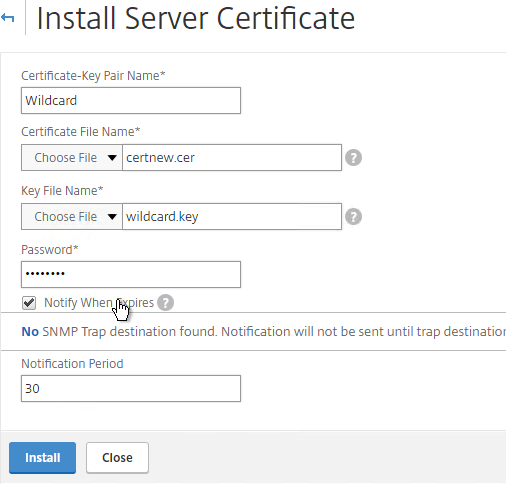
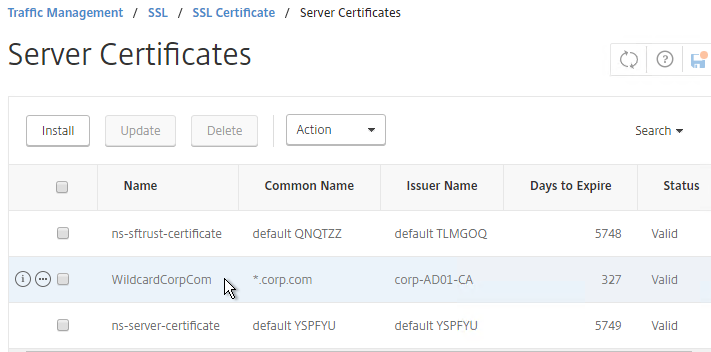
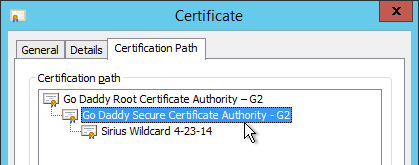
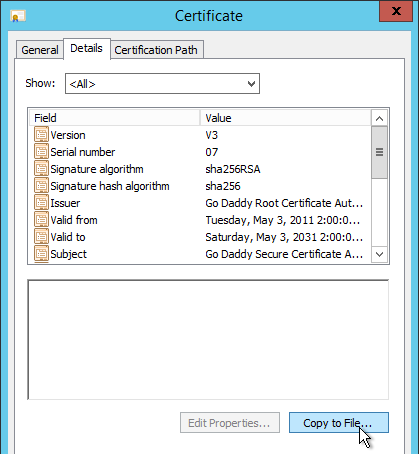
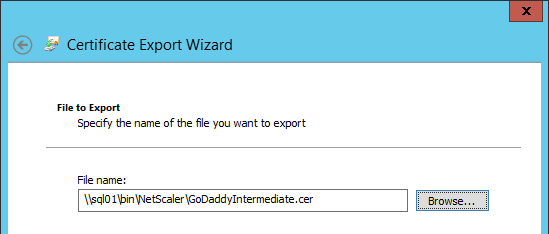
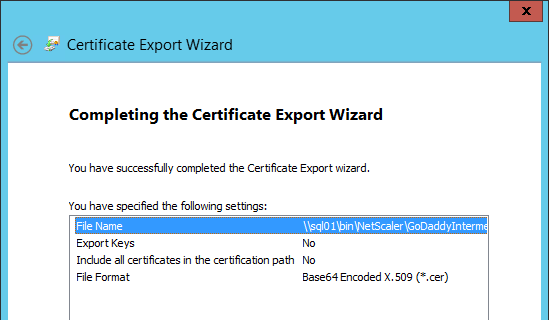
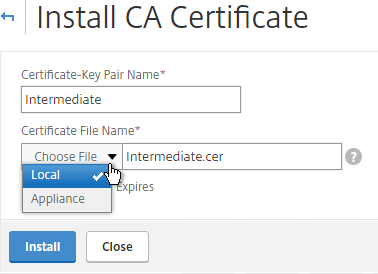
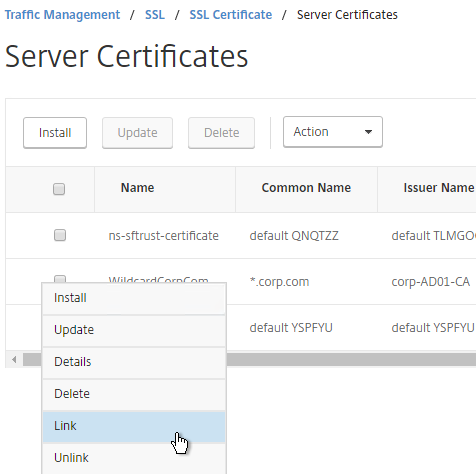
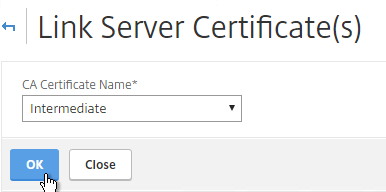
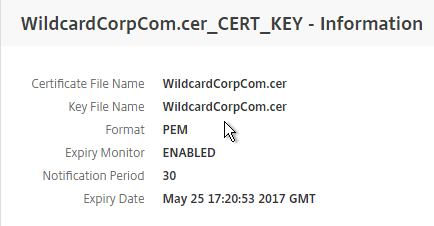
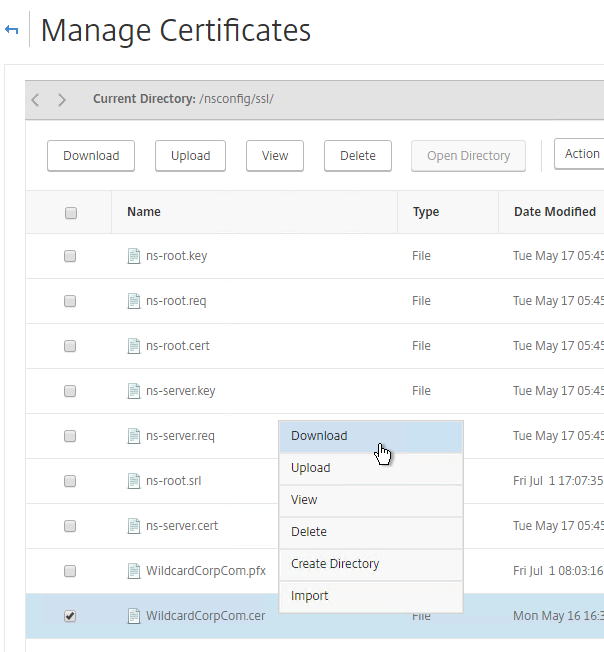
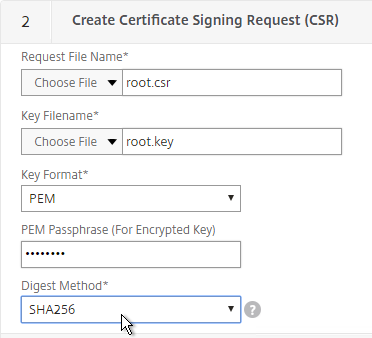
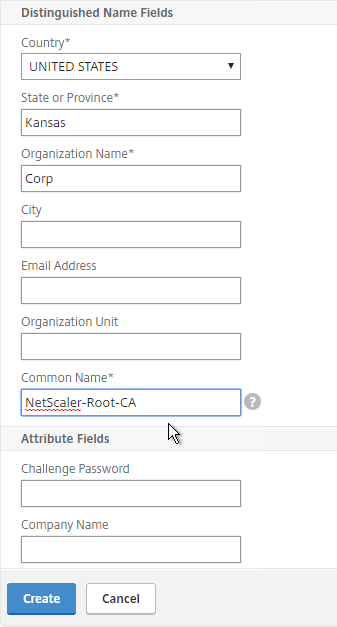
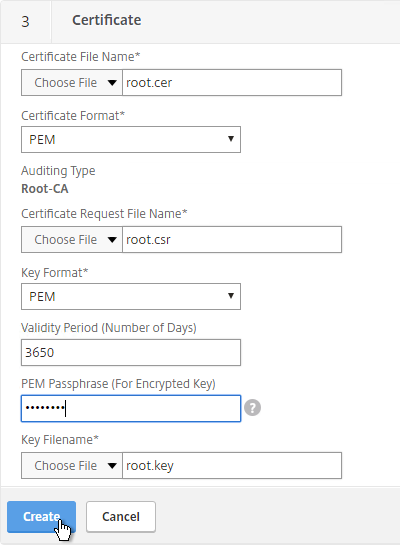
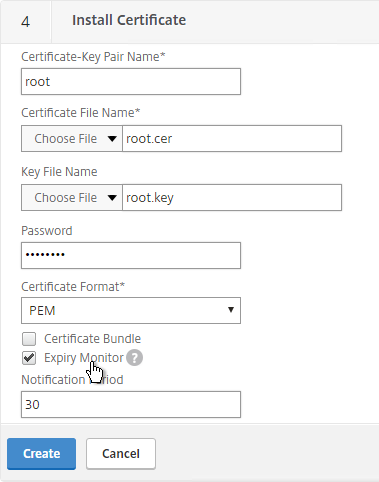
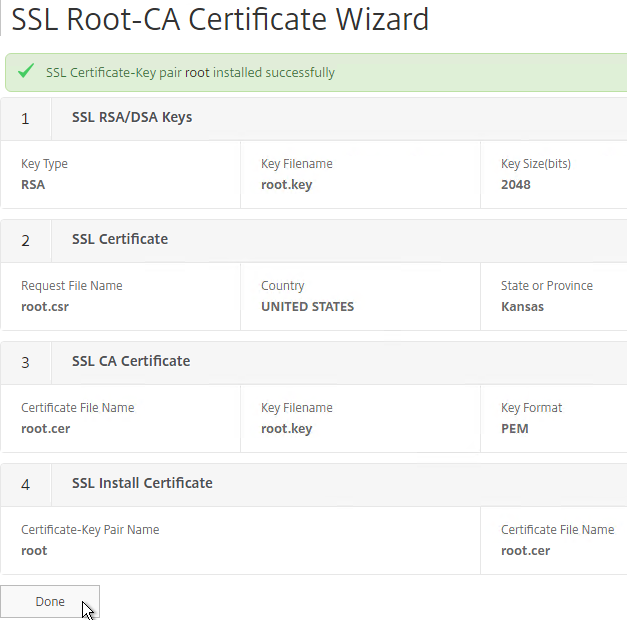
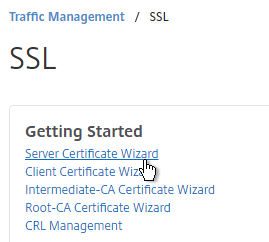
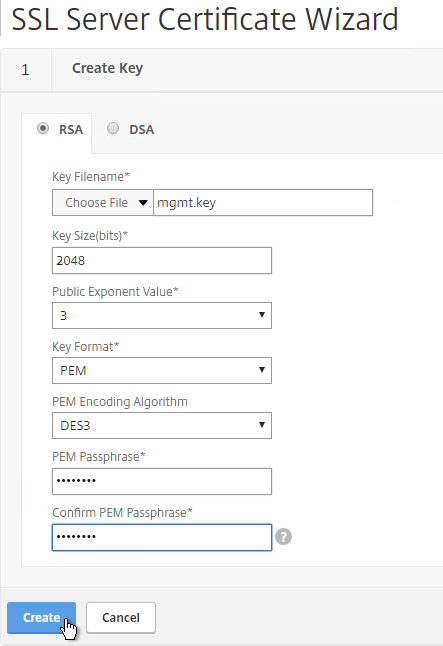
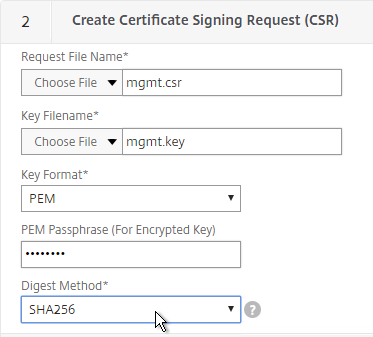
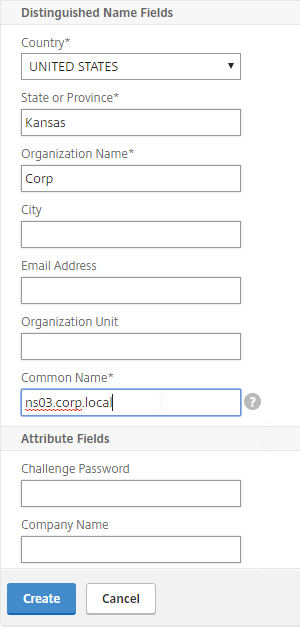
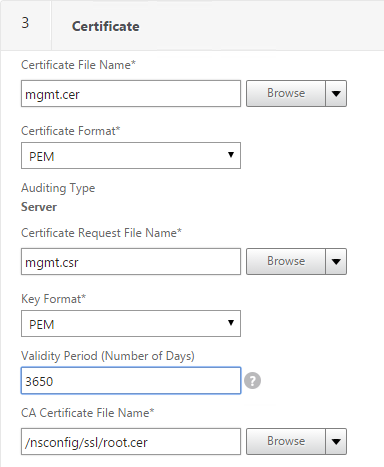
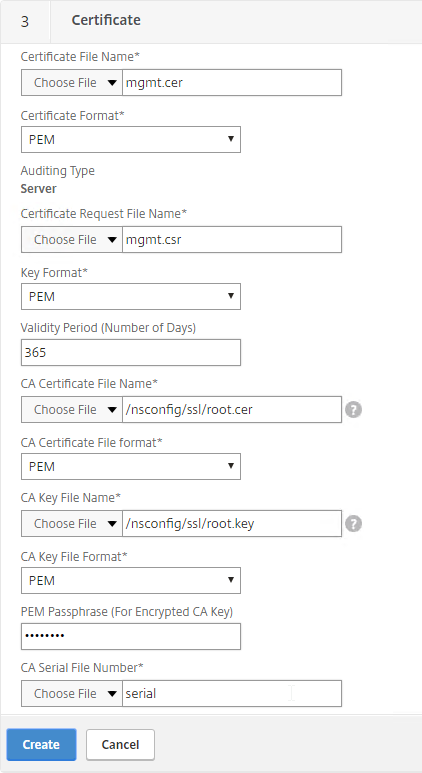
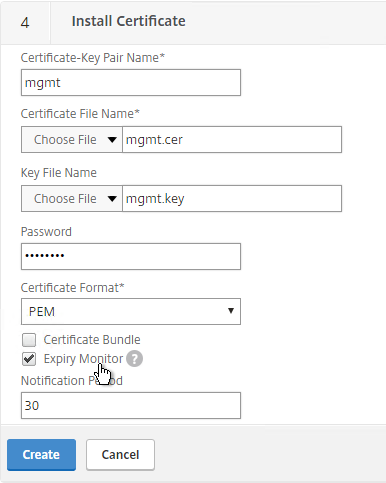
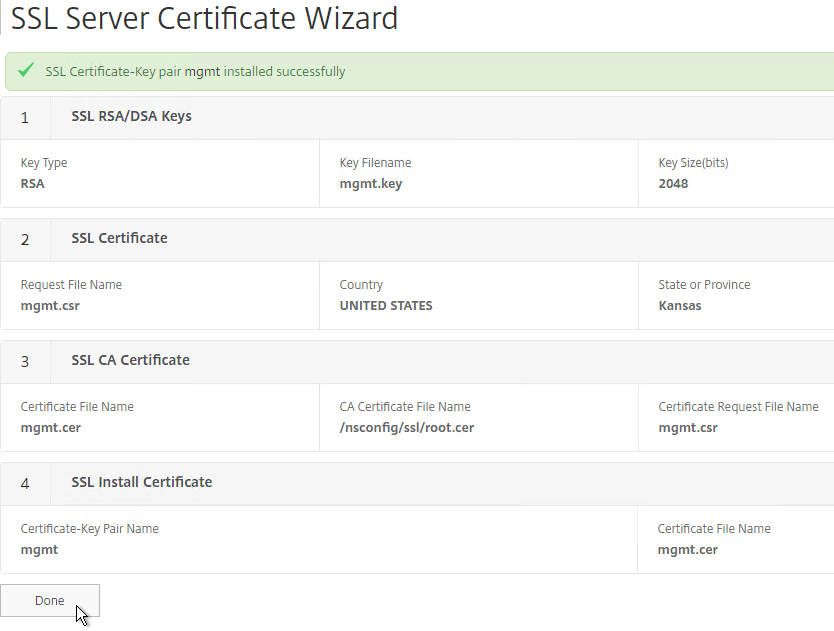
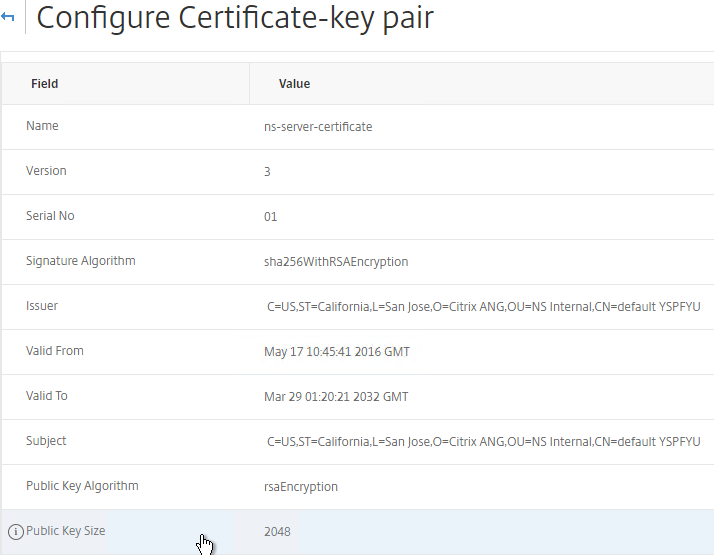
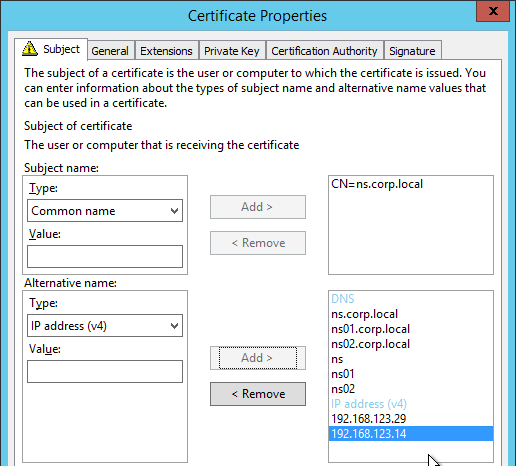
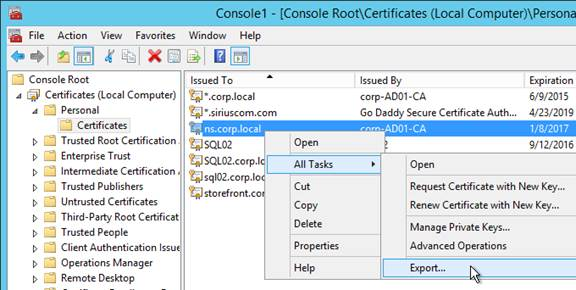
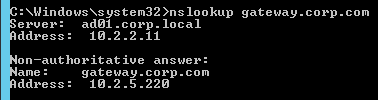
- Create a certificate for the NetScaler Gateway Virtual Server. The certificate must match the name users will use to access the Gateway.
- For email discovery in Citrix Receiver, the certificate must have subject alternative names (SAN) for discoverReceiver.email.suffix (use your email suffix domain name). If you have multiple email domains then you’ll need a SAN for each one.

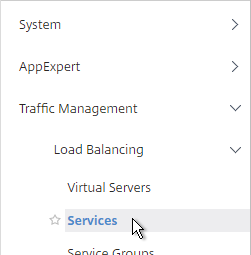
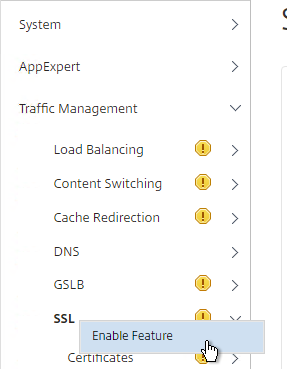
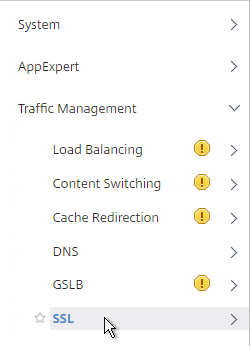
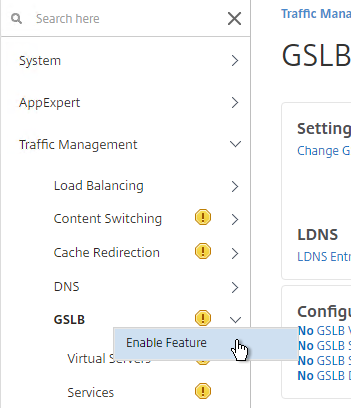
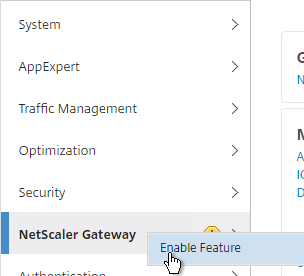
- On the left, right-click NetScaler Gateway and click Enable Feature.
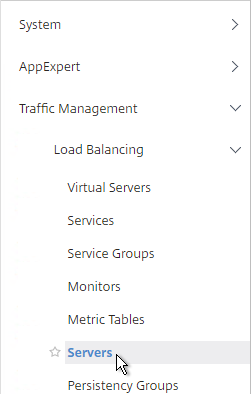
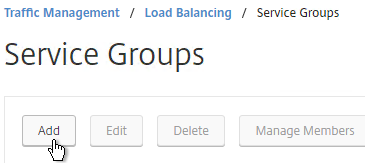
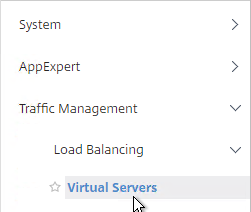
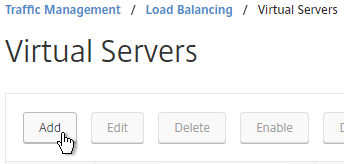
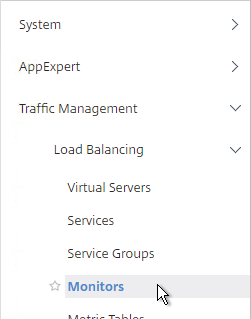
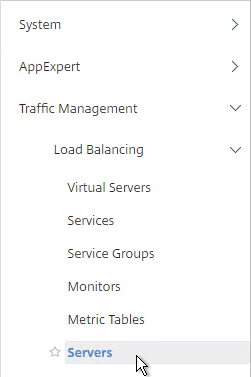
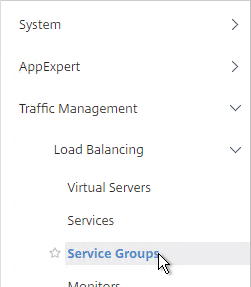
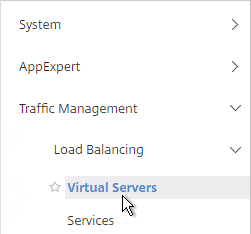
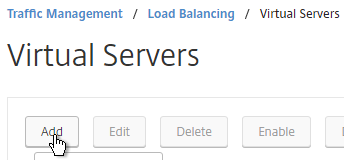
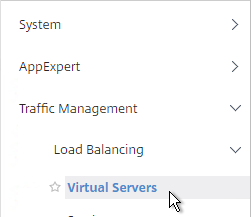
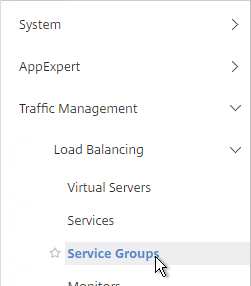
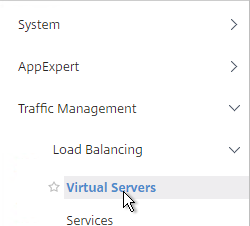
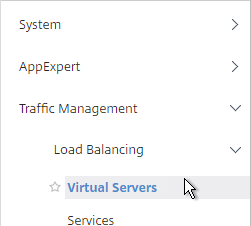
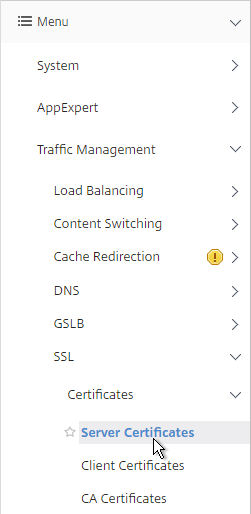
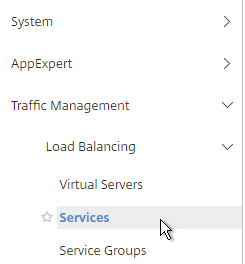
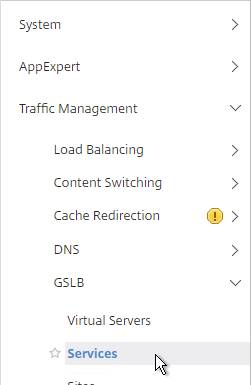
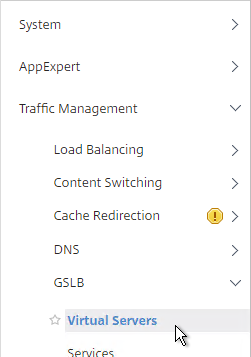
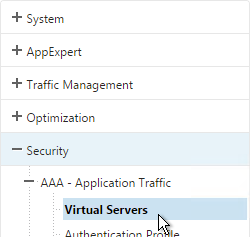
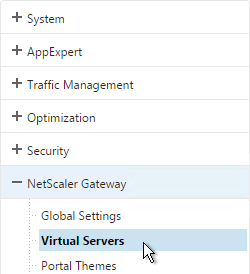
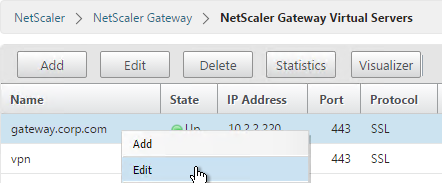
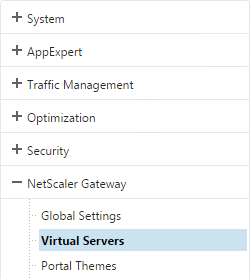
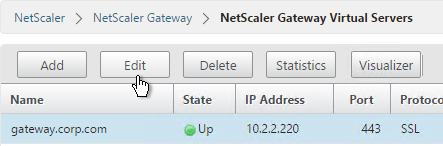
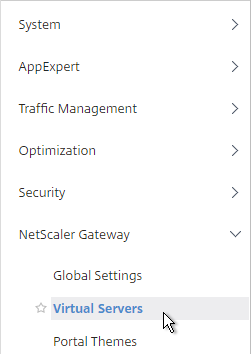
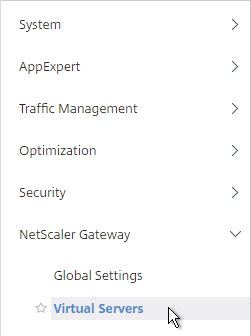
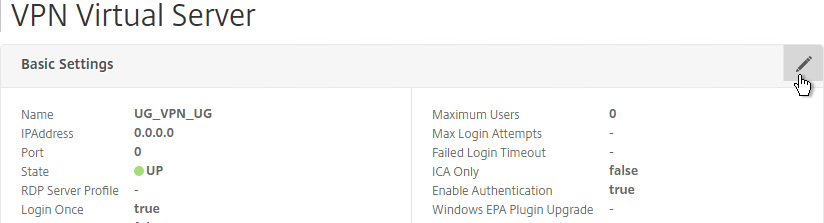
- On the left, expand NetScaler Gateway and click Virtual Servers.
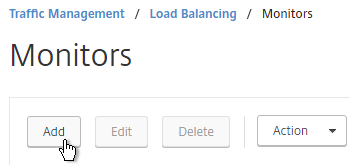
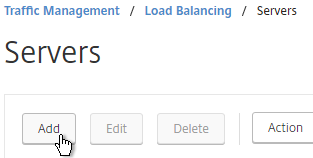
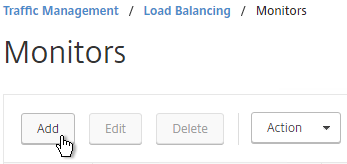
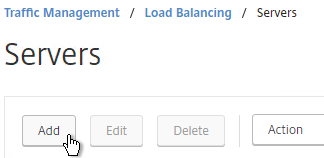
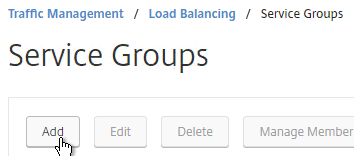
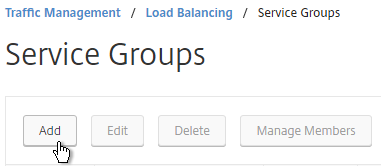
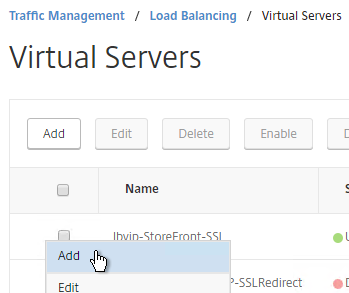
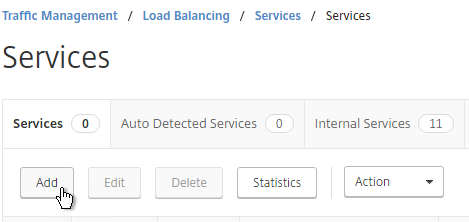
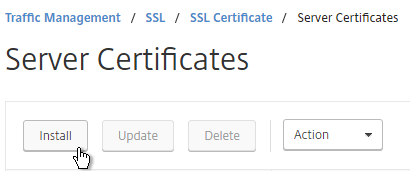
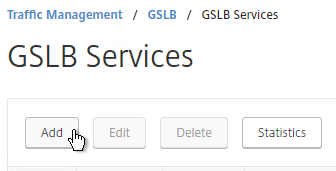
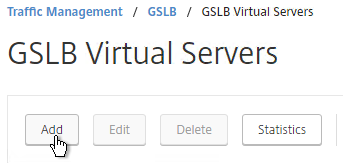
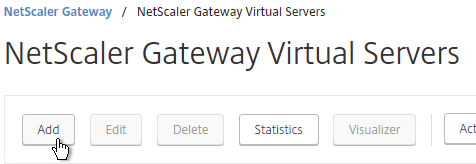
- On the right, click Add.
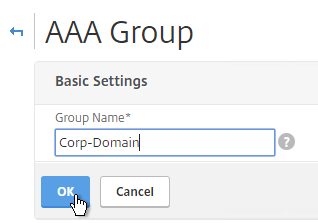
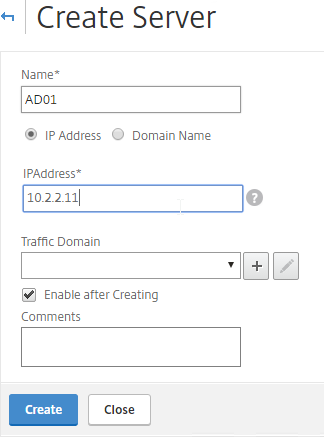
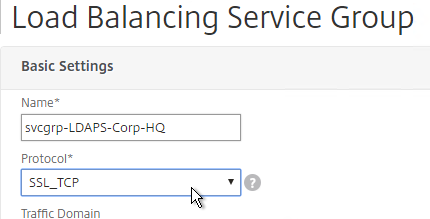
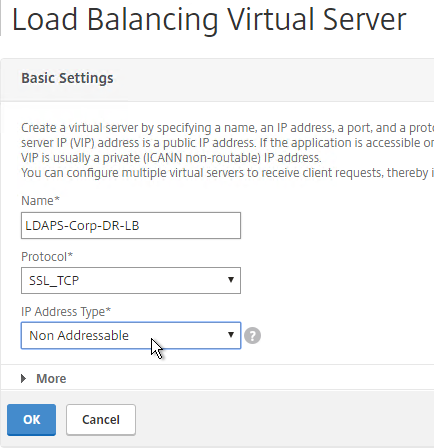
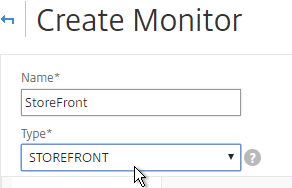
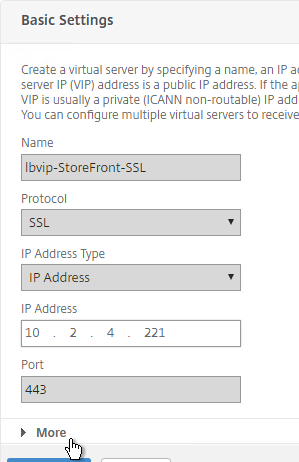
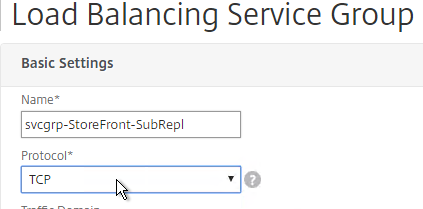
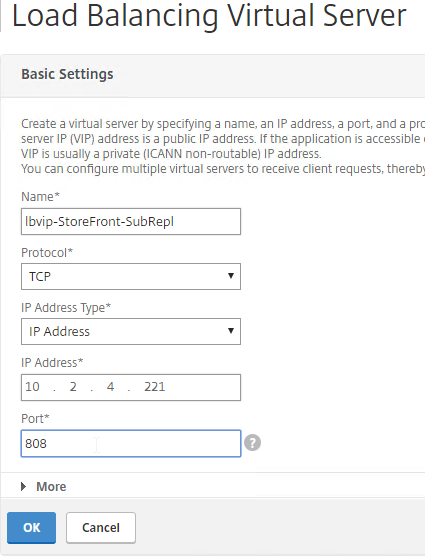
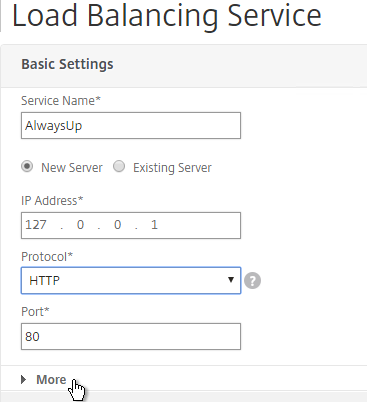
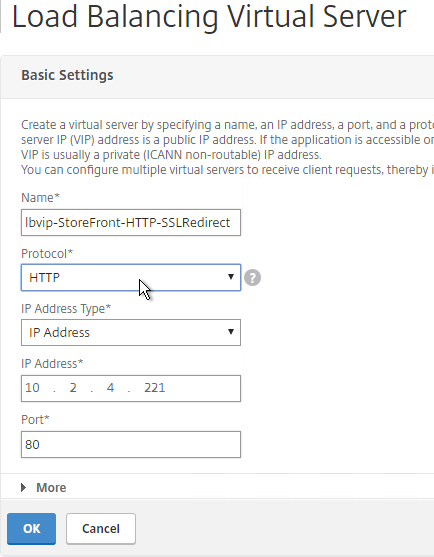
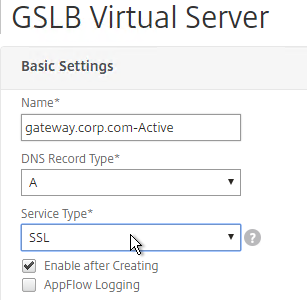
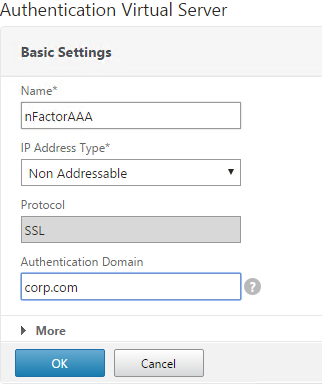
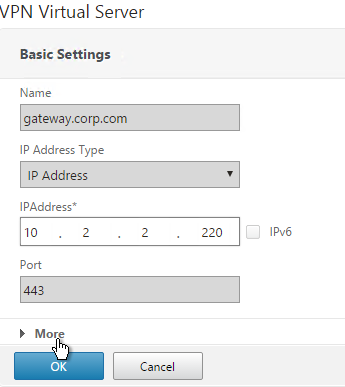
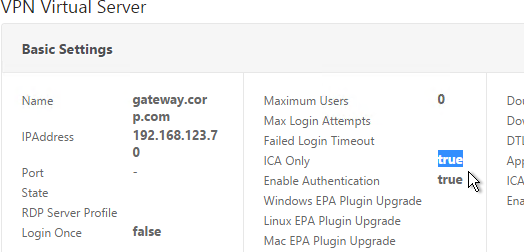
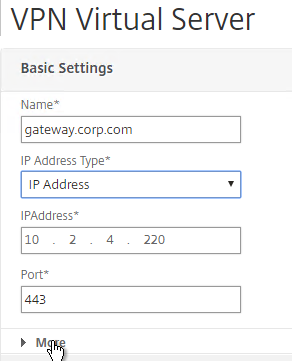
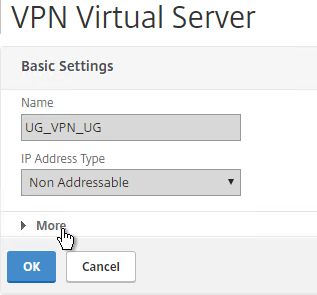
- Name it gateway.corp.com or similar.
- Enter a new VIP that will be exposed to the Internet. Note: you can also set it to Non Addressable, which means you can place the Gateway behind a Content Switching Virtual Server.
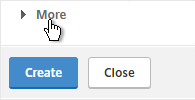
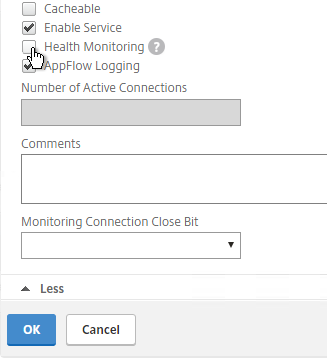
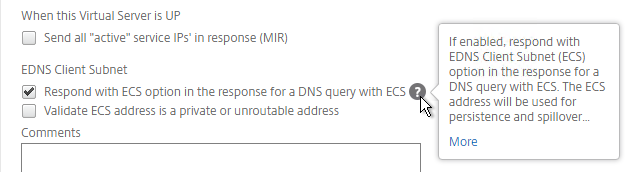
- Click More.
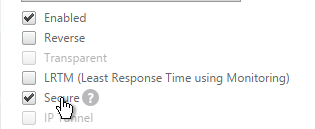
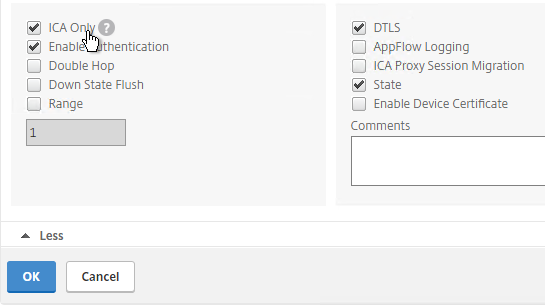
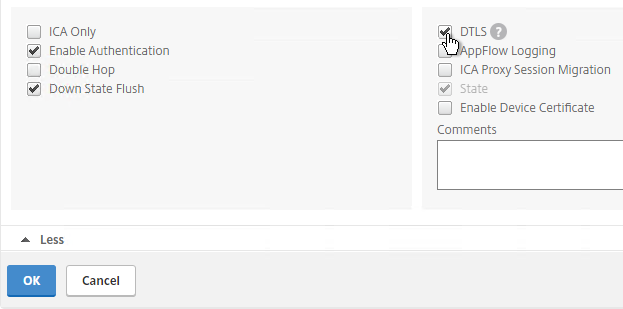
- Check the box next to ICA Only. This option disables SmartAccess and VPN features but does not require any additional licenses.
- Check the box next to DTLS, and click OK.
- DTLS enables EDT protocol, UDP Audio, and Framehawk. 💡
- EDT requires UDP 443 on client side, and UDP 1494/2598 on server side.
- DTLS (including EDT), will not work if Mac Based Forwarding is enabled. 💡
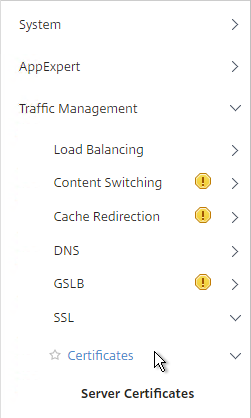
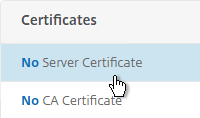
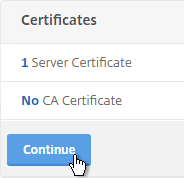
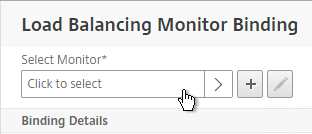
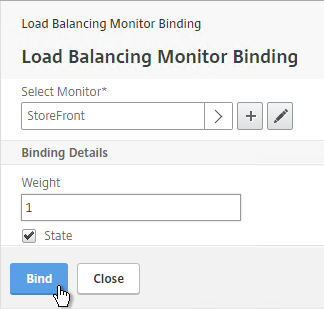
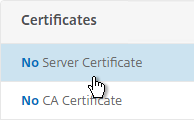
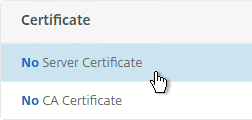
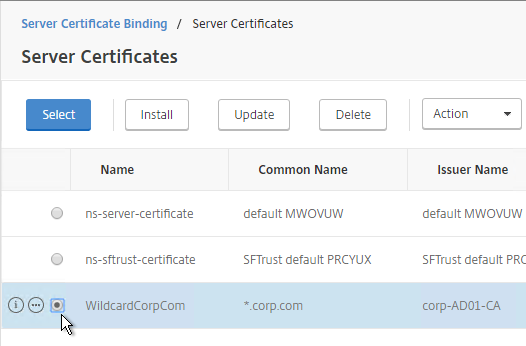
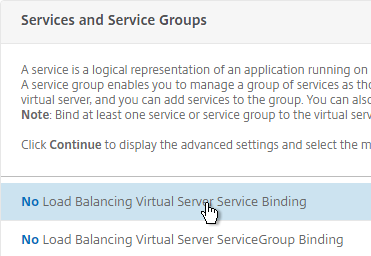
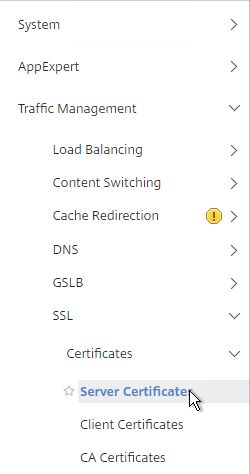
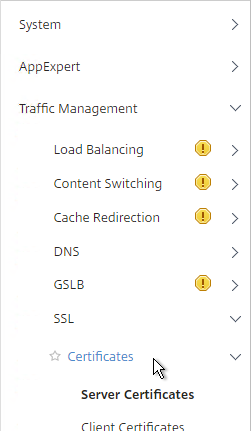
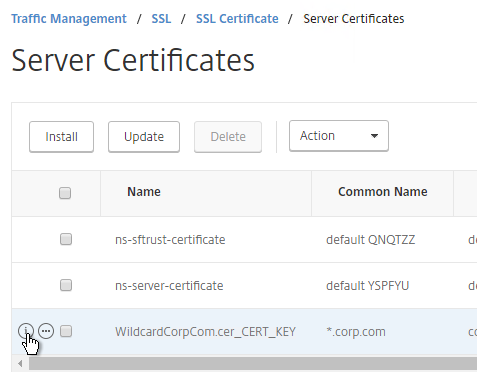
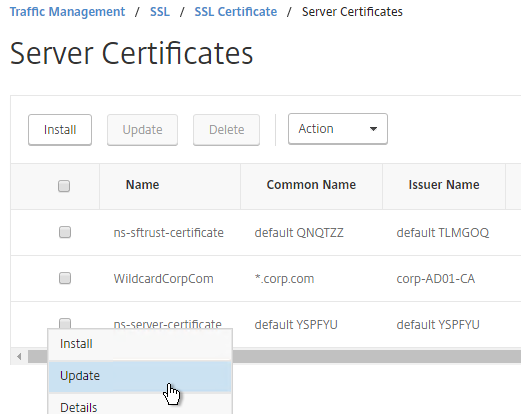
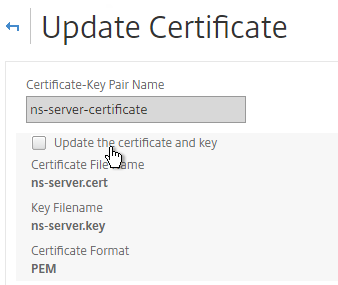
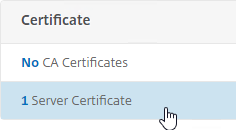
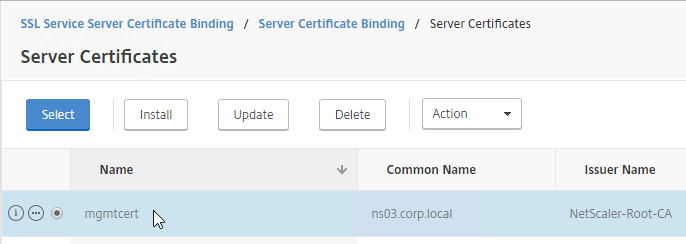
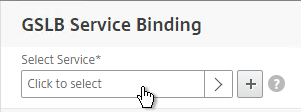
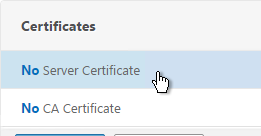
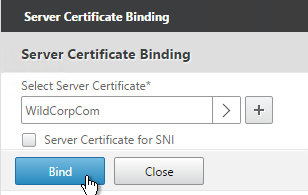
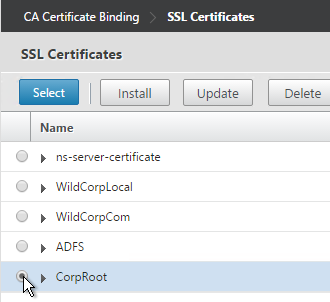
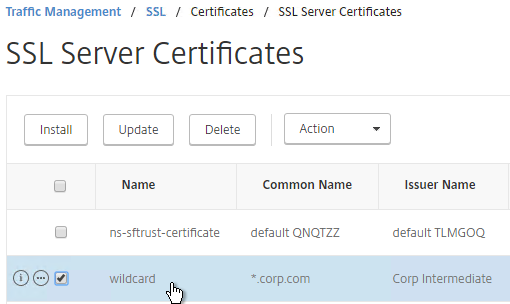
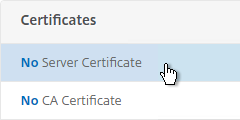
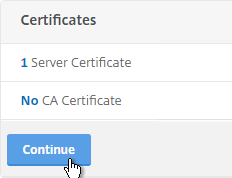
- In the Certificates section, click where it says No Server Certificate.
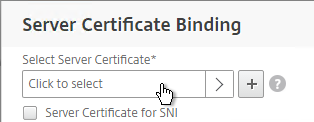
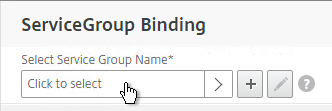
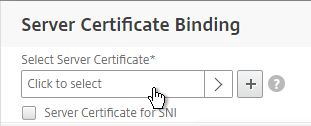
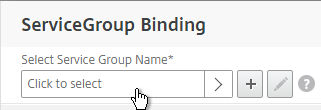
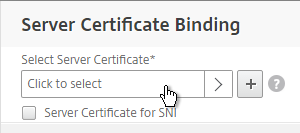
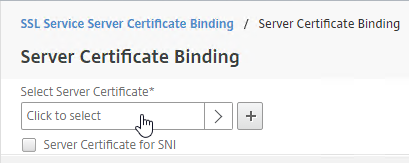
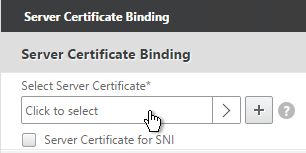
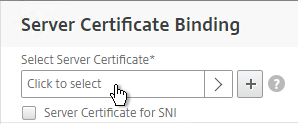
- Click the arrow next to Click to select.
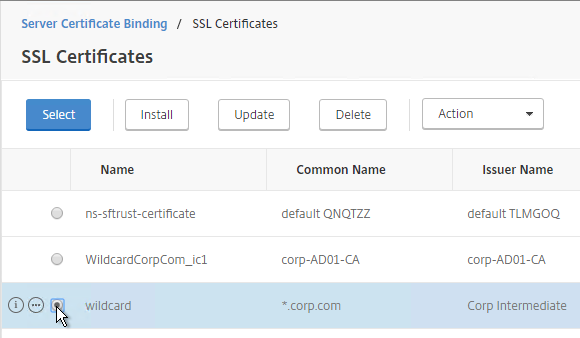
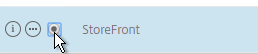
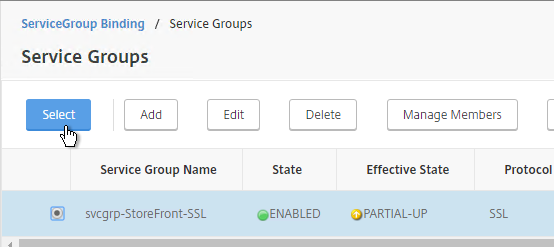
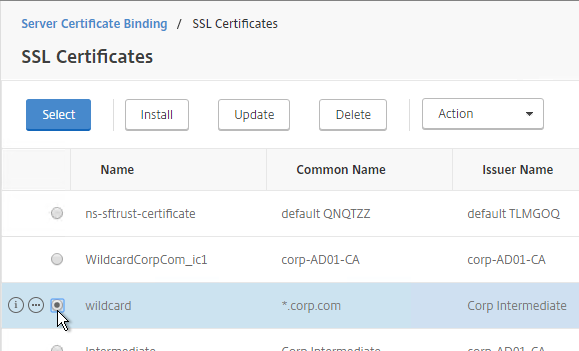
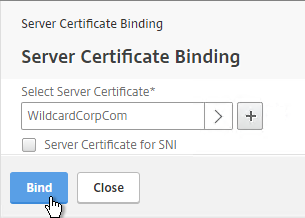
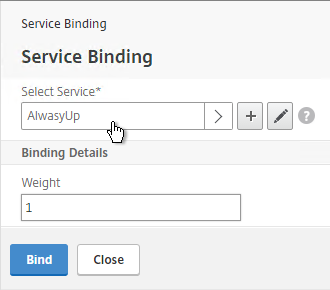
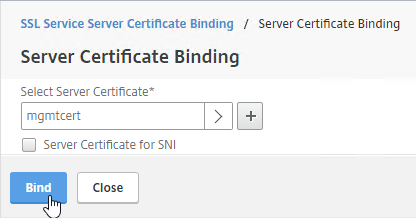
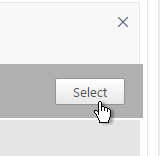
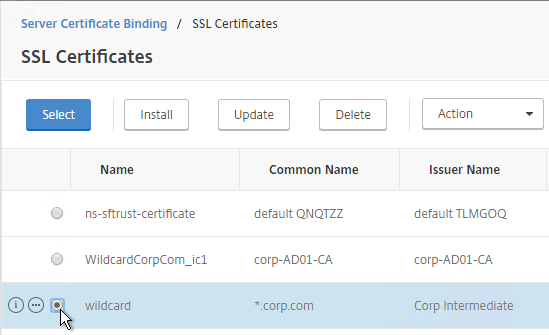
- Select a previously created certificate that matches the NetScaler Gateway DNS name and click Select.
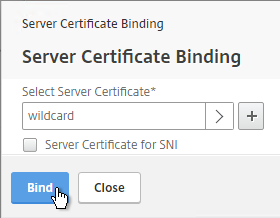
- Click Bind.
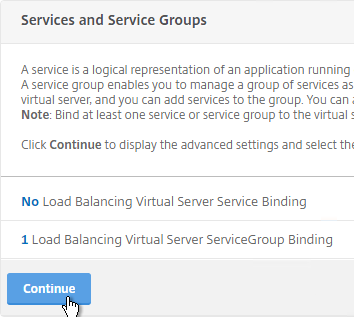
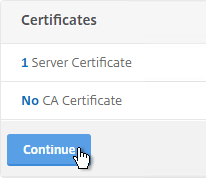
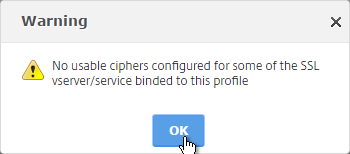
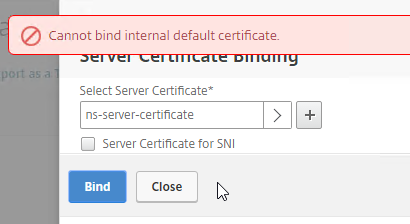
- If you see a warning about No usable ciphers, click OK.
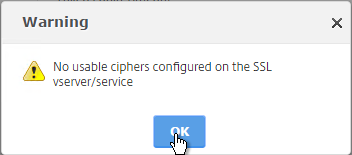
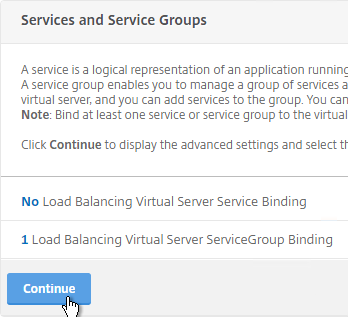
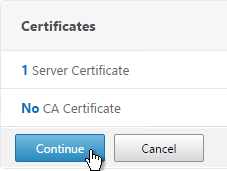
- Click Continue.
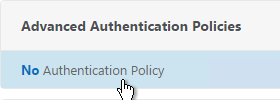
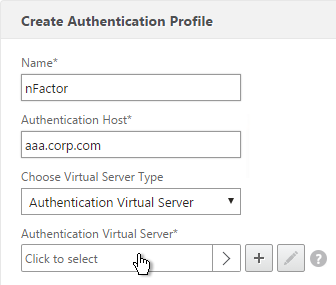
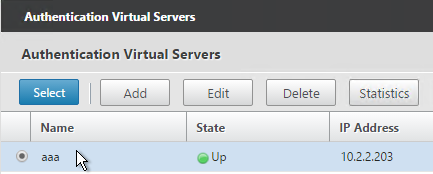
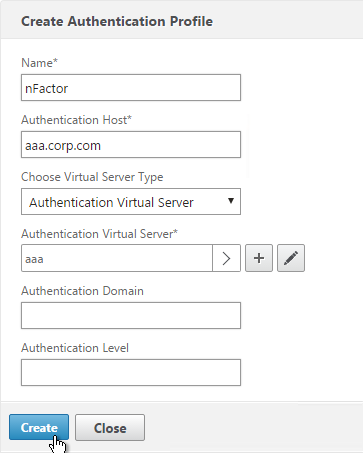
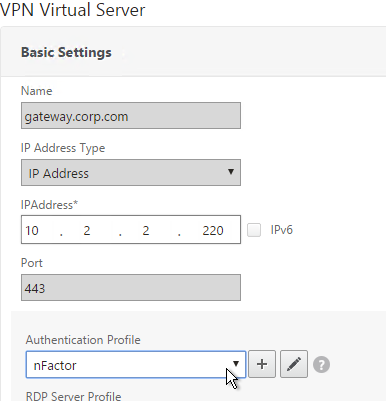
- In the Basic Authentication section, click the plus icon in the top right.
- Note: it’s also possible to disable authentication on Gateway and make StoreFront do it instead as described in Citrix CTX200066 How to Log On to StoreFront When Authentication is Disabled on NetScaler Gateway VIP. However, it’s more secure to require Gateway to authenticate the users before the user can communicate with StoreFront.

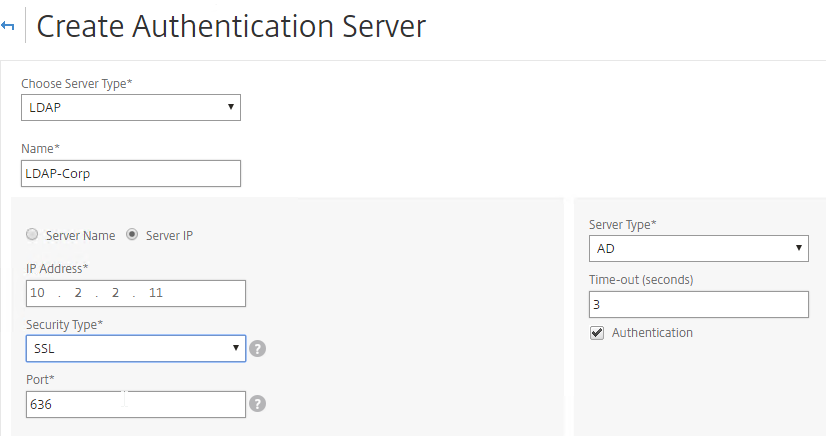
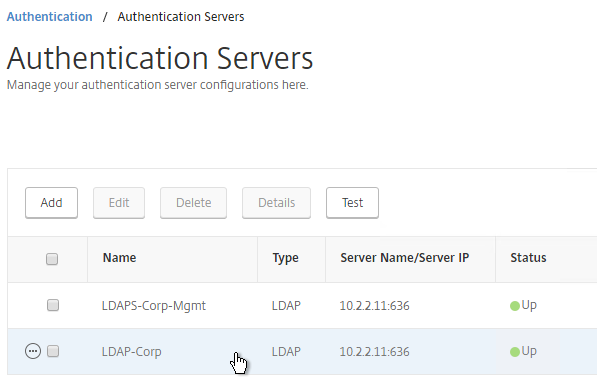
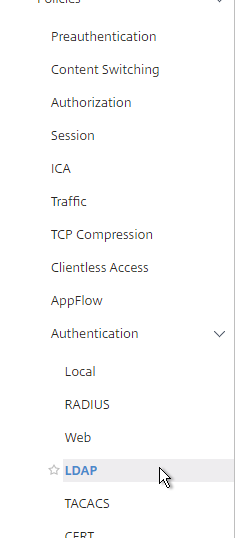
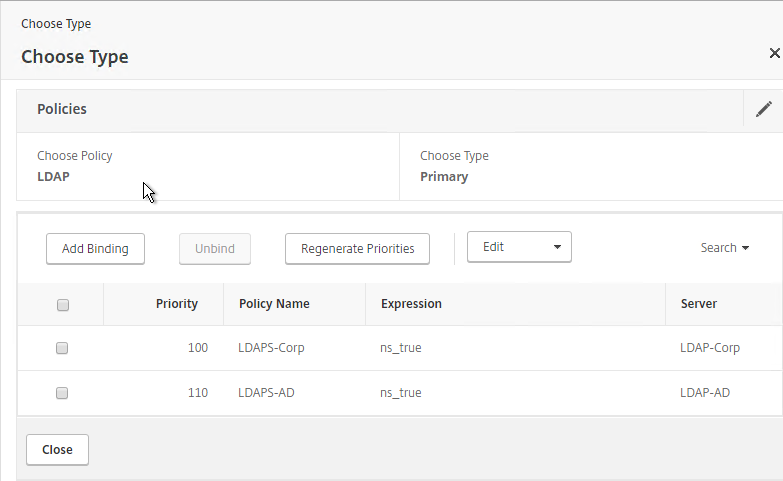
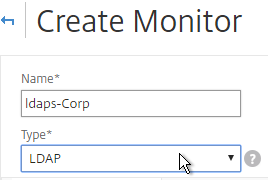
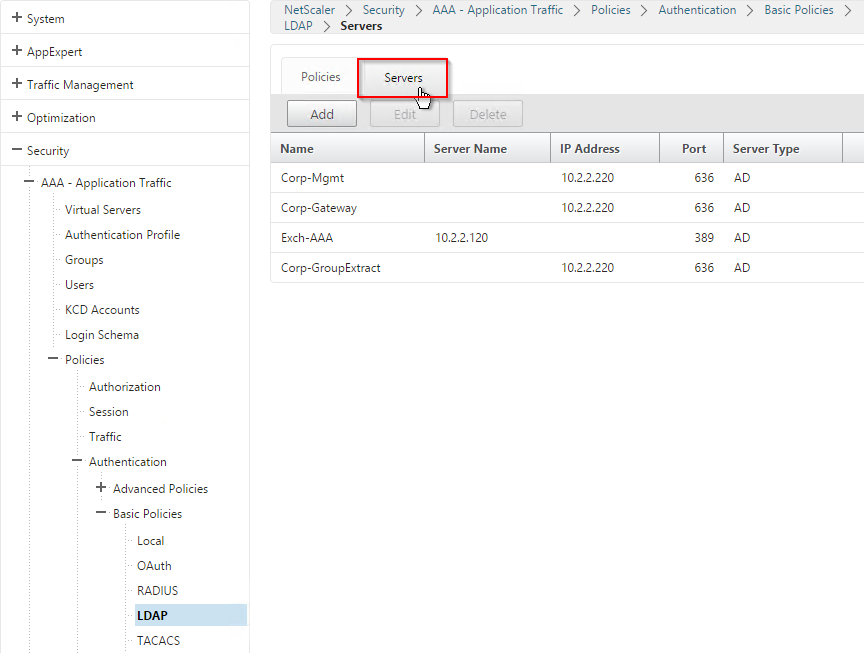
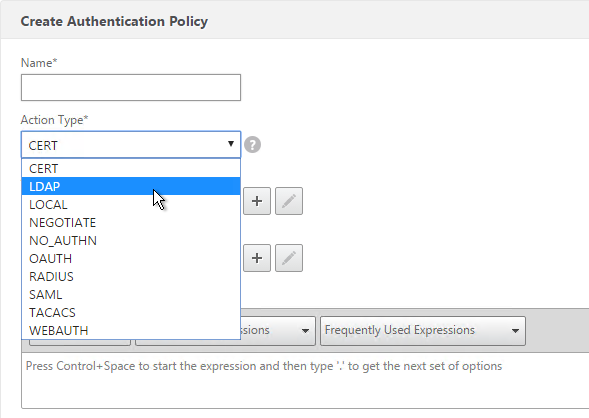
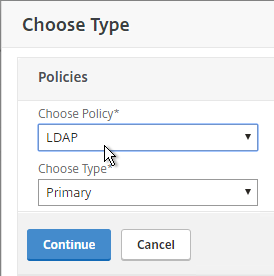
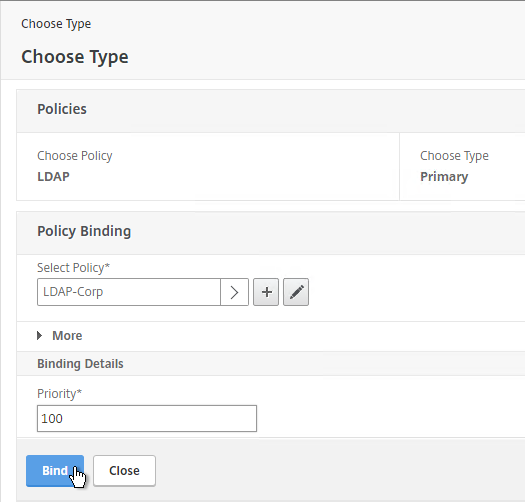
- Select LDAP, select Primary and click Continue.
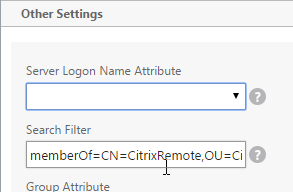
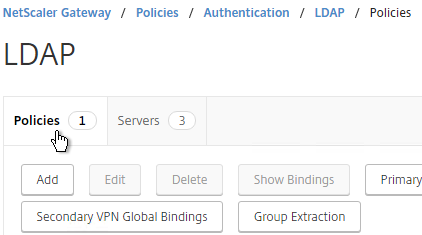
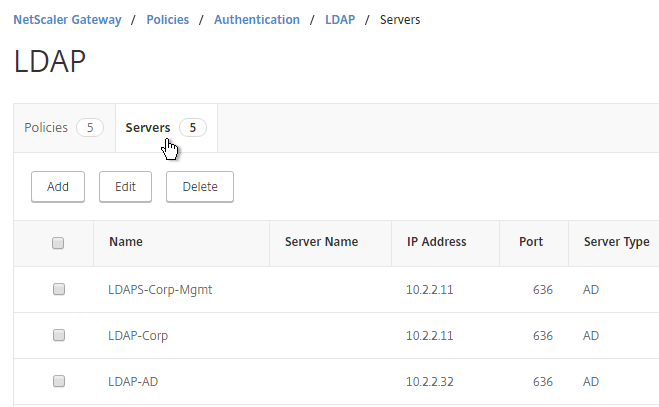
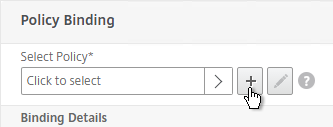
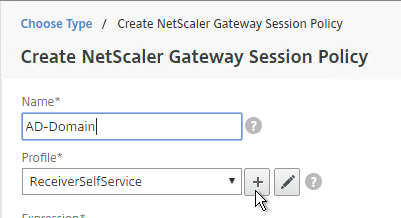
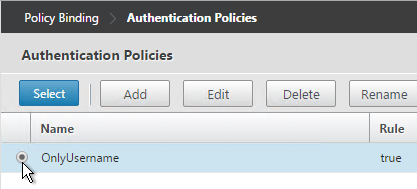
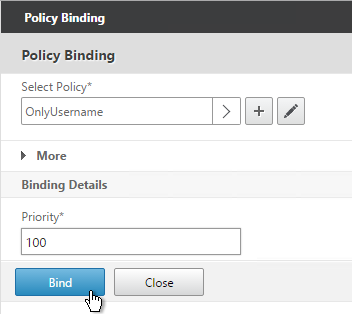
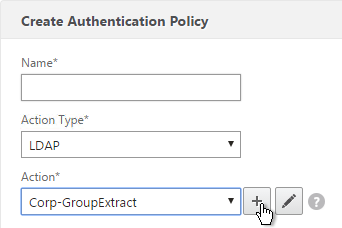
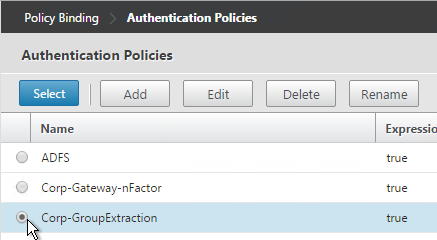
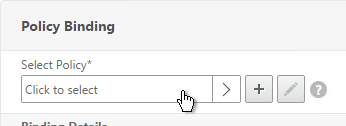
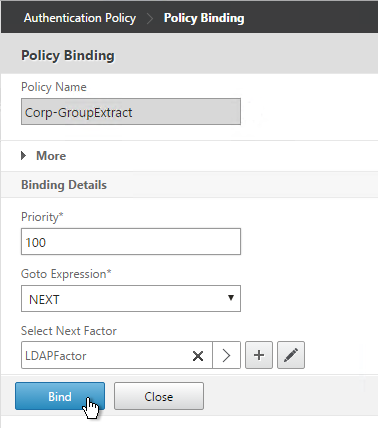
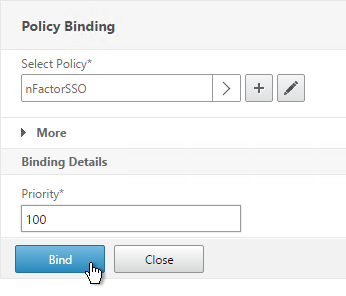
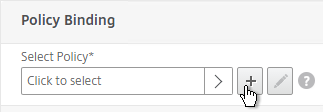
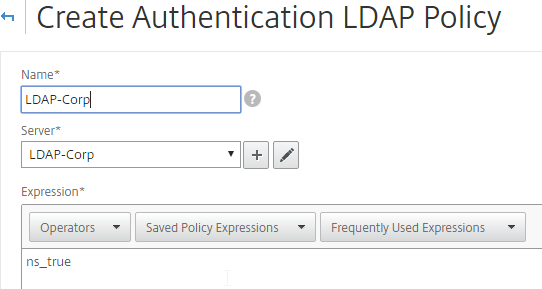
- If you used the authentication dashboard to create the LDAP server then you probably haven’t created the corresponding policy yet. Click the plus icon to create a new policy.
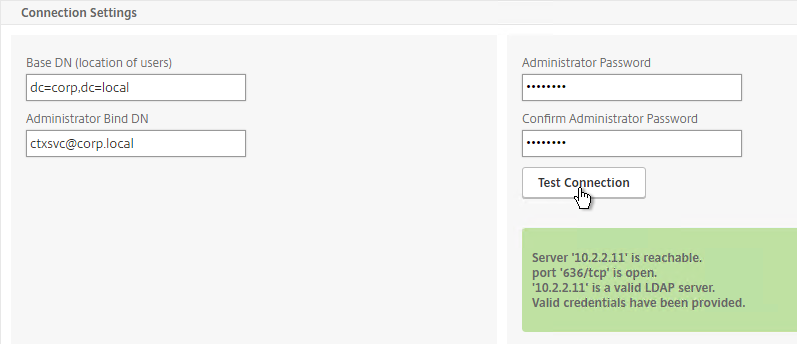
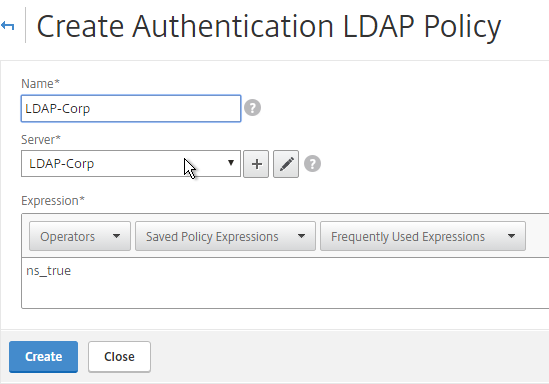
- Use the Server drop-down to select the previously created LDAP server.
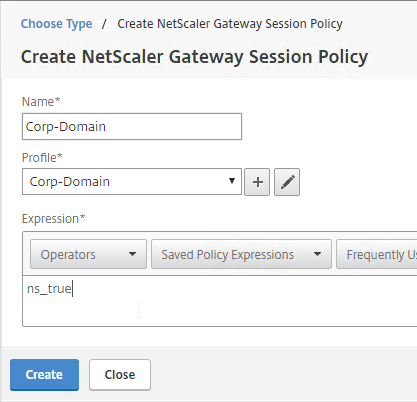
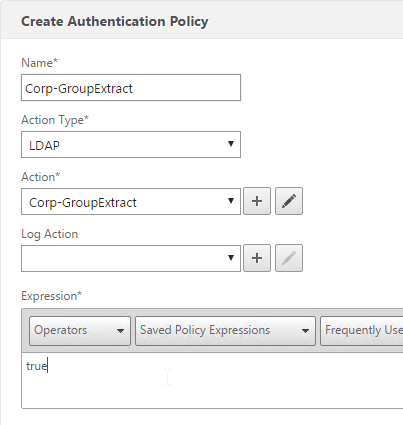
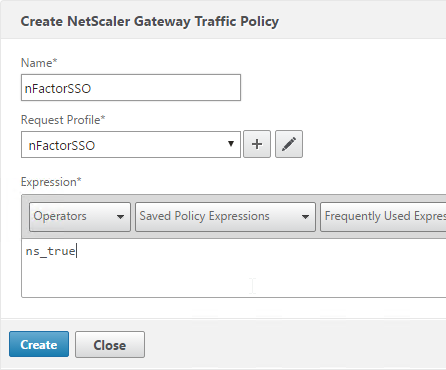
- Give the policy a name. The policy name can match the Server name.
- In the Expression box, enter ns_true, or select it from the Saved Policy Expressions drop-down. Click Create.
- Click Bind.
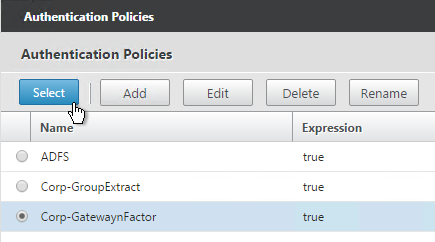
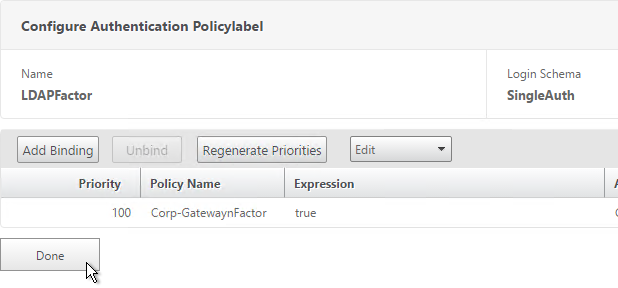
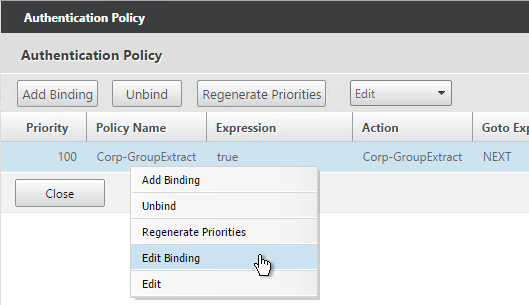
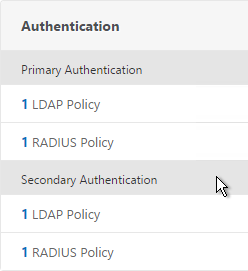
- Or for two-factor authentication, you will need to bind two policies to Primary and two polices to Secondary:
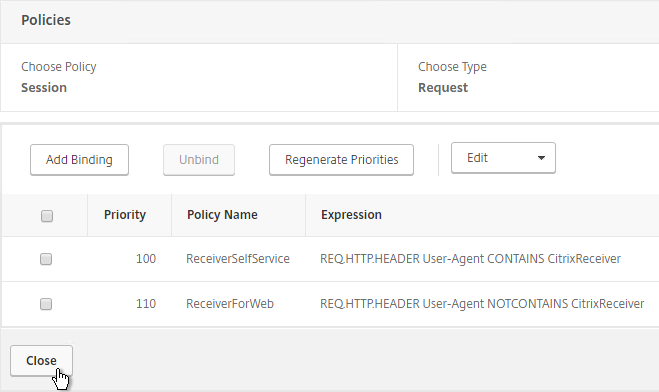
- Primary = LDAP for Browsers (User-Agent does not contain CitrixReceiver)
- Primary = RADIUS for Receiver Self-Service (User-Agent contains CitrixReceiver)
- Secondary = RADIUS for Browsers (User-Agent does not contain CitrixReceiver)
- Secondary = LDAP for Receiver Self-Service (User-Agent contains CitrixReceiver)
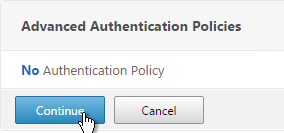
- Click Continue.

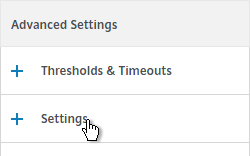
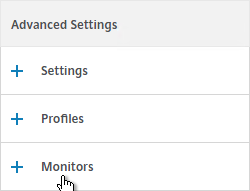
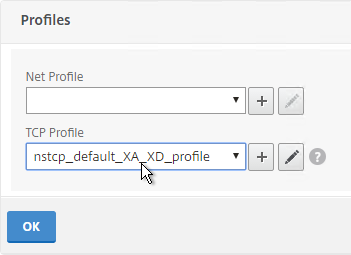
- Scroll down to the Profiles section and click the pencil icon.

- In the TCP Profile section, do one of the following:
- Follow the instructions at Citrix CTX232321 Recommended TCP Profile Settings for Full Tunnel VPN/ICAProxy from NetScaler Gateway 11.1 Onwards. In this case, there’s no need to change the TCP Profile. 💡
- In the TCP Profile drop-down, select nstcp_default_XA_XD_profile, and click OK.
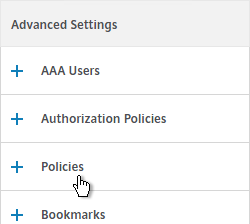
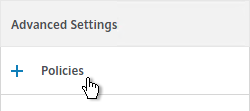
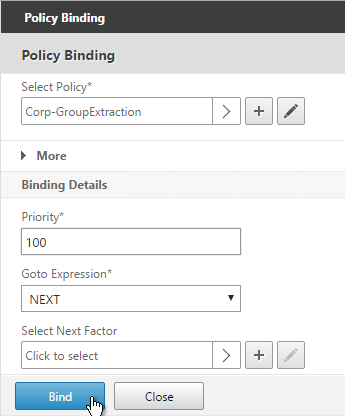
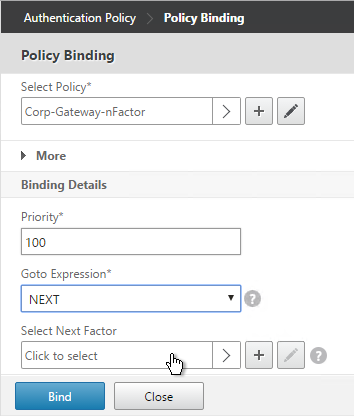
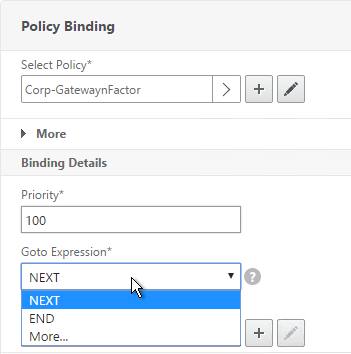
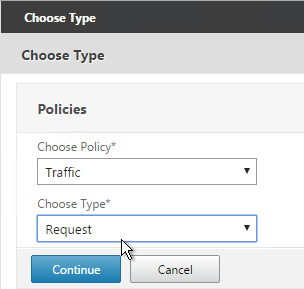
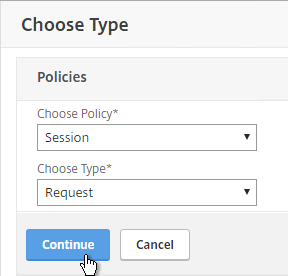
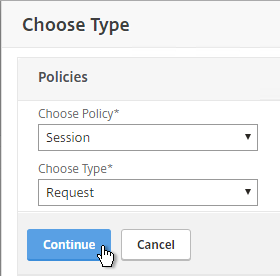
- In the Policies section, click the plus icon near the top right.

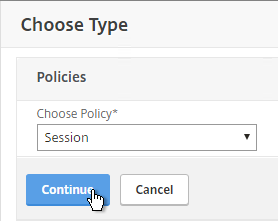
- Select Session, select Request and click Continue.
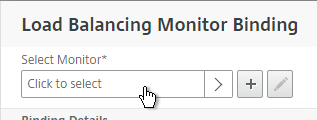
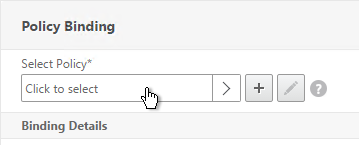
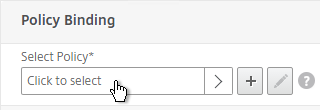
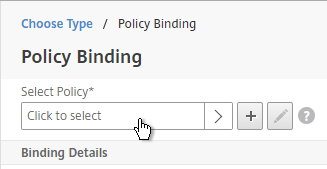
- Click the arrow next to Click to select.
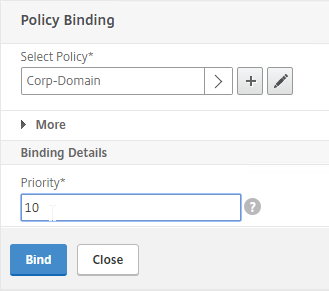
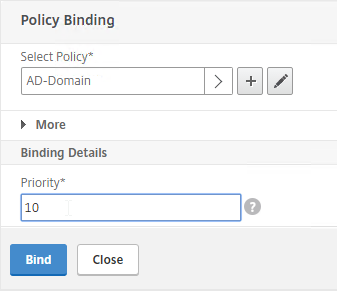
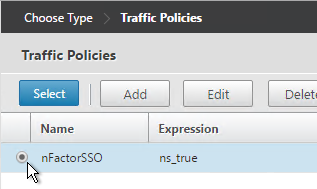
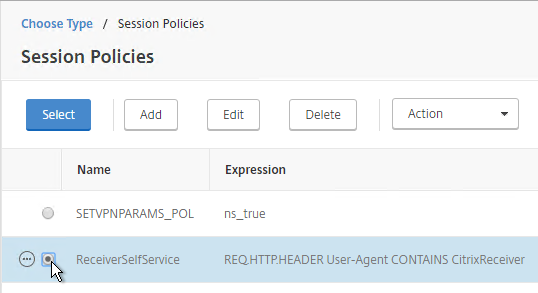
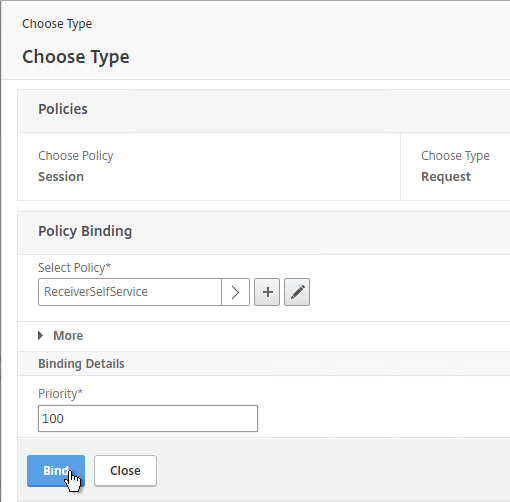
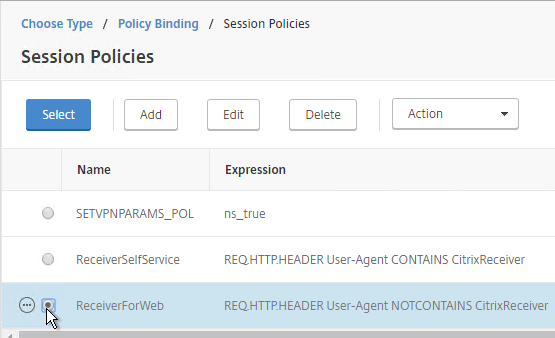
- Select one of the Receiver session policies and click Select. It doesn’t matter in which order you bind them.
- There’s no need to change the priority number. Click Bind.
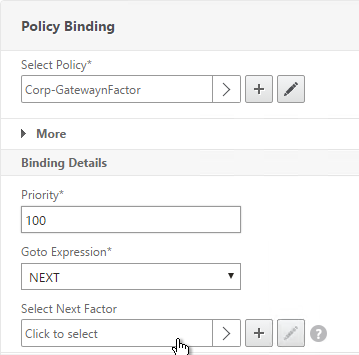
- Repeat these steps to bind the second policy. In the Policies section, click the plus icon near the top right.

- Select Session, select Request and click Continue.
- Click Add Binding.
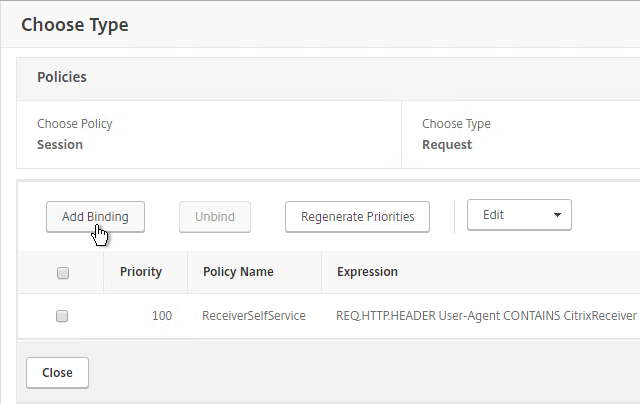
- Click the arrow next to Click to select.
- Select the other Receiver session policy and click Select.
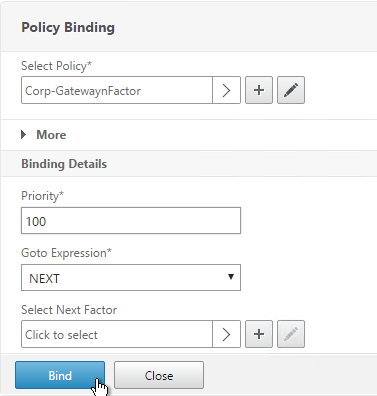
- There’s no need to change the priority number. Click Bind.
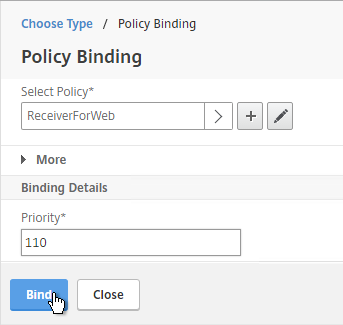
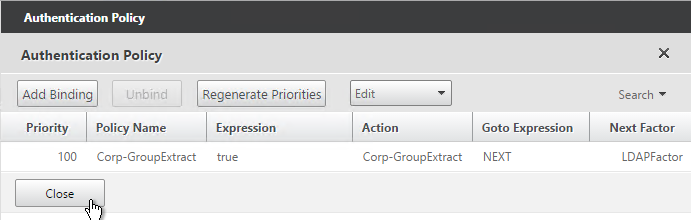
- The two policies are mutually exclusive so there’s no need to adjust priority. Click Close.
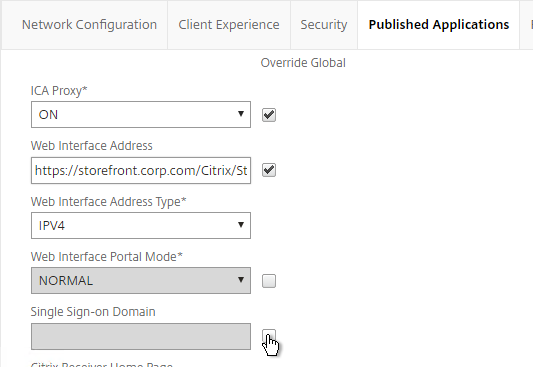
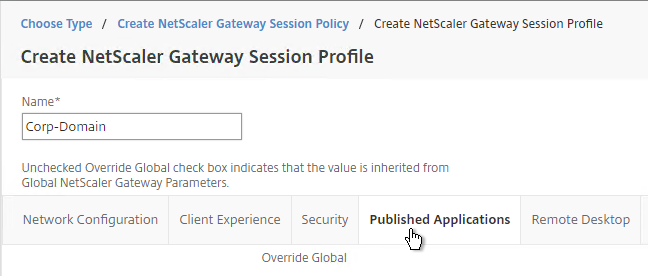
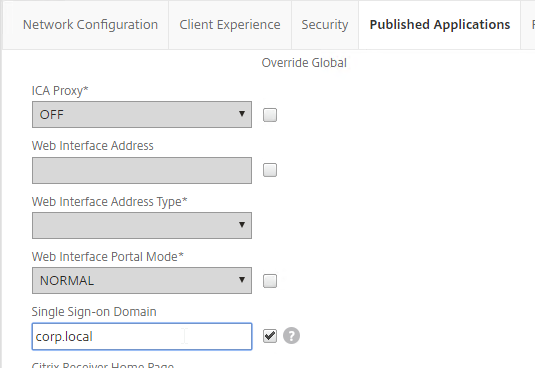
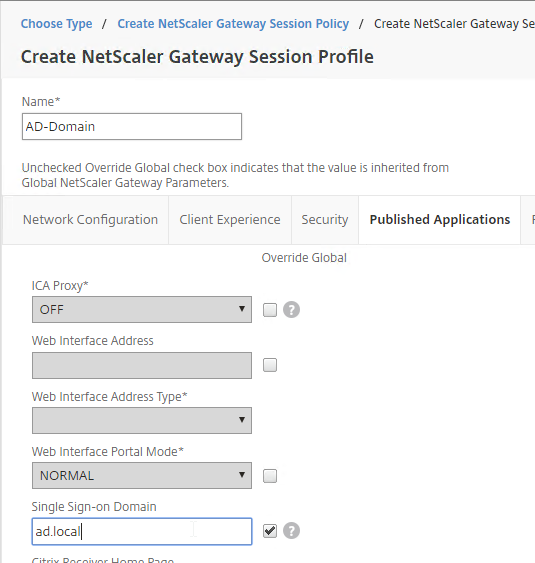
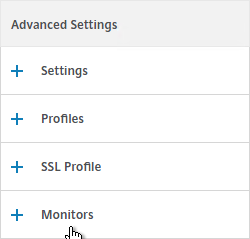
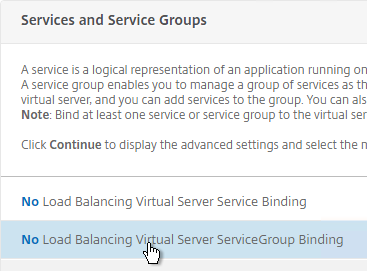
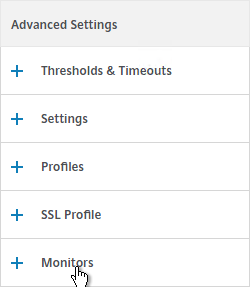
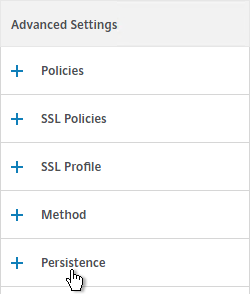
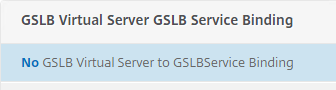
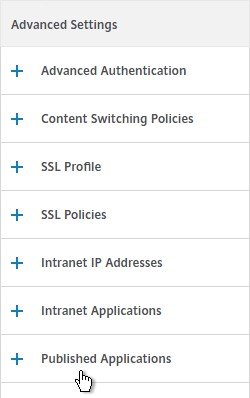
- On the right, in the Advanced Settings section, click Published Applications.
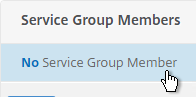
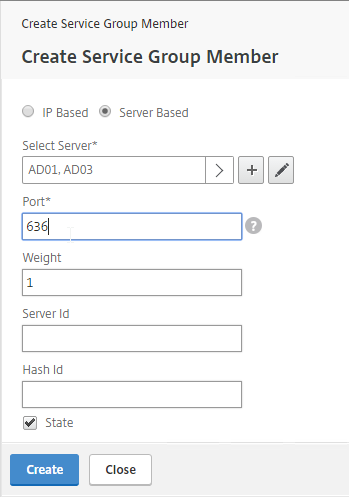
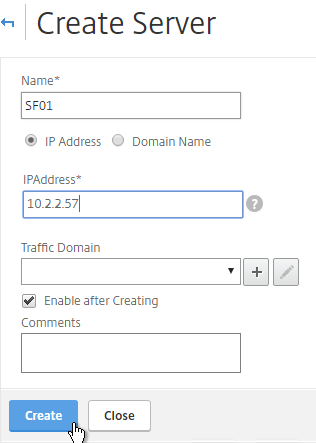
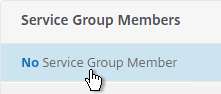
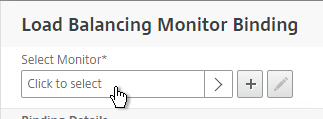
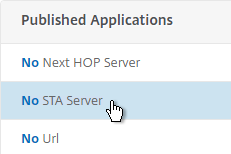
- Click where it says No STA Server.
- Add a Delivery Controller in the https://<Controller_FQDN> or http://<Controller_FQDN> format, depending on if SSL is enabled on the Delivery Controller or not. This must be a FQDN or IP address. Short names don’t work.
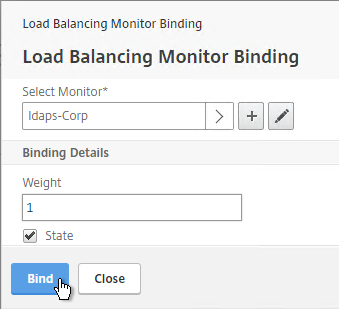
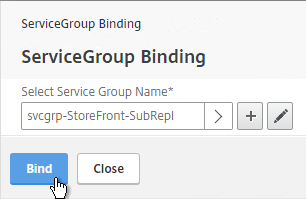
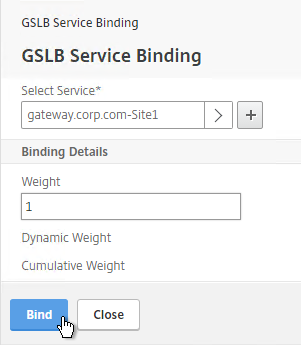
- Click Bind.
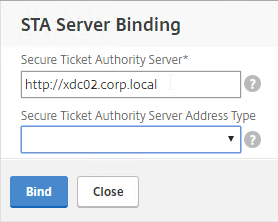
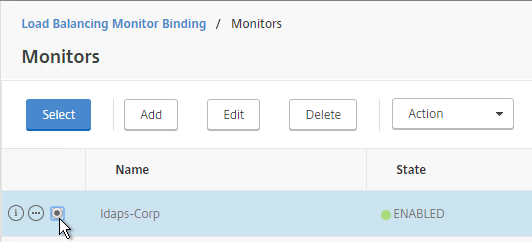
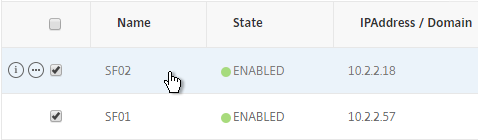
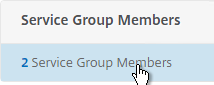
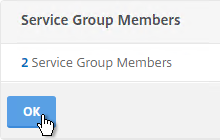
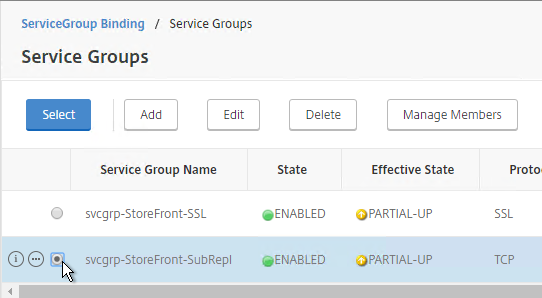
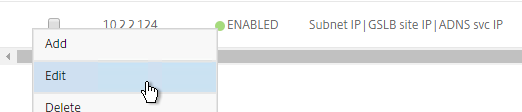
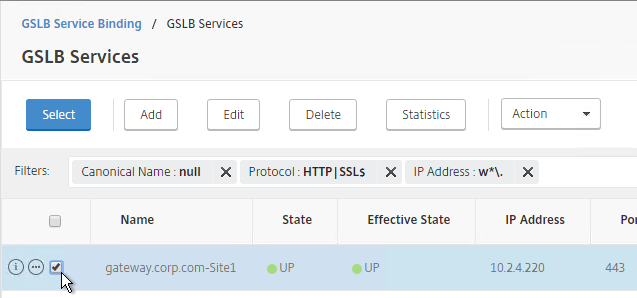
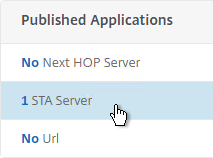
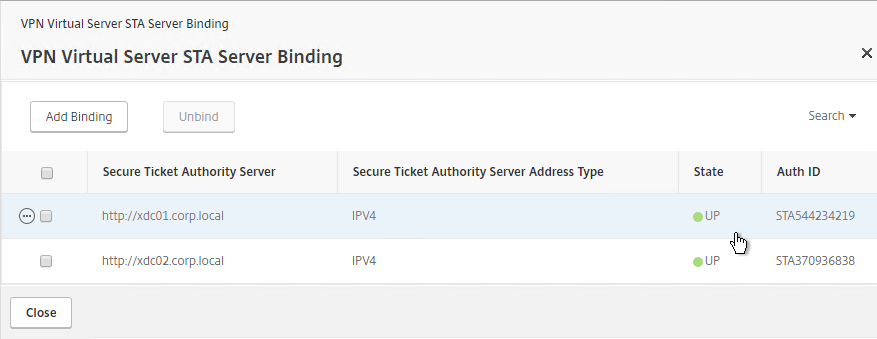
- To bind another Secure Ticket Authority server, on the left, in the Published Applications section, click where it says 1 STA Server.
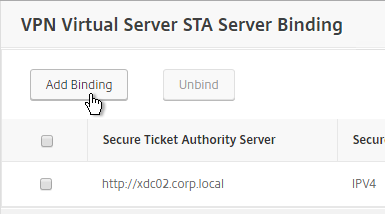
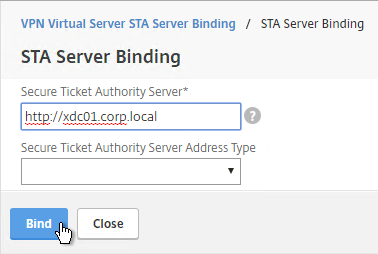
- Click Add Binding.
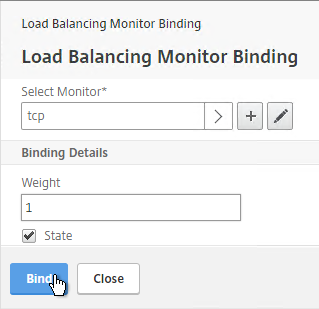
- Enter the URL for the second Controller and click Bind.
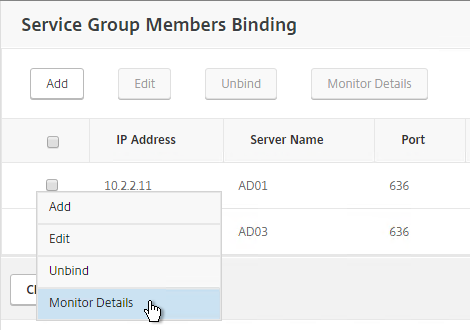
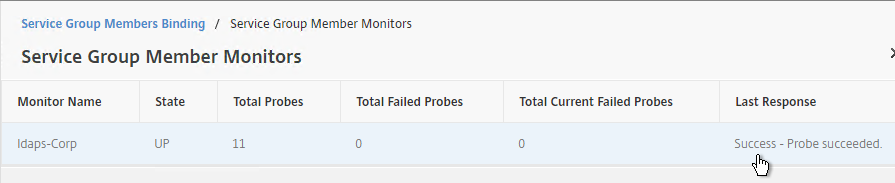
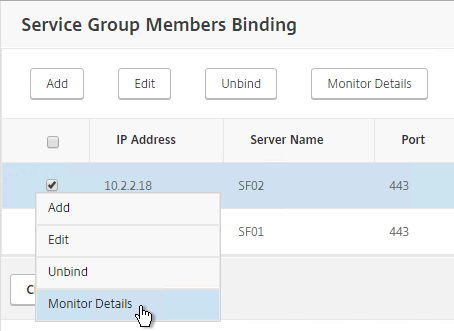
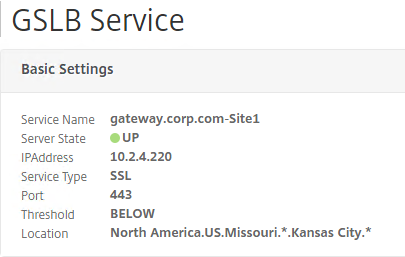
- This view shows if the STAs are reachable or not. To refresh the view, close the STA Bindings list and reopen it.
add vpn vserver gateway.corp.com SSL 10.2.2.200 443 -icaOnly ON -dtls ON -tcpProfileName nstcp_default_XA_XD_profile

bind vpn vserver gateway.corp.com -policy "Receiver Self-Service" -priority 100

bind vpn vserver gateway.corp.com -policy "Receiver for Web" -priority 110

bind vpn vserver gateway.corp.com -policy Corp-Gateway -priority 100

bind vpn vserver gateway.corp.com -staServer "http://xdc01.corp.local"
bind vpn vserver gateway.corp.com -staServer "http://xdc02.corp.local"

bind vpn vserver gateway.corp.com -portaltheme RfWebUI
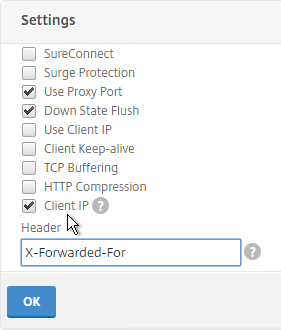
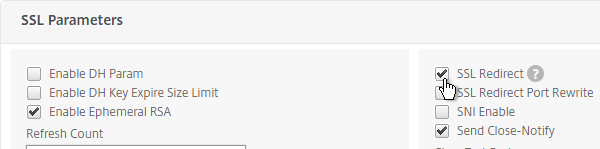
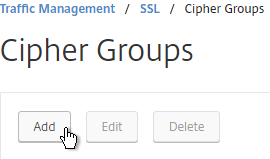
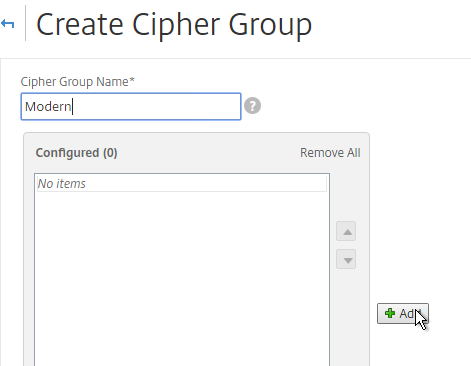
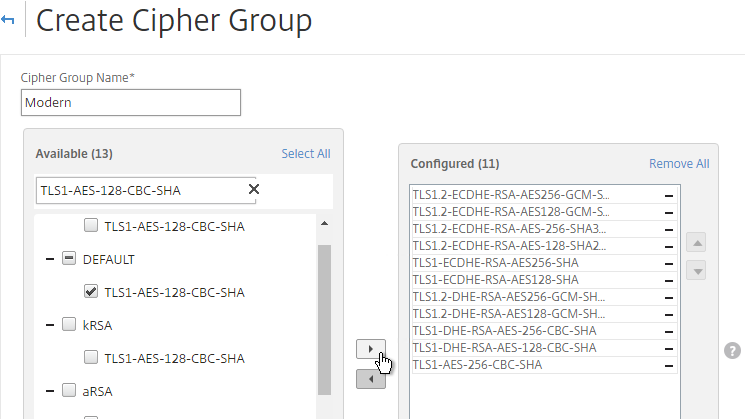
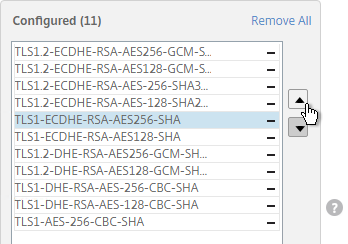
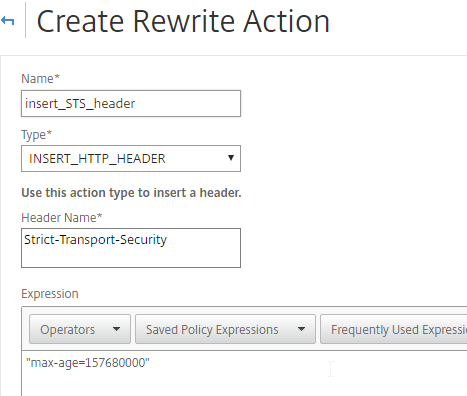
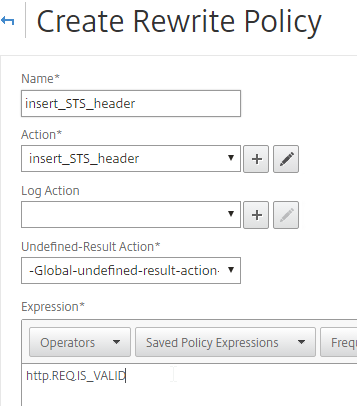
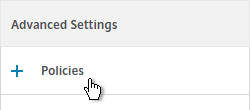
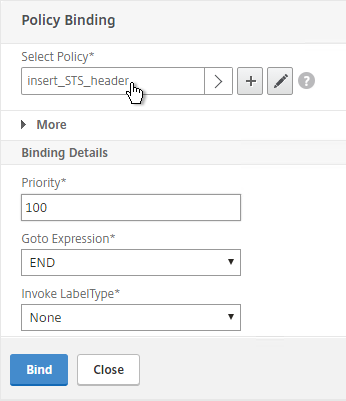
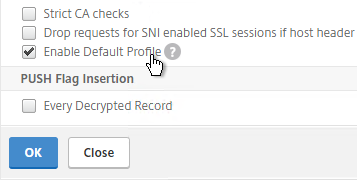
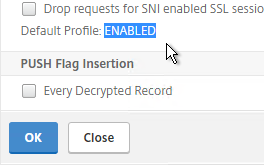
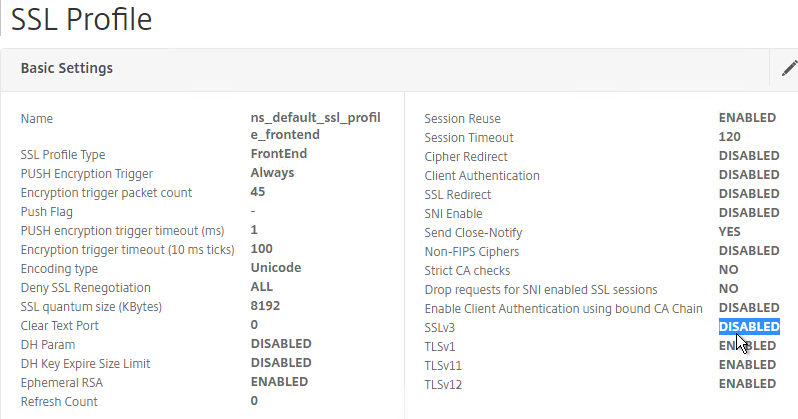
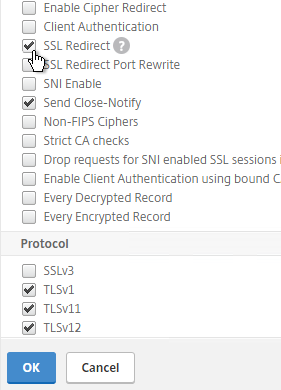
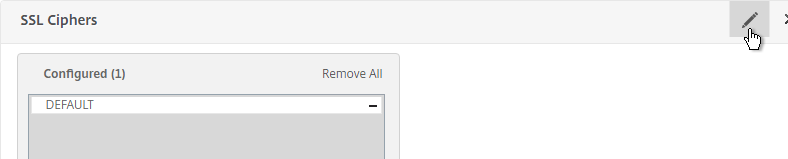
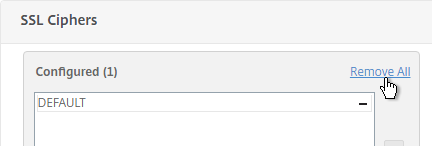
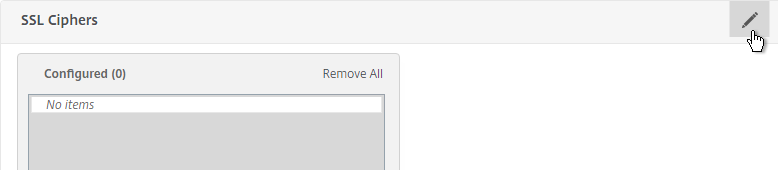
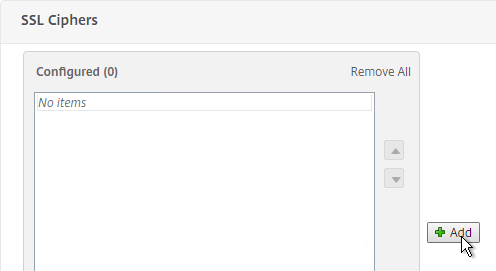
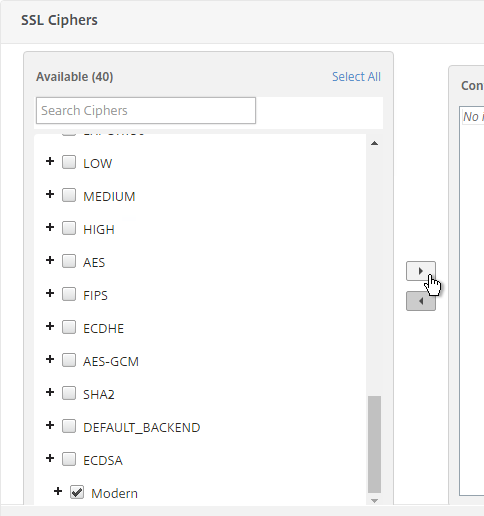
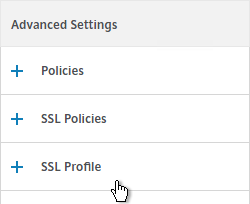
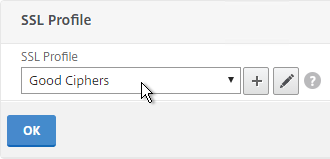
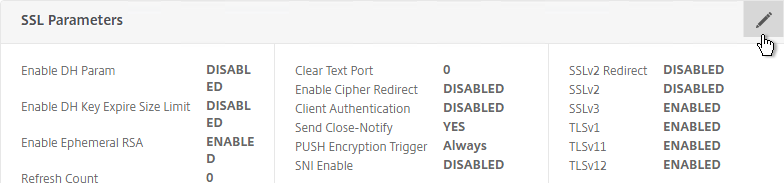
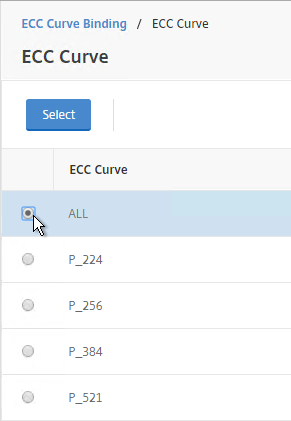
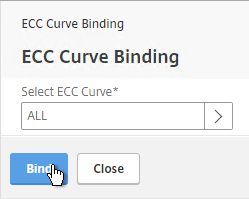
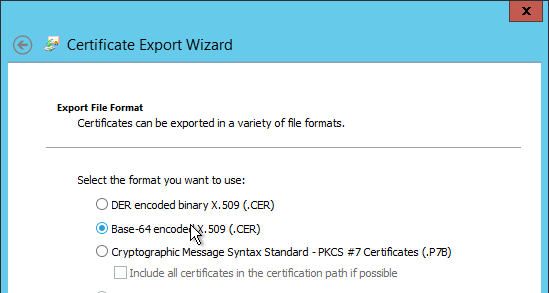
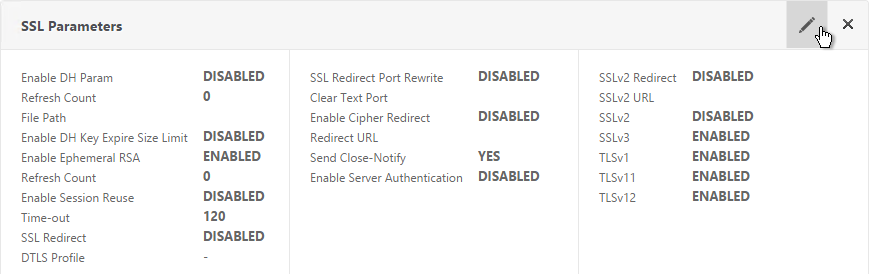
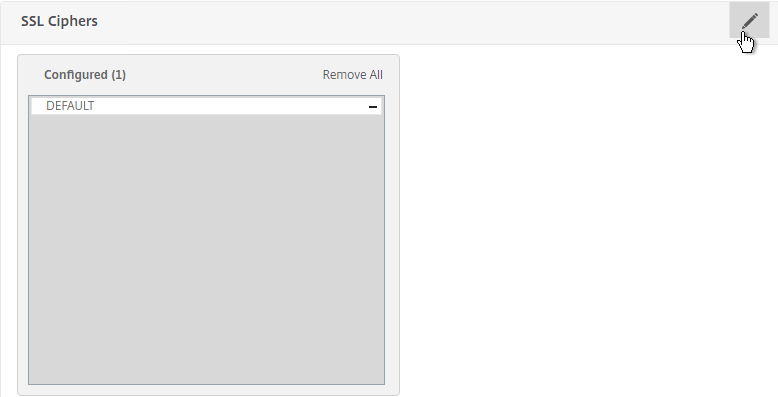
- If you haven’t enabled the Default SSL Profile, then perform other normal SSL configuration including: disable SSLv3, bind a Modern Cipher Group, and enable Strict Transport Security.
bind ssl vserver MyvServer -certkeyName MyCert

set ssl vserver MyvServer -ssl3 DISABLED -tls11 ENABLED -tls12 ENABLED

unbind ssl vserver MyvServer -cipherName ALL

bind ssl vserver MyvServer -cipherName Modern

bind ssl vserver MyvServer -eccCurveName ALL

bind vpn vserver MyvServer -policy insert_STS_header -priority 100 -gotoPriorityExpression END -type RESPONSE
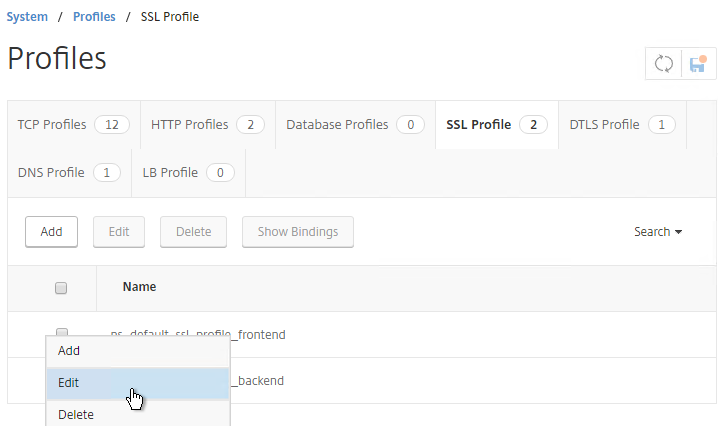
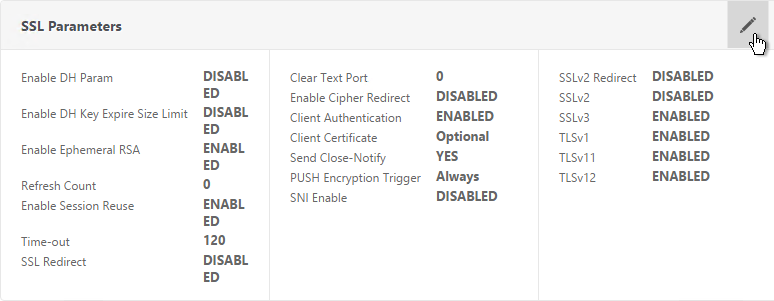
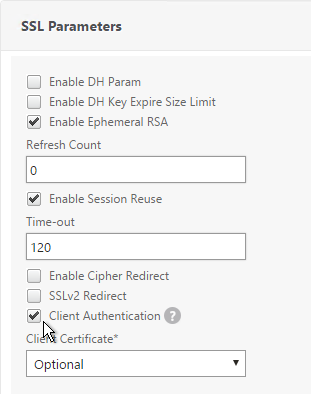
Verify SSL Settings
After you’ve created the Gateway Virtual Server, run the following tests:
- Citrix CTX200890 – Error: “1110” When Launching Desktop and “SSL Error” While Launching an Application Through NetScaler Gateway: You can use OpenSSL to verify the certificate. Run the command:
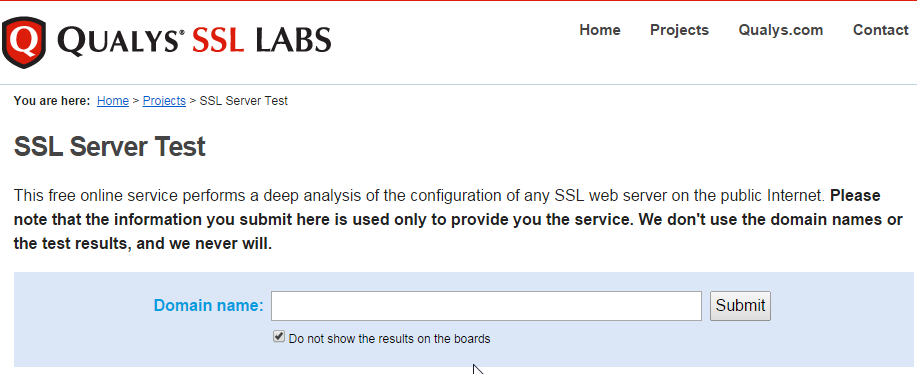
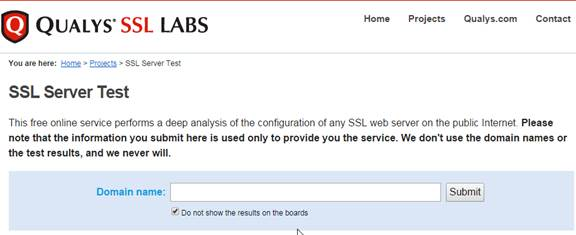
openssl s_client -connect gateway.corp.com:443.Replace the FQDN with your FQDN. OpenSSL is installed on the NetScaler or you can download and install it on any machine. - Go to https://www.ssllabs.com/ssltest/ and check the security settings of the website. Citrix Blogs – Scoring an A+ at SSLlabs.com with Citrix NetScaler – 2016 update.
Gateway Portal Theme
Citrix Blog Post Branding your Deployment Part 2: Matching NetScaler to StoreFront explains NetScaler Gateway Portal Themes, how to edit the Portal Theme CSS, and warns about GUI changes overwriting CSS file changes.
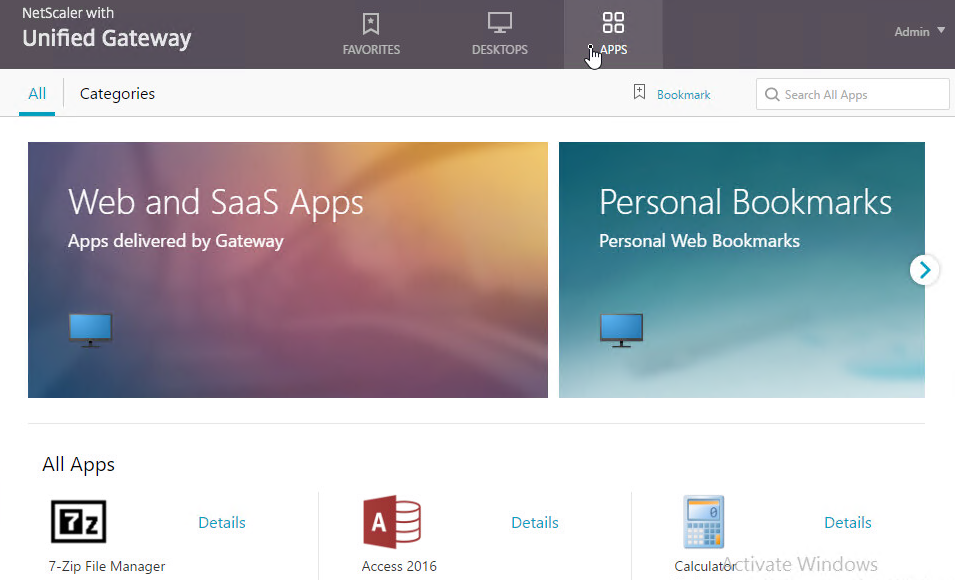
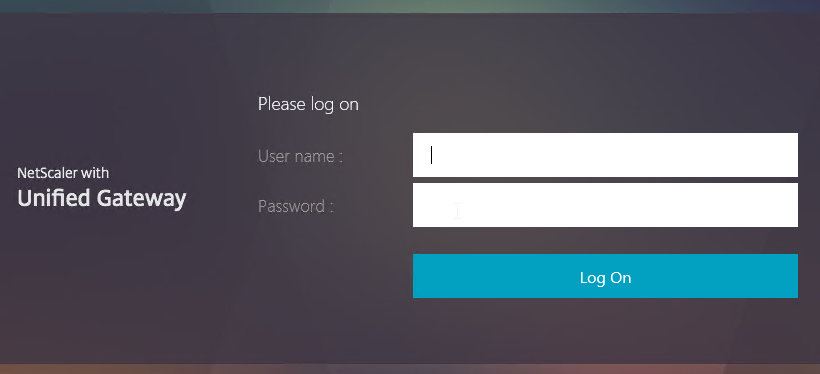
If you want the logon page for NetScaler Gateway to look more like StoreFront 3.0 and newer, enable the built-in RfWebUI or X1 theme. RfWebUI is optimized for Unified Gateway (Clientless VPN) since it provides the exact same appearance and user experience as StoreFront 3.x. The Unified Gateway RfWebUI theme can display RDP Links and Web Links (bookmarks) along with the familiar StoreFront apps and desktops. Note: RfWebUI requires StoreFront 3.6 or newer.
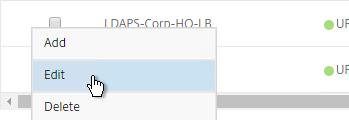
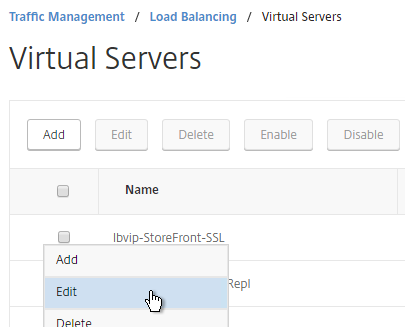
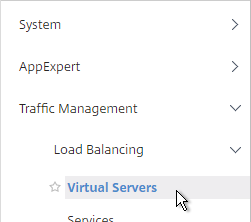
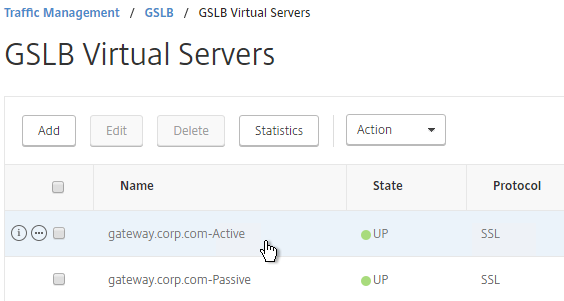
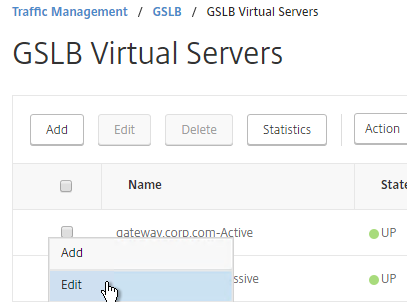
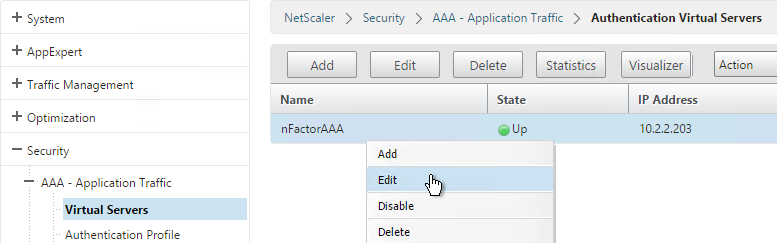
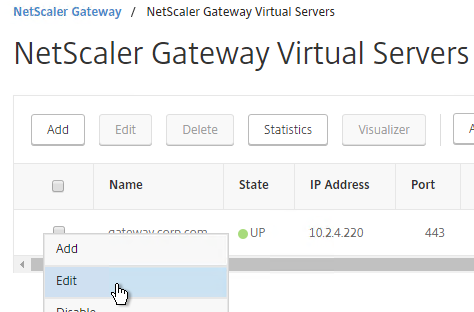
- Go to NetScaler Gateway > Virtual Servers and edit an existing Virtual Server.
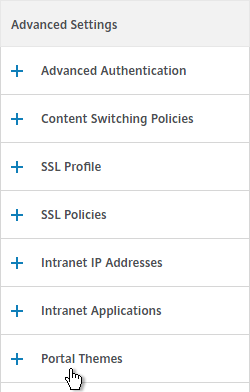
- On the right, in the Advanced Settings section, click Portal Themes.
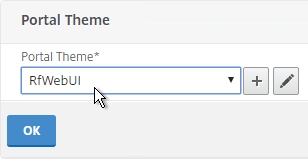
- On the left, Change the Portal Theme drop-down to RfWebUI. Click OK.
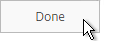
- Click Done.
bind vpn vserver gateway.corp.com -portaltheme RfWebUI
- When you access the NetScaler Gateway login page you’ll see the theme.
Custom Theme
You can also your own theme by starting from one of the built-in themes:
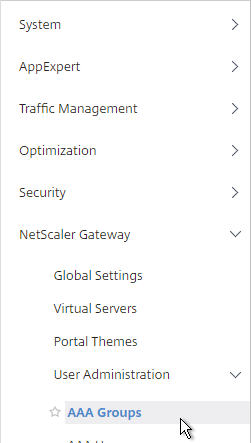
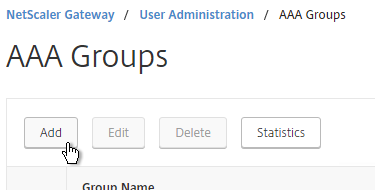
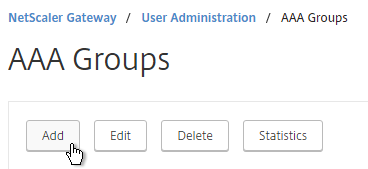
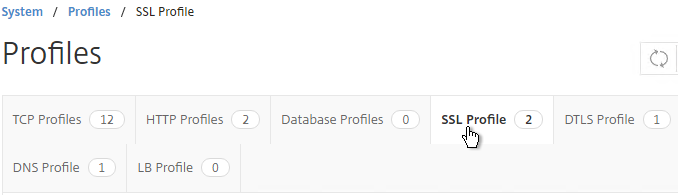
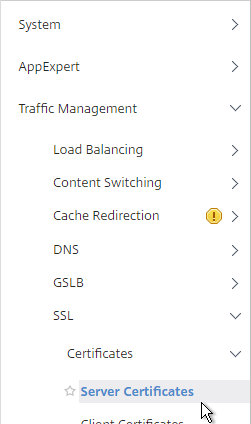
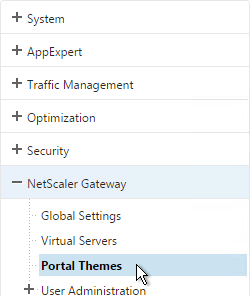
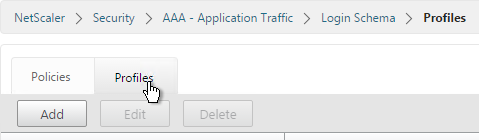
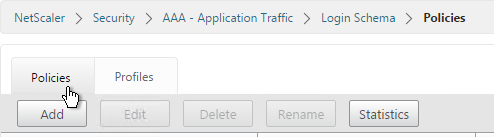
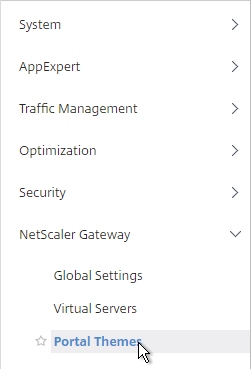
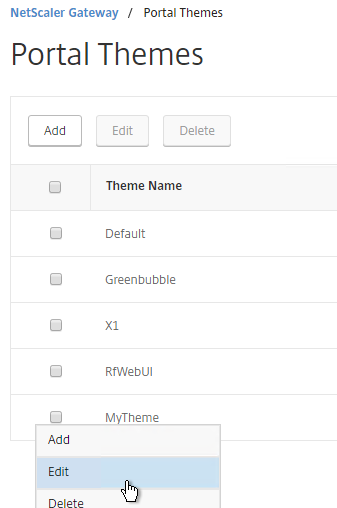
- Go to NetScaler Gateway > Portal Themes.
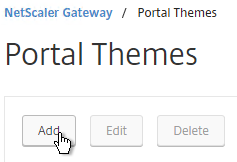
- On the right, click Add.
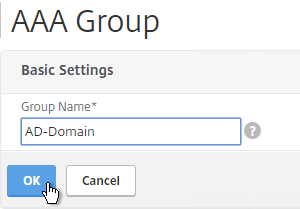
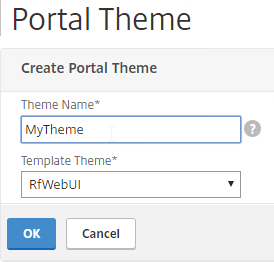
- Give the theme a name, and select RfWebUI as the Template Theme. Click OK.
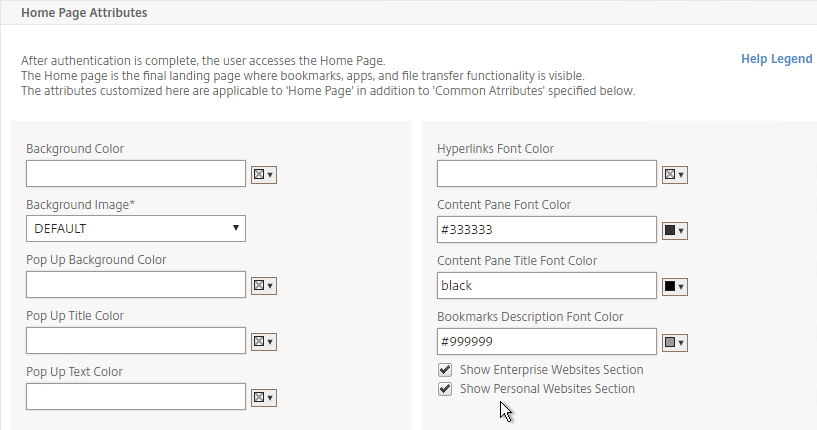
- In the Look and Feel section, there are two sub-sections: one for Home Page and one for Common Attributes.
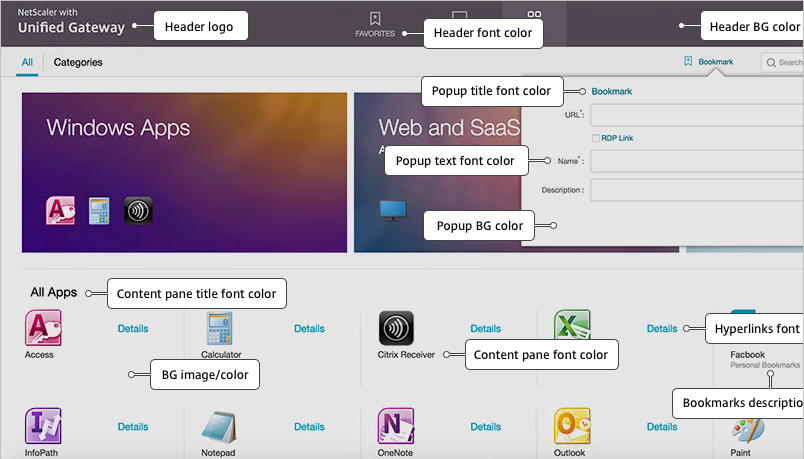
- The Home Page is for Unified Gateway (aka VPN Clientless Access). Notice that the Websites Sections can be disabled.
- The Help Legend link shows you what the other fields modify.
- If you want to modify the logon page, use the Common Attributes sub-section.
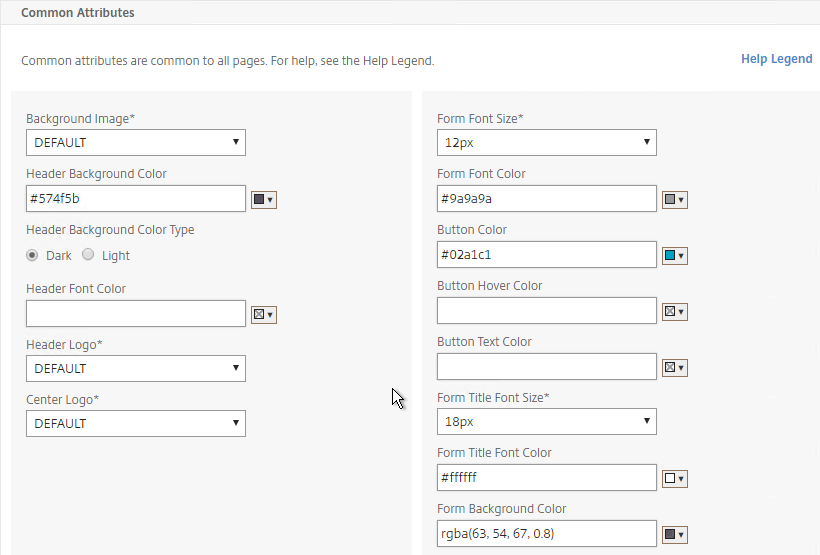
- The Help Legend link shows you what the fields modify.
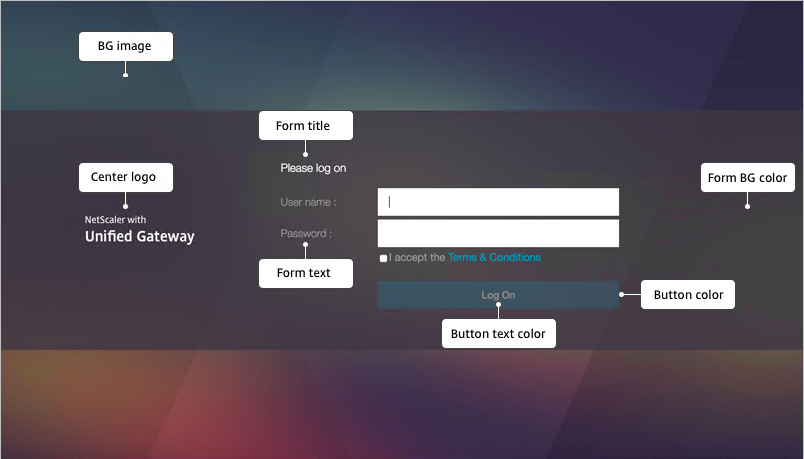
- Make changes as desired and click OK.
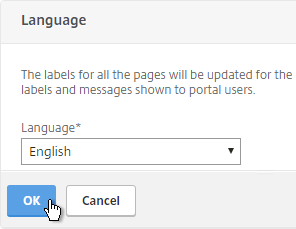
- After you click OK, the Language section appears.
- In the Language section, select a language and click OK.
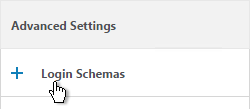
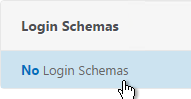
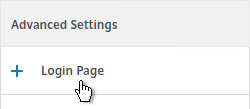
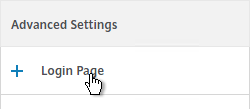
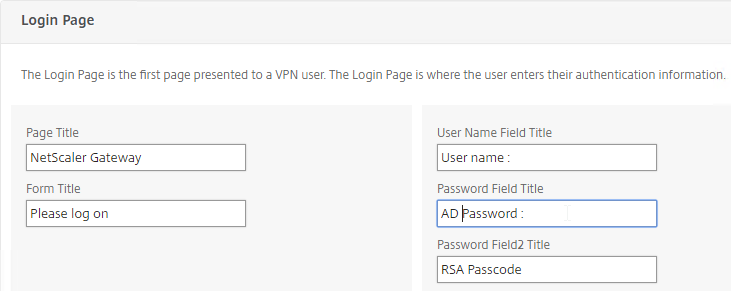
- On the right, in the Advanced Settings section, click Login Page.
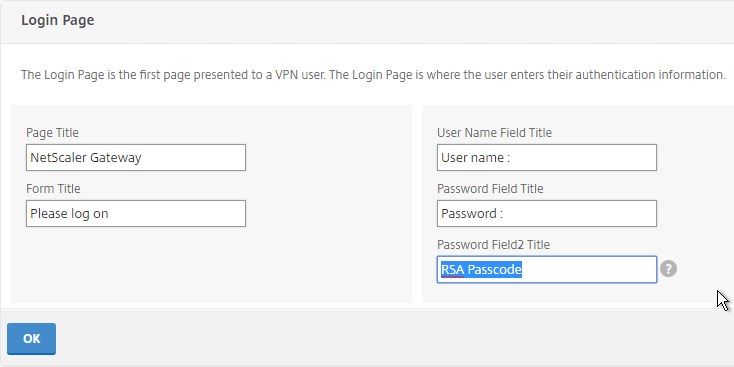
- Make changes as desired (e.g. Password Field Titles) and click OK.
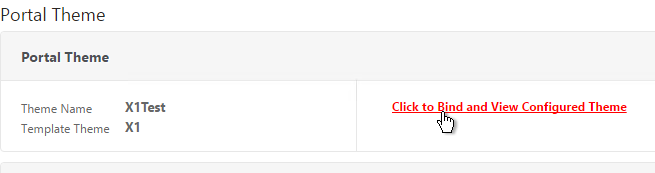
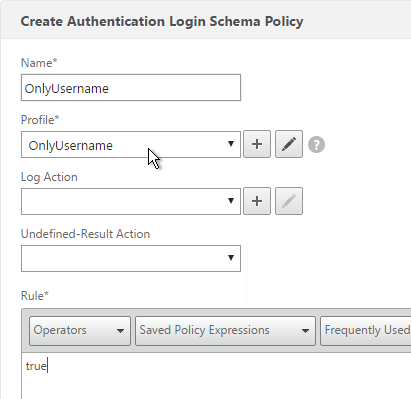
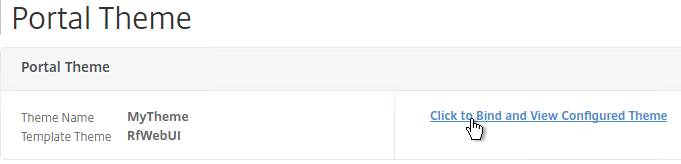
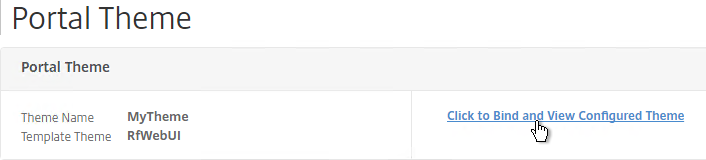
- At the top of the screen, click the link to Click to Bind and View Configured Theme.
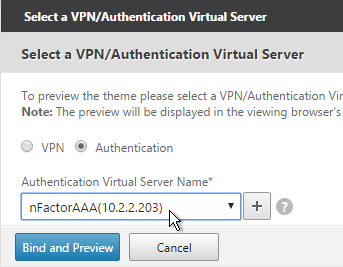
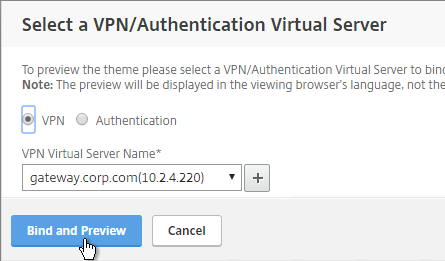
- Select a Gateway Virtual Server and click Bind and Preview.
- The logon page is displayed.
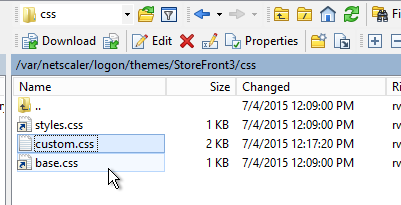
- You could go to /var/netscaler/logon/themes/MyTheme/css and make more changes to custom.css, but this file gets overwritten any time you make a change in the Portal Themes section of the NetScaler GUI.
- Citrix CTX209526 NetScaler; How to Copy a Portal Theme from the Device running version 11.0 to another Device running 11.0.
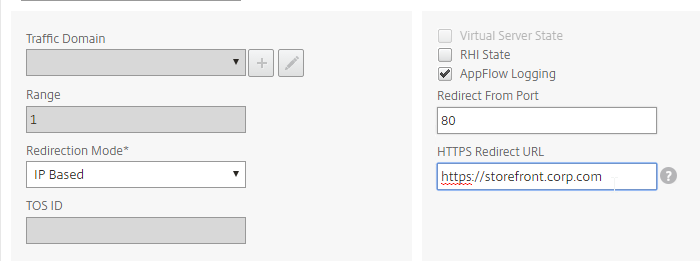
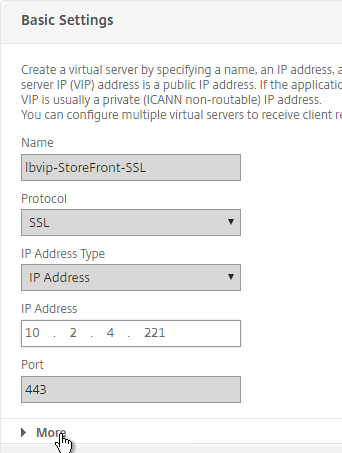
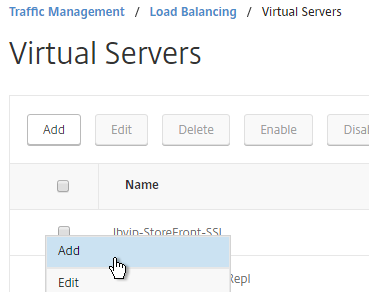
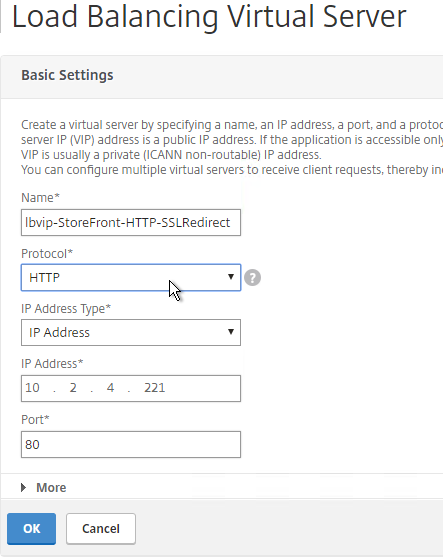
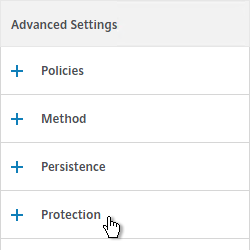
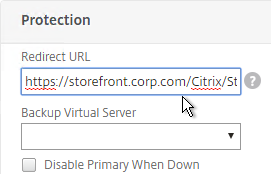
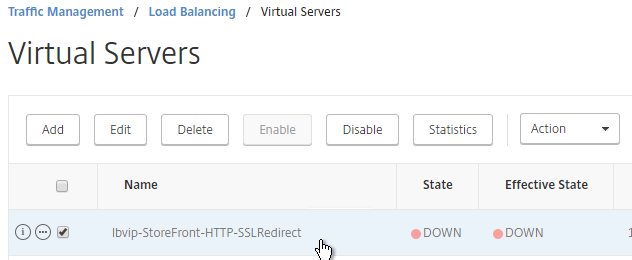
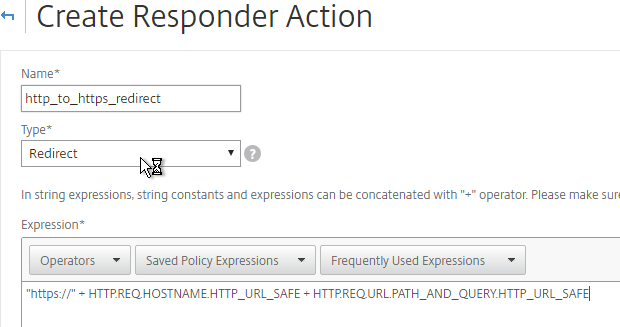
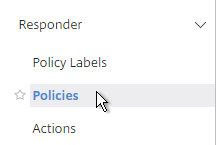
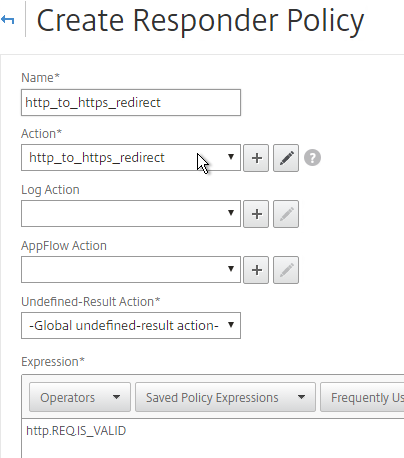
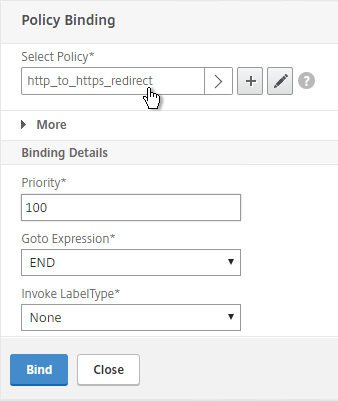
SSL Redirect
Use one of the following procedures to configure a redirect from http to https. Responder method is preferred.
Public DNS SRV Records
For email-based discovery, add a SRV record to each public email suffix DNS zone. Here are sample instructions for a Windows DNS server:
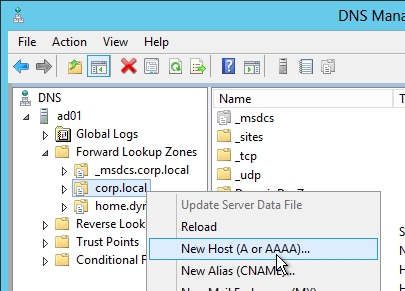
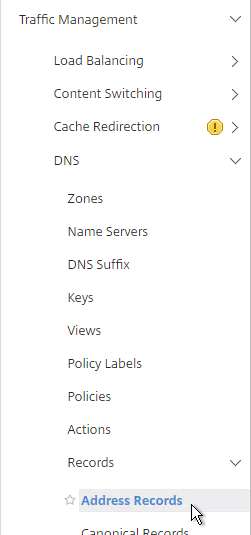
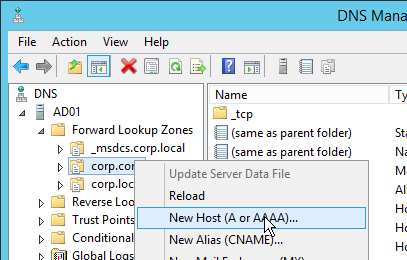
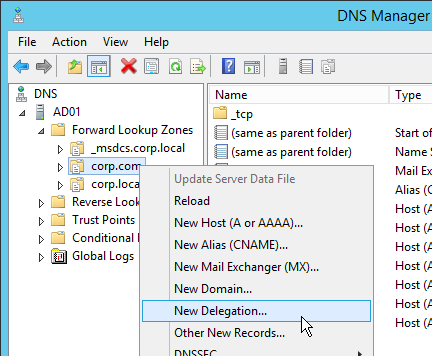
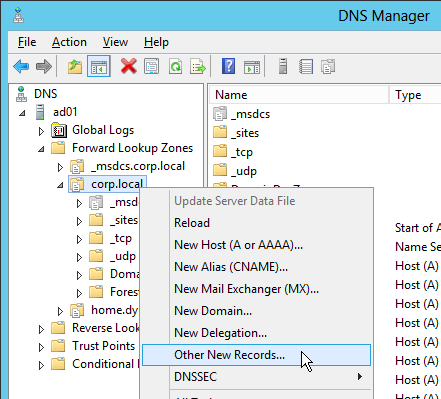
- In Server Manager, click Tools > DNS Manager
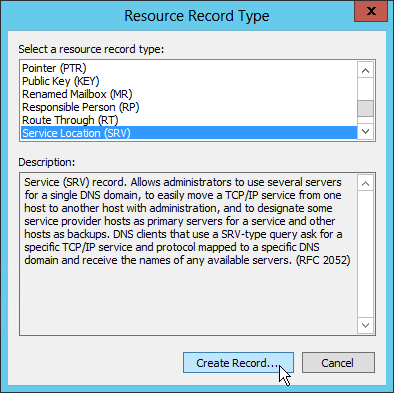
- In the left pane of DNS Manager, select your DNS domain in the forward or reverse lookup zones. Right-click the domain and select Other New Records.
- In the Resource Record Type dialog box, select Service Location (SRV) and then click Create Record.
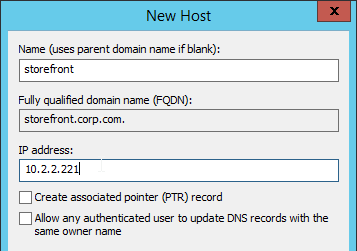
- In the New Resource Record dialog box, click in the Service box and enter the host value _citrixreceiver.
- Click in the Protocol box and enter the value _tcp.
- In the Port number box, enter 443.
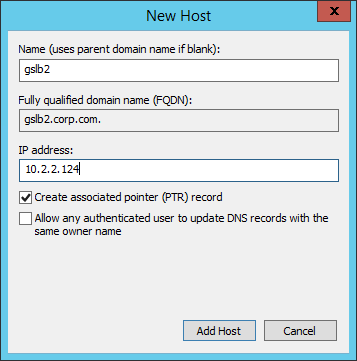
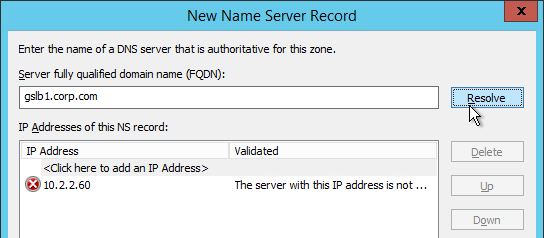
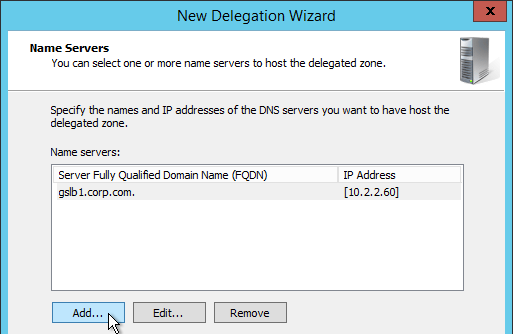
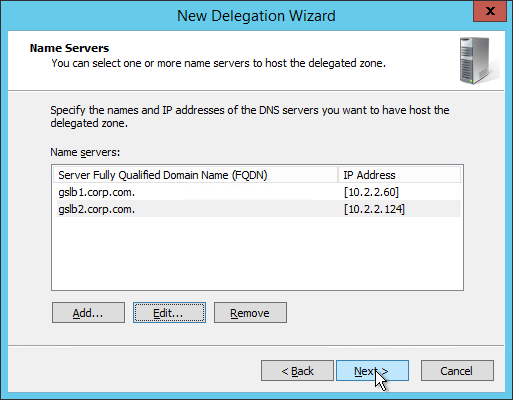
- In the Host offering this service box, specify the fully qualified domain name (FQDN) for your NetScaler Gateway Virtual Server in the form servername.domain (e.g. gateway.company.com)

Block Citrix VPN for iOS
Citrix CTX201129 Configuration for Controlled Access to Different VPN Plugin Through NetScaler Gateway for XenMobile Deployments: do one or both of the following:
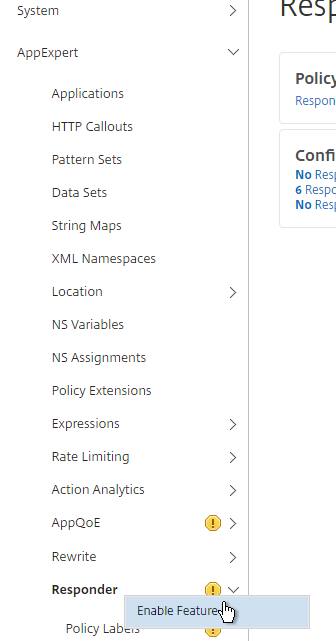
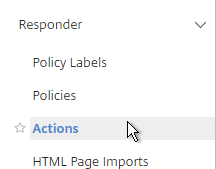
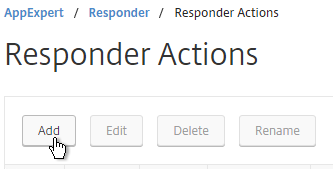
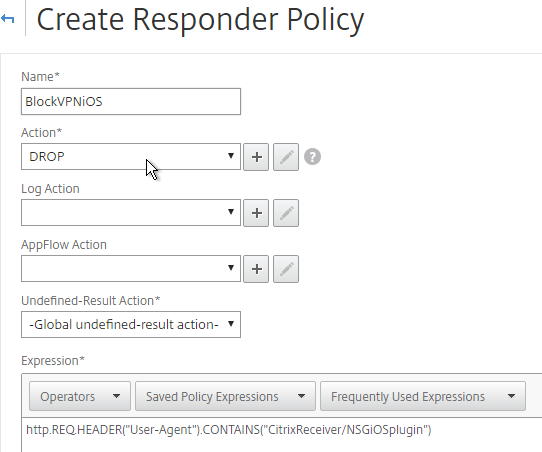
- Create an AppExpert > Responder > Policy with Action = DROP and Expression =
HTTP.REQ.HEADER("User-Agent").CONTAINS("CitrixReceiver/NSGiOSplugin"). Either bind the Responder Policy Globally, or bind it to the Gateway vServers.
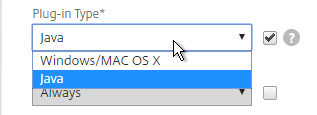
- In your Gateway Session Policies, on the Client Experience tab, set the Plug-in Type to Java. If any of them are set to Windows/MAC OS X, then VPN for iOS is allowed.
View ICA Sessions
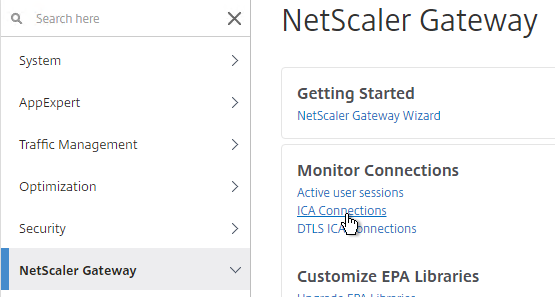
To view active ICA sessions, click the NetScaler Gateway node on the left, and then click ICA Connections on the right.
show vpn icaconnection
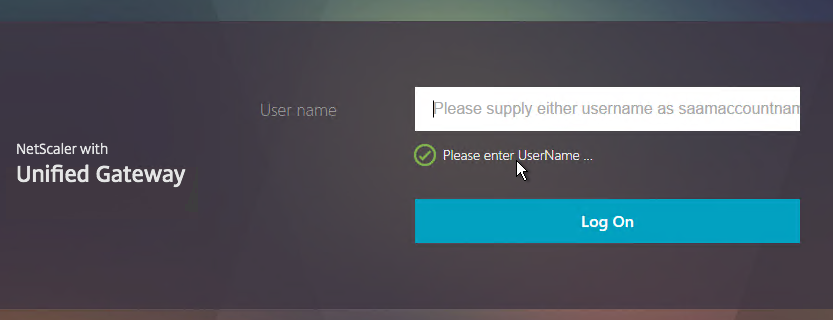
Customize Logon Page
Logon Page Labels
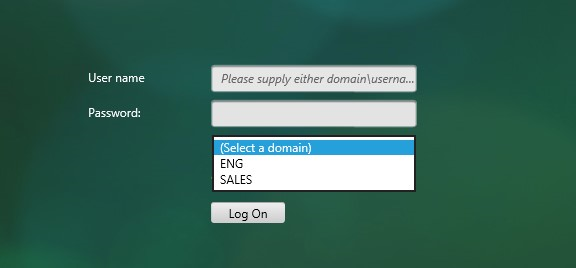
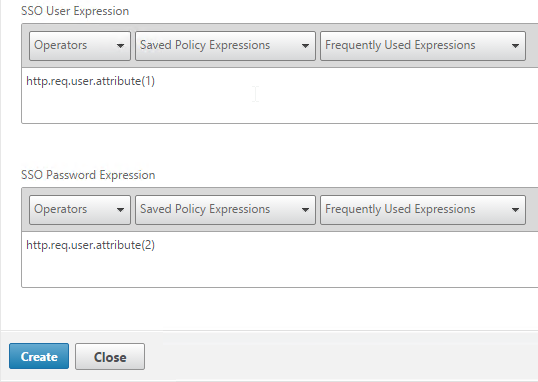
When two factor authentication is configured on NetScaler Gateway, the user is prompted for User name, Password, and Password 2.
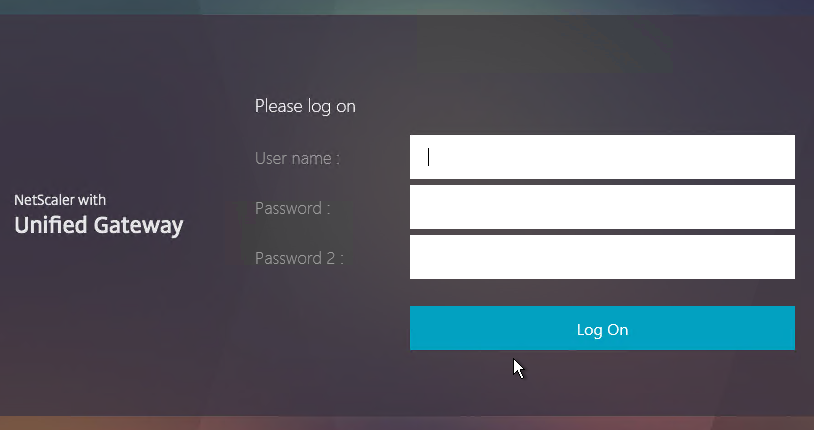
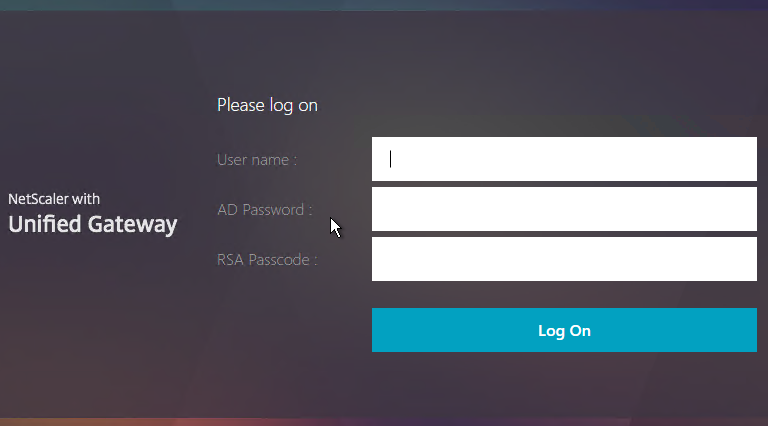
The Password field labels can be changed to something more descriptive, such as Active Directory or RSA:
To change the labels, edit a Portal Theme:
- Go to NetScaler Gateway > Portal Themes and edit an existing theme. You can’t edit the built-in themes so you’ll have to create one if you haven’t already.
- On the right, in the Advanced Settings column, click Login Page.
- In the Login Page section, change the two Password fields to your desired text. Click OK.
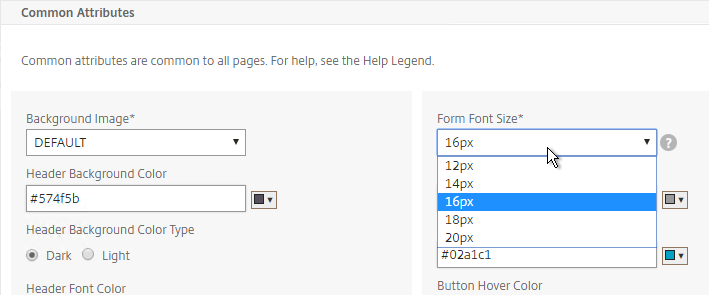
- If using the RfWebUI theme, the default text size for the form field labels is 17px. However, the Portal Themes editor defaults to 12px. You can change it back to 16px or 18px by editing Form Font Size in the Look and Feel > Common Attributes section.
- In the Portal Theme section at the top of the page, you can Click to bind and View Configured Theme to Preview your changes.
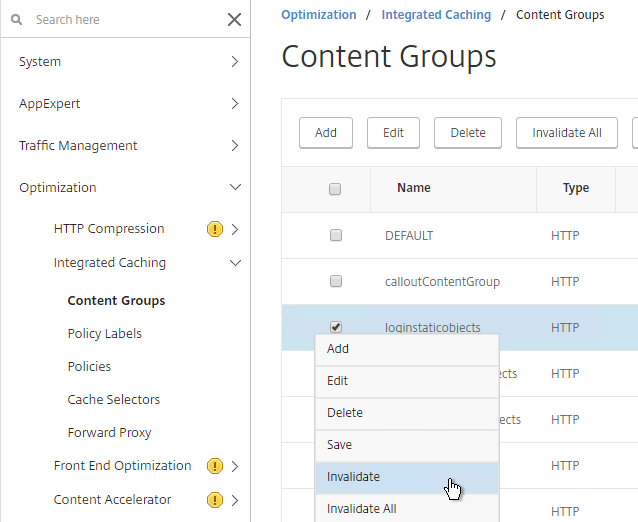
- On Platinum Edition appliances, you might have to invalidate the loginstaticobjects Content Group (Optimization > Integrated Caching > Content Groups) before the changes appear. This seems to be true even if Integrated Caching is disabled.
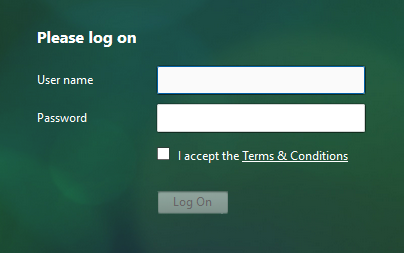
Logon Security Message (Disclaimer, EULA)
You can force users to agree to a EULA before they are allowed to login.
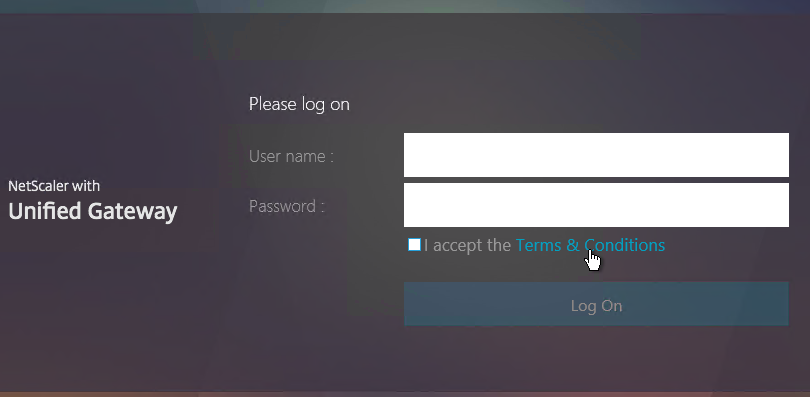
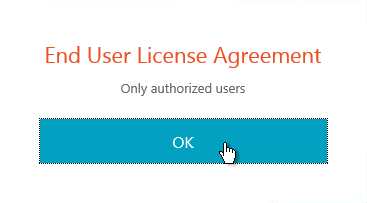
Clicking the Terms & Conditions link allows the user to view the EULA text that you have entered.
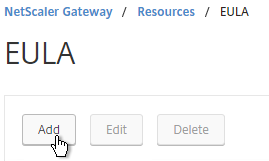
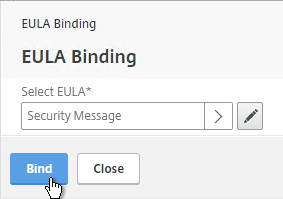
Do the following to configure the EULA:
- Go to NetScaler Gateway > Resources > EULA.

- On the right, click Add.
- Give the EULA a name and enter some text. You can even enter HTML code. See the example posted by Chris Doran at Citrix Discussions.
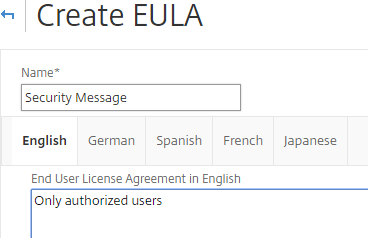
- Click Create.

- Edit a Gateway Virtual Server.

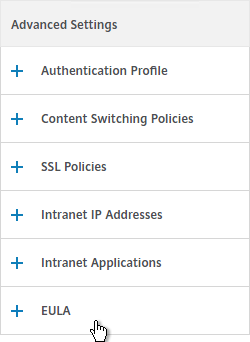
- On the right, in the Advanced Settings column, click EULA.
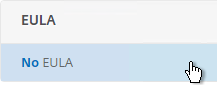
- Click where it says No EULA.
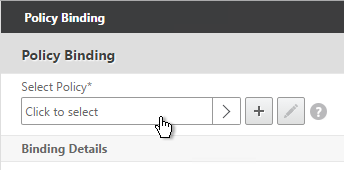
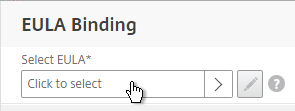
- Click the arrow next to Click to select.
- Select the EULA and click Select.
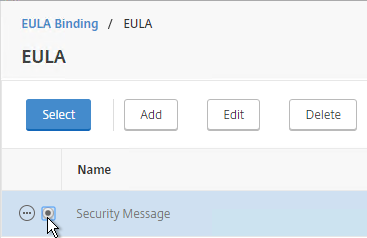
- Click Bind.
- Mike Roselli at Automatic EULA Acceptance by Cookie Rewrite Guide at Citrix Discussions details Rewrite policies that change the behavior so that users only have to accept the EULA once. It records acceptance in a cookie.
- Sam Jacobs Adding an EULA for AAA Login at CUGC explains how to enable the EULA on the AAA logon page. 💡
Theme File Customization
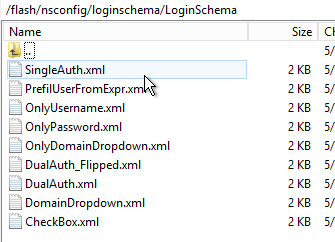
The original themes (Default, Green Bubble, and X1) use files from /netscaler/ns_gui/vpn/js and /var/netscaler/logon/themes. A commonly edited file is /netscaler/ns_gui/vpn/js/gateway_login_form_view.js since this file is responsible for rendering the logon form.
The new RfWebUI theme is different than the original themes, because it pulls files from /var/netscaler/logon/LogonPoint/receiver. This means the customizations for NetScaler 11.0 won’t work with the new RfWebUI theme. When reviewing customization guides for NetScaler 11, be aware that most of them won’t work for the RfWebUI theme.
Logon Page Links
Citrix CTX202444 How to Customize NetScaler Gateway 11 logon Page with Links shows how to add links to the NetScaler Gateway 11 logon page. This only works in the Default, Green Bubble, and X1 themes (no RfWebUI theme).
Other Customizations
CTP Sam Jacobs at Adding Text, Links and Other Elements to the NetScaler Logon Page – Part 2 at CUGC explains how to add text to the RfWebUI theme logon page. The process for RfWebUI is quite different than the older themes:
- Text is stored in
/var/netscaler/logon/themes/<theme>/strings.<language code>.json - Custom CSS is stored in
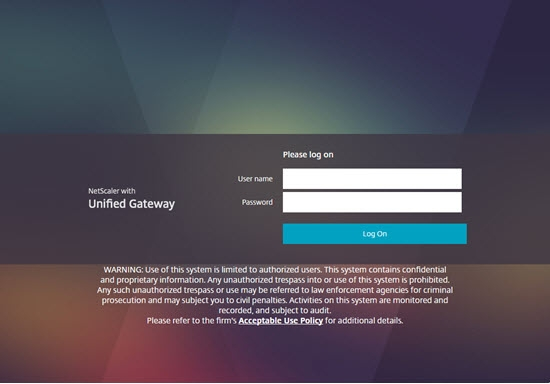
/var/netscaler/logon/themes/<theme>/css/theme.css - Sample Logon Page:


CTP Sam Jacobs at Adding Text, Links and Other Elements to the NetScaler Logon Page – Part 1 at CUGC explains how to modify custom.css and en.xml to add text below the logon box on the Logon Page. No Rewrite policies or source code modifications needed.
Citrix CTX215817 NetScaler : How to Customize Footer of NetScaler Gateway Login Page. This article does not work with the RfWebUI theme, but it works with the X1 theme.
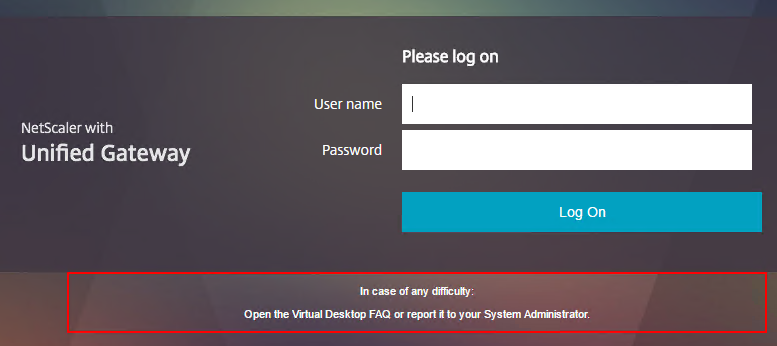
Mike Roselli at Netscaler 11 Theme Customization – How to Add Links and Verbiage at discussions.citrix.com has sample rewrite policies to customize the NetScaler Gateway logon page with additional HTML.
Craig Tolley Customising the NetScaler 11 User Interface – Adding Extra Content: add new sections to login page. These sections pull content from local HTML files.
Daniel Ruiz Set up a maintenance page on NetScaler Gateway: configure a Responder policy (see the blog post for sample HTML code). During maintenance, manually bind the Responder policy to the Gateway. Manually remove the policy after maintenance is complete.
UDP Audio Through Gateway
From John Crawford at Citrix Discussions and Marius Sandbu Enabling Citrix Receiver audio over Netscaler Gateway with DTLS
Note: Enabling DTLS on the Gateway also enables Framehawk and EDT. See Citrix Policy Settings for Framehawk configuration.
Requirements for UDP Audio:
- Citrix Receiver 4.2 or newer
- NetScaler Gateway 10.5.e (enhancement build) or NetScaler 11 or newer
- UDP 443 allowed to NetScaler Gateway Virtual Server
- UDP 16500-16509 allowed from NetScaler SNIP to VDAs
To enable UDP Audio through Gateway, make changes on both the NetScaler Gateway Virtual Server and in Receiver:
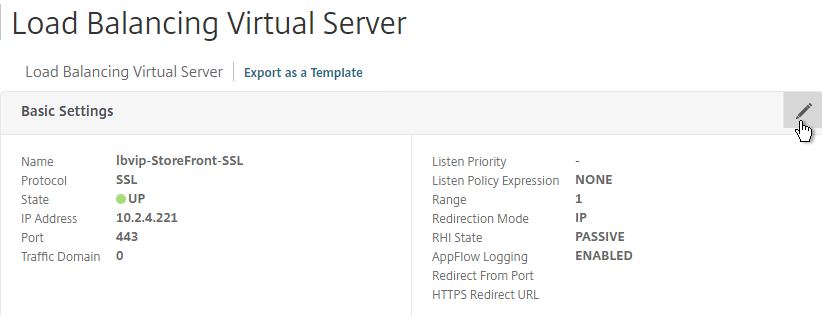
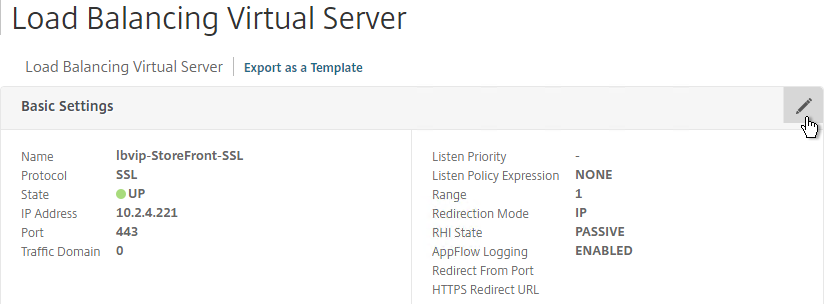
- Edit the NetScaler Gateway Virtual Server. In the Basic Settings section click the edit (pencil) icon.
- Click More.
- Enable the DTLS option, and click OK.
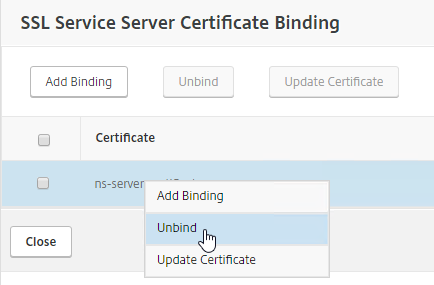
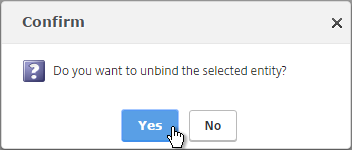
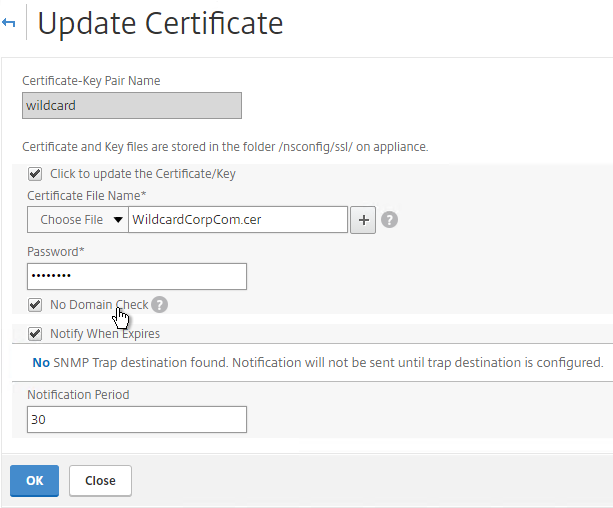
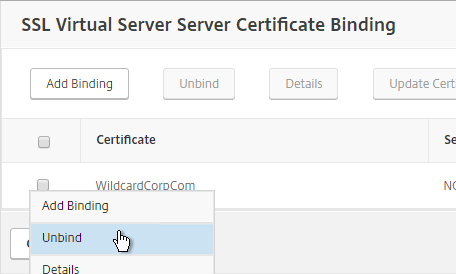
- After enabling DTLS, it probably won’t work until you unbind the Gateway certificate and rebind it.
Client-side configuration
There are two methods of enabling RTP on the client side:
- Edit default.ica on the StoreFront server
- Use GPO to modify the client-side config
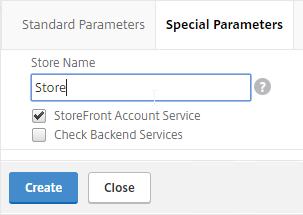
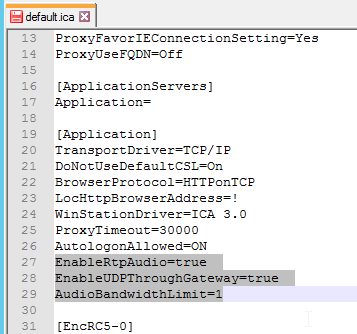
To edit the default.ica file on the StoreFront server (h/t Vipin Borkar): Edit the file C:\inetpub\wwwroot\Citrix\Store\App_Data\default.ica and add the following lines to the Application section:
EnableRtpAudio=true
EnableUDPThroughGateway=true
AudioBandwidthLimit=1
To use GPO to modify the client-side config:
- Copy the receiver.admx (and .adml) policy template into PolicyDefinitions if you haven’t already.
- Edit a GPO that applies to Receiver machines. You can also edit the local GPO on a Receiver machine.
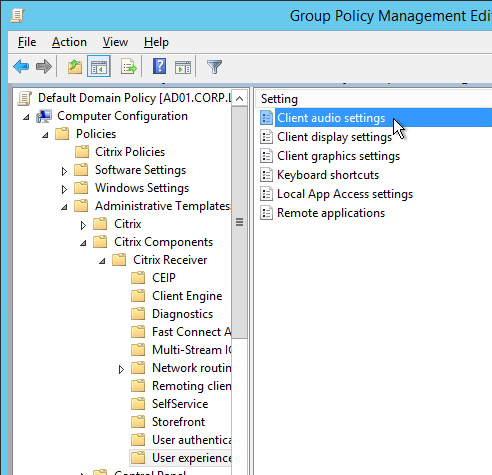
- Go to Computer Configuration > Policies > Administrative Templates > Citrix Components > Citrix Receiver.
- Edit the setting Client audio settings.
- Enable the setting.
- Set audio quality as desired. Higher quality = higher bandwidth.
- Check to Enable Real-Time Transport.
- Check to Allow Real-Time Transport through Gateway. Click OK.

Next step
Configure StoreFront to use NetScaler Gateway
StoreFront – Rewrite X-Citrix-Via
When NetScaler Gateway communicates with StoreFront, it adds a header called X-Citrix-Via that contains the FQDN entered in the user’s address bar. StoreFront uses this header to find a matching Gateway object so StoreFront knows how to handle the authentication. In NetScaler 11.0 and newer, you can create a rewrite policy to change this header. This is useful when changing URLs or using DNS aliases for Gateways. See CTX202442 FAQ: Modify HTTP Header X-Citrix-Via on NetScaler for more details.
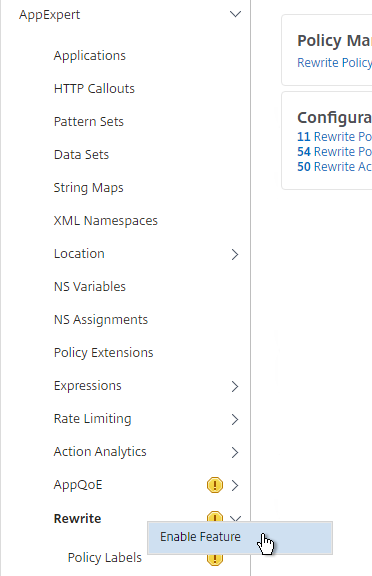
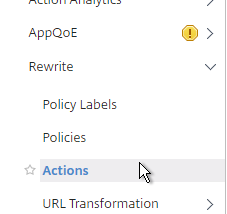
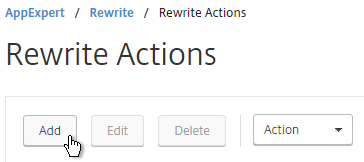
Here’s a sample rewrite policy for this header:
enable ns feature REWRITE

add rewrite action rwact_storefront replace "HTTP.REQ.HEADER(\"X-Citrix-Via\")" "\"mystorefront.mydomain.com\""

add rewrite policy rwpol_storefront "HTTP.REQ.HEADER(\"X-Citrix-Via\").NE(\"mystorefront.mydomain.com\")" rwact_storefront

bind vpn vserver mygateway-vs -policy rwpol_storefront -priority 100 -type REQUEST